Samsung Galaxy Tab 3 Kids Camera Replacement
Duration: 45 minutes
Steps: 6 Steps
If your Samsung Galaxy Tab 3 Kids camera ever takes a tumble, don’t fret! This guide is here to help you step-by-step through the process of accessing and swapping out that camera. A cracked lens isn’t just a bummer for photos; it can also be a bit of a hazard for tiny fingers. Don’t let broken glass ruin the fun! We’ll guide you through removing the back cover and motherboard, so just make sure to power off your device before diving in. Happy repairing!
Step 1


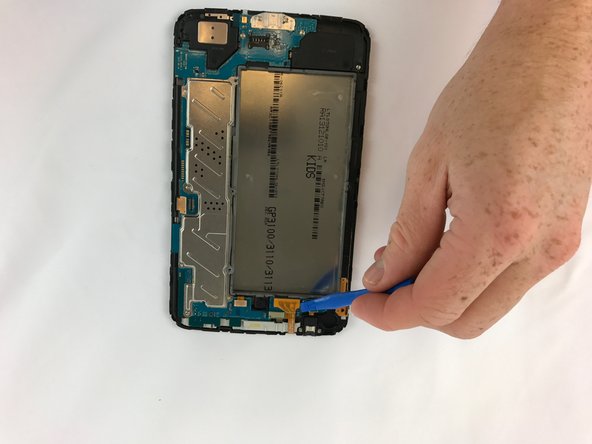
– Grab your trusty plastic opening tool and gently wedge it into the gap between the screen and the back cover. Once it’s in there, smoothly slide the tool along the seam all the way around. With a little bit of patience, you’ll hear that satisfying pop as the screen separates from the back cover.
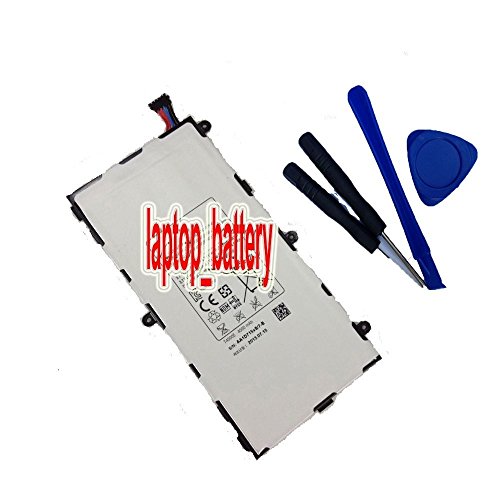
Tools Used

Step 2

– Use the opening tool to safely unplug the battery from the device.
Step 3


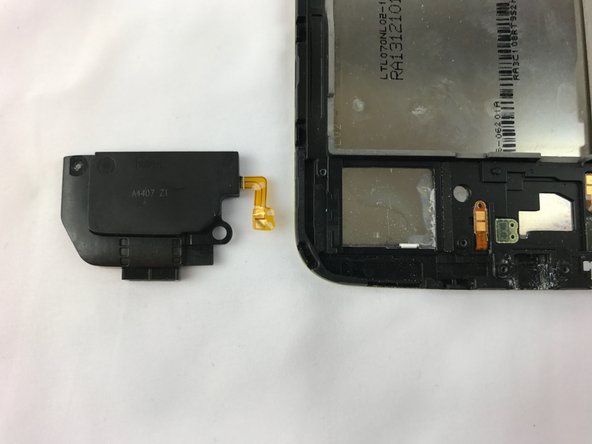
– Gently lift the four press connectors using your trusty opening tool. This will free the connectors from the ribbon cables like magic!
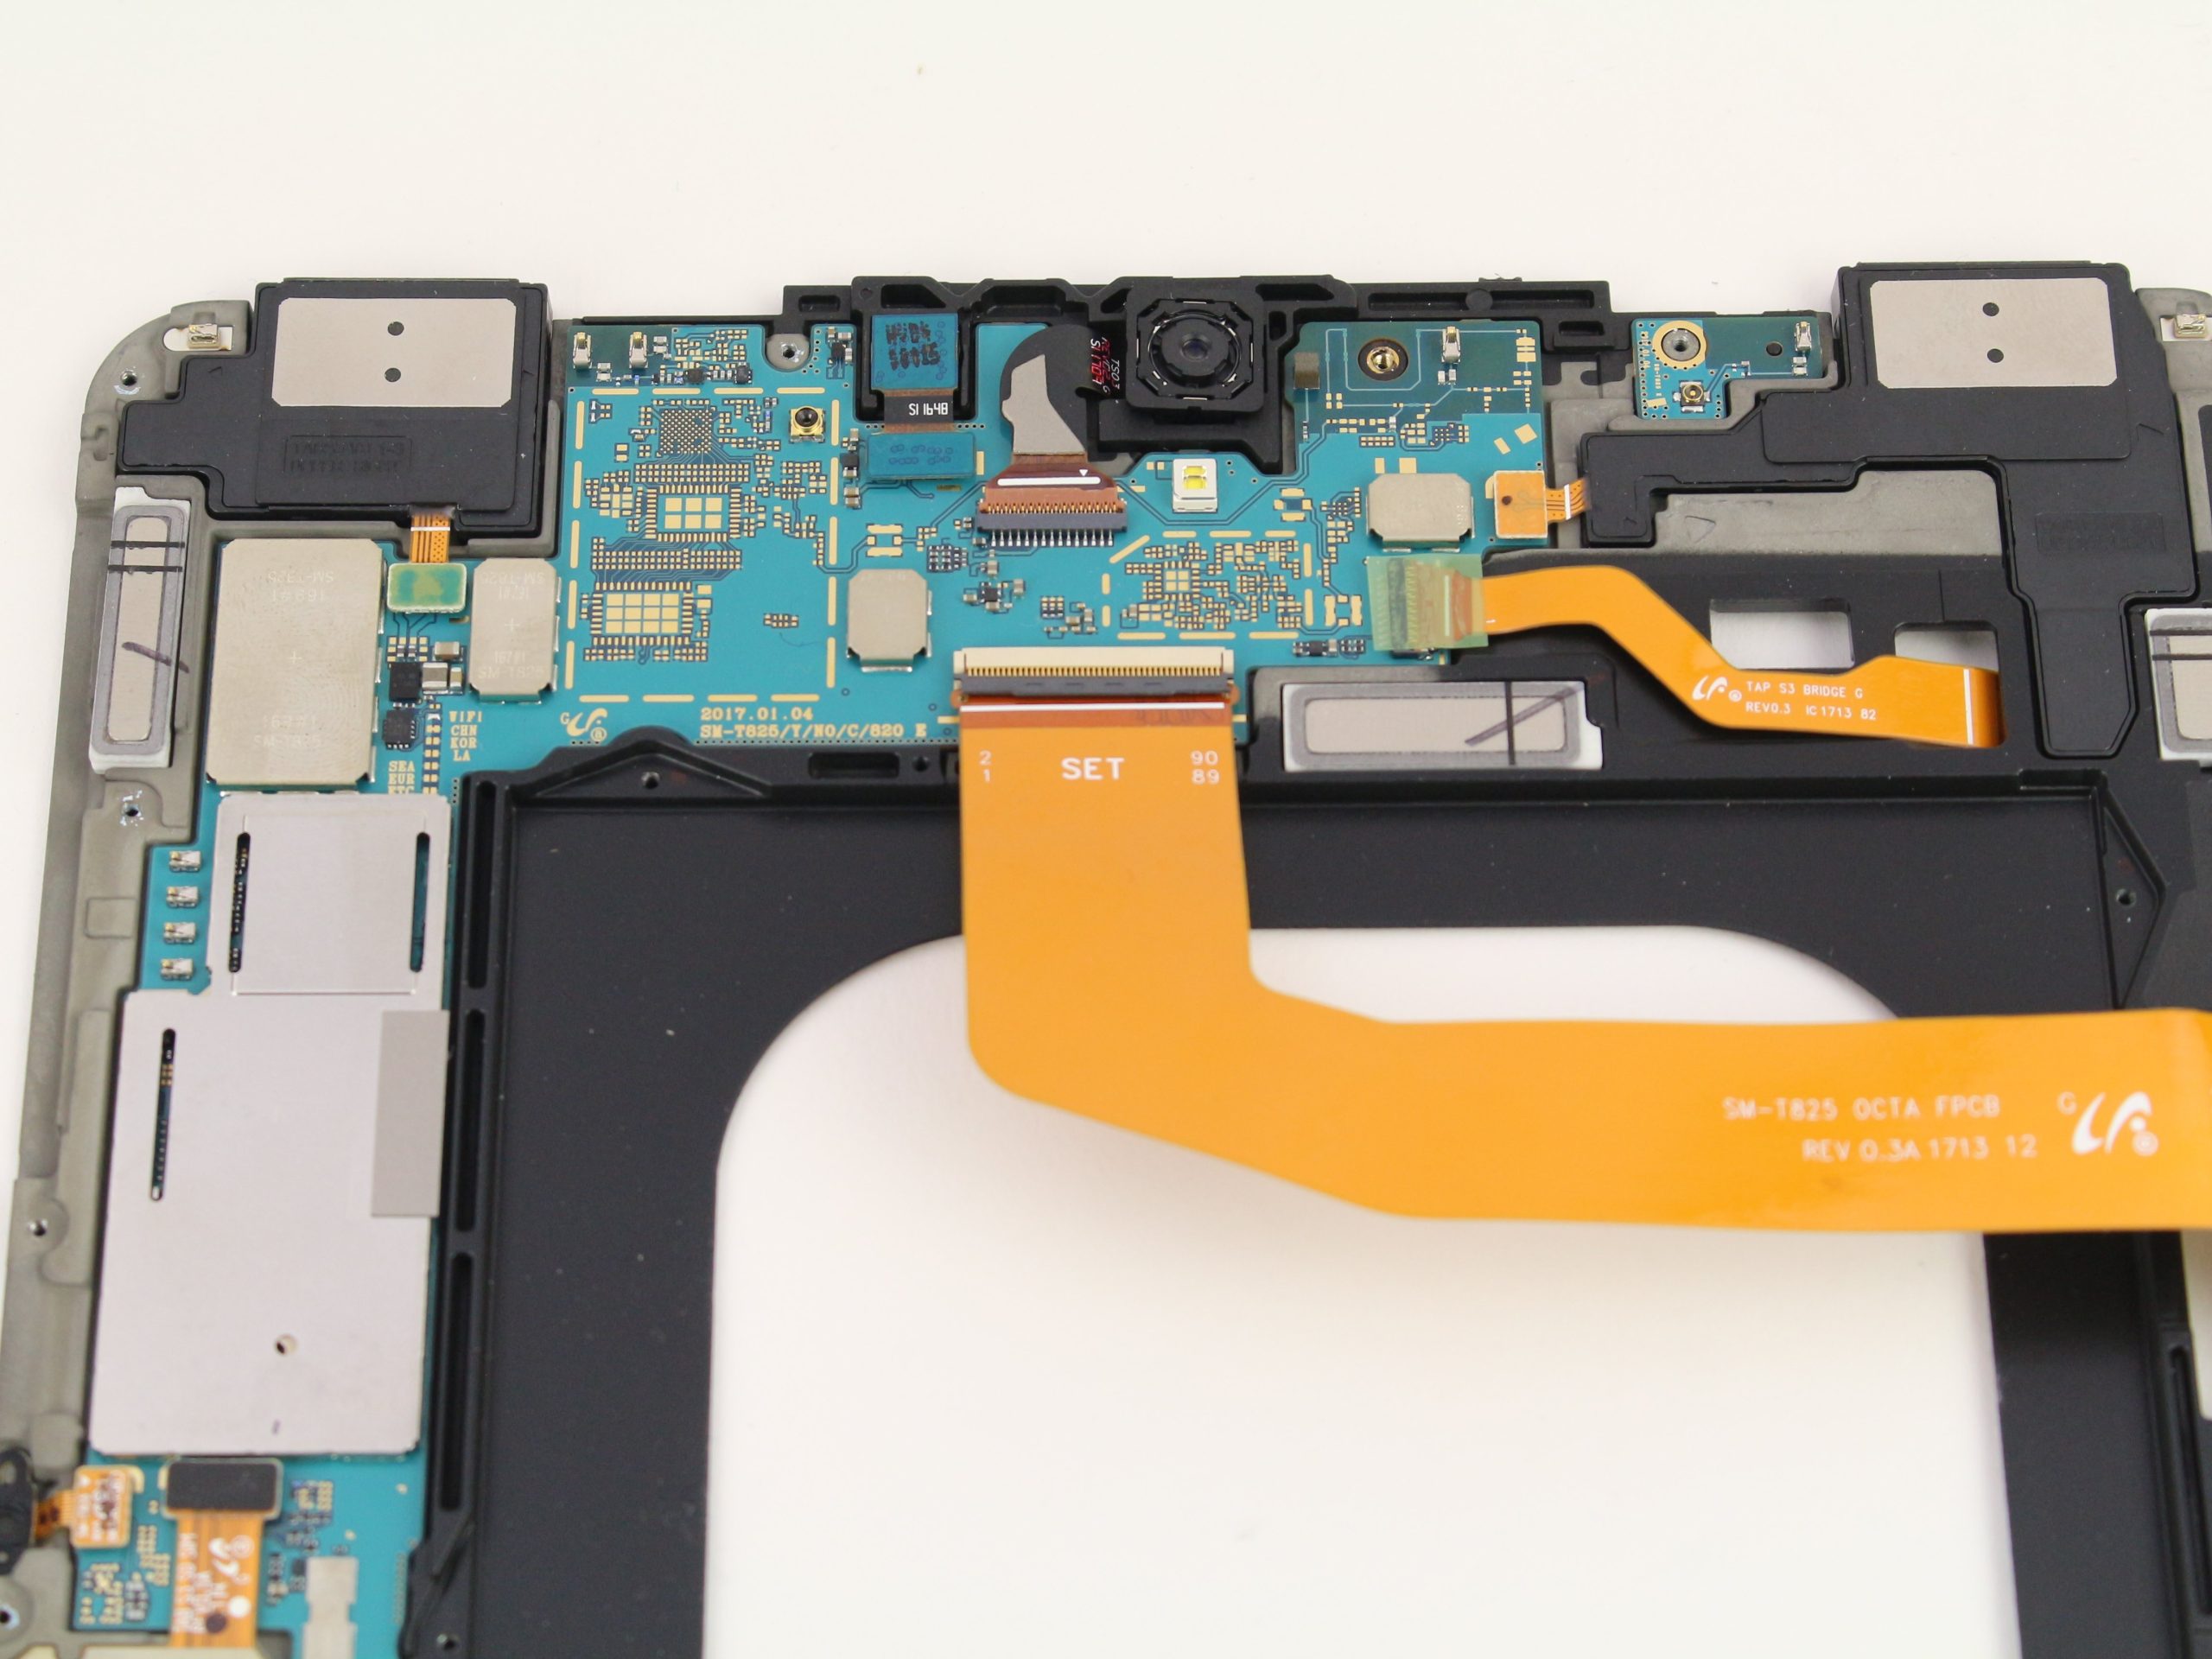
Step 4
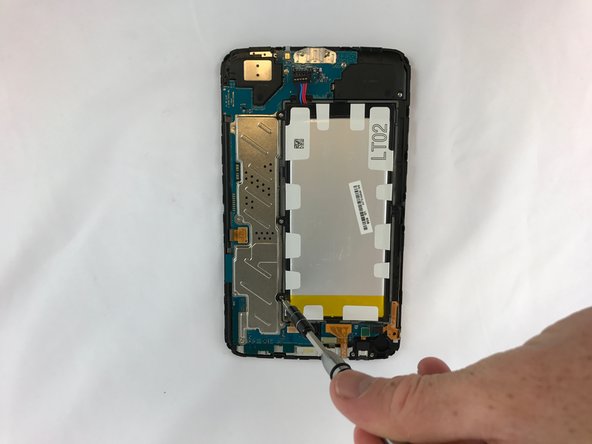

– Time to get those screws out! Grab your trusty screwdriver and unscrew the ten 4 mm PH000 bolts that are keeping the motherboard cozy in the device.
Step 5

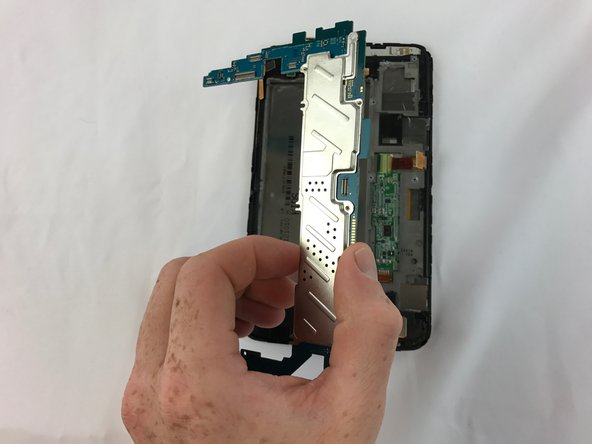

– Gently lift the motherboard out of the device, like you’re unveiling a surprise. You’ve got this!
Step 6

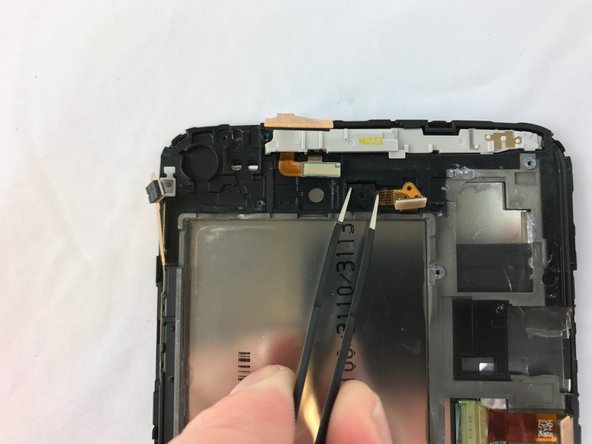
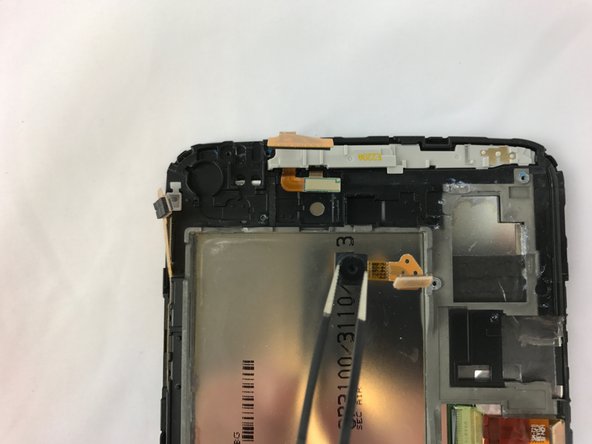
– Gently grab the camera with your tweezers and lift it out of the device. Take your time and be careful not to rush this step.
Tools Used

Success!