Zeki Droid Tablet Front Screen Replacement
Duration: 45 minutes
Steps: 9 Steps
Ready to swap out the screen on your Zeki Droid TBDC1093B? This step-by-step guide walks you through taking apart your Zeki Droid to reach that cracked screen. To keep things safe and avoid any ouch moments, follow along to secure the broken glass before you dive in.
Step 1
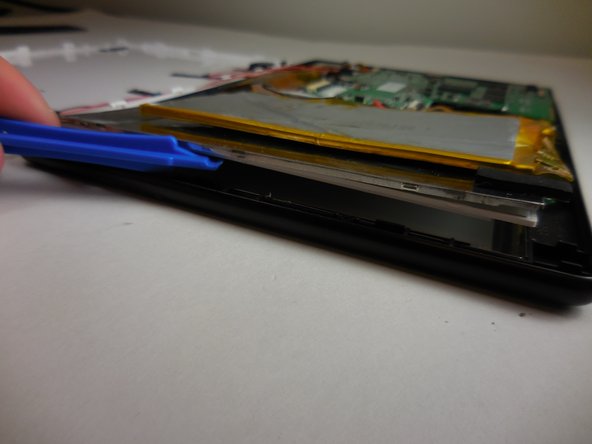
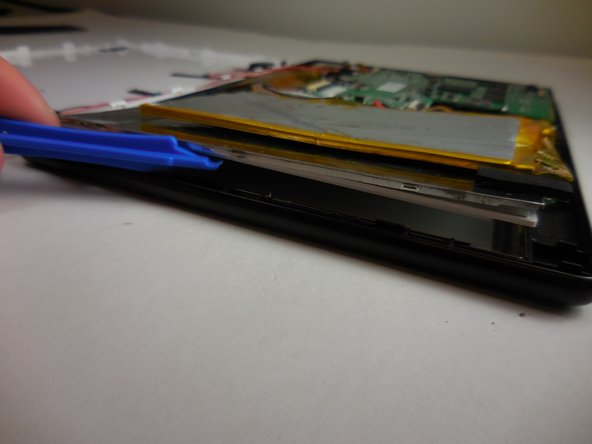
– Gently pop out each tab on the back casing using a plastic opening tool. Take it slow, and let the tabs come free one by one.
Step 2
– Gently peel away the tapes one at a time from the connecting wires using your trusty tweezers. You’ve got this!
Tools Used
Step 3
The clips are designed to pop off and separate from the speakers with ease.
– Gently pop off the black clips on both sides of the casing using a plastic opening tool.
Step 4
Handle those speakers with care! They’re linked to some delicate wires that don’t appreciate a good tug.
– Take out the speakers from the back casing with care.
Step 5
– Gently coax the speakers away from the back casing, like you’re guiding them to freedom—steady hands are key here!
Step 6
– Unscrew the four fasteners holding the motherboard in place using your trusty Phillips #000 screwdriver, and gently lift it away from the frame. You’ve got this!
Tools Used
Step 7
– Time to get a little tricky! Use your trusty tweezers to carefully lift the camera and flash components out of their fittings.
Tools Used
Step 8
Careful! Don’t yank the frame off completely—there’s a sneaky ZIF connector keeping it hanging in there.
– Gently lift the metal frame—like opening a treasure chest—to reveal the components at the front of the device.
Step 9
– Gently push the screen forward to release it from its place.


