Xi-Electronics 7 inch Tablet DC Jack Replacement
Duration: 45 minutes
Steps: 7 Steps
Hey there! Today, we’re diving into a fun project where we’ll be soldering a brand new DC jack into a XI Electronics tablet. Let’s roll up our sleeves and get to it!
Step 1


– Grab your trusty isesamo opener to get this device cracking open.
– Carefully pry it apart—think gentle ninja, not wrecking ball.
– Take a peek at the second picture to see what’s hiding inside.
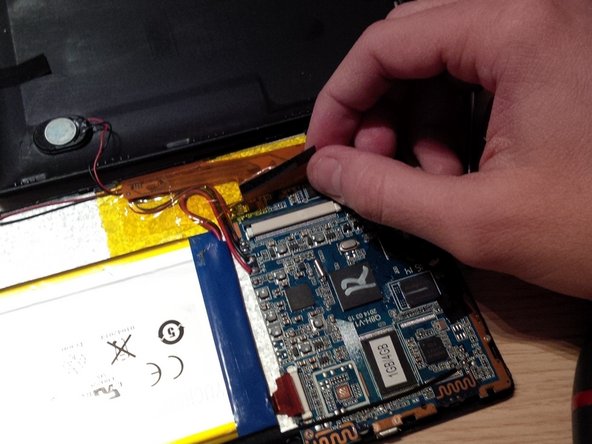
Step 2


– Gently disconnect the first connector, marked in red, and set it aside carefully.
– Use a toothpick or a dental tool to pry it open. Alternatively, you can use a small flathead screwdriver or a similar tool to do the job.
Step 3

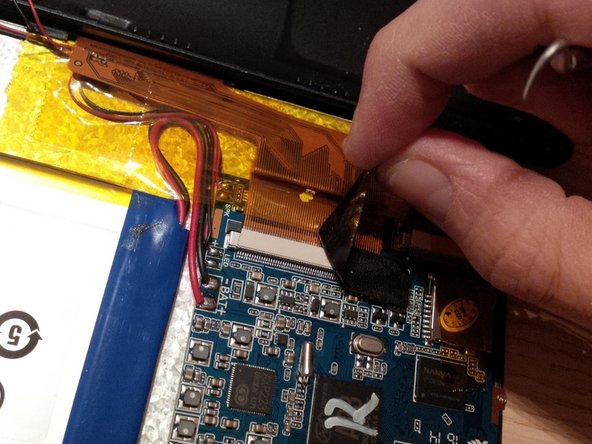
– Let’s start by gently disconnecting the second connector.
– First, peel off that orange tape like a pro!
– Next up, carefully remove the thick black tape from the connector.
Step 4

– unplug the third connector, it’s right next to the one you just handled in step 3.
Step 5

– Let’s get those screws off the main board! Grab your trusty screwdriver and gently twist them out—you’re doing great!
Step 6

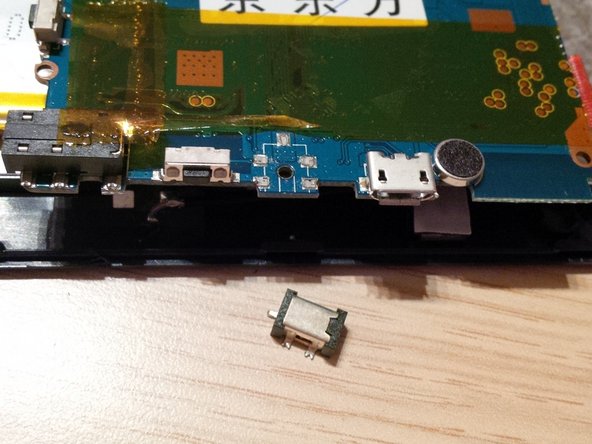
– Once you’ve popped off the mainboard, take a peek at the spot where the dc jack used to be. It’s missing, but don’t worry!
– Next up, it’s time to get that dc jack soldered onto the mainboard. You’ve got this!
– Before diving in, make sure to brush up on your soldering skills online! And remember, using quality tools makes a world of difference—skip the bargain bin!
Step 7

– So, I didn’t pop in any pictures or videos for soldering in this guide, but don’t worry—you can find tons of handy tips and tutorials online. For now, check out the last picture to see how the shiny new DC jack looks in action!
Success!