Vizio VTAB1008 Wi-Fi Antenna Replacement
Duration: 45 minutes
Steps: 4 Steps
Get ready to boost your Vizio VTAB1008’s Wi-Fi signal! This step-by-step guide from Salvation Repair will walk you through replacing the Wi-Fi antenna. Follow along and you’ll be browsing the web in no time. If you need help, you can always schedule a repair
Step 1


Be careful not to push the opening tool in too far—it can cause some damage to connectors near the edges of the cover.
To get the angled tip of the opening tool in just right, press down gently on the back of it with your thumb. Once it’s in, slide it smoothly along to make sure all the tabs come apart.
– Gently slide the heavy-duty opening tool into the gap on the side of the device where there are no buttons.
– If the corner tabs are being stubborn, grab a metal prying tool and carefully work it into the corners to pop those tabs loose.
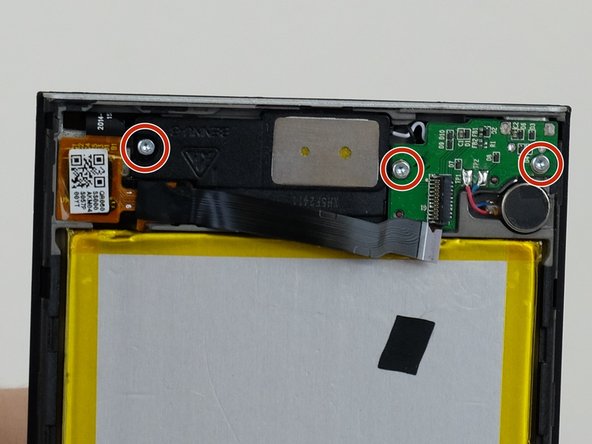
Step 2

You’ve got three connectors hanging loose—one for the screen, one for the digitizer, and one for the motherboard. No worries, though! They stay put thanks to the pressure from the backing and screen assemblies, like a snug little puzzle.
– Check inside the tablet for any loose connectors that might be causing a ruckus.
– Carefully flip the backing from the side without buttons, but watch out for that ribbon connector—keep it snug with the display screen!
Step 3

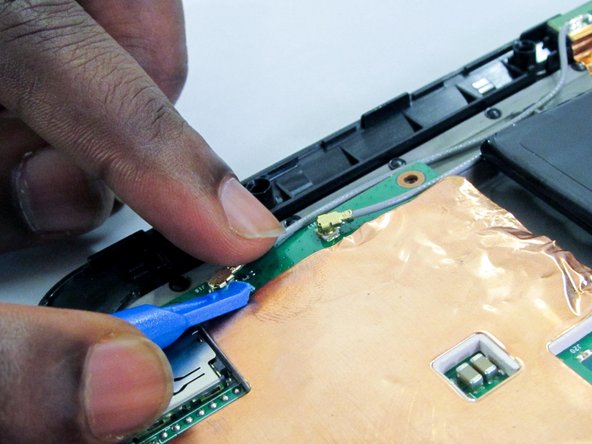
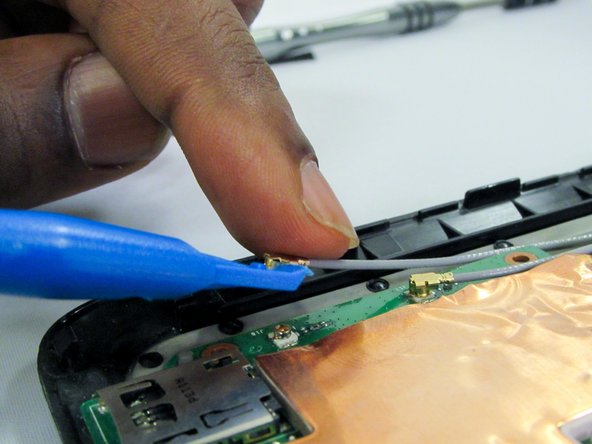
– Grab your trusty blue spudger or prying tool, and gently lift those antenna connectors off the motherboard. Just a little pry and they should pop right off—easy does it!
Step 4
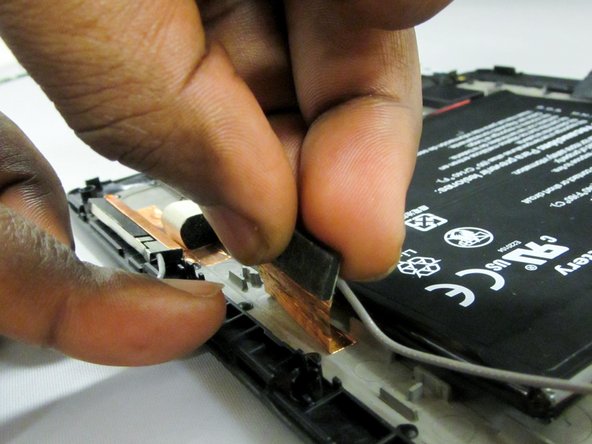

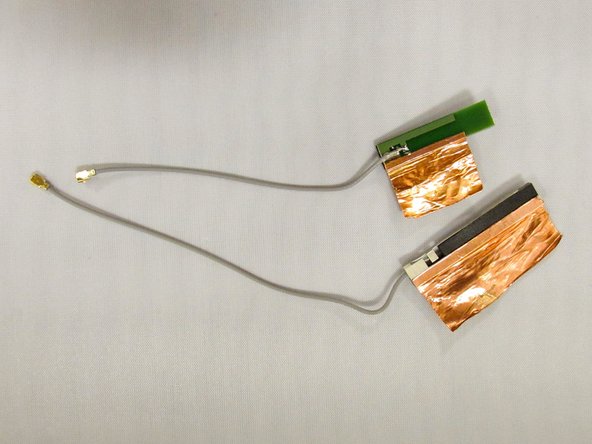
The connectors might be sticking around a bit, but don’t worry! With a gentle tug, you can free the copper from the backing.
– Time to put your device back together! Just follow the steps in reverse, and you’ll be back in business. And hey, if things aren’t clicking into place, no stress—help is just a click away. If you need assistance, you can always schedule a repair.
–