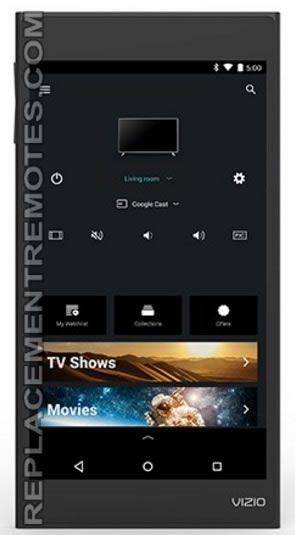
Vizio SmartCast Tablet Remote XR6P Micro USB Charging Port Replacement
Duration: 45 minutes
Steps: 7 Steps
Over time, your Micro USB charging port might start feeling a little worn out or just not work like it used to. Not to worry! We’re here to guide you through replacing it. When you kick things off in step 1, just remember to treat that black ribbon with extra care—it’s a delicate little thing and can easily get damaged. Let’s fix this together!
Step 1
– Grab your trusty black plastic spudger tool from your toolkit and get ready! Set the device down just like the picture shows. Now, take that flat end of the spudger and gently slide it into the gap above the power button, right between the back cover and front screen. You got this!
Tools Used
Step 2
– Carefully lift the plate using the spudger. Don’t be alarmed if you hear some cracking sounds as you maneuver the spudger around your device; that’s just part of the process.
Tools Used
Step 3
– Gently work your fingers around the edges of the tablet, prying it open until the back cover comes off like a charm!
Step 4
Be gentle with that black ribbon – it’s a bit fragile! Take your time and handle it with care.
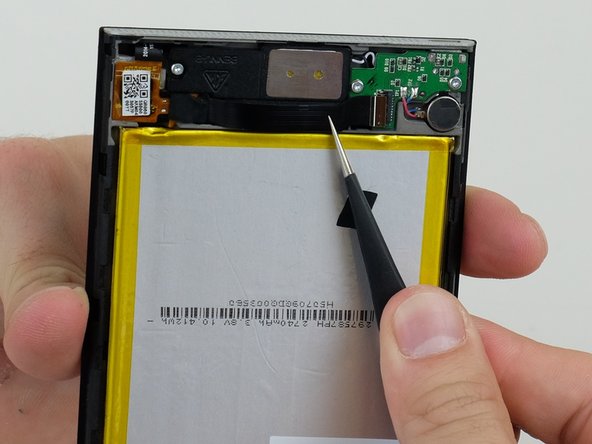
– Slide the flat end of the trusty black plastic spudger underneath the black plug and gently pry it up to set the black ribbon free. Then, grab those metal tweezers and carefully pull the black ribbon out of the plug.
Tools Used
Step 5
– Time to get your tools ready! Use that trusty T5 Torx screwdriver to unscrew all three shiny 3mm-long silver screws. You’ve got this!
Tools Used
Step 6
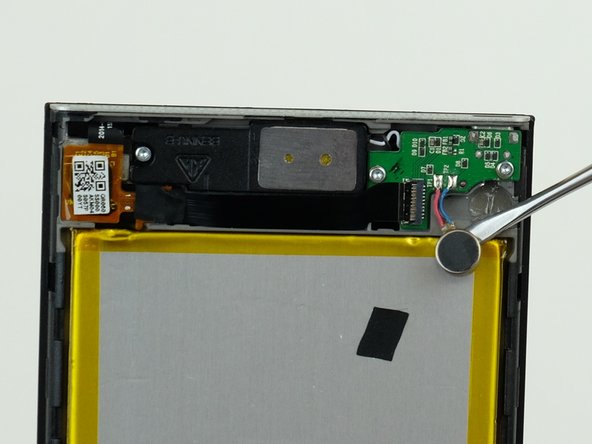
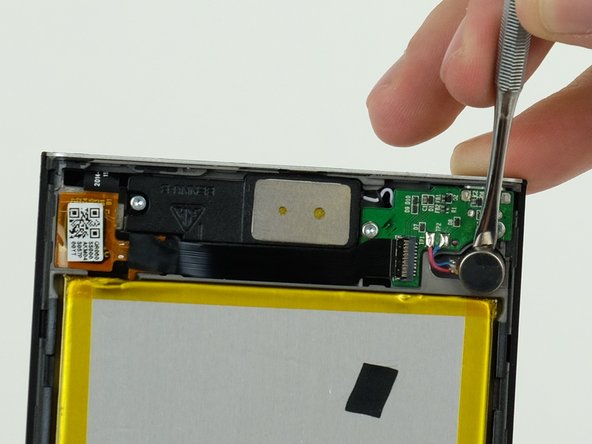
The speaker is held in place with some sticky adhesive, so don’t be surprised if you hear some cracking sounds when you start prying with the spudger. It’s all part of the process!
– Gently slide the shovel end of your trusty metal spudger beneath the speaker and give it a little nudge upwards to pop that speaker out of the device. You’ve got this!
Tools Used
Step 7
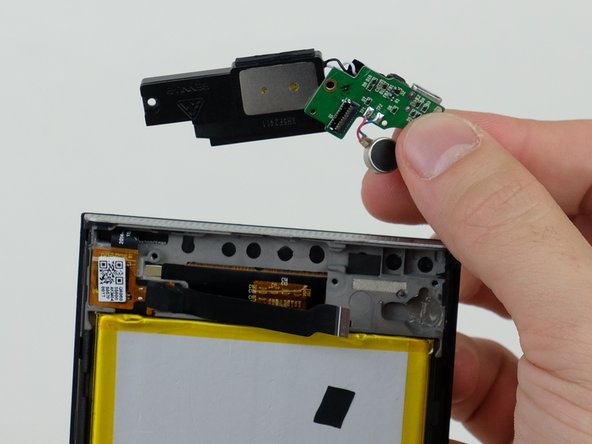
– Grab the Micro USB assembly with your trusty tweezers and carefully lift it out of the device. A little patience goes a long way here—take it slow, and you’ll be all set.
Success!


