Lenovo Tab 4 TB-8504F Vibrator Replacement
Duration: 45 minutes
Steps: 7 Steps
Step 1
– Kick things off at the microSD slot.
– Grab your trusty opening pick and gently slide it beneath the back cover of the tablet.
– Now, glide that pick all around the tablet until the back cover pops off like a champ!
Step 2
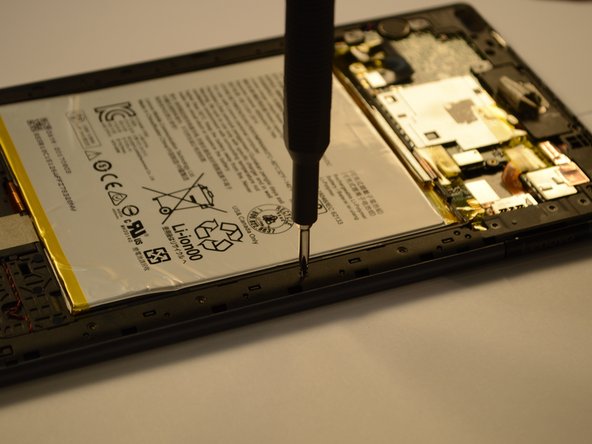
– Grab your trusty Phillips #000 screwdriver and take out those 8 screws like a pro.
– Peel away the tape that’s holding down the plate, it’s time for it to be free!
– With either precision tweezers or your nimble fingers, gently lift off the plate.
– Oh, and don’t forget – there’s a sneaky screw hiding under the blue ‘s’ sticker!
Tools Used
Step 3
– Peel off that yellow tape, it’s time for it to go!
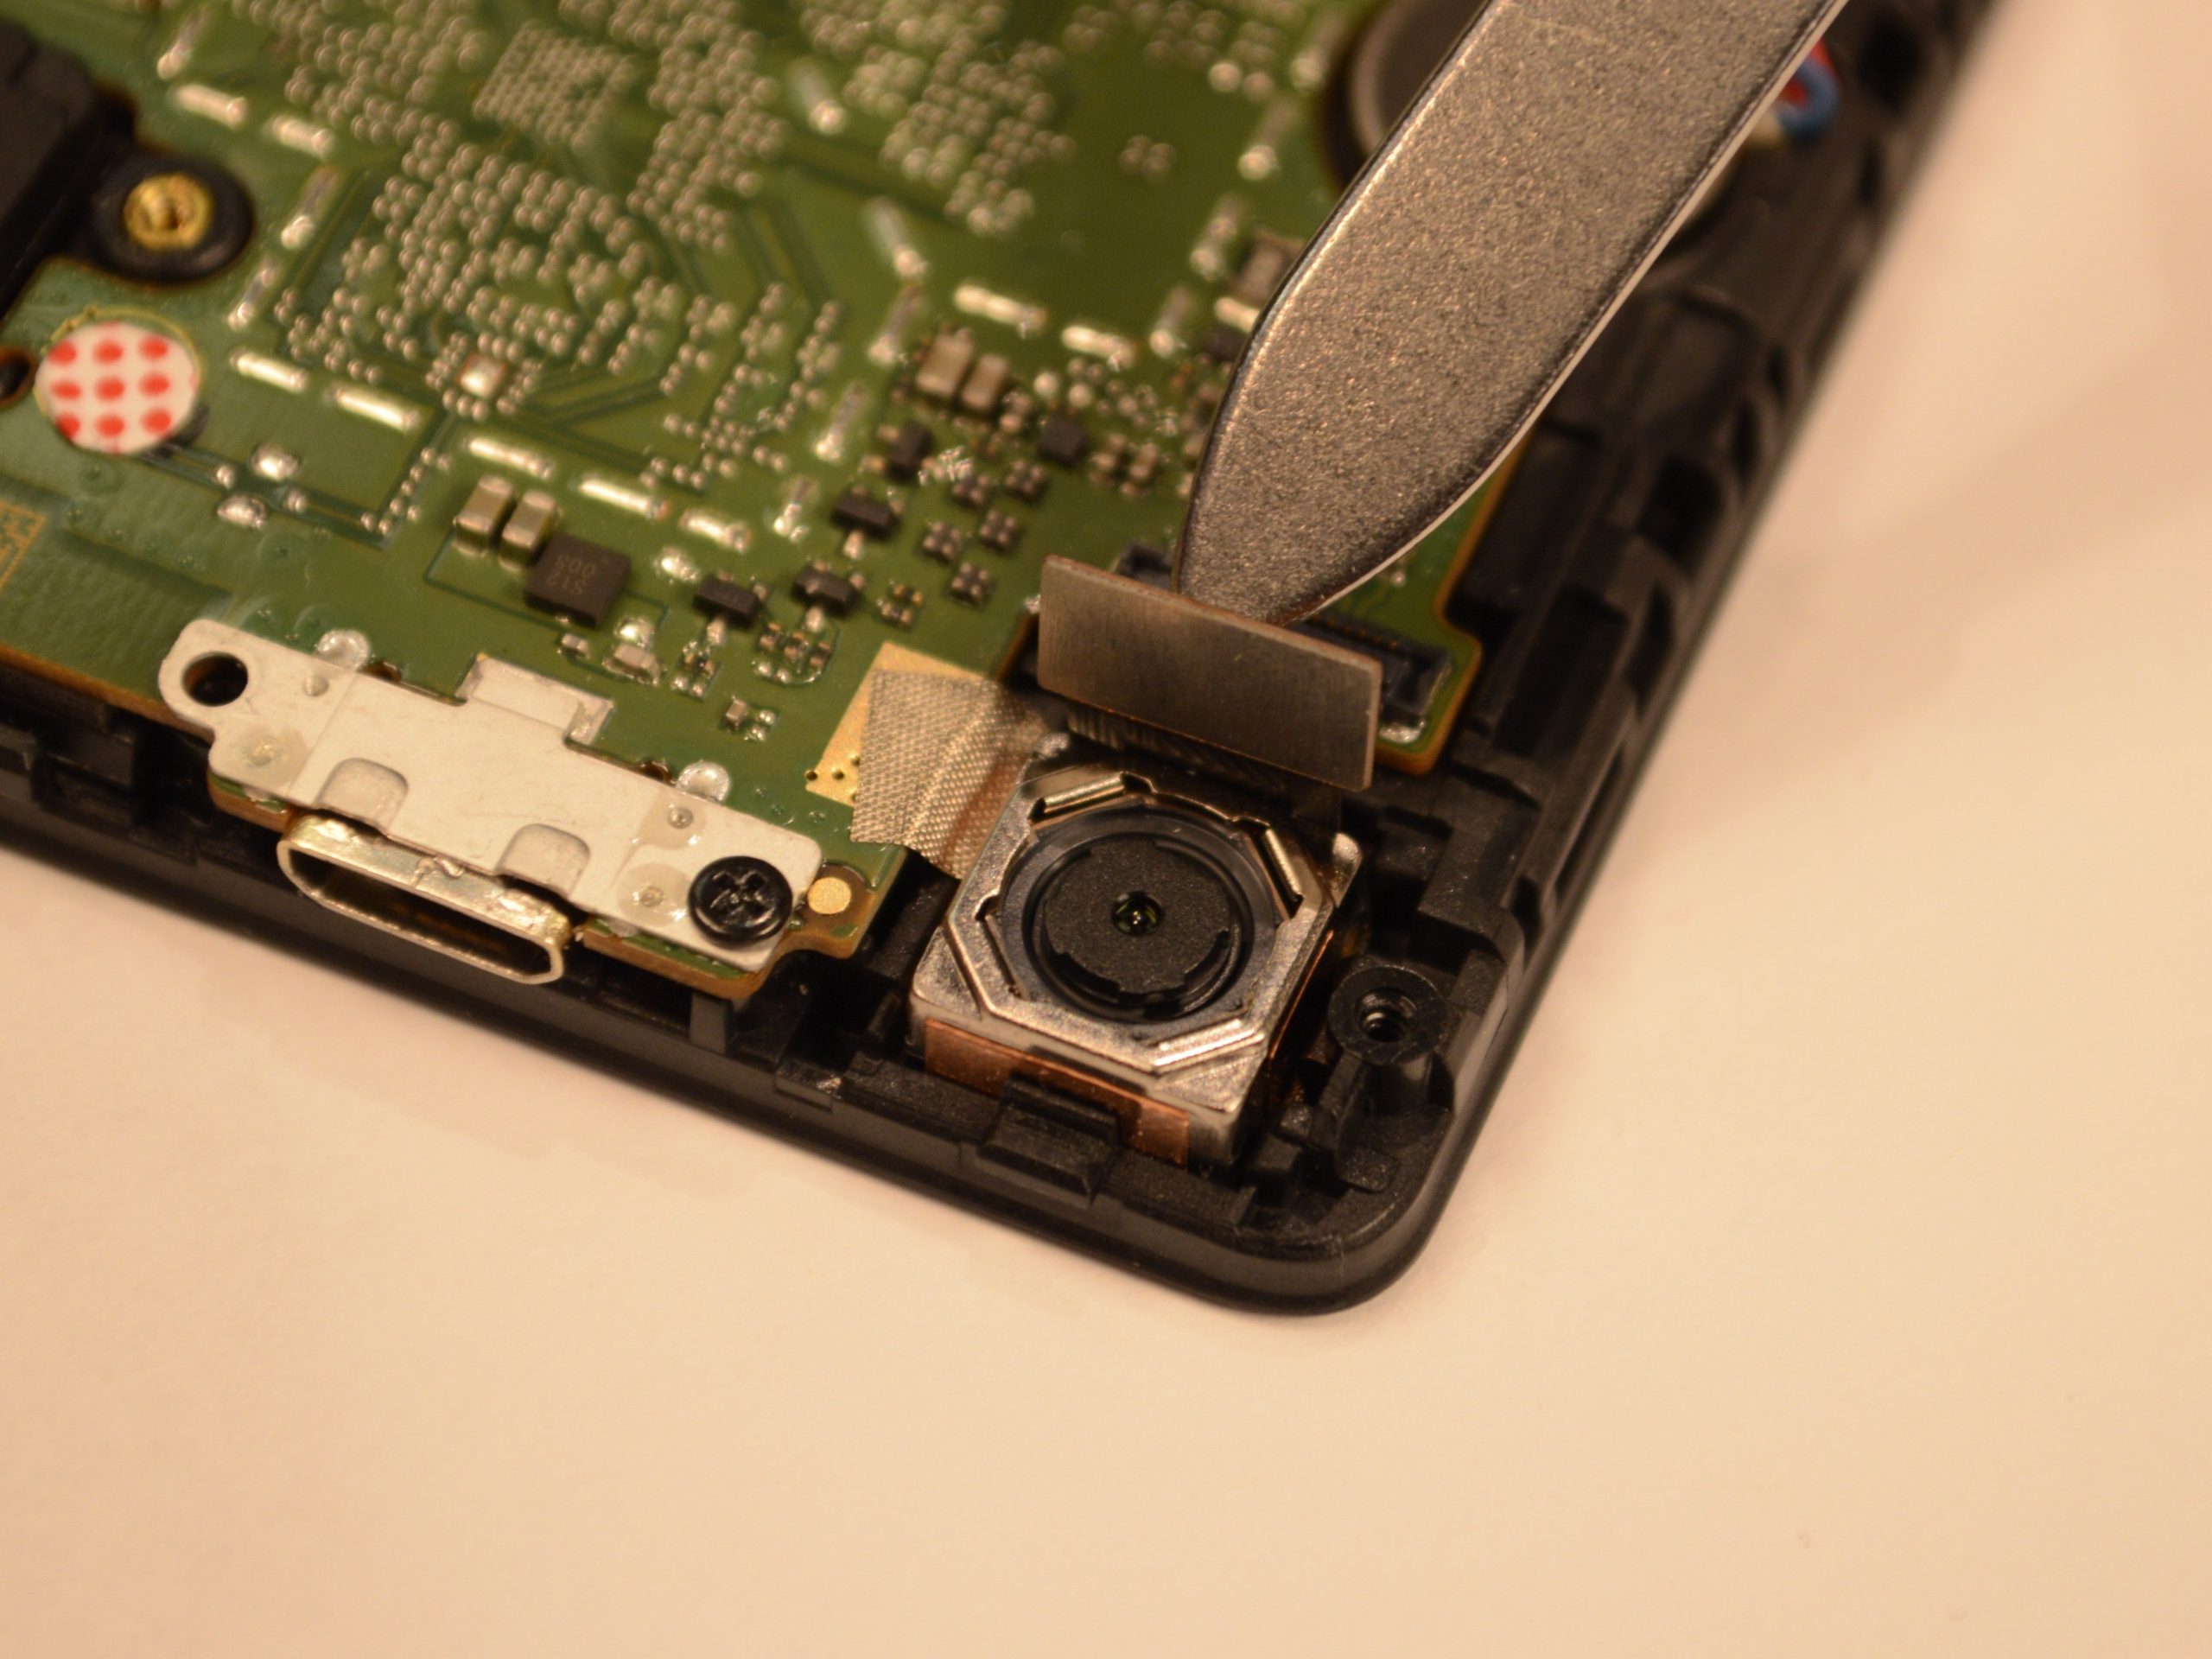
– Grab your trusty spudger or plastic opening tool and carefully disconnect the battery’s ribbon cable from the motherboard. A gentle nudge should do the trick!
Tools Used
Step 4
Handle the battery with care—don’t bend it or poke any holes!
– Gently tug on those two stretchy adhesive strips, but remember—don’t lift up, just pull away from the battery like you’re giving it a gentle hug.
– After you’ve got those tabs off, lift the battery straight up from the frame, like a champ!
Step 5
– Use your trusty Phillips #000 screwdriver to take out those 16 screws from the midframe. You’ve got this!
Tools Used
Step 6
– Time to get this bracket off! Use an opening pick to find a weak spot and gently pry the bracket away from the tablet.
– Now that you’ve got the pick in, work your way around the tablet to completely release the bracket from its cozy spot.
Step 7
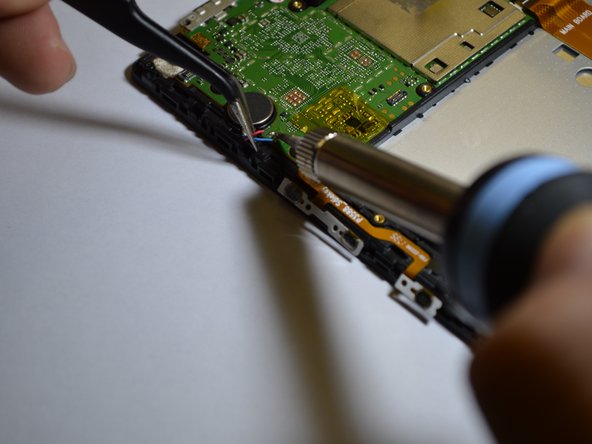
Be careful with that soldering iron! It’s super hot and can be tricky to handle. Stay safe while you get your repair on!
If the wire refuses to let go of the tin, just turn up the heat on your soldering iron a bit. It should loosen right up!
– Carefully detach the blue and red wires from the motherboard, like a pro!
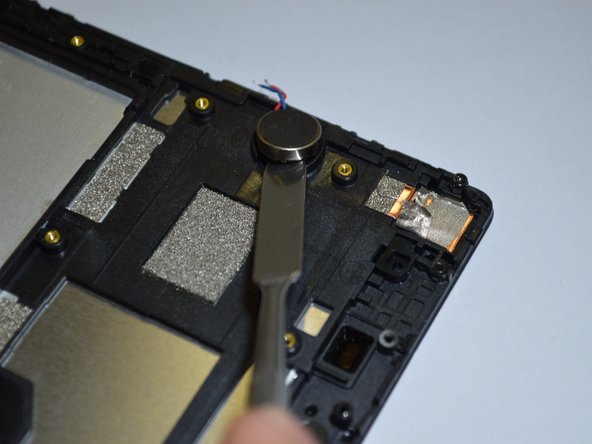
– Once those wires are free, grab a metal spudger tool and gently lift the vibrator out. You’re doing great!
