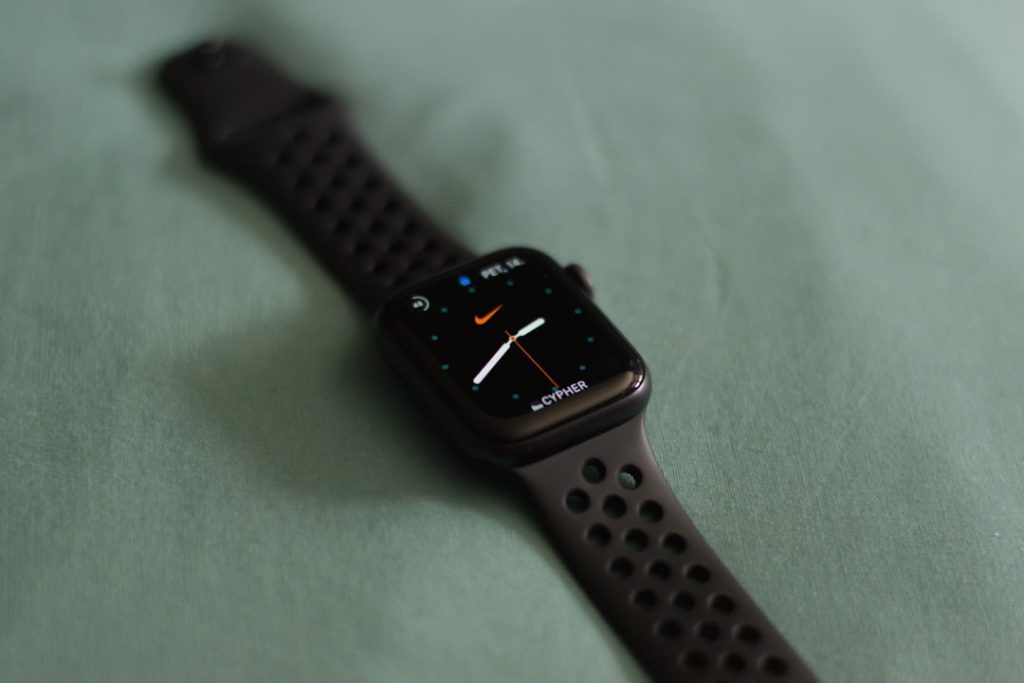
Time for a Change with the Apple Watch Battery Replacement Guide
Is Your Apple Watch Battery Dying? Here’s What You Need to Know
Apple Watch battery replacement is something most owners will face within 2 to 3 years of regular use. Here’s a quick look at your main options:
| Option | Cost | Best For |
|---|---|---|
| AppleCare (out-of-warranty) | $99 | Official service, refurbished unit |
| AppleCare+ | Free (if below 80% capacity) | Active AppleCare subscribers |
| Independent repair (e.g., Salvation Repair) | $89 – $149 | Fast, local, same-day service |
| DIY | Parts cost only | Experienced hands only |
Quick answer: If your Apple Watch won’t hold a charge, dies unexpectedly, or has a bulging screen, the battery likely needs replacing. Professional service starts at $99 through Apple or can be done faster and more affordably through a trusted local repair shop.
Apple’s battery service for most models — including Series 6 through Series 10 — typically costs $99 out-of-warranty. Under AppleCare+, the replacement is free if your battery holds less than 80% of its original capacity.
One important thing to know: Apple doesn’t repair your original watch. They swap it for a similar refurbished unit — which means your original device, bands, and any personal wear marks don’t come back with it.
I’m Ralph Harris, and with over 20 years of electronics repair experience and more than 500 Apple repair certifications, I’ve handled countless Apple Watch battery replacement jobs and know exactly what it takes to get your device running like new. In this guide, I’ll walk you through everything — from checking your battery health to choosing the right repair path for your situation.

Apple watch battery replacement word roundup:
Understanding Apple Watch Battery Health and Lifespan
Every Apple Watch is powered by a lithium-ion battery. These batteries are marvels of technology, but they have a finite lifespan. As they chemically age, their ability to hold a charge diminishes. This isn’t a defect; it’s simply how the chemistry works.
Battery Capacity and the 80% Threshold
Apple defines a “worn” battery as one that has dropped below 80% of its original capacity. Once you hit this mark, you’ll likely notice that your watch doesn’t make it through a full day anymore. In the repair world, we often see watches hit this threshold after about 500 to 1,000 full charge cycles.
If you’ve reached this point, you are likely eligible for a battery service. We recommend checking your device’s warranty status through the official support page to see if you are eligible for a free replacement before deciding on a repair path. Much like an iPhone Battery Replacement Complete Guide would suggest, keeping an eye on these percentages is the best way to avoid being stranded with a dead wrist-computer mid-afternoon.
Preparing for Your Apple Watch Battery Replacement
Before you bring your watch to us in Laurel or mail it off to a service center, there are a few steps you need to take to protect your data and privacy.
- Check Battery Health: Go to Settings > Battery > Battery Health on your watch. This will give you the definitive percentage of your maximum capacity.
- Unpair and Backup: When you unpair your Apple Watch from your iPhone, the phone automatically creates a backup of the watch data. This is crucial because a repair (especially one involving a device swap) will result in data loss on the unit itself.
- Remove the Band: If you are sending your watch to Apple, keep your bands! They will not be returned to you. If you’re coming to see us at Salvation Repair, we’re happy to help you pop them off.
- Privacy Matters: Maintaining the security of your lithium-ion battery powered device is essential. By unpairing and resetting your device, you ensure that your personal health data and messages remain inaccessible during the physical repair process.
Signs You Need a New Battery
Sometimes the “Battery Health” menu doesn’t tell the whole story. Here are the “red flags” we see most often at our shops in Mississippi:
- Unexpected Shutdowns: Your watch has 30% power left, and suddenly the screen goes black. This happens because an aged battery can’t provide the necessary “peak power” during intensive tasks.
- The “Spicy Pillow” (Bulging Screen): This is a serious safety issue. If you see the screen lifting away from the metal body or a white glow around the edges of the display, the battery has likely swollen. Do not charge the device and bring it to a professional immediately.
- Reduced Runtime: If you used to get 18 hours and now you’re lucky to get 8, it’s time for an apple watch battery replacement.
If you notice these symptoms, seeking professional repair is the best way to prevent further damage to your device and ensure the delicate internal sensors aren’t damaged during the swap.

Professional Apple Watch Battery Replacement Options
When your Apple Watch battery needs professional attention, choosing the right service provider is crucial. This section highlights the advantages of independent repair specialists like Salvation Repair for your battery replacement needs.
While Apple offers a solid service, it isn’t always the most convenient or personal experience. For residents in Laurel, Jackson, or Meridian, MS, you have choices that don’t involve waiting a week for a mail-in box.
Why Choose Independent Repair (Salvation Repair)
At Salvation Repair, we approach apple watch battery replacement differently than the big tech giants. Here is why our local Mississippi customers prefer us:
- Keep Your Original Watch: When you go through official channels, Apple usually hands you a refurbished unit. If you have a specific Series 7 or Series 8 that you’ve kept in mint condition, you might want your watch back, not someone else’s “like-new” replacement. We repair the device you brought in.
- Same-Day Service: We know you rely on your watch for fitness tracking and notifications. While Apple mail-in repairs can take 3-5 business days (or longer), we specialize in fast turnarounds. In many cases, we can get you back on the road the same day.
- Local Convenience: Whether you’re in Laurel, MS, or Jones County, you don’t have to deal with shipping labels. Just walk into our shop.
- Lifetime Warranty: We stand behind our work. While Apple offers a 90-day guarantee on their service, Salvation Repair provides a lifetime warranty on the parts and labor for your battery replacement.
- Price Matching: We want to ensure you get the best value in Mississippi. If you find a lower local price for the same quality repair, we’ll match it.
If you’re curious about how these costs compare to other devices, you can check our iPhone Battery Replacement Cost page to see our competitive pricing across the Apple ecosystem.
DIY Apple Watch Battery Replacement: Risks and Considerations
We love the “Do It Yourself” spirit, but we have to be honest: the Apple Watch is one of the most difficult consumer electronics to repair at home. It is a tiny, densely packed sandwich of glass, glue, and incredibly thin ribbon cables.
The DIY Toolkit
If you’re determined to try a DIY apple watch battery replacement, you’ll need more than just a screwdriver. You’ll need:
- An iOpener or heat gun to soften the incredibly strong waterproof adhesive.
- An iFlex blade or ultra-thin opening picks to break the seal.
- Precision tweezers and a Tri-point Y000 screwdriver (for newer models like the Series 7, 8, and 9).
- Replacement adhesive strips to reseal the watch.
While there are many tutorials available online, we strongly advise caution as the internal components are incredibly fragile; even a small mistake can turn a $99 repair into a $400 replacement. If you want to see what professional-grade Battery Repair looks like, we’re always here to help.
Risks of DIY Apple Watch Battery Replacement
The margin for error is measured in millimeters. Here is what can go wrong:
- Waterproofing Loss: Once you break the factory seal, the watch is no longer water-resistant. Re-applying the adhesive perfectly is very difficult without professional presses.
- The 3mm Rule: When inserting an opening pick, if you go deeper than 3mm, you will likely slice the display cables or the Force Touch sensor (on older models).
- Ribbon Cable Tears: The cables connecting the screen to the logic board are thinner than a piece of paper. One wrong move while swinging the screen open and the display is ruined.
- Battery Puncture: Lithium batteries are volatile. If you use a metal tool to pry the battery and accidentally puncture the casing, it can result in a fire.
Model Differences: 41mm vs 45mm
The complexity of an apple watch battery replacement changes depending on which model you own. For example:
- Series 7 & 8 (45mm): These models use a Tri-point Y000 screw to hold the battery connector bracket in place.
- Series 7 (41mm): These often use a ZIF (Zero Insertion Force) connector with a tiny locking flap that is extremely easy to snap off.
- Series 10: The newest models have even tighter tolerances and different internal layouts that require updated tools and techniques.
The internal design of the Apple Watch has evolved significantly over the years, making newer models much more difficult to repair without specialized equipment. If you aren’t comfortable working under a microscope or magnifying glass, this might be a job for us.
Frequently Asked Questions about Apple Watch Battery Replacement
What are the benefits of choosing Salvation Repair for my battery replacement?
Choosing us means you get to keep your actual watch, enjoy a lifetime warranty, and benefit from same-day service in Laurel, MS. We also price match local competitors to ensure you aren’t overpaying for high-quality parts.
How long does professional battery service typically take at Salvation Repair?
While Apple might take up to a week, we aim for same-day service. Depending on our current queue in Laurel or Jackson, we can often have your apple watch battery replacement finished in just a few hours.
Is the water resistance maintained after a battery change?
We use high-quality, pre-cut adhesive gaskets to reseal your watch. However, it is important to note that no repaired watch can be guaranteed to be 100% waterproof to the original factory depth. We recommend avoiding deep-water swimming or high-pressure water after any repair that involves opening the casing.
Will older models like the Series 6 still get service?
Yes! However, keep in mind that Apple will classify the Series 6 as “vintage” by the end of 2026. Once a device is vintage, official parts become scarce. Now is the perfect time to refresh the battery in your Series 6 to extend its life for another few years.
When should I upgrade instead of replacing the battery?
If you have a Series 4 or 5, the $99 investment might be better spent toward a new Series 10 or SE. Newer models offer much faster charging, larger displays, and advanced health sensors (like the ECG and blood oxygen sensors found in the Series 10). However, if you love your current watch and it does everything you need, a battery swap is the most eco-friendly and cost-effective choice.
Conclusion
Your Apple Watch is a vital part of your daily routine, from tracking your heart rate to keeping you connected. Don’t let a fading battery turn your favorite piece of tech into a paperweight. Whether you choose the official Apple route or prefer the speed and local touch of Salvation Repair, getting an apple watch battery replacement is a smart investment that can add years to your device’s life.
If you’re in Laurel, MS, Jackson, MS, Ellisville, or Meridian, come see us. We specialize in repairing “any device with a power button,” and we’d love to help you get your watch back to full strength. With our lifetime warranty and same-day service, you can rest easy knowing your tech is in expert hands.
Ready to fix that fading battery or a cracked screen? Visit our Professional Screen and Battery Repair page to get started or stop by one of our Mississippi locations today!