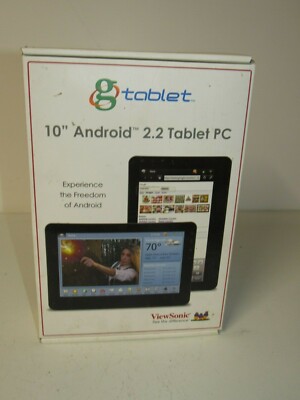
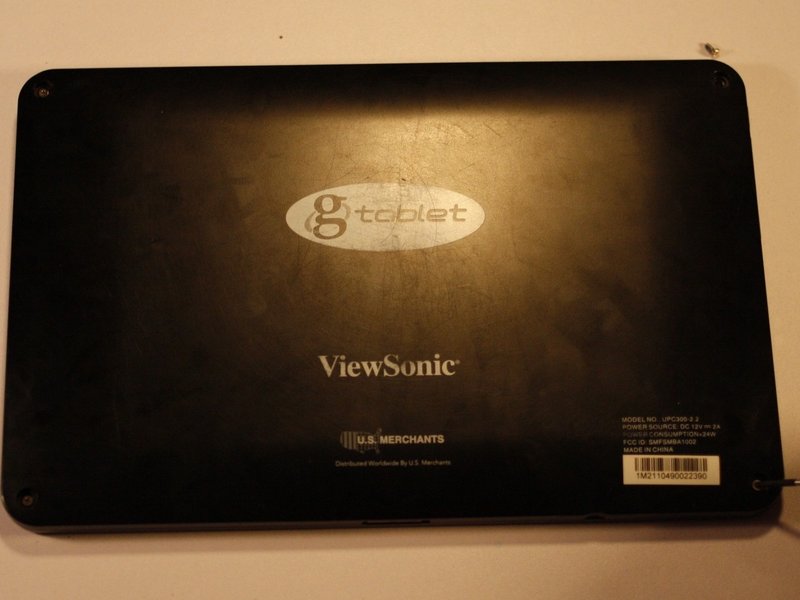
Viewsonic gTablet UPC300-2.2 Battery Replacement
Duration: 45 minutes
Steps: 5 Steps
Step 1


Stay chill! These little guys are stuck in there with glue, so it might take a few tries to wiggle them free.
– Grab your spudger or metal tweezers and gently pop out the rubber screw covers from each of the four corners of the back cover. They’re hiding there, waiting to be found!
– Now, take your trusty PH00 screwdriver and unscrew the 5.8mm screws tucked underneath each rubber cover (there are 4 in total). These screws are ready to come out!


Step 2


Be careful not to go too deep with that prying tool when separating the back cover! A little too much enthusiasm might accidentally poke at other components. Keep it light and gentle!
– Grab your trusty prying tool and gently work the flat end around the back cover to pop it off the gTabet.
– Start at the charging port and make your way around the edges of the device in one smooth motion.
– Carefully lift the back cover off to uncover the inner workings of your device.
Step 3

– The battery is that big, bold black square taking up a lot of space inside your device. It’s hard to miss!
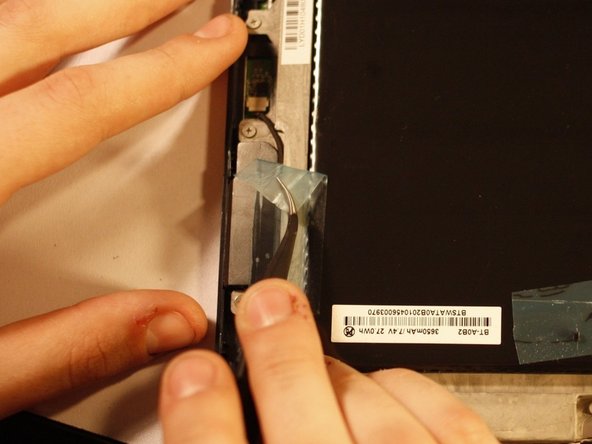
– You’ll notice some tape keeping a few wires snugly in place. Don’t worry, it’s just a little adhesive hug! You’ll need to peel it off gently before you can coax that battery out. Be careful, though—you’re going to want to hang onto that tape for later.
Step 4
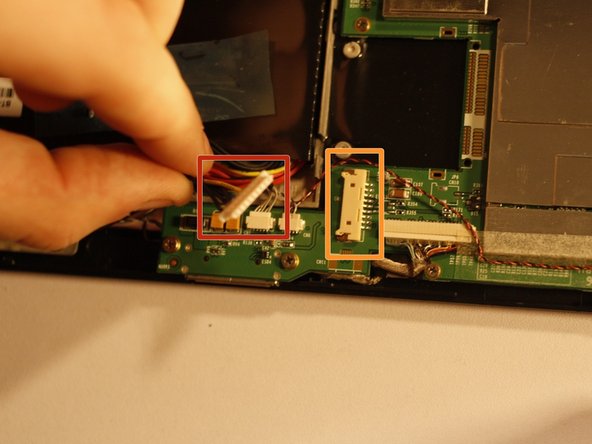

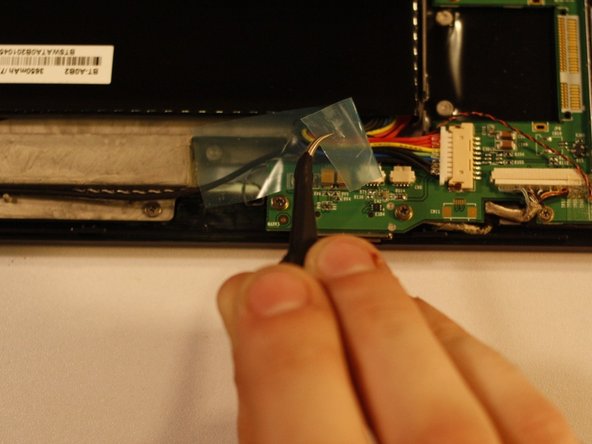
The white connector (marked in red) pops off while the off-white connector (marked in orange) stays snugly on the motherboard.
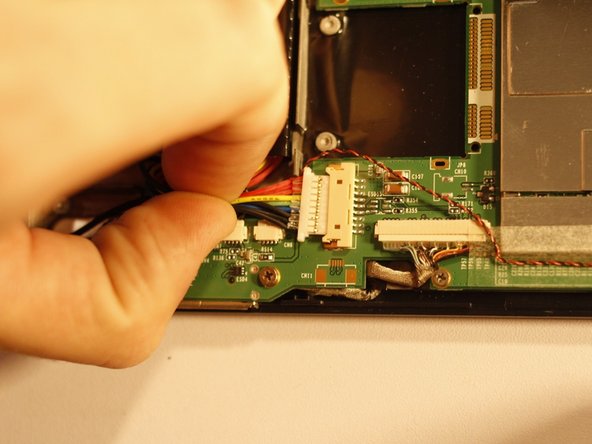
– Grab your favorite PLASTIC tool and gently nudge each end of the power cable connector, one at a time, away from its cozy housing. This will help coax the connector out with a little wiggle magic.
Step 5


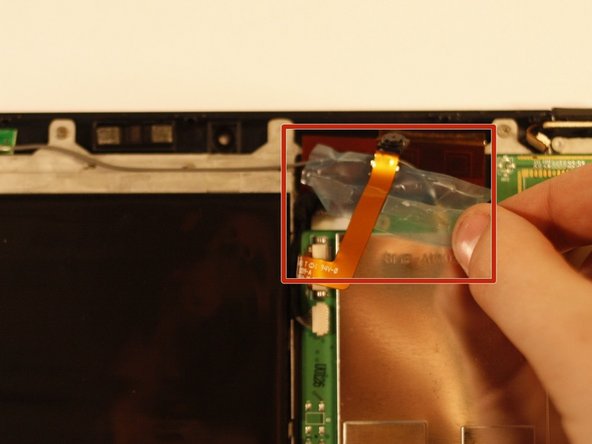
Carefully slide any wires aside before lifting the battery—those little connectors are still hanging on and don’t like a tug-of-war!
– Flip the script! To put your device back together, just follow the steps in reverse.
– If you need help, you can always schedule a repair.