Uniden UTAB71 Battery Replacement
Duration: 45 minutes
Steps: 4 Steps
Swapping out the battery on this tablet is a breeze! This guide will walk you through the steps one by one, so let’s get to it.
Step 1


Power down the tablet before you start prying it open—safety first!
Heads up: there are two delicate power ribbons linking the screen to the tablet’s back. Be gentle, don’t stress them out!
Take it slow and steady with your pry tool, easing around the tablet edges like a pro—no rush, just smooth moves.
– Grab your trusty plastic opening tool and gently pry apart the clips holding the two halves of the tablet together. You’ve got this!
Step 2

– Peel off the tape keeping the speaker wires stuck to the battery—don’t worry, the tape’s not coming back!
– Set that tape aside, out of the way.
Step 3

If soldering is new to you, this guide is here to help you out!
– Grab your soldering tool and carefully separate the red and black wires linking the battery to the motherboard.
– Keep track of where each wire color connects on the motherboard so you can reconnect them without a hitch.
Step 4
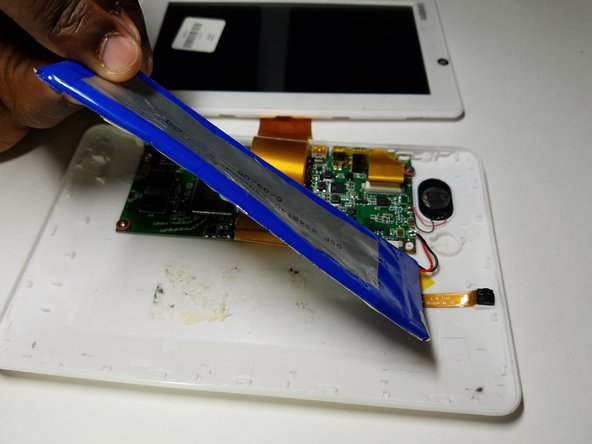

Be gentle with the motherboard and all internal components—no need to show them who’s boss! A little care goes a long way.
The battery is glued down to the back panel, so you might want to warm things up with a heated iOpener to soften the adhesive before gently prying it out.
– Put your device back together by retracing these steps in reverse—easy as pie!
– If you hit a snag or just want a hand, you can always schedule a repair with us.
Tools Used

Success!
