Toshiba Encore WT8-A Tablet Camera Replacement
Duration: 45 minutes
Steps: 8 Steps
Step 1

– Let’s get those 4 to 4.5 mm screws off the motherboard assembly! You got this!
Step 2

– Unscrew the 2 – 3.5 mm screws holding the motherboard assembly in place. Get those screws out, but don’t lose them!
Step 3

– At this stage, the motherboard should come out easily—like it’s saying ‘peace out’!
Step 4

– Grab that small plastic opening tool—it’s about to be your best friend! You’ll need it for the next steps.
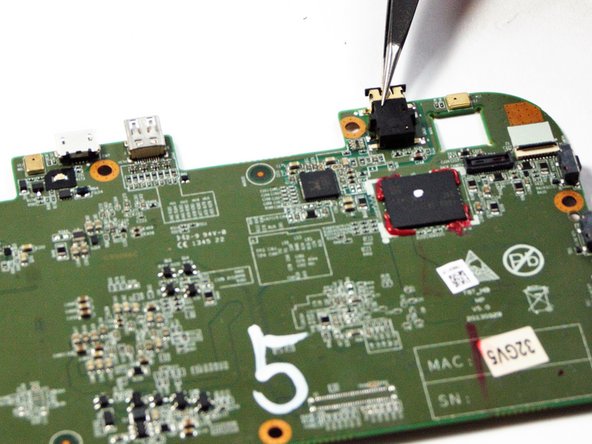
Step 5

– Grab a small plastic opening tool and gently pry the rear-facing camera connector away from the motherboard. Take your time and keep it steady—no rush here!
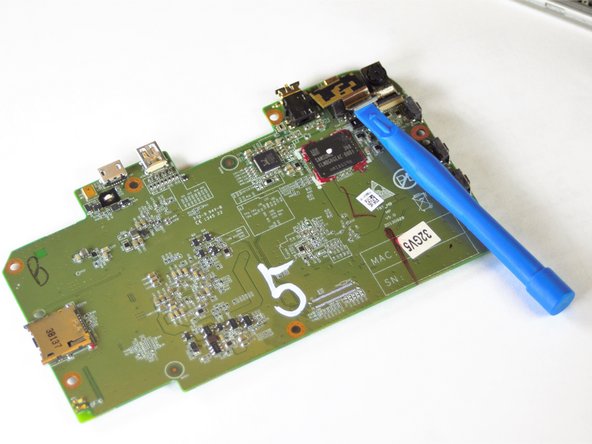
Step 6

– At this stage, the rear-facing camera should pop right out. You got this!
Step 7

– Gently slide a small plastic opening tool under the front-facing camera’s flat top connector and lift it off the motherboard with care.
Step 8
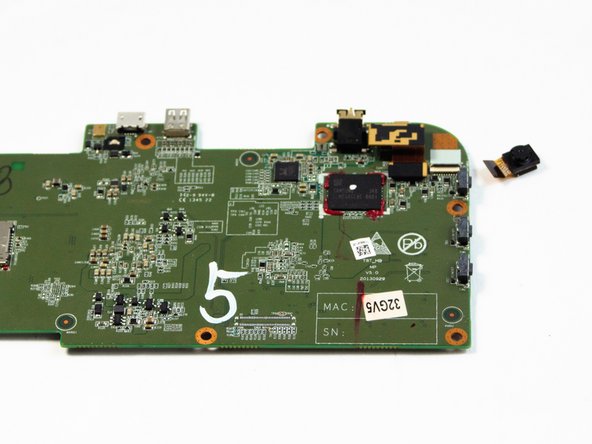

– At this stage, the front-facing camera should pop free nice and easy. Keep going—you’ve got this!