iPhone 16 Plus Front Camera Assembly Replacement
Duration: 45 minutes
Steps: 24 Steps
connect the new part by pairing it through Apple’s Repair Assistant
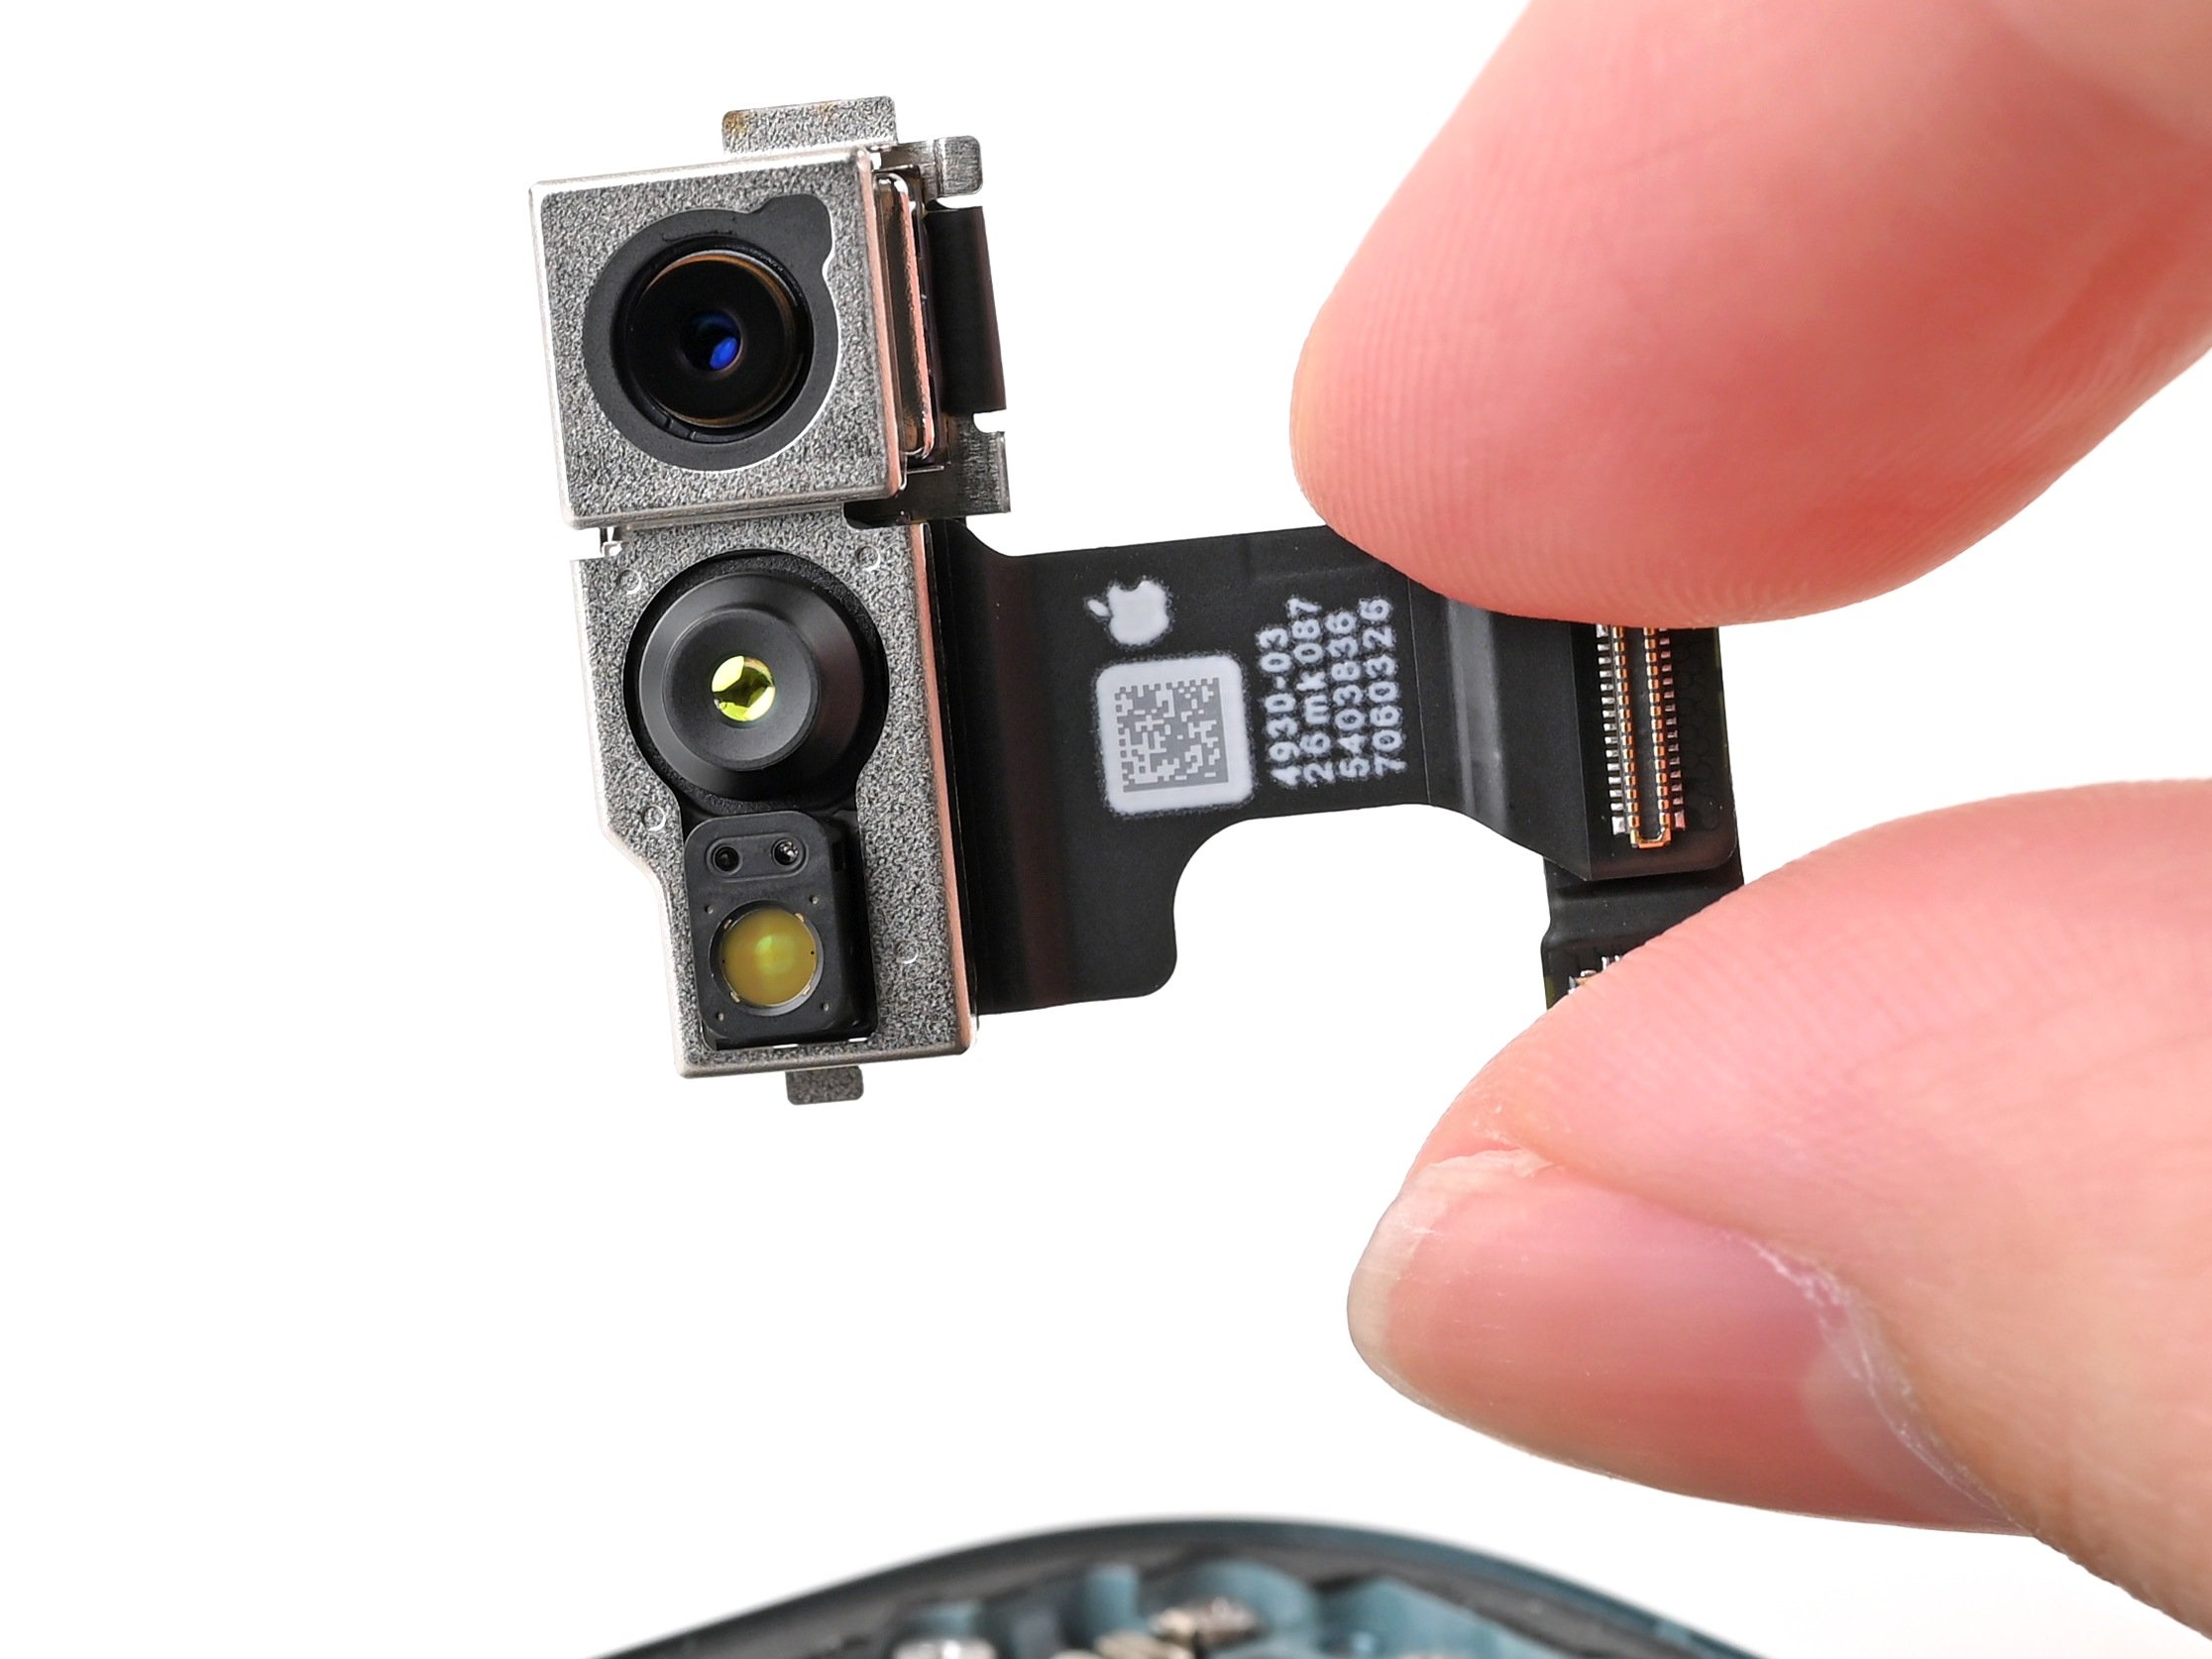
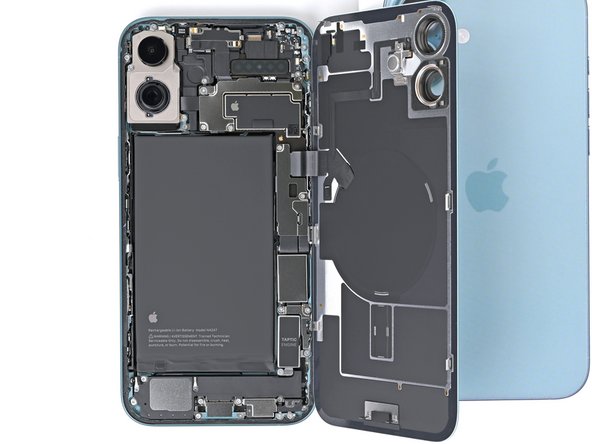
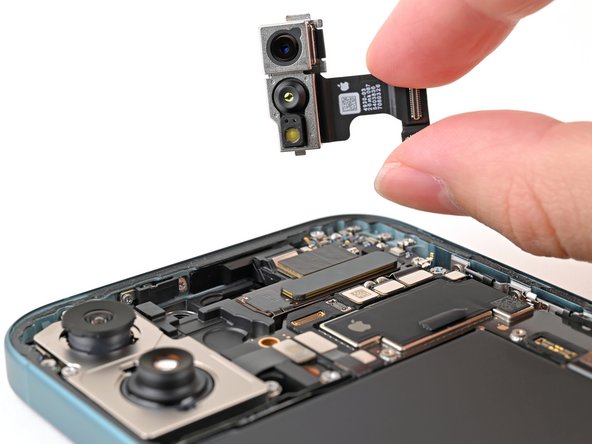
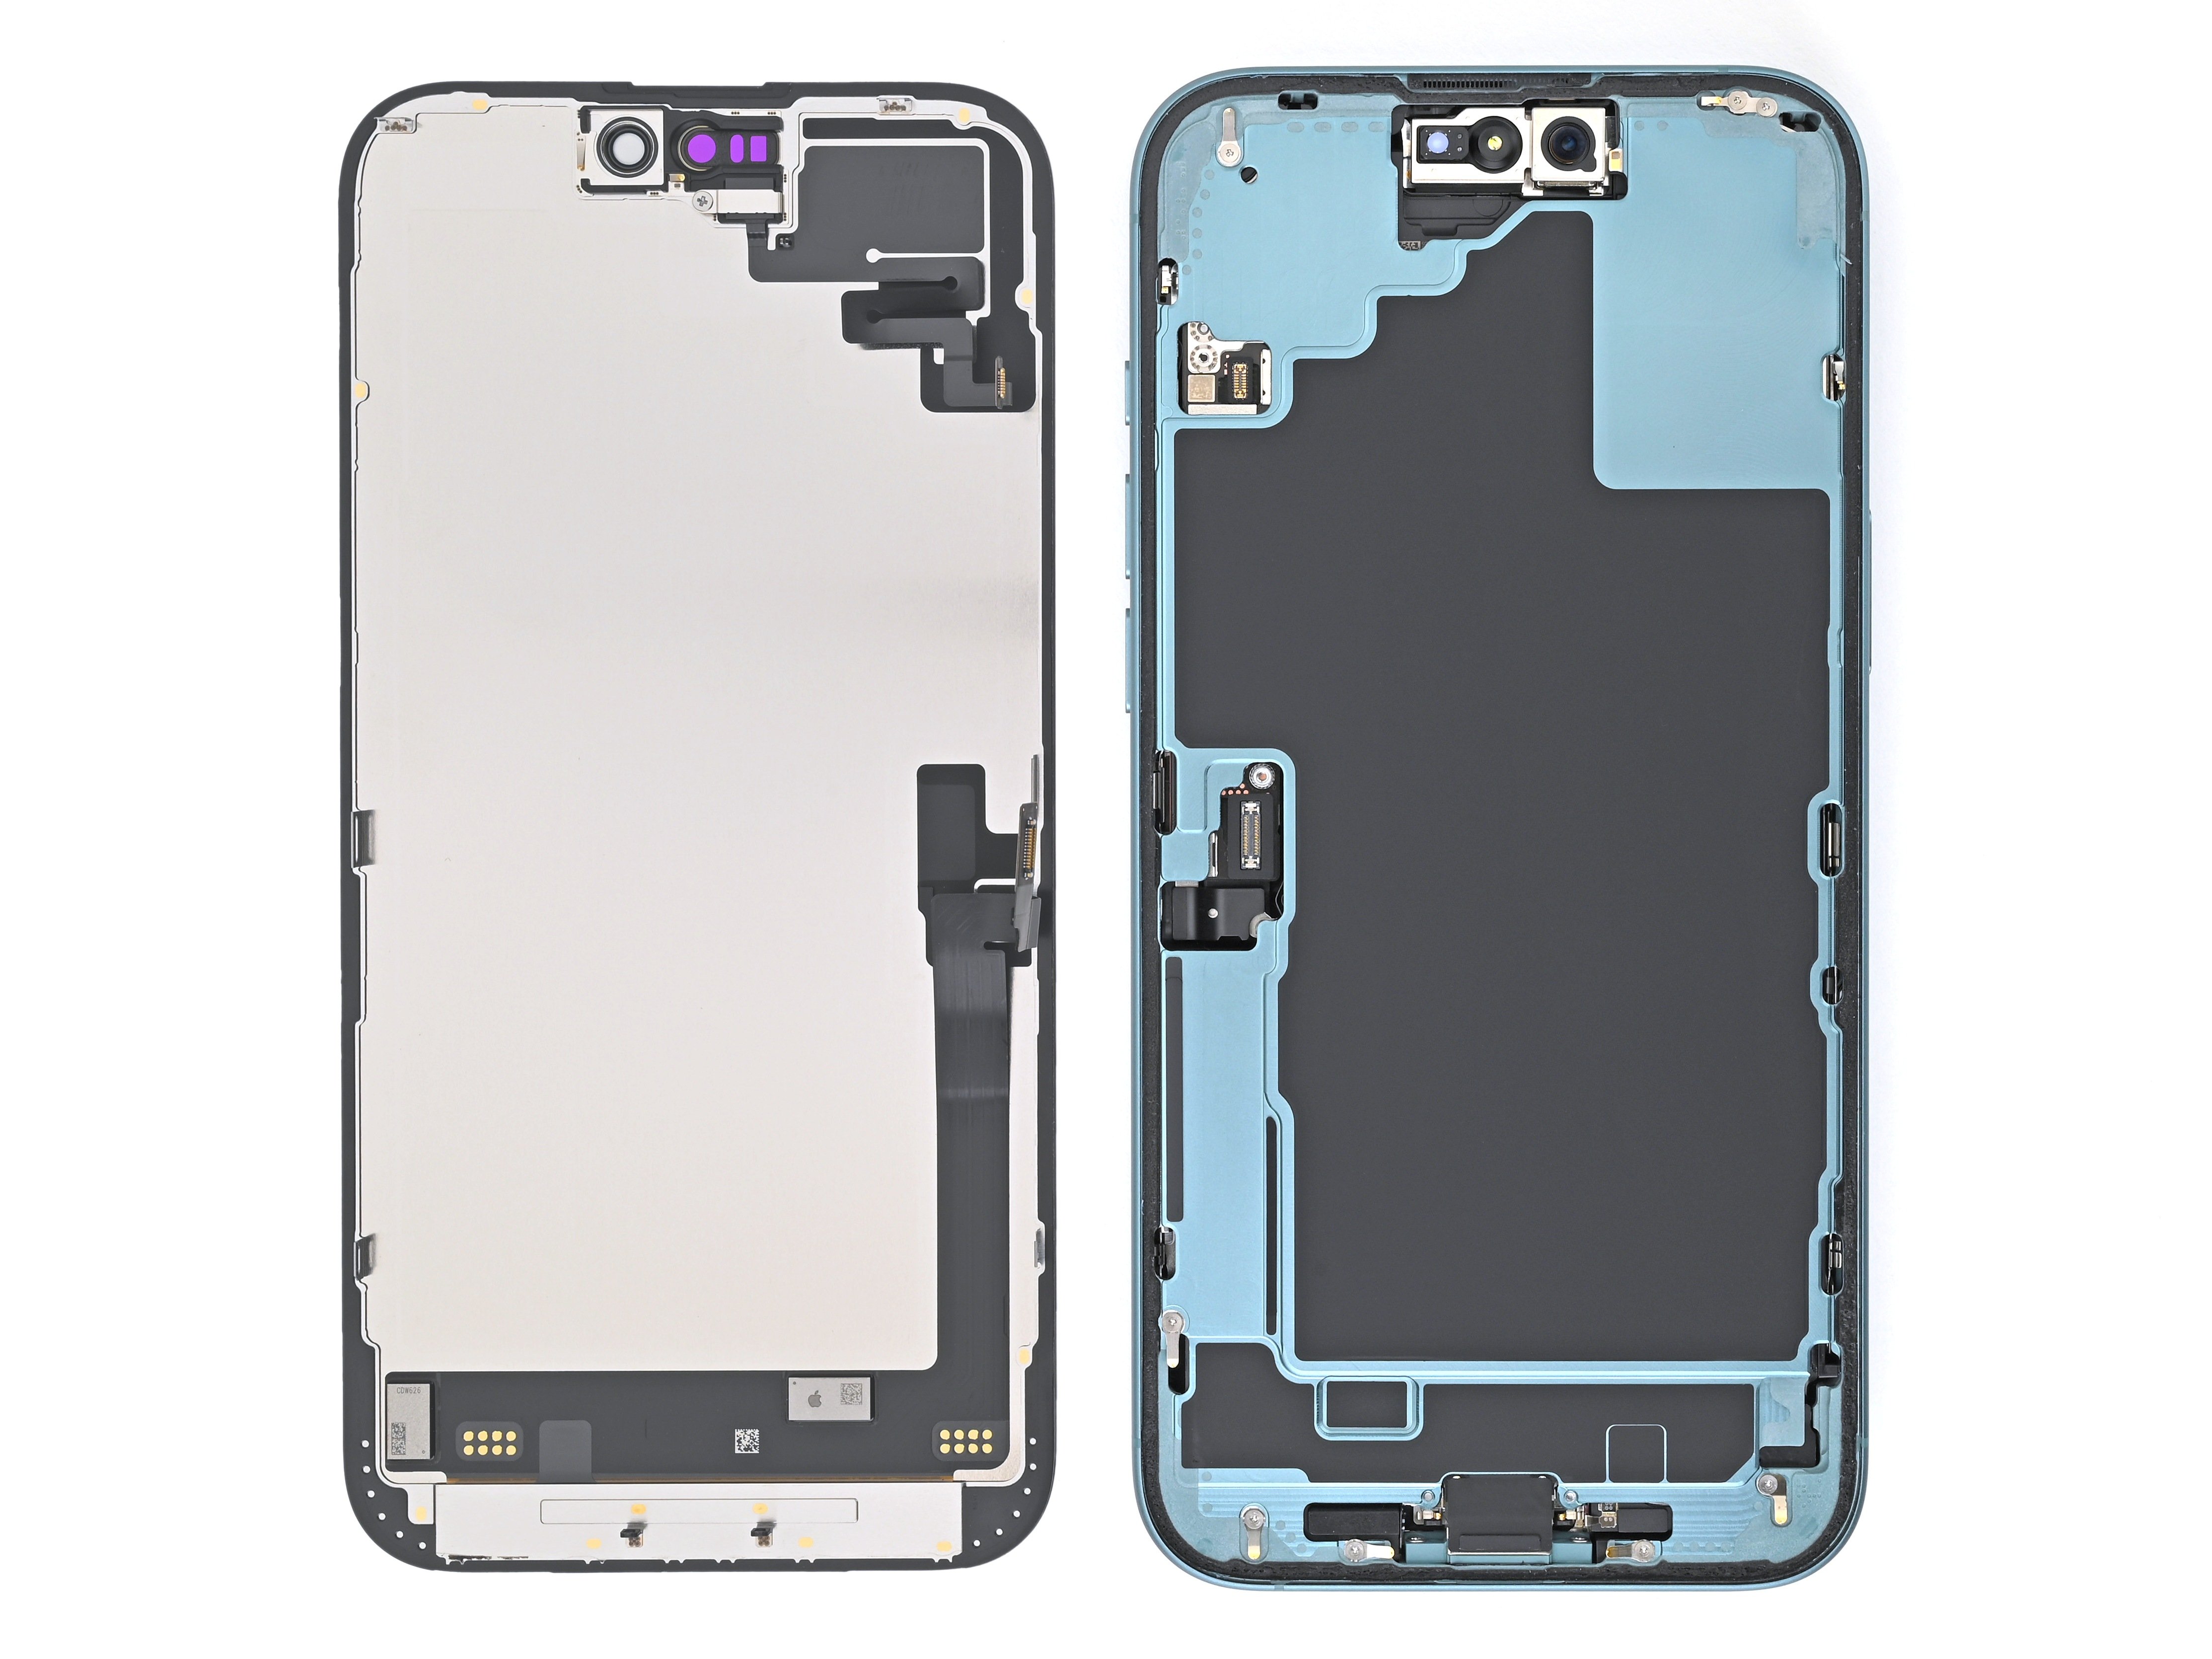
Follow this guide to swap out the front camera assembly on your iPhone 16 Plus. If your selfies are coming out fuzzy, Face ID isn’t cooperating, or the front camera is totally MIA, it’s probably time for a replacement. This assembly packs both the front-facing camera and Face ID components into one unit. Keep in mind, these sensors are specially paired to your logic board, so you’ll need to use Apple’s Repair Assistant to sync up the new part and get everything working smoothly again. Don’t forget, you’ll also need some replacement back glass adhesive to finish the job right.
Step 1
Let your phone's battery dip below 25%. A fully charged lithium-ion battery can be a bit of a drama queen when it comes to safety, so let's keep things chill.
- First things first, let's disconnect any cables from your phone. It's like giving it a little breather!
- Now, press and hold the power button along with either volume button until you see the option to power off. Slide that option to turn off your phone, and voilà, you're one step closer!
Step 2
Check out the bottom edge and make sure there's a spot smooth enough for your suction cup to grab onto—no bumps, no crumbs, just a nice clean stick zone.
- If your screen or back glass is shattered, cover it with a few layers of packing tape. This will keep you safe from glass shards and make it way easier to take things apart without the mess!
Tools Used
Step 3
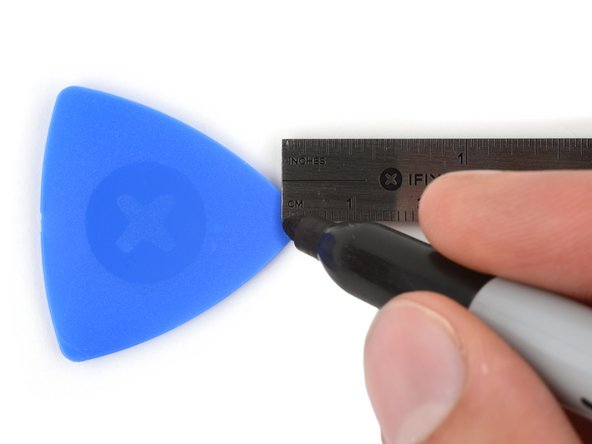
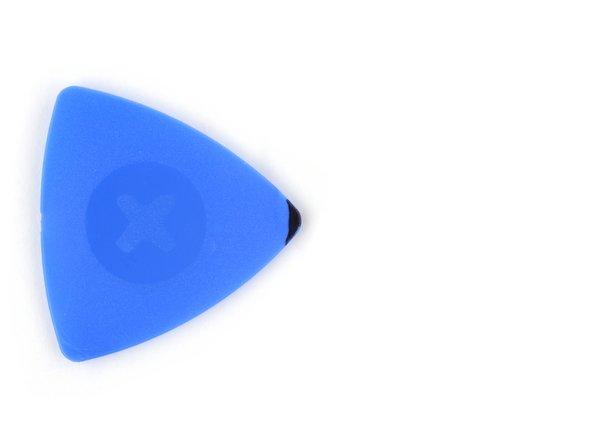
Pushing an opening pick too deep can turn your device into a sad pancake. Mark your pick so you know exactly where to stop.
Feeling extra precise? Go wild and mark those other corners with different measurements.
Or, for a quick hack, tape a coin to the pick about 3 mm from the tip—your device will thank you.
- Grab your measuring tool and mark a spot 3 mm from the tip of the opening pick with a permanent marker. It's that easy! This little mark will guide your next steps, so take your time and make it count.
Step 4
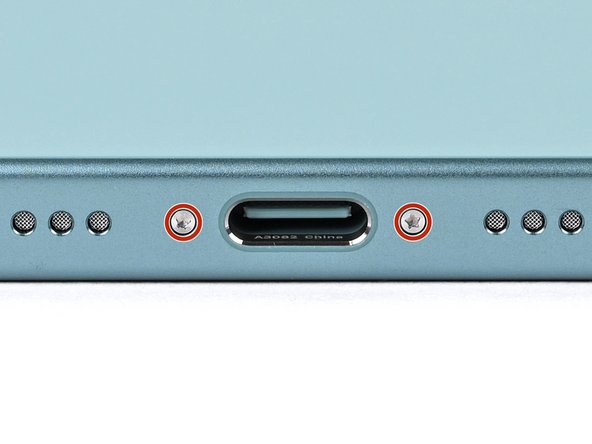
- Grab your P2 pentalobe driver and unscrew the two 7.7 mm screws hanging out next to the USB-C port.
Step 5
Keep things cool—if your phone gets too hot, the battery might throw a fit.
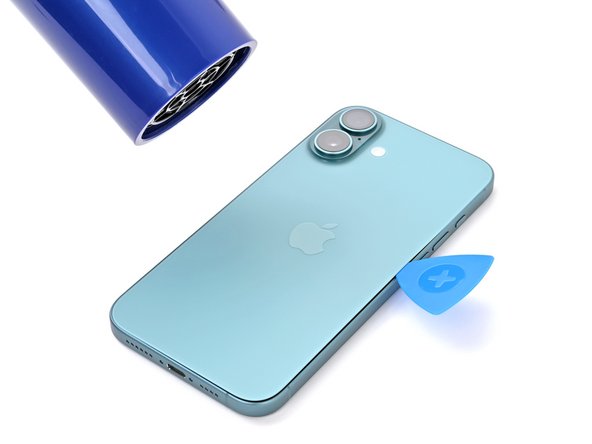
If you don't have the fancy tools, no worries! A hair dryer or heat gun works just fine. Gently warm up the bottom edge of the back glass until it feels nice and toasty to the touch. That’ll make it easier to lift off without causing any damage.
- Warm up the bottom edge of the back glass with a heated iOpener for about two minutes. Give it a little spa treatment before you start prying!
Tools Used
Step 6
- Stick a suction handle right at the bottom edge of the back glass, just above the USB-C port.
- Give the handle a firm, steady pull upwards to gently separate the back glass from the frame.
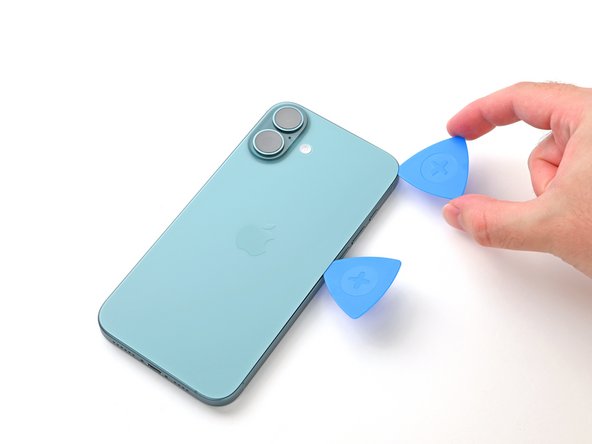
- Slide the tip of an opening pick into the little gap you just made.
Tools Used
Step 7
As you gently work on slicing through the adhesive holding the back glass, watch out for these tricky spots:
- Watch out for the sneaky little cable hugging the back glass near the volume up button—keep your pick away from this spot so you don't accidentally give it a haircut.
- There are some spring contacts chilling around the edges of the phone. Slide your pick just as deep as the step suggests, so you don’t end up turning these contacts into modern art.
Step 8
Keep your pick shallow—no deeper than 5 mm along the bottom edge—or those spring contacts might get cranky.
- Gently slide your pick back and forth along the bottom edge to break that sticky bond.
- Once you've got a nice separation, leave your pick in the bottom right corner to stop that adhesive from sealing up again.
Step 9
Grab your hair dryer or heat gun and warm up the back glass until it feels nice and toasty—think warm pizza, not scorching lava.
- Place a heated iOpener along the right edge of the back glass and let it work its magic for two minutes.
Tools Used
Step 10
Keep your pick no deeper than 5 mm along the right edge—no one wants to damage the spring contacts or ribbon cable!
Be careful near the volume buttons, you don't want to mess with the wireless charging or flash cable. Take it easy!
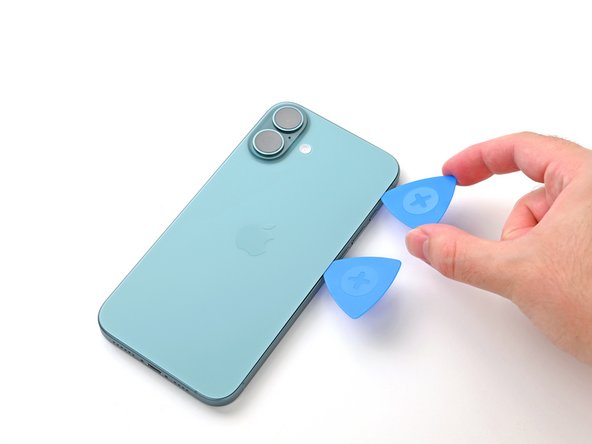
- Carefully slide your pick around the bottom right corner and ease it up about halfway along the right edge, or until you bump into a firm clip holding the back glass in place.
- Keep the pick in there to stop the adhesive from snapping back together.
Step 11
Grab your hair dryer or heat gun and warm things up until it feels nice and toasty to the touch.
- Place a warm iOpener on the left edge of the back glass and let it work its magic for two minutes.
Tools Used
Step 12
Keep your pick no deeper than 5 mm along the left edge to dodge any spring contact damage—safety first!
As you slide past the metal clips, you'll both hear and feel them pop free—like tiny little snaps of satisfaction.
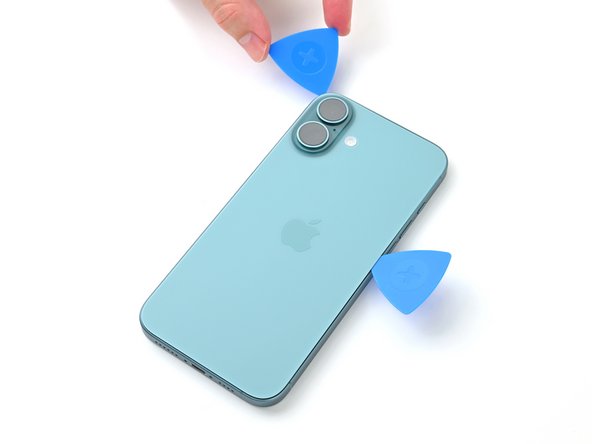
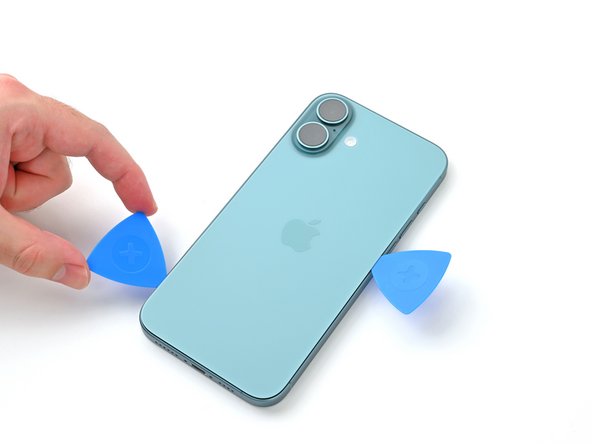
- Pop in a second opening pick at the bottom edge.
- Carefully glide that pick around the bottom left corner and up along the left side of the screen to loosen the adhesive and free those metal clips.
- Keep this pick wedged in at the top left corner so the adhesive doesn’t sneak back together.
Step 13
Grab your hair dryer or heat gun and warm it up until it feels nice and toasty to the touch.
- Warm up the top edge of the back glass—make sure to hit those volume buttons—with a heated iOpener for about two minutes. Let the heat do its thing!
Tools Used
Step 14
Keep your pick shallow—no more than 3 mm along the top edge—to steer clear of those delicate spring contacts.
Get ready for some satisfying clicks and little pops as the top two clips let go!
- Gently slide your opening pick along the top edge and curve it around the top right corner, heading towards the volume up button. This will help you separate the adhesive with ease!
Step 15
Hold up before yanking off the back glass—it’s still hanging on by a fragile ribbon cable. Follow the next few steps to peel it off gently and keep everything intact.
If the back glass isn’t swinging open without a fuss, don’t wrestle with it—take your pick and cruise around the edge again to catch any leftover sticky spots or stubborn clips.
You might have to nudge the back glass up a bit before swinging it out to free those last few clips.
- Carefully swing the back glass open toward the volume buttons like you're unveiling a secret.
- Prop up the back glass using a clean, sturdy object—think small box—to keep the cable happy and safe from any stretch drama.
- Now, go ahead and remove those opening picks.
Step 16
- Grab your tri-point Y000 driver and carefully unscrew the two tiny 1.3 mm screws holding down the middle connector cover. Keep those screws safe—they’re small but mighty!
Step 17
Take it easy and be gentle with that battery – avoid any dents or punctures. We don’t want any surprises!
- Grab some blunt-nose tweezers or just use your fingers—slide the cover over to the left edge and pop that hook right out of its slot on the logic board.
- Lift the cover off and set it aside like a pro.
- When you're putting it all back together, line up those hooks with their slots on the logic board, press the cover down, and slide it to the right to lock everything in place.
Tools Used
Step 18
- Grab your spudger and gently pop up that battery connector—think of it like opening a stubborn pickle jar, but for your phone.
- When putting things back together, line up the connector over its home and press down with your finger or the flat side of your spudger—first one edge, then the other—until you hear a satisfying click. No need to wrestle with it. If it's not fitting, just give it another shot and realign.
Tools Used
Step 19
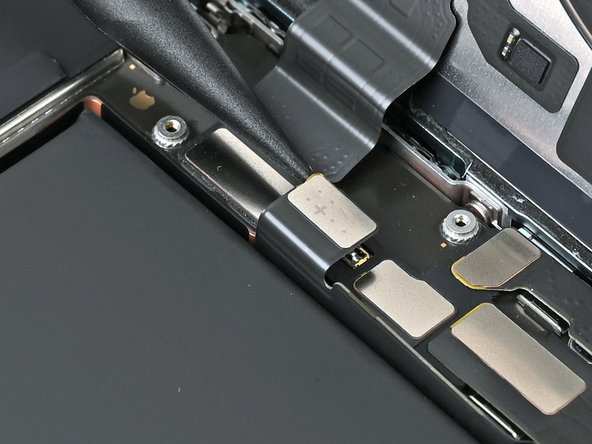
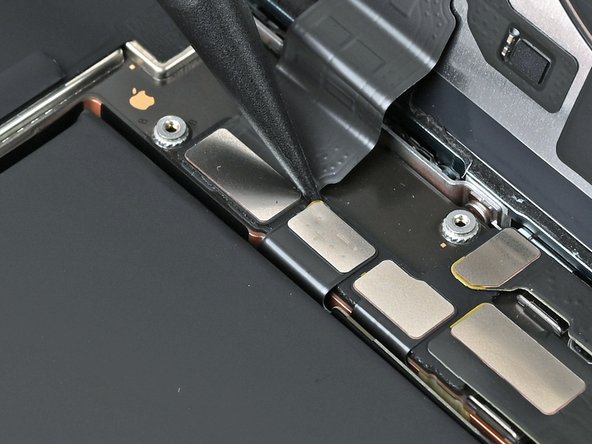
- Gently use the pointy end of a spudger to lift and unplug the wireless charging coil press connector.
Tools Used
Step 20
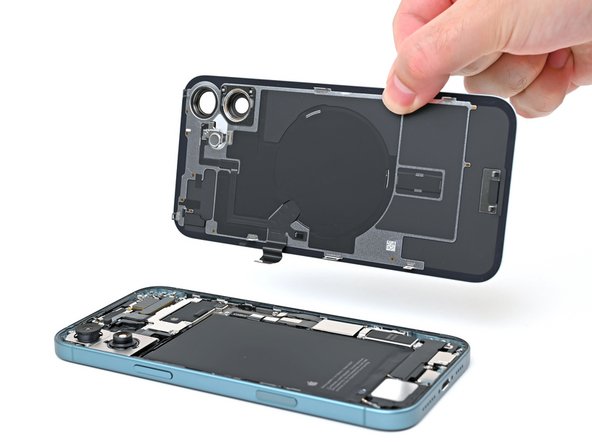
- Gently lift the back glass away from the frame and set it aside like a pro.
Step 21
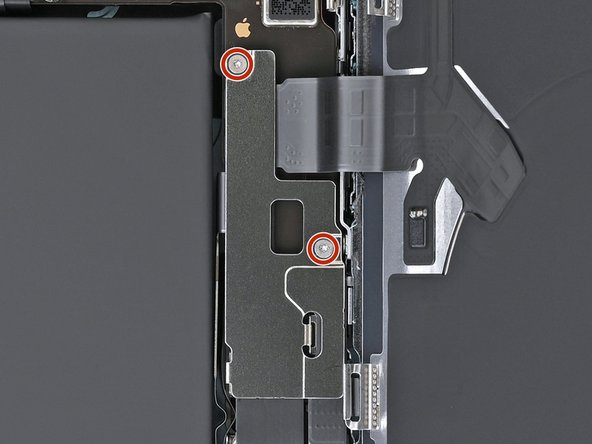
- Let's kick things off by removing the four screws holding down the upper connector cover:
- Two Phillips screws, each 1.4 mm long
- One Phillips screw, 3.5 mm in length
- One tri-point Y000 screw, measuring 1.0 mm
Step 22
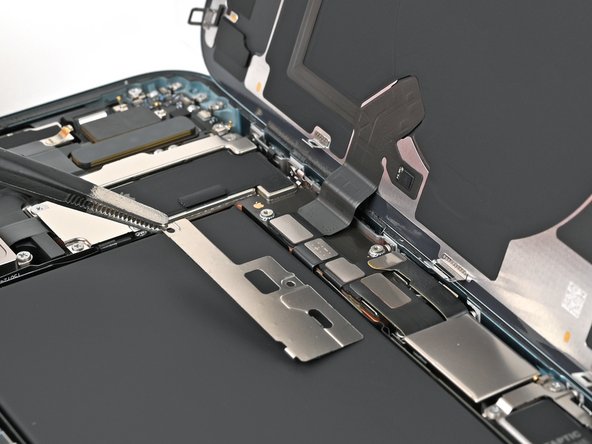
- Gently lift off the upper connector cover using tweezers or your fingers. Easy does it!
Tools Used
Step 23
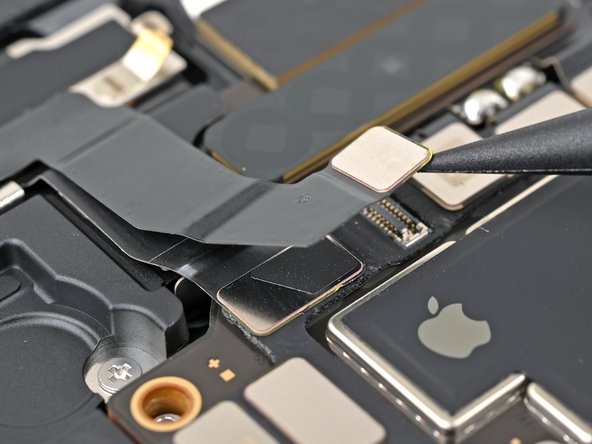
Right below the first press connector, you’ll find the second one hanging out. Get ready to pop it loose!
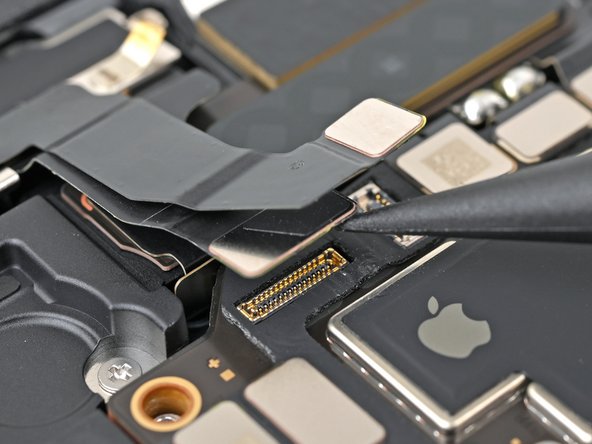
- Gently use the pointed end of your spudger to lift and unplug the two front camera press connectors sitting snugly at the top left corner of the logic board.
Tools Used
Step 24
- Ready to wrap things up? Just follow these steps backwards to put your phone back together.
- Once you’ve swapped in a genuine front camera, head to Settings → General → About → Parts & Service History, tap Restart & Finish Repair, and roll with the prompts to calibrate it.
- Got old parts hanging around? Recycle them the smart way at an R2 or e-Stewards certified recycling center.
- Something not quite right? Try a little troubleshooting, or pop over to our iPhone 16 Plus Answers Community for some advice.
- If things still aren't working out, you can always schedule a repair with the pros at Salvation Repair.
