iPhone 15 Pro Max Rear Cameras Replacement
Duration: 45 minutes
Steps: 26 Steps
Ready to give your iPhone 15 Pro Max’s rear cameras some love? If your snapshots look like they’ve been run through a fog machine, your videos are starting to resemble static, or your cameras just can’t find their focus, it’s probably time for a swap. Grab some replacement screen adhesive before you dive in. Heads up: On iOS 17.6 and earlier, you might see a message about the new rear cameras, but don’t worry—they’ll work fine. For iOS 18 and above, genuine camera modules can be calibrated with Apple’s Repair Assistant.
Step 1


Let your phone's battery dip below 25%! A fully charged lithium-ion battery can be a bit of a drama queen when it comes to safety.
- First things first, let’s give your phone a little breather by unplugging any cables. It's a nice way to start!
- Now, press and hold the power button along with either volume button, then slide to turn off your phone. Easy peasy, right?
Step 2


Find a nice smooth spot near the bottom edge that's just right for your suction cup to grab onto.
- If your screen or back glass is shattered, grab some packing tape and lay a few strips over the glass. It'll help keep things safe while you're working and make the disassembly process way smoother.
Step 3


If your pick goes in too deep, it could cause some unwanted damage. To avoid that, mark your pick before you start working your magic.
Feel free to mark all the corners of the pick with different measurements to keep things clear and precise.
Alternatively, try taping a coin to the pick about 3mm from the tip – it's a neat little trick to help you out!
- Take a moment to measure out 3 mm from the tip, then grab a permanent marker and make a little mark on the opening pick. You're on your way to greatness!
Step 4

- Grab your P2 pentalobe driver and unscrew the two 7.2 mm-long screws hanging out on each side of the charging port.
Step 5

Keep things cool—overheating your phone can upset the battery!
- Grab a hair dryer or heat gun and warm up the bottom edge of the screen until it feels nice and toasty to the touch.
Tools Used


Step 6


- Grab a suction handle and place it on the bottom edge of the screen.
- Gently pull up on the handle with a steady force, creating a small gap between the screen and the frame.
- Now, slide the tip of your opening pick into that gap and you're on your way.
Tools Used

Step 7

As you carefully cut through the adhesive holding the screen in place in the upcoming steps, keep an eye out for these areas:
- Be gentle with those two delicate cables connecting your screen to the phone! One is right above the action button, and the other is chilling near the middle of the left edge. Treat them with care!
- Don't forget about the spring contacts hanging out around the phone's perimeter. It's super important to keep your pick from going too deep in these spots, or you might accidentally bend those little guys. Take it slow and steady!
Step 8


Keep your opening pick close to the surface—don't go deeper than 3 mm along the bottom edge.
- Wiggle your pick along the bottom edge to loosen up the sticky stuff holding it together.
- Keep the pick chillin' in the bottom right corner so the adhesive doesn’t make a comeback.
Step 9

- Warm up the right edge of the screen until it feels nicely toasty to the touch.
Step 10


Be careful not to push your pick more than 5 mm along the right edge. Keep it shallow to avoid any mishaps.
- Glide your pick along the bottom right corner of the screen, heading toward the power button. You'll bump into a stubborn clip holding the screen—it's like a little traffic jam for your pick.
- Give your pick a twist so the flat side slides under the screen, just like sneaking into a secret club.
Step 11


- Give that pick a little twist to create some space between the screen and the frame until that pesky clip pops free.
- Slide in a second opening pick right next to the first one for extra leverage.
Step 12


- Slide the first pick back down to the bottom right corner of the screen.
- Now, move the second pick up to the top right corner to gently separate the adhesive.
- Keep these picks in place so the adhesive doesn’t sneak back together on you.
Step 13

- Warm up the top edge of the screen until it feels nice and toasty.
Step 14


Keep your pick shallow—just 3 mm max along the top edge. Dive deeper only if you want your pick to meet some unexpected resistance!
- Gently slide your pick around the top right corner and along the top edge to pop loose the two clips and adhesive holding it in place.
Step 15

- Gently heat up the left edge of the screen until it feels warm to the touch. Just enough to get it cozy, but not too much—you're not making a hot dog here.
Step 16


Keep your pick's adventure to a safe depth—no more than 2 mm along the left edge! We want to keep those sneaky screen cables happy and unscathed.
- Take your pick and gently work it around the top left corner of the screen.
- Move your pick down to the bottom left corner and carefully separate the adhesive.
Step 17


If the screen won’t budge, double-check around the edges for any sneaky bits of adhesive or stubborn clips that missed the memo. Sometimes they like to hang on a little too tight!
- Carefully swing the screen open to the left side of the phone.
- Prop the screen up against a box or something similar to keep those cables chill and stress-free.
Step 18


Keep an eye on those screws—each one has its own special spot. Mix them up and you'll have a puzzle nobody wants to solve.
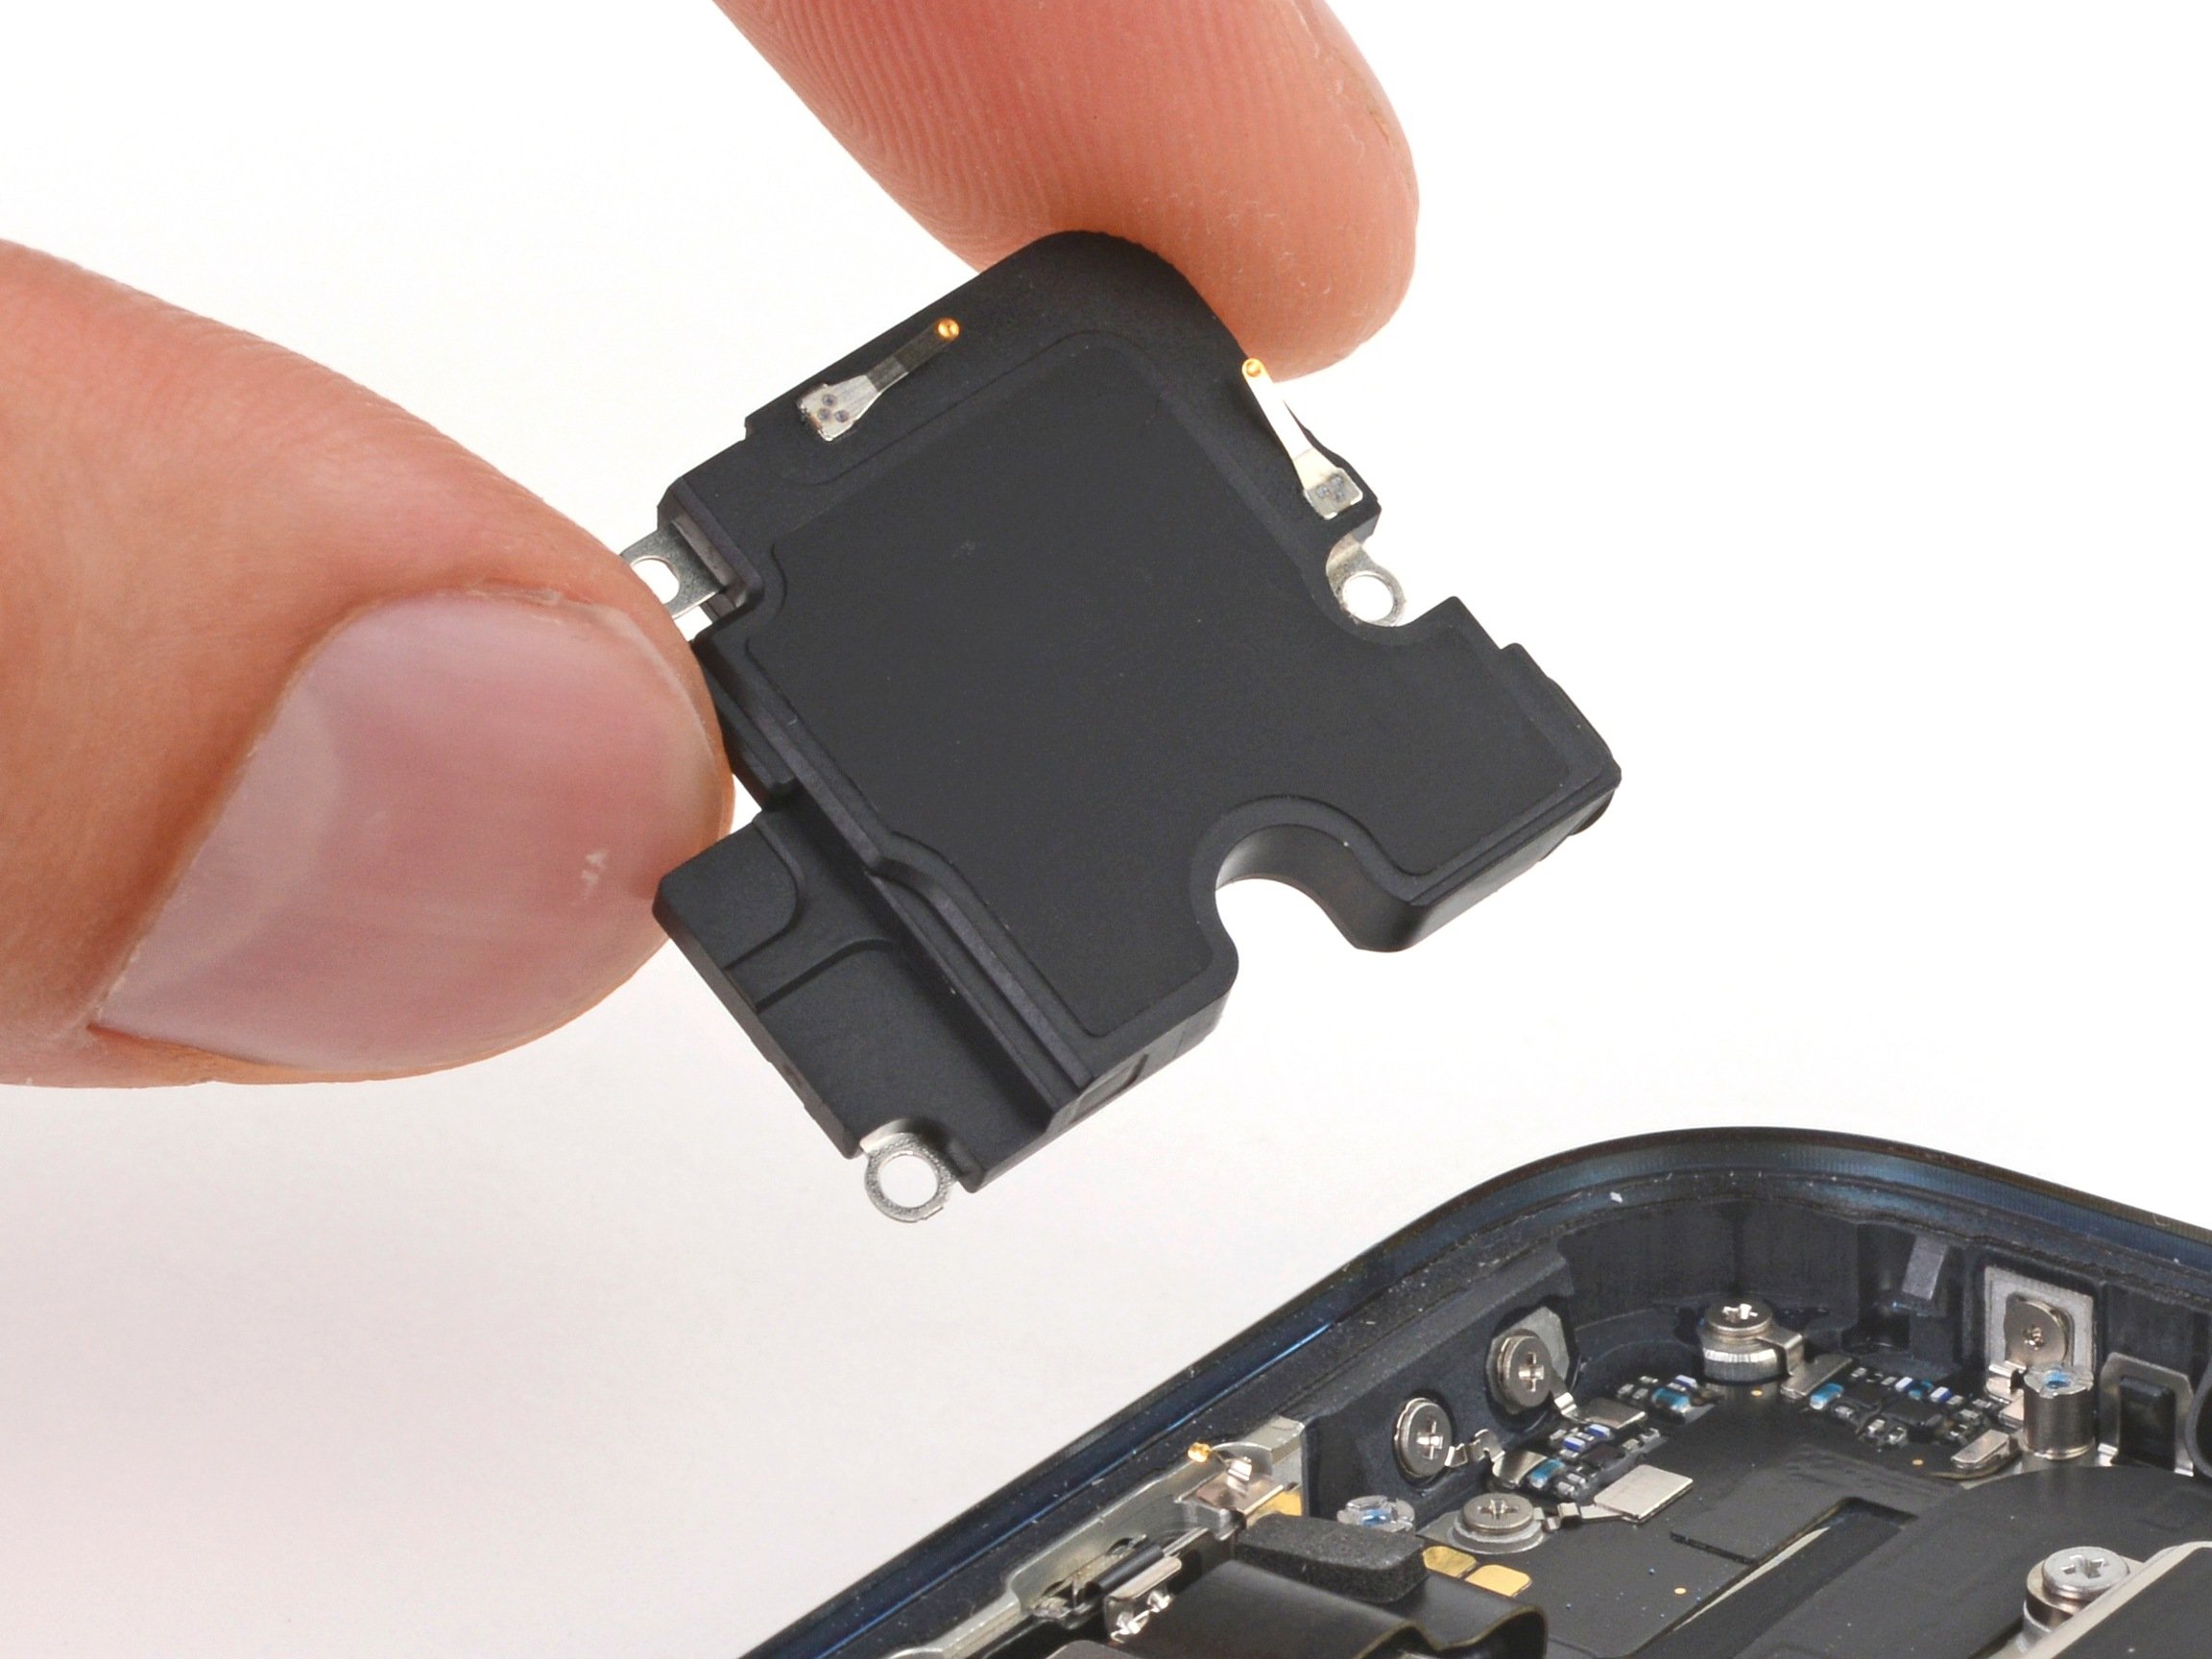
- Grab your tri-point Y000 driver and unscrew the six screws holding the logic board cover in place:
- One screw that's 2.1 mm long
- Five screws, each 1.5 mm long
Step 19


- Grab the logic board cover with your fingers or some trusty tweezers and smoothly slide it toward the bottom of the phone to give that sensor cable some space.
- Lift the cover off and set it aside like a pro.
Tools Used

Step 20


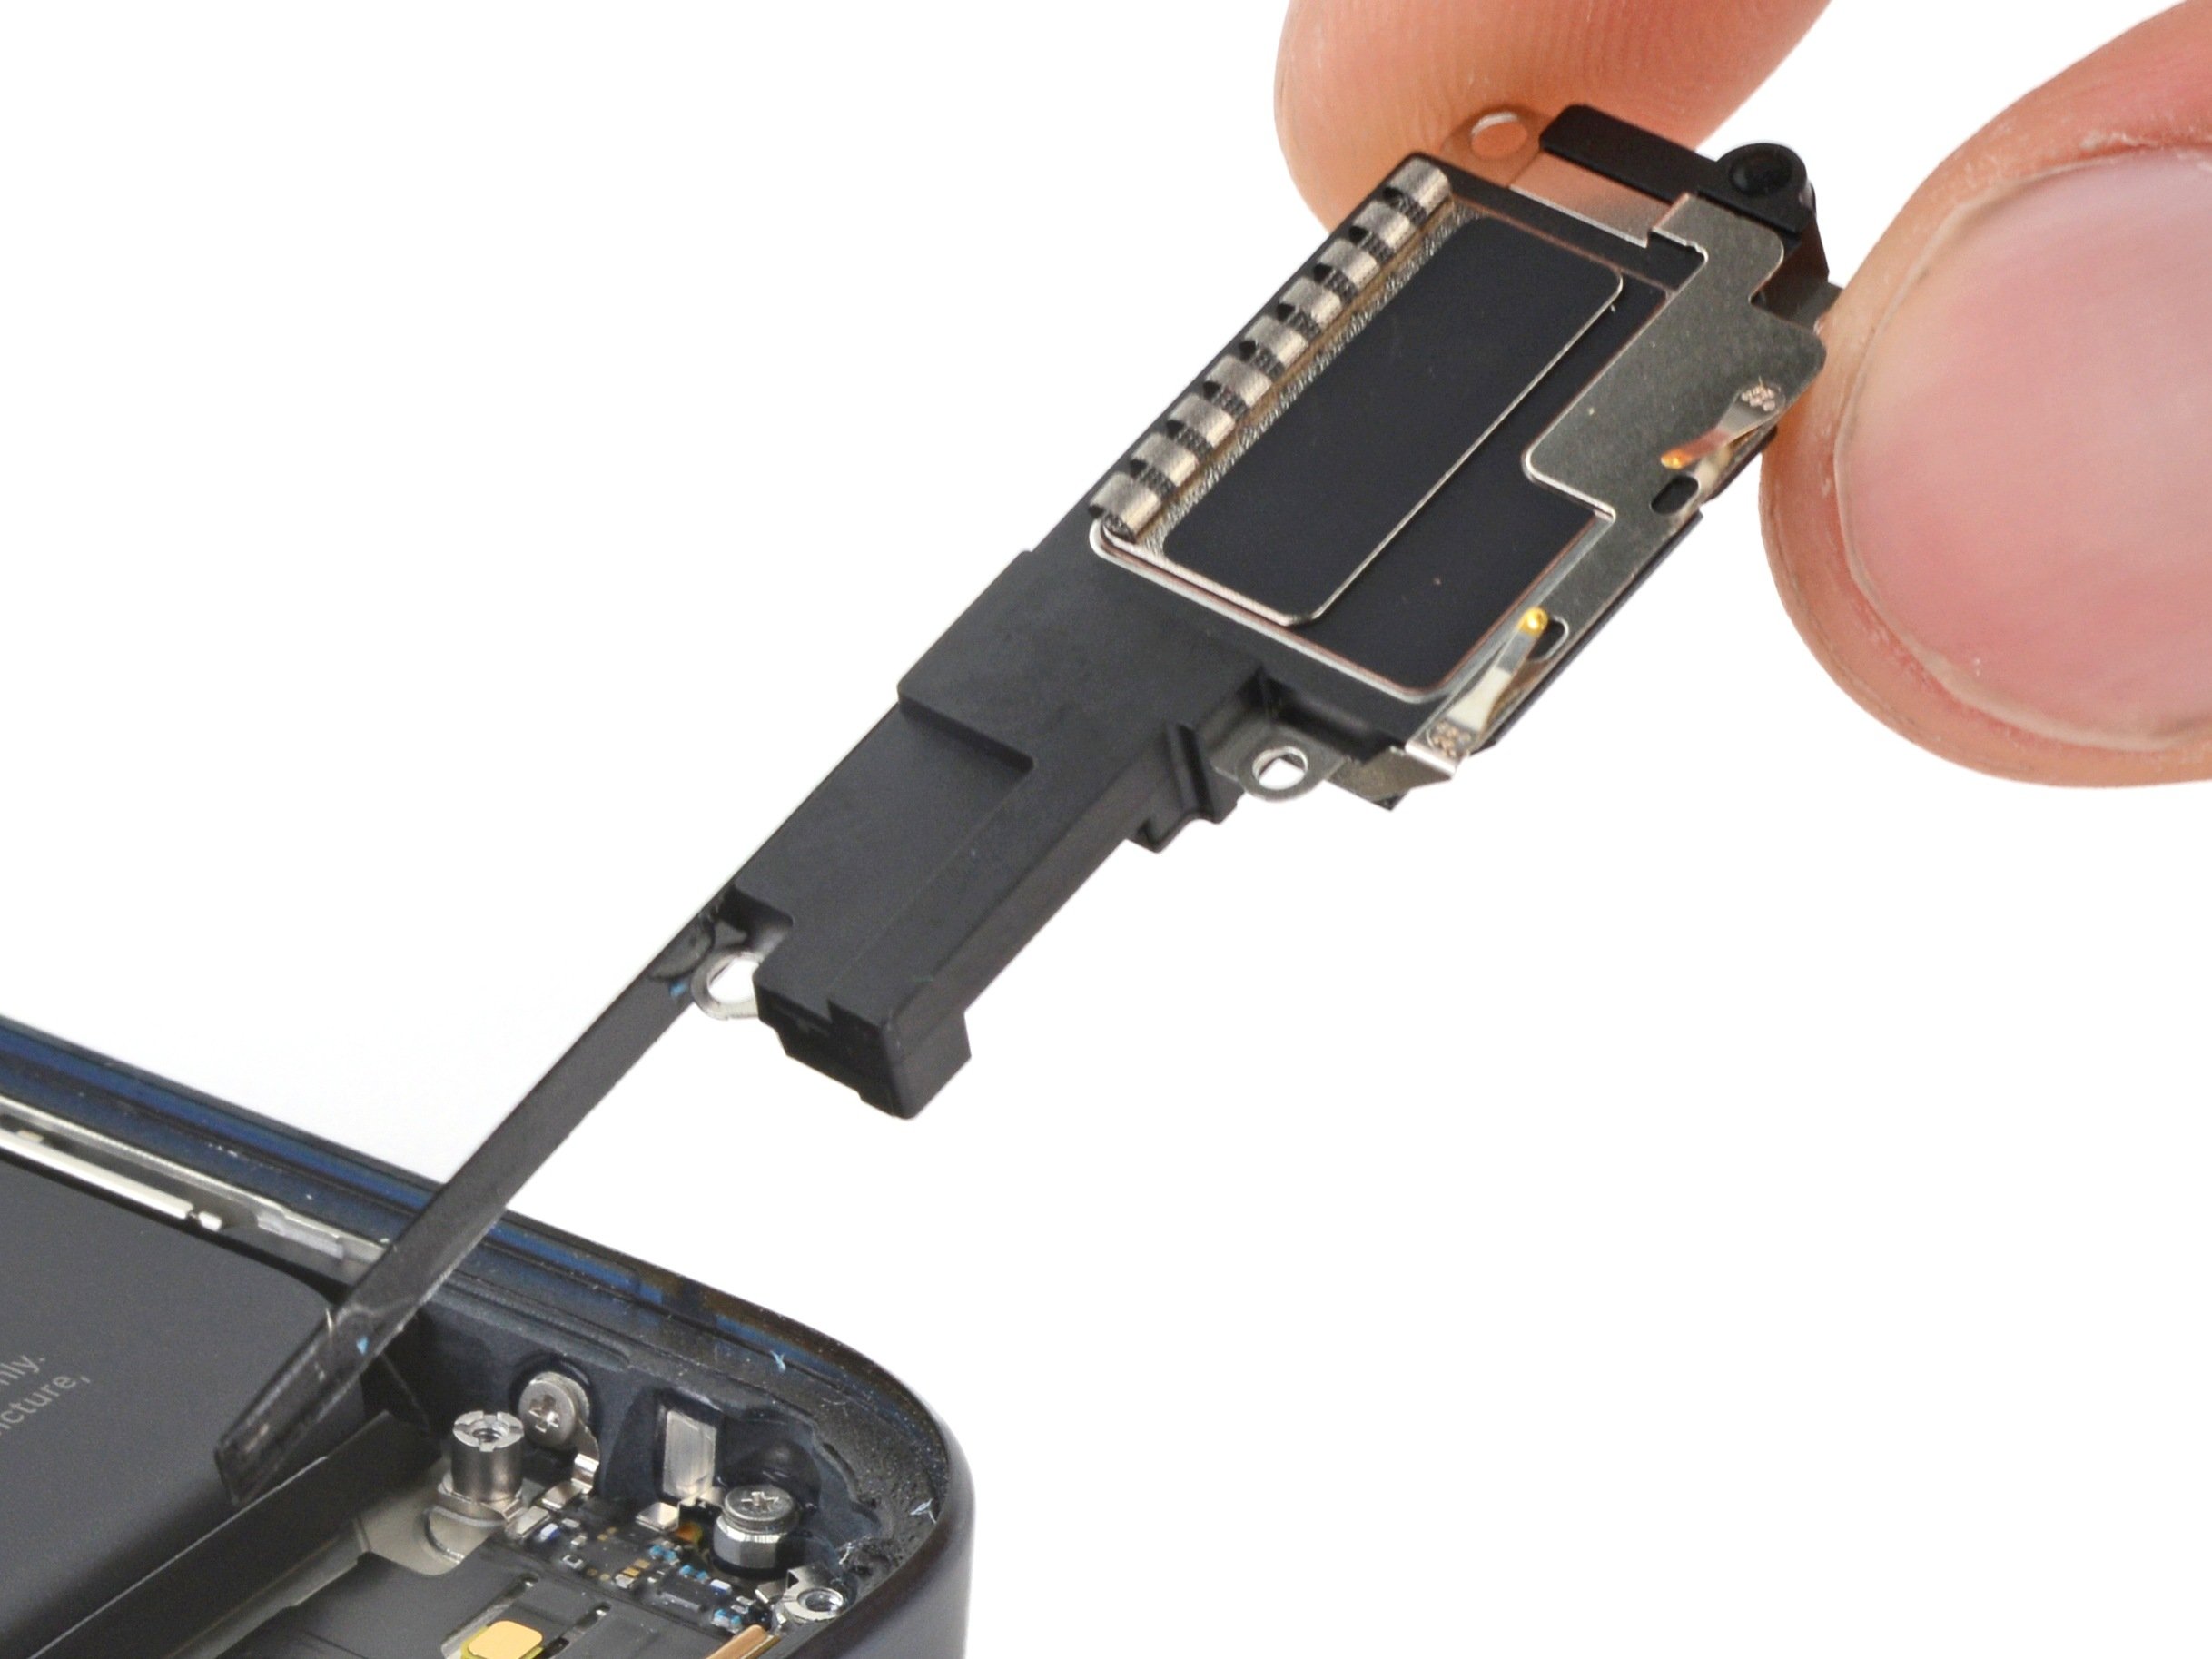
Getting a press connector back in place is a breeze—just line it up over the socket, press down on one side until you hear that satisfying click, then do the same on the other. Make sure it sits flush! Those rubber bits around the socket like to play hard to get, so double-check that everything’s connected snugly.
- Gently slide the tip of your opening pick under the battery press connector and pop it off carefully.
Step 21

- Carefully use the point of a spudger to lift and unplug the ambient light sensor press connector from the top left corner of the logic board.
Tools Used

Step 22


- Gently disconnect the screen press connector. It's like giving your device a little break before the real work begins!
Step 23


Take it easy when cleaning the frame—watch out for the spring contacts! They’re a little delicate, so show them some love and care. We believe in you!
- Carefully take off the screen.
- When putting things back together, pause here and follow this guide to apply fresh screen adhesive.
Step 24


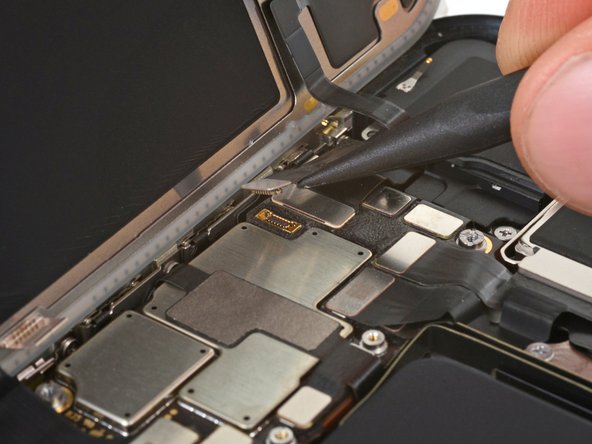
Peek under the top cable by gently lifting it—there’s a sneaky third connector hiding right beneath!
- Grab your trusty opening pick and gently pop up the three rear camera connectors on the top right of the logic board. A little wiggle and a soft lift does the trick!
Step 25

- Grab your Phillips #000 driver and get ready to loosen the three screws holding down those rear cameras:
- One 3.2 mm screw
- One 2.8 mm screw
- One 3.7 mm screw
Step 26


Watch out for those camera lenses—they're delicate, and fingerprints are their arch nemesis!
- Put your device back together by reversing the steps you followed to take it apart.
- Once your repair is done, depending on the part you replaced, you might be able to calibrate it using Apple's Repair Assistant (available from iOS 18 onward). Just update your device, go to Settings → General → About → Parts & Service History, tap Restart & Finish Repair, and follow the on-screen instructions.
- Don’t toss your old parts in the trash — bring your e-waste to a recycler certified by R2 or e-Stewards.
- If things didn’t go quite as planned, try some basic troubleshooting or reach out for help. And if you’re stuck, you can always schedule a repair with us.