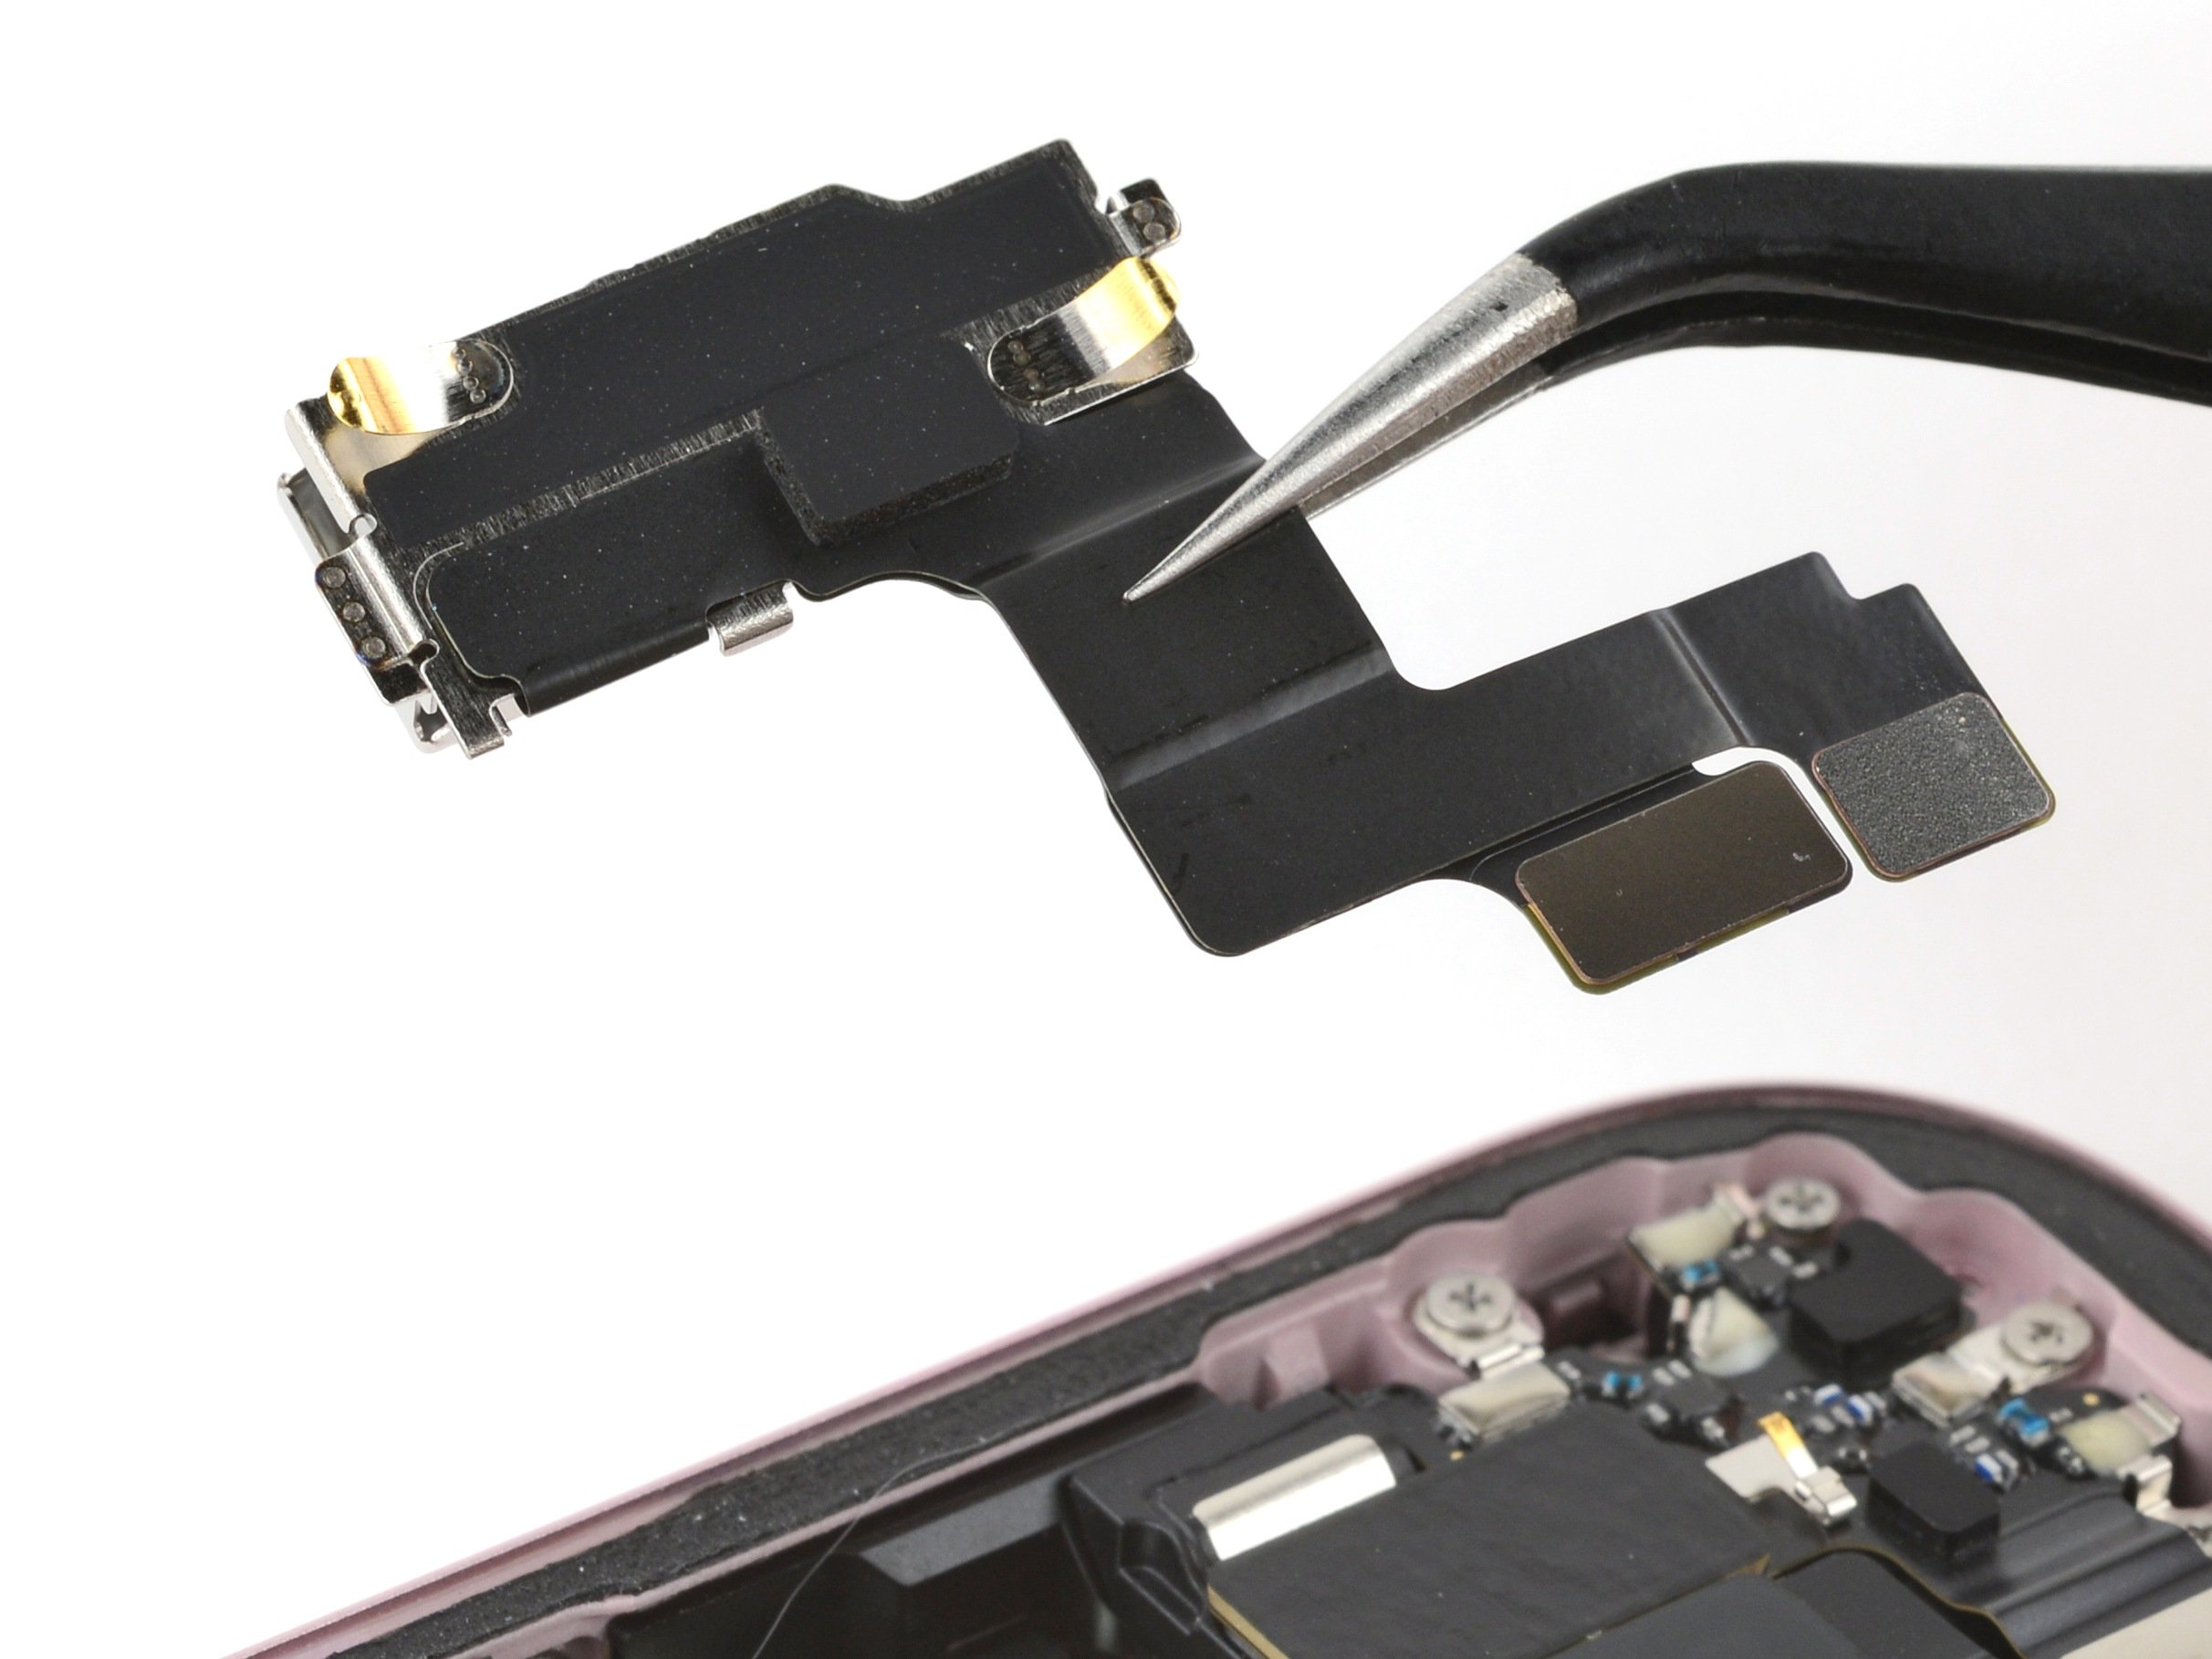
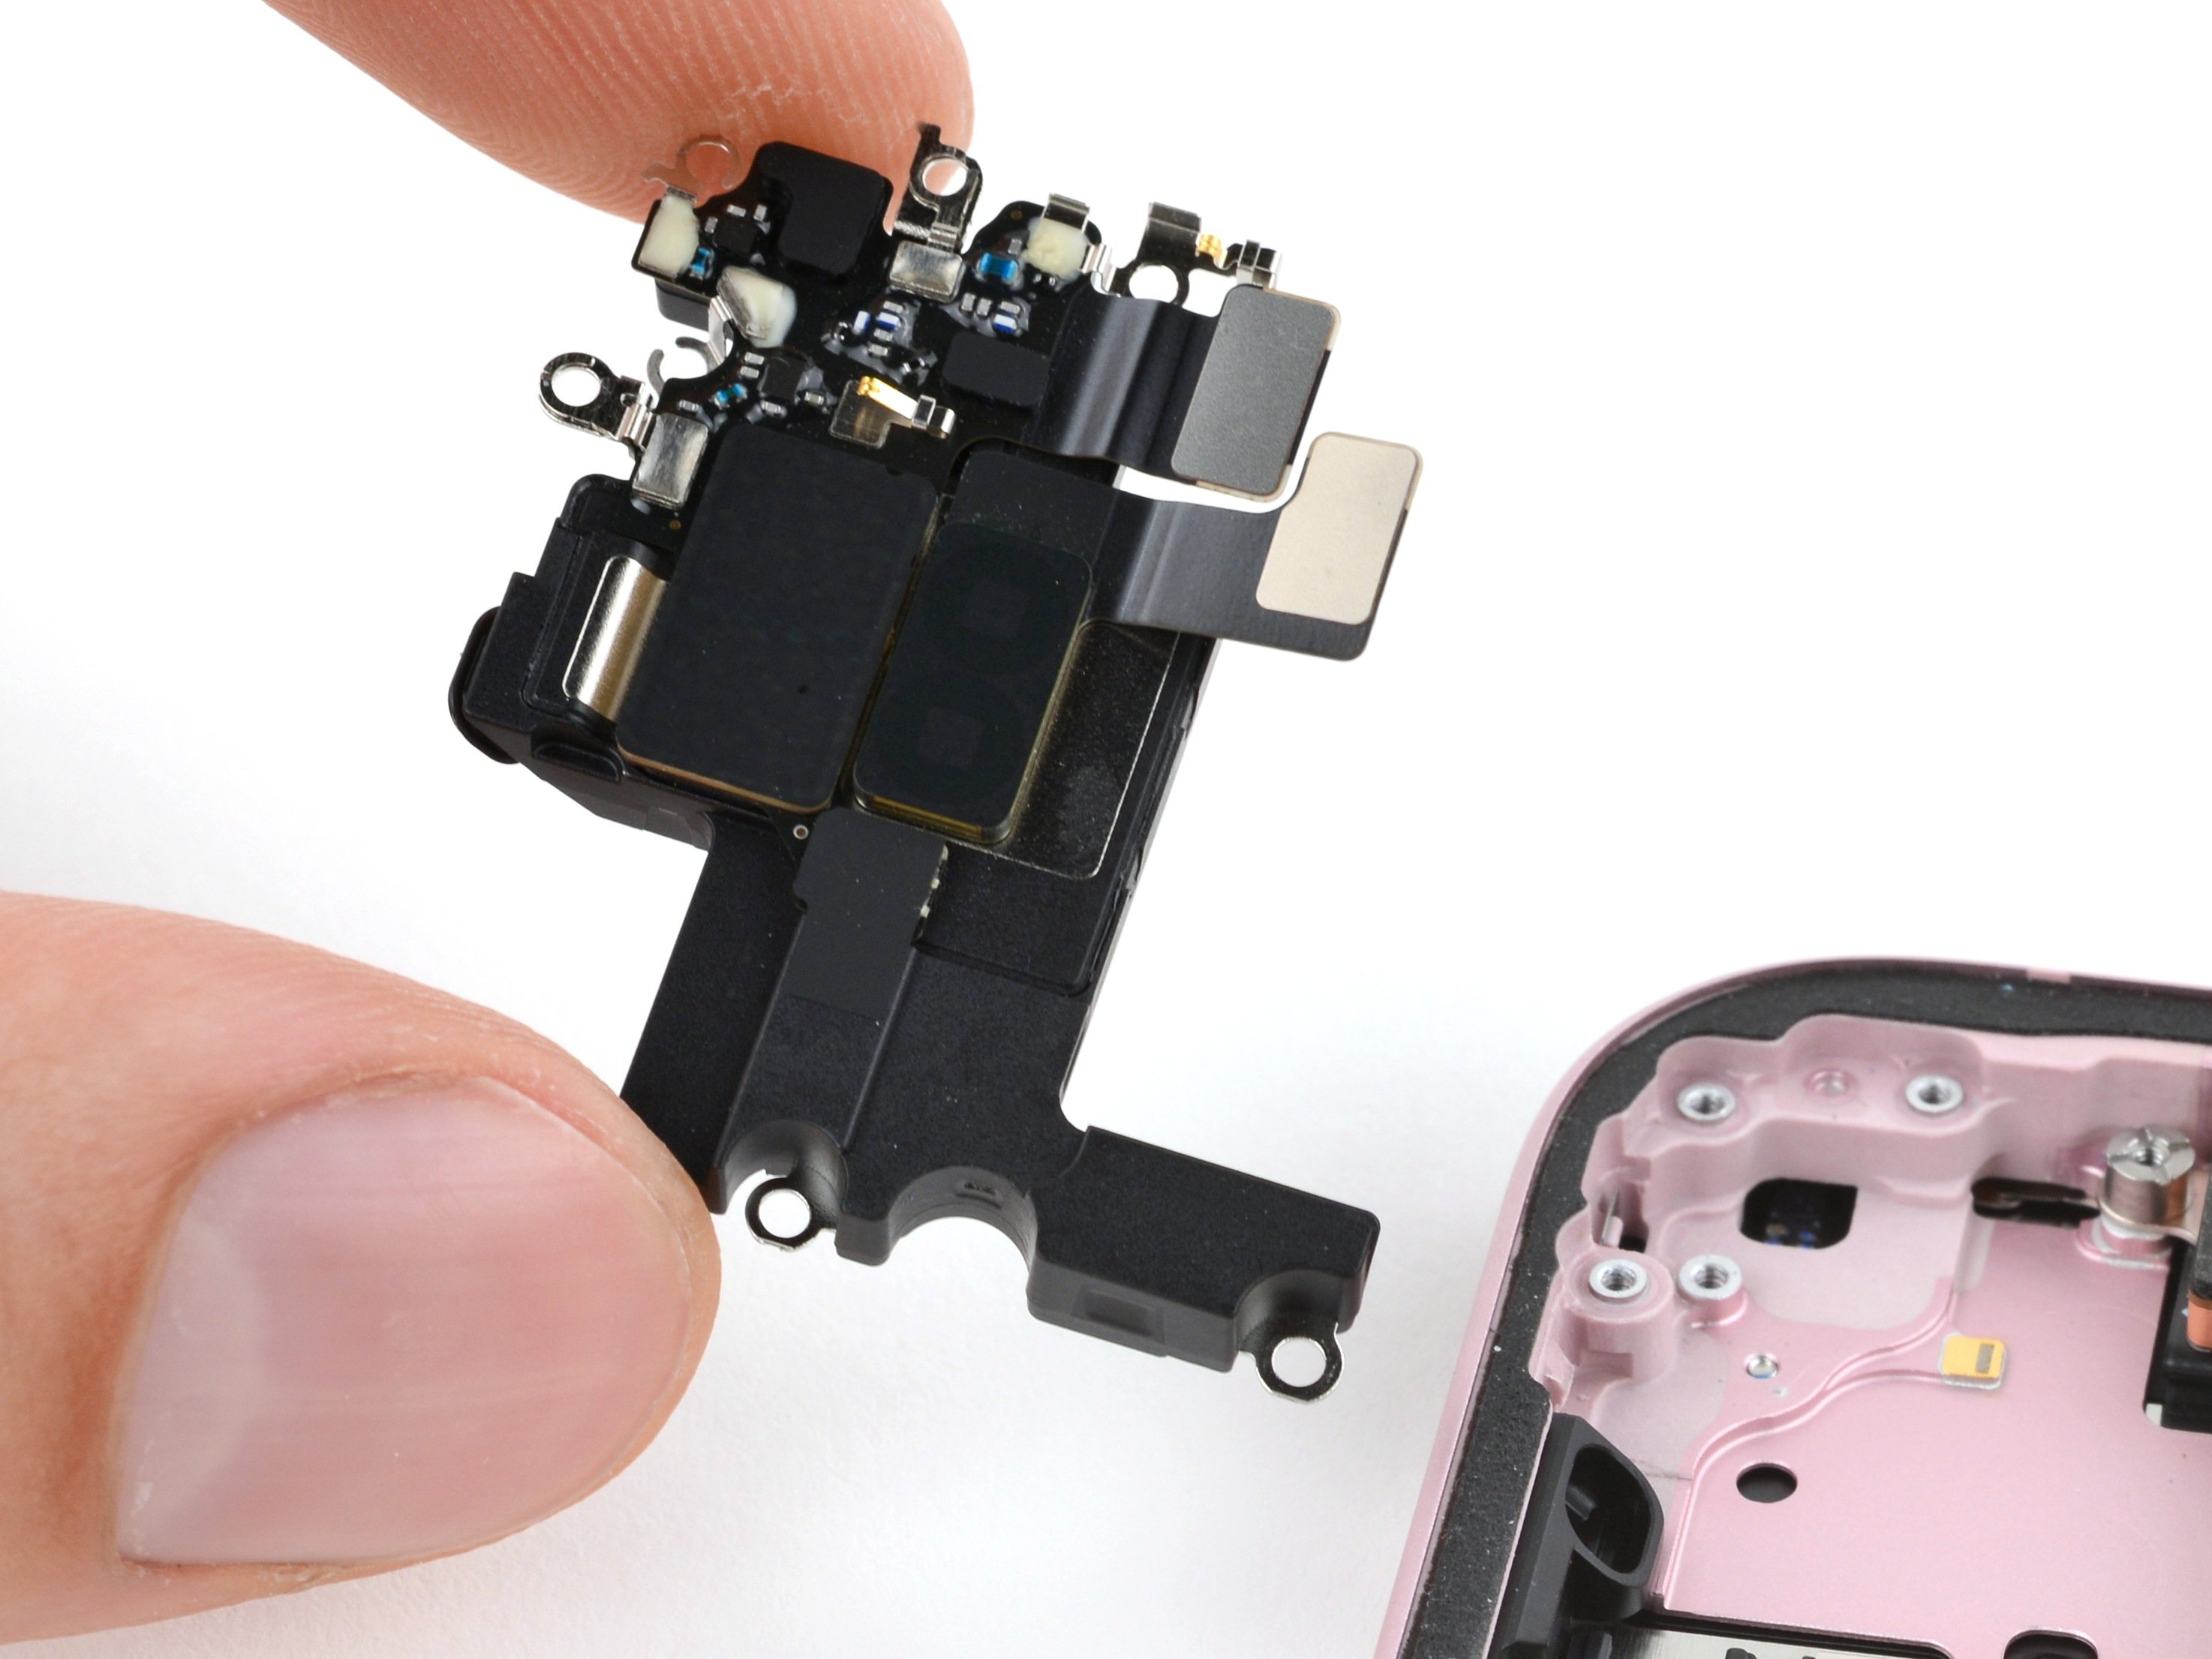
iPhone 15 Plus Microphone Replacement
Duration: 45 minutes
Steps: 34 Steps
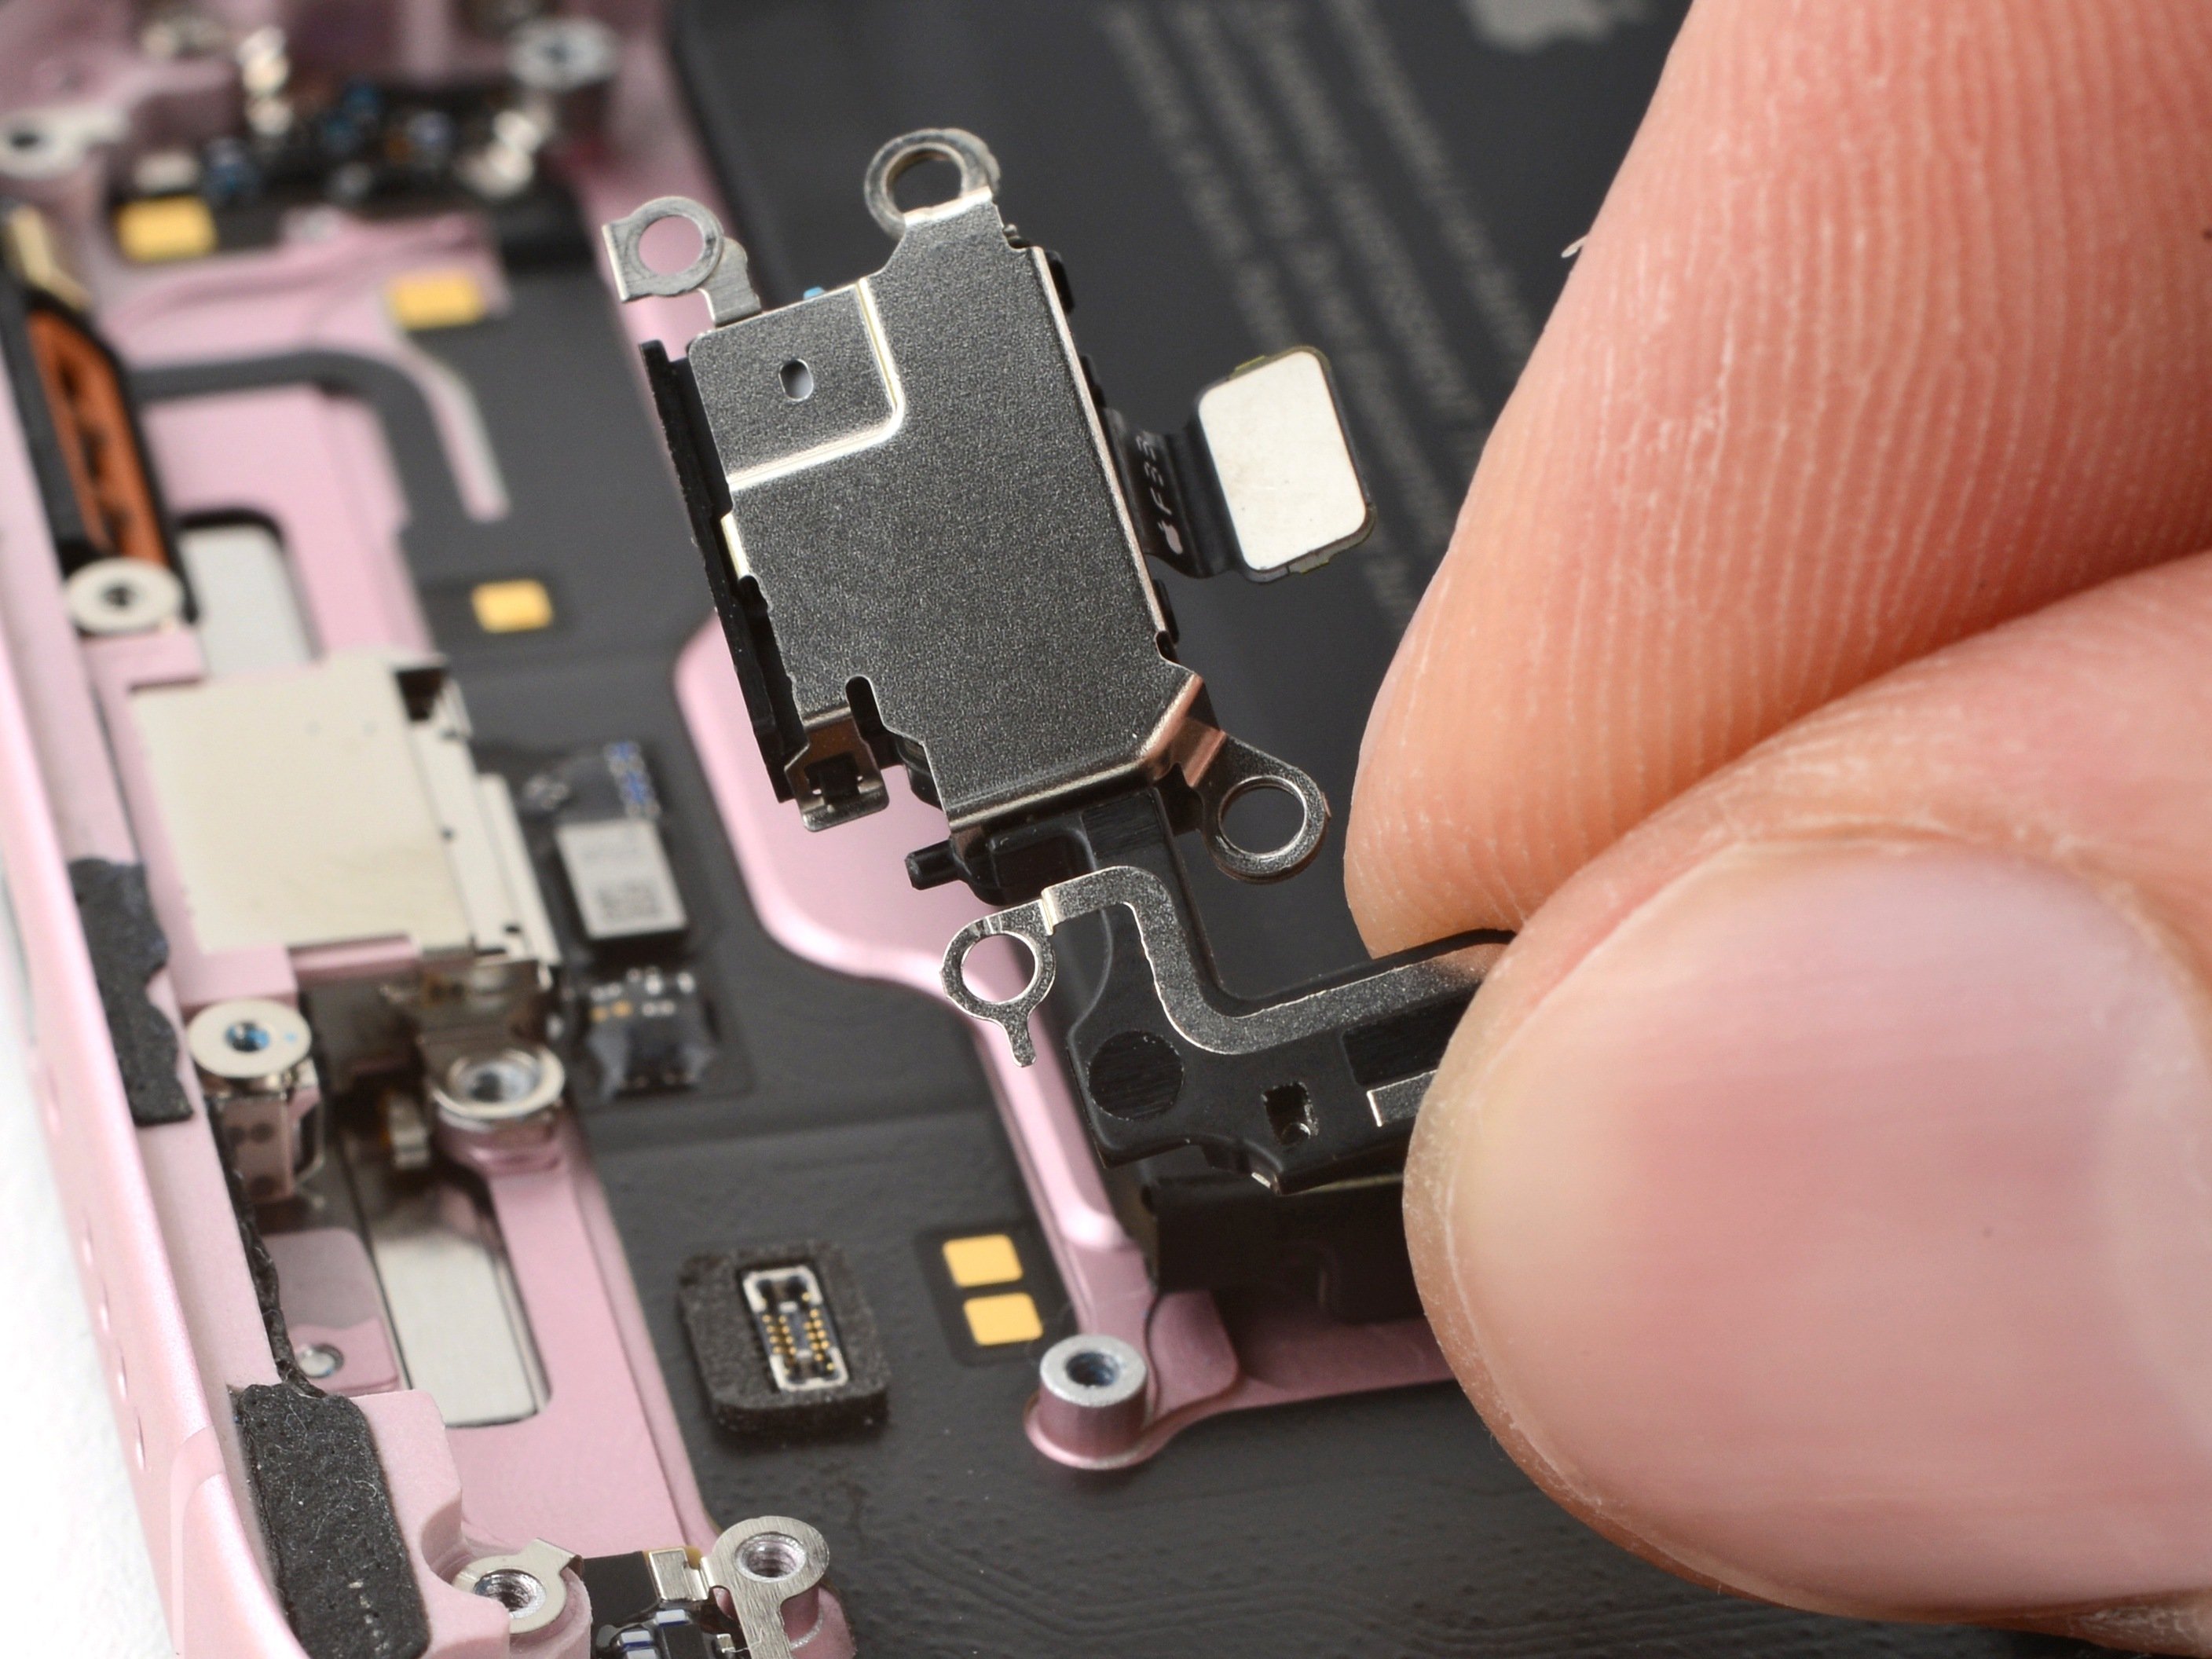
Ready to get your iPhone 15 Plus sounding sharp again? This guide walks you through swapping out the main microphone—perfect if folks can’t hear you clearly or your voice keeps cutting out. The iPhone 15 Plus sports three microphones: the primary one (which we’re tackling here), another with the charging port, and a third with the power button assembly. Grab some replacement back glass adhesive to finish the job. If it feels too tricky, you can always schedule a repair and let the pros handle it.
Step 1
Let your phone's battery drop under 25% before starting—lithium-ion batteries get feisty when fully charged!
- Disconnect any cables from your phone—let’s give it some alone time.
- Press and hold the power button along with either of the volume buttons, then slide to turn off your phone.
Step 2
Find a smooth spot near the bottom edge, big enough for a suction cup to grab onto. It doesn’t need to be perfect, just a nice, clean area to give you a solid grip.
- If your screen or back glass is seriously cracked, slap some overlapping packing tape over it to keep the shards in check and make taking it apart a breeze.
Step 3
Pushing a pick in too far is like giving your device a little too much love — keep it gentle! Mark your pick at the right spot so you don’t go overboard.
Feel free to mark the other corners with different measurements, like a pick-me-up for each side.
Or, if you’re feeling crafty, tape a coin to your pick about 3 mm from the tip for a quick DIY depth guide.
- Grab your opening pick and mark a spot 3 mm from the tip with a permanent marker—precision is key!
Step 4
- Grab your P2 pentalobe driver and unscrew the two 7.7 mm screws sitting snugly on each side of the charging port. Keep them safe for reassembly!
Step 5
Keep the heat on your phone chill—too much warmth can seriously bug out the battery.
- Grab a hair dryer or heat gun and warm up the bottom edge of the back glass until it feels nice and toasty.
Tools Used
Step 6
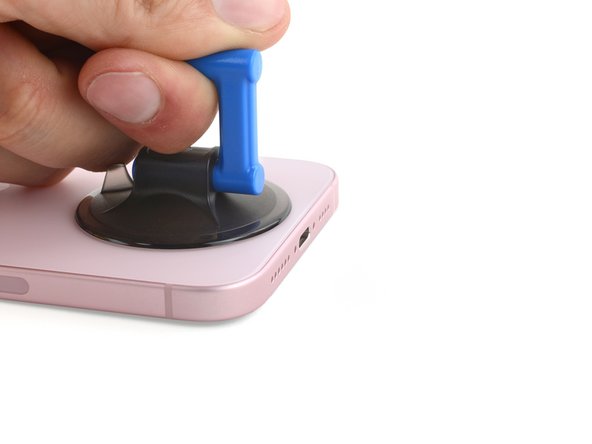
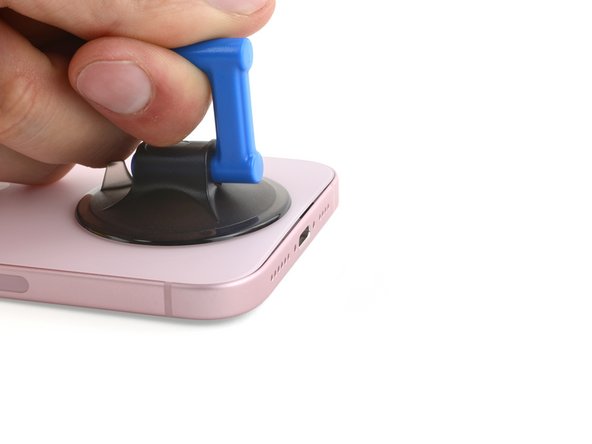
- Stick a suction handle right on the bottom edge of the back glass.
- Give that handle a firm, steady pull to gently pop open a gap between the back glass and the frame.
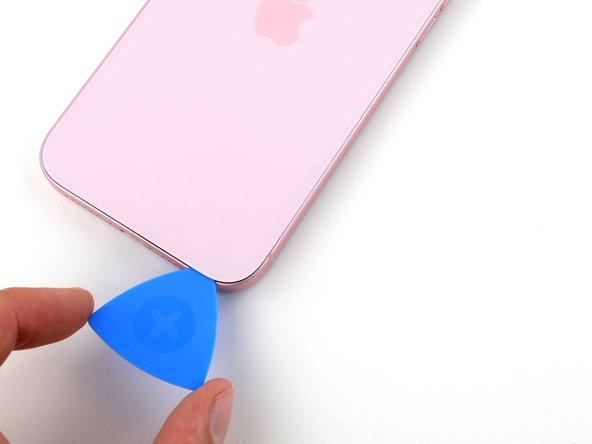
- Slide the tip of an opening pick into the little gap you just made.
Tools Used
Step 7
Heads up! When you slice through the adhesive holding the back glass, watch out for these spots to keep things smooth and scratch-free:
- Heads up! There's a fragile cable running from the back glass right by the volume up button. Keep your pick away from that spot to avoid any accidental slicing.
- Around the edges of the phone, you'll find several spring contacts. Take it easy and don't push your pick in deeper than the step says — we want to keep those contacts nice and straight!
Step 8
Keep your opening pick chill and don’t slide it in deeper than 5 mm along the bottom edge.
- Gently slide your pick back and forth along the bottom edge to start loosening that stubborn adhesive.
- Once you're in, leave the pick tucked into the bottom right corner to keep that adhesive from sticking back together.
Step 9
- Warm up the right edge of the back glass until it feels nice and toasty to the touch.
Step 10
Keep your pick shallow—don’t go poking deeper than 7mm along the right edge.
Steer clear of the volume button area, or you might give the wireless charging cable a bad day.
- Twist your pick around the bottom right corner and slide it halfway up the right edge until you hit a firm stop where a clip is holding the back glass in place.
- Keep that pick wedged in there to stop the adhesive from snapping back together.
Step 11
- Warm up the left edge of the back glass until it feels nice and toasty to the touch.
Step 12
Keep your pick's dive no deeper than 5 mm along the left edge—shallow and steady wins the race!
- Slide a second opening pick into the bottom edge like a pro.
- Twist that pick around the bottom left corner with style.
- Gently slide it up to the top left corner to break that stubborn adhesive free.
- Keep this pick in place to make sure the adhesive doesn't play tricks on you and reseal.
Step 13
- Warm up the top edge of the back glass until it feels nice and toasty.
Step 14
Keep your pick no deeper than 3 mm along the top edge—shallow and steady wins the race!
You may hear and feel a little clickety-click as the top two clips pop loose.
- Gently slide your second opening pick from the top left corner to the top right corner, helping to separate that stubborn adhesive.
- Leave the pick in place to make sure the adhesive doesn't try to stick back together!
Step 15
- Warm up the top right corner of the back glass until it feels nicely toasty to the touch.
Step 16
Keep your pick within 4 mm along the right edge—no deeper! We want to keep things safe and sound while you work your magic.
- Grab the second opening pick and gently rotate it around the top right corner. Slide it over to the volume up button and slowly separate the adhesive. You're almost there!
Step 17
If the back glass is feeling a little stubborn, don't fret! Just stroll around the edges one more time to see if you missed any sneaky adhesive or hidden clips trying to hold on. You've got this!
- Carefully swing the back glass open toward the right side of the phone.
- Lean the back glass against something raised to keep the cable relaxed and safe.
Step 18
As you work through the repair, keep a sharp eye on each screw and make sure it finds its way back to the exact spot it came from. We don’t want any rogue screws running off!
- Grab a tri-point Y000 driver and carefully remove the two 1.3mm screws that are holding the lower connector cover in place.
Step 19
- Grab your tweezers and gently slide the cover upward to pop it free from the logic board.
- Take off the cover carefully.
- When putting it back, make sure to hook the top edge of the cover into its slot on the logic board before fastening it with the screw.
Tools Used
Step 20
To reconnect that pesky press connector, simply line it up with its socket and give one side a gentle push until you hear that satisfying click! Then, do the same on the other side. Just make sure it sits nice and flat, as the insulating rubber around the sockets can sometimes be a little diva and prevent a full connection.
Look for the plus and minus signs printed on the head of this connector—it's like a little guide to help you out!
- Grip the back glass steady with one hand and gently twist the bottom edge to the left to expose the battery press connector just under the volume buttons.
- Carefully use the tip of an opening pick to lift and unplug the battery press connector from the logic board.
Step 21
- Grab your trusty tri-point Y000 driver and unscrew the 0.9mm screw holding the middle connector cover in place. Easy peasy!
Step 22
- Take the flat end of a spudger—or just use your finger—and gently push the cover toward the bottom of the phone. Give the top edge a little nudge to pop it loose.
- Lift off the cover and set it aside.
- When you’re putting it back together, line up the cover so its tab slides just behind the clip on the logic board. Hold it down with your finger and slide the cover forward until the clip snaps into place.
Tools Used
Step 23
- Grab your opening pick and gently lift up to disconnect the wireless charging coil and NFC connector. You've got this!
Step 24
- Start by removing the back glass. It’s a simple step, but be careful when doing it.
- Now for the reassembly phase:
- Before sealing everything up, it's a great idea to quickly check if your repair worked. Reconnect the battery and back glass, power on your phone, and see if it’s running smoothly. If everything looks good, power it off and keep going.
- Next, follow this guide to reapply adhesive and carefully reinstall your back glass.
Step 25
- Grab your trusty Phillips #000 driver and unscrew the four screws holding the Taptic Engine and its connector cover in place:
- One screw that's 1.4mm long (it’s a tiny one!)
- One 1.9mm screw with a slightly larger head
- One more 1.9mm screw, but with a smaller head this time
- And the final one, a 2.1mm screw – a bit longer than the others
Step 26
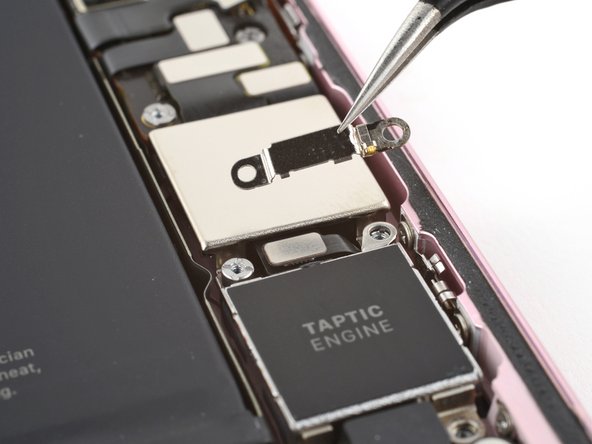
- Grab your trusty tweezers and carefully lift off the Taptic Engine connector cover.
- When putting everything back together, make sure the cover's gold spring contact faces the edge of the frame. It’s like a little secret handshake!
Tools Used
Step 27
- Gently use the tip of your spudger to lift and unplug the Taptic Engine press connector.
Tools Used
Step 28
If you're missing a standoff driver, no worries! A thin flathead driver will do the trick—just make sure to tread lightly so you don't strip those pesky shallow notches in the screw heads.
- Grab your standoff driver and carefully remove the 3.3 mm screw holding down the top left corner of the Taptic Engine. Nice and steady, you've got this!
Step 29
- Grab your trusty tweezers or just use your fingers to gently pop out that Taptic Engine. You've got this!
Tools Used
Step 30
- Grab your trusty tri-point Y000 driver and unscrew the 1.3mm screw that’s holding the grounding contact and loudspeaker in place.
- Now, switch to your Phillips #000 driver to take out the four screws securing the loudspeaker:
- Two 1.6mm screws
- Two 2.0mm screws
Step 31
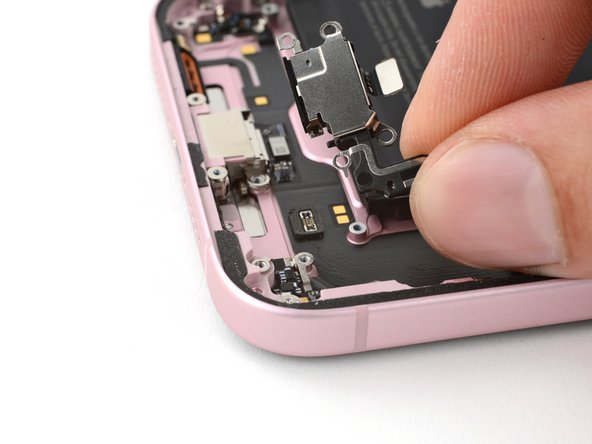
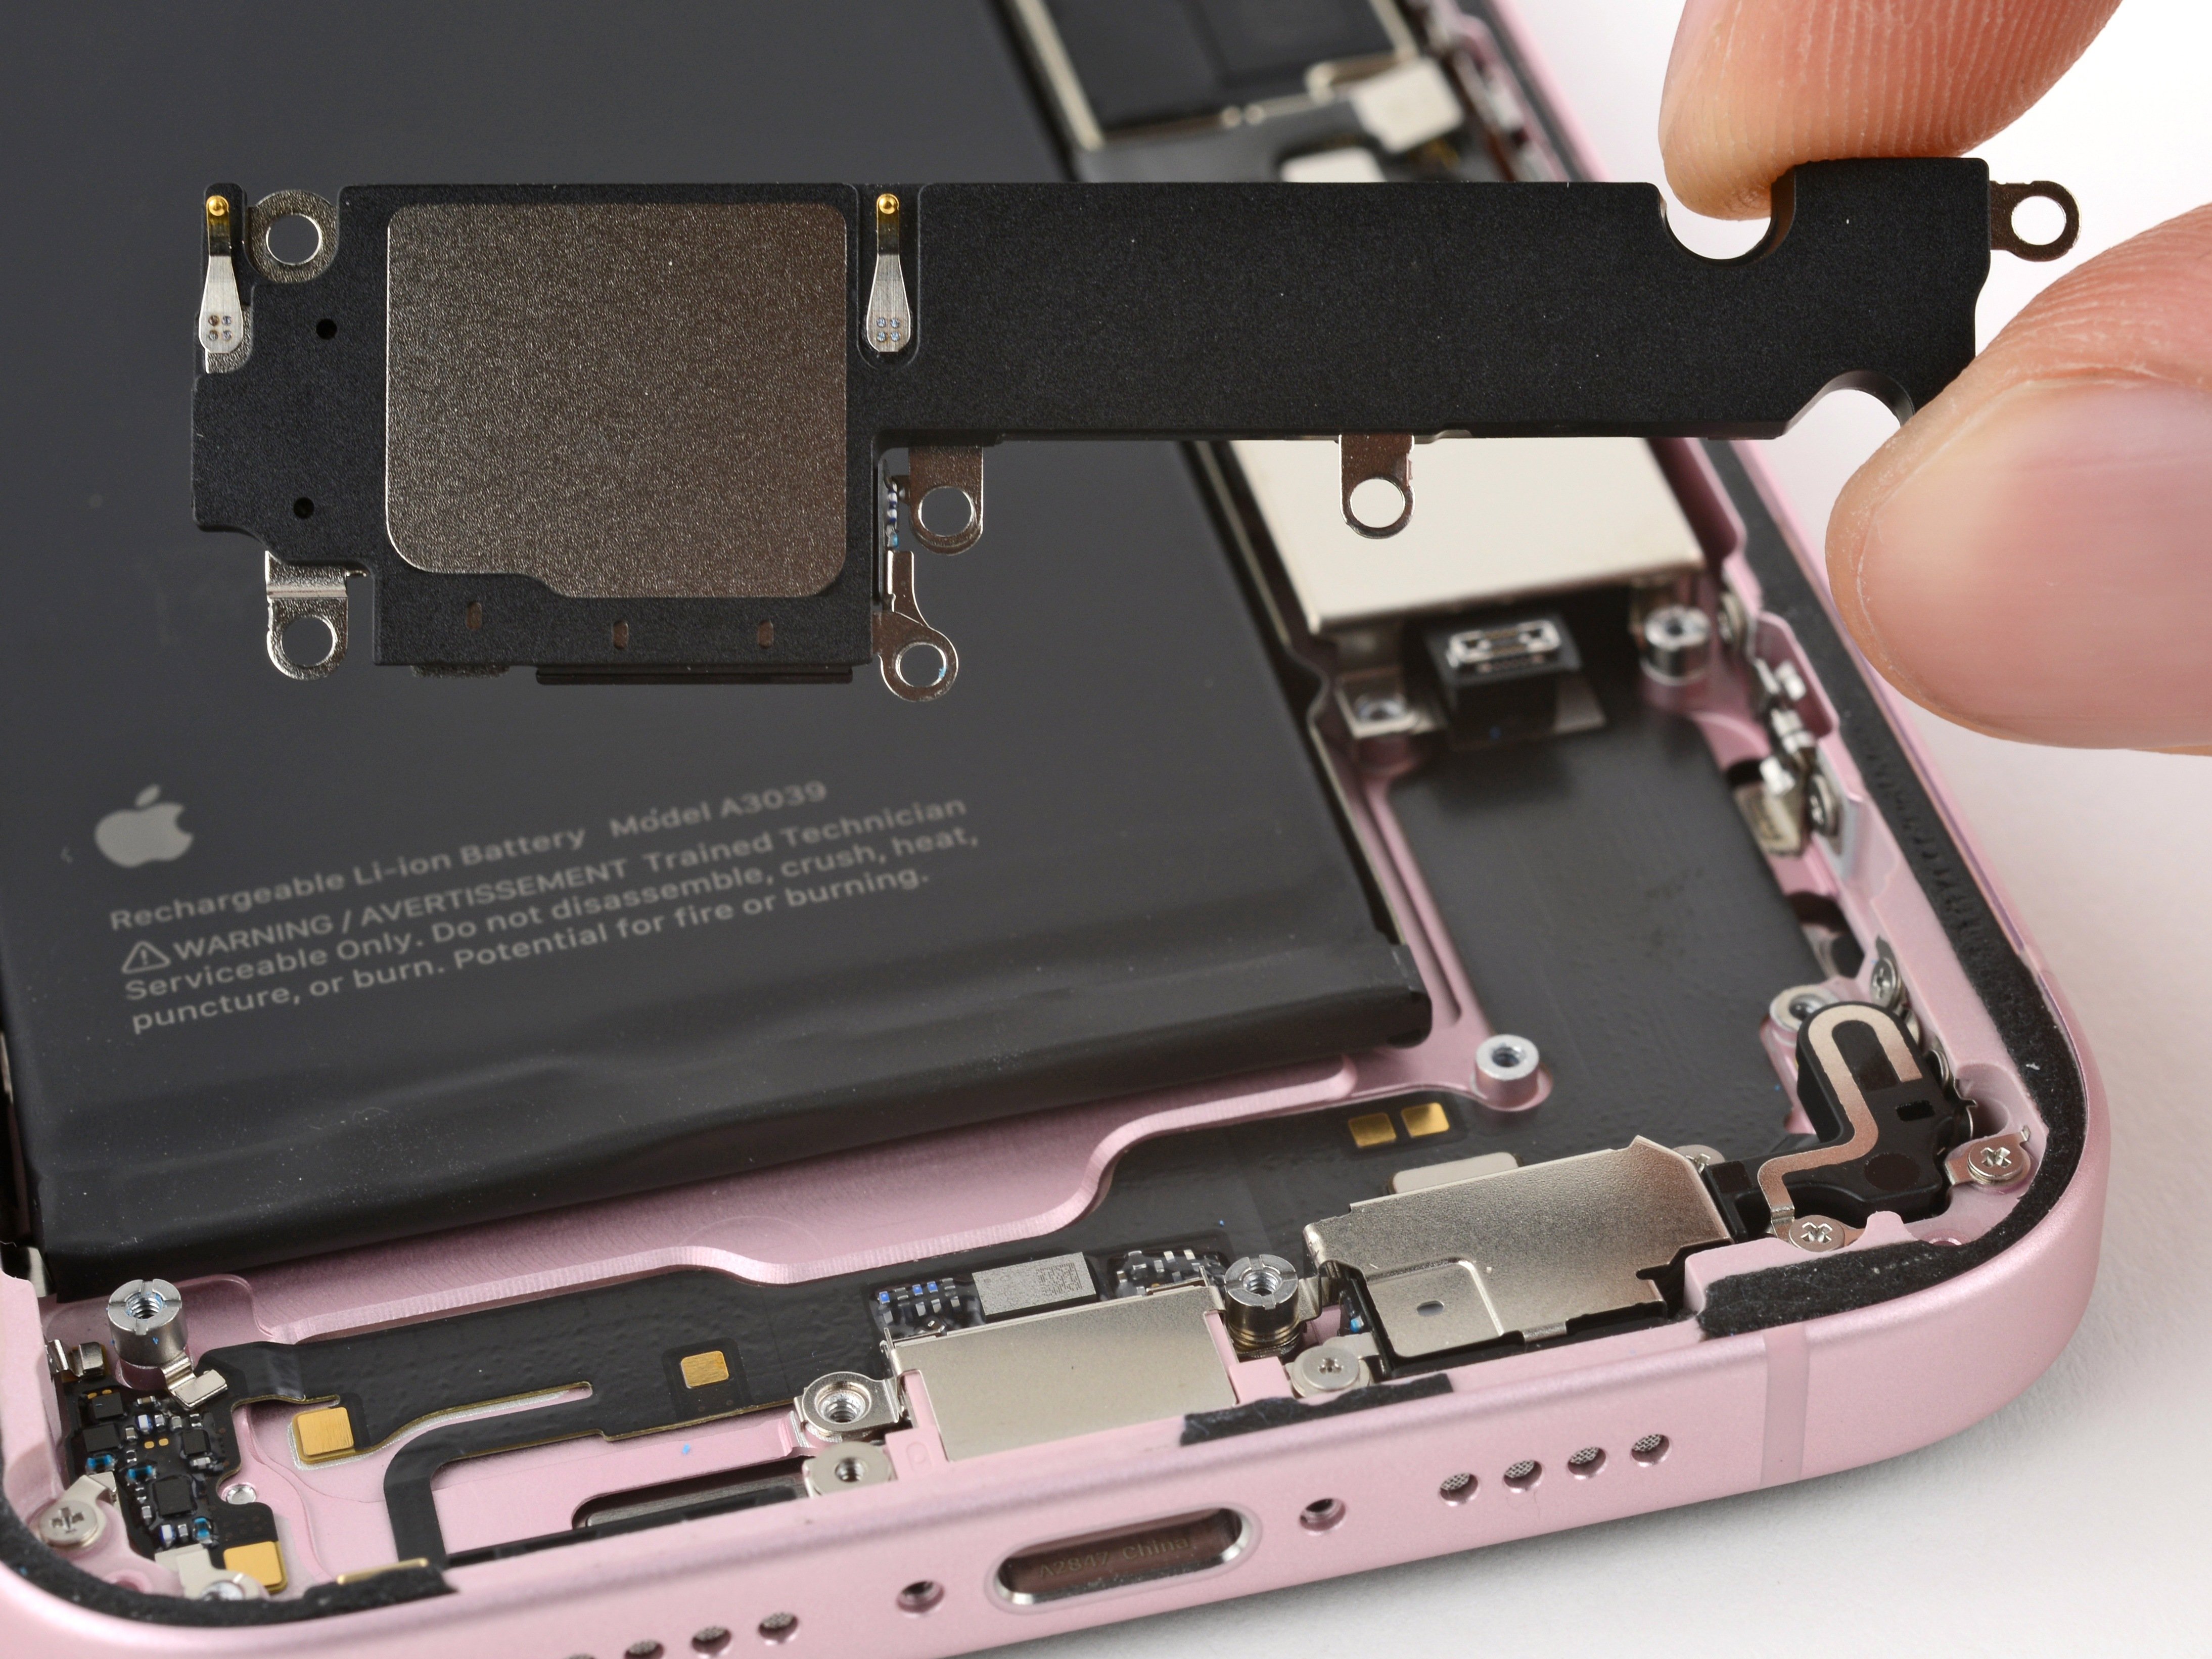
- Gently lift out the loudspeaker and set it aside like a pro.
Step 32
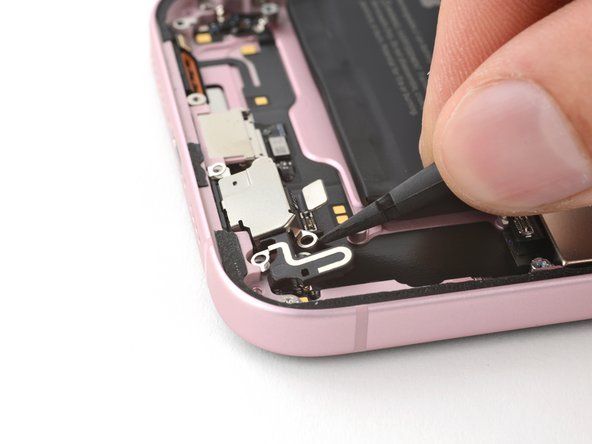
- Gently take the spudger and use its pointy end to lift and detach the microphone press connector. You've got this!
Tools Used
Step 33
- Grab your tri-point Y000 driver and unscrew the 1.3 mm screw holding down the grounding contact and microphone.
- Switch to your Phillips #000 driver and take out the two screws securing the microphone on the right side.
- Use your standoff driver to remove the 3.2 mm standoff screw at the top left corner of the microphone.
- Remove one 1.9 mm screw.
- Remove one 1.3 mm screw.
Step 34
- Now, just put everything back together in reverse order and you’re all set!
- Got e-waste? Make sure to drop it off with a certified recycler like those with R2 or e-Stewards certification.
- Things didn’t go as planned? No worries—try some basic troubleshooting, or reach out to our helpful Answers community for guidance.
-
