iPhone 15 Plus Rear Cameras Replacement
Duration: 45 minutes
Steps: 30 Steps
Ready to swap out those blurry wide and ultrawide rear cameras on your iPhone 15 Plus? If your shots look more like abstract art than memories, it’s probably time for a camera refresh. You’ll want some fresh back glass adhesive to seal the deal. Heads up: On iOS 17.6 and earlier, your iPhone might toss you a warning about the new cameras, but don’t stress—they’ll work just fine. If you’re running iOS 18 or newer, genuine camera modules can be calibrated with Apple’s Repair Assistant. If things get tricky, you can always schedule a repair.
Step 1


Let your phone’s battery dip under 25% before you get to work! A mostly-charged lithium-ion battery can get feisty, so keep it chill and safe.
- Disconnect any cables hanging out of your phone. Give it a quick wave goodbye for now.
- Press and hold the power button along with either the volume up or down button, then swipe to turn off your phone. That’s right—put your phone to sleep like a pro.
Step 2


Ensure there's a nice, flat spot near the bottom edge that’s large enough for a suction cup to grab onto.
- Got a seriously cracked screen or back glass? Slap on some overlapping strips of packing tape to keep things tidy and prevent any glass shards from joining the party during your repair.
Step 3


If the pick goes in too deep, it could cause some unwanted damage to your device. A quick way to avoid that? Mark the pick first and keep things safe.
Feel free to mark other corners of the pick with different measurements for extra precision.
Another handy trick is to tape a coin about 3mm from the tip of the pick. It's a great way to keep things in check!
- Grab your trusty opening pick and measure out a cool 3 mm from the tip. Mark that spot with a permanent marker so you know exactly where to start the fun!
Step 4

- Grab your trusty P2 pentalobe driver and let's get those two 7.7 mm screws on each side of the charging port out of there!
Step 5

Keep an eye on the heat—going overboard could leave your battery feeling a bit too toasty!
- Grab a hair dryer or heat gun and give the bottom edge of that back glass a nice, warm embrace. Heat it up until it feels toasty to the touch—you're almost there!
Tools Used


Step 6

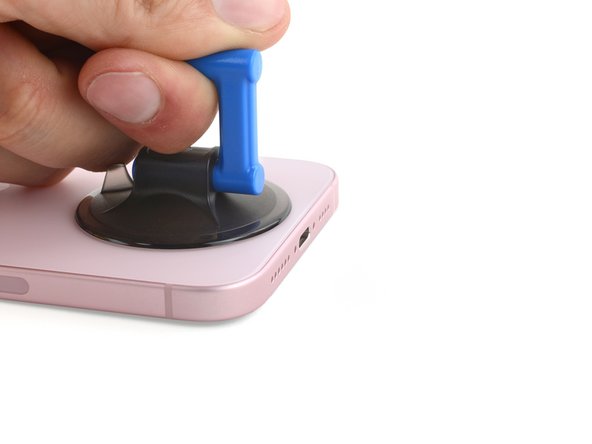
- Stick a suction handle onto the bottom edge of the back glass—like giving your phone a little handlebar mustache.
- Give the handle a firm, steady pull to coax a gap between the back glass and the frame. No sudden yanking; we’re not opening a bag of chips.
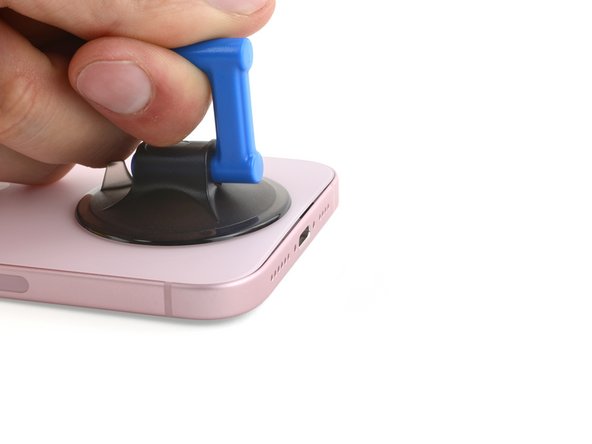
- Slide the tip of an opening pick into the gap you just made—think of it as sneaking in through a secret entrance.
Tools Used

Step 7

Heads up! When you start slicing through the adhesive holding the back glass, watch out for these tricky spots to keep everything smooth and safe.
- Hey there! Just a heads up, there's a fragile cable that connects the back glass to your phone, right by the volume up button. Make sure to keep your pick away from this area to avoid any accidental snips!
- Also, watch out for those little spring contacts around the edge of the phone. It's super important to not push your pick in deeper than what’s suggested in the steps, or you might end up bending those contacts. Take it easy and you'll do great!
Step 8


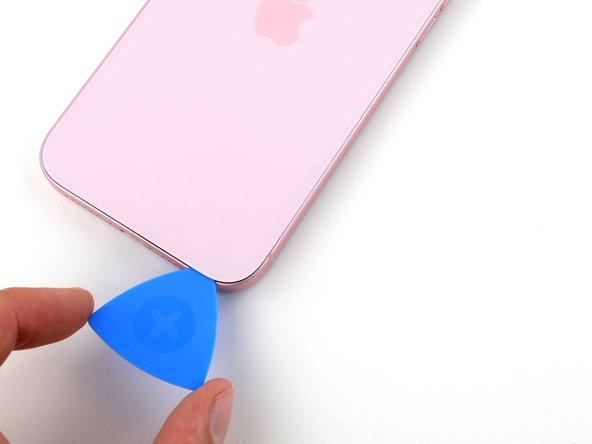
Be careful not to push your opening pick more than 5 mm along the bottom edge. A little goes a long way here, so take it slow and steady.
- Glide your pick back and forth along the bottom edge to loosen up that stubborn adhesive.
- Leave the pick chilling in the bottom right corner to stop the glue from making a comeback.
Step 9

- Warm up the right edge of the back glass until it feels hot when you touch it.
Step 10


Keep your pick shallow—no deeper than 7 mm along the right edge, unless you want your device to have trust issues.
Steer clear of the volume buttons area, or you might give the wireless charging cable a bad day.
- Twist your pick around the bottom right corner and slide it up about halfway along the right edge until you hit a firm stop where a clip is holding the back glass in place.
- Keep that pick wedged in there to stop the adhesive from closing back up on its own.
Step 11

- Warm up the left edge of the back glass until it feels nice and toasty.
Step 12


Keep your pick shallow—don’t go more than 5 mm in along the left edge.
- Pop in a second opening pick at the bottom edge.
- Twist that pick around the bottom left corner with a little flair.
- Gently slide this pick all the way up to the top left corner to break that adhesive seal.
- Keep this pick in place to stop the adhesive from making a comeback.
Step 13

- Warm up the top edge of the back glass until it's comfortably hot to the touch.
Step 14


Keep your pick shallow—never go more than 3 mm deep along the top edge.
You might notice a few satisfying clicks as the top clips pop free.
- Swing your second opening pick around the top left corner and glide it over to the top right corner to loosen up that stubborn adhesive.
- Let the pick chill right there—this keeps the sticky stuff from sealing itself back up.
Step 15

- Warm up the top right corner of the back glass until it feels nice and toasty to the touch.
Step 16


Be careful not to push your pick more than 4 mm along the right edge.
- Twist that second opening pick around the top right corner and slide it over to the volume up button to break free from the adhesive's grip!
Step 17


If the back glass is holding on like it’s glued to its favorite show, take another lap around the edge to spot any adhesive or clips still hanging tight.
- Gently swing the back glass open to the right side of your phone, like you're unlocking a secret compartment.
- Rest the back glass on a soft, raised surface to avoid any unnecessary strain on the cable. We don't want anything to snap!
Step 18


As you tackle this repair, keep an eye on each screw and make sure it finds its way back to its original home. You've got this!
- Grab your tri-point Y000 driver and unscrew the two tiny 1.3 mm screws holding down the lower connector cover. Keep those screws safe—they love to wander off!
Step 19


- Grab your tweezers and gently slide the cover upward to unhook it from the logic board.
- Take off the cover and set it aside.
- When putting it back together, make sure to hook the top edge of the cover into its slot on the logic board before tightening the screw to keep everything secure.
Tools Used

Step 20


To reconnect a press connector, line it up over its socket and gently press down one side until you hear a satisfying click—then press down the other side. Double-check that it’s sitting flat, since that little insulating rubber around the socket can play tricks and keep it from locking in all the way.
Look for the plus and minus signs printed right on the connector’s head—they’re your guide for getting the connection just right.
- Keep the back glass steady with one hand and gently twist the bottom edge to the left to uncover the battery press connector just under the volume buttons.
- Take the tip of your opening pick and carefully pry up to unplug the battery press connector from the logic board.
Step 21


- Grab your tri-point Y000 driver and unscrew the tiny 0.9 mm screw holding down the middle connector cover. Steady hands, you got this!
Step 22


- Grab the flat end of your spudger (or just use your finger) and gently push the cover toward the bottom of the phone—pop that top edge loose like you're opening a secret compartment.
- Lift off the cover and set it aside. Easy does it!
- When putting it back together, line up the cover so its tab sits just behind the clip on the logic board. Hold it down with one finger and slide the cover forward until the clip clicks in place.
Tools Used

Step 23


- Grab your opening pick and gently pop up the wireless charging coil and NFC connector—think of it as giving them a little nudge so you can move on to the next step.
Step 24

- Take off the back glass carefully.
- When putting it all back together:
- Here’s a smart move: before sealing everything up, reconnect the battery and back glass temporarily, power on your phone, and double-check that it’s working perfectly. Once confirmed, power it down and finish the reassembly.
- Follow this guide to apply new adhesive and properly install your back glass.
Step 25


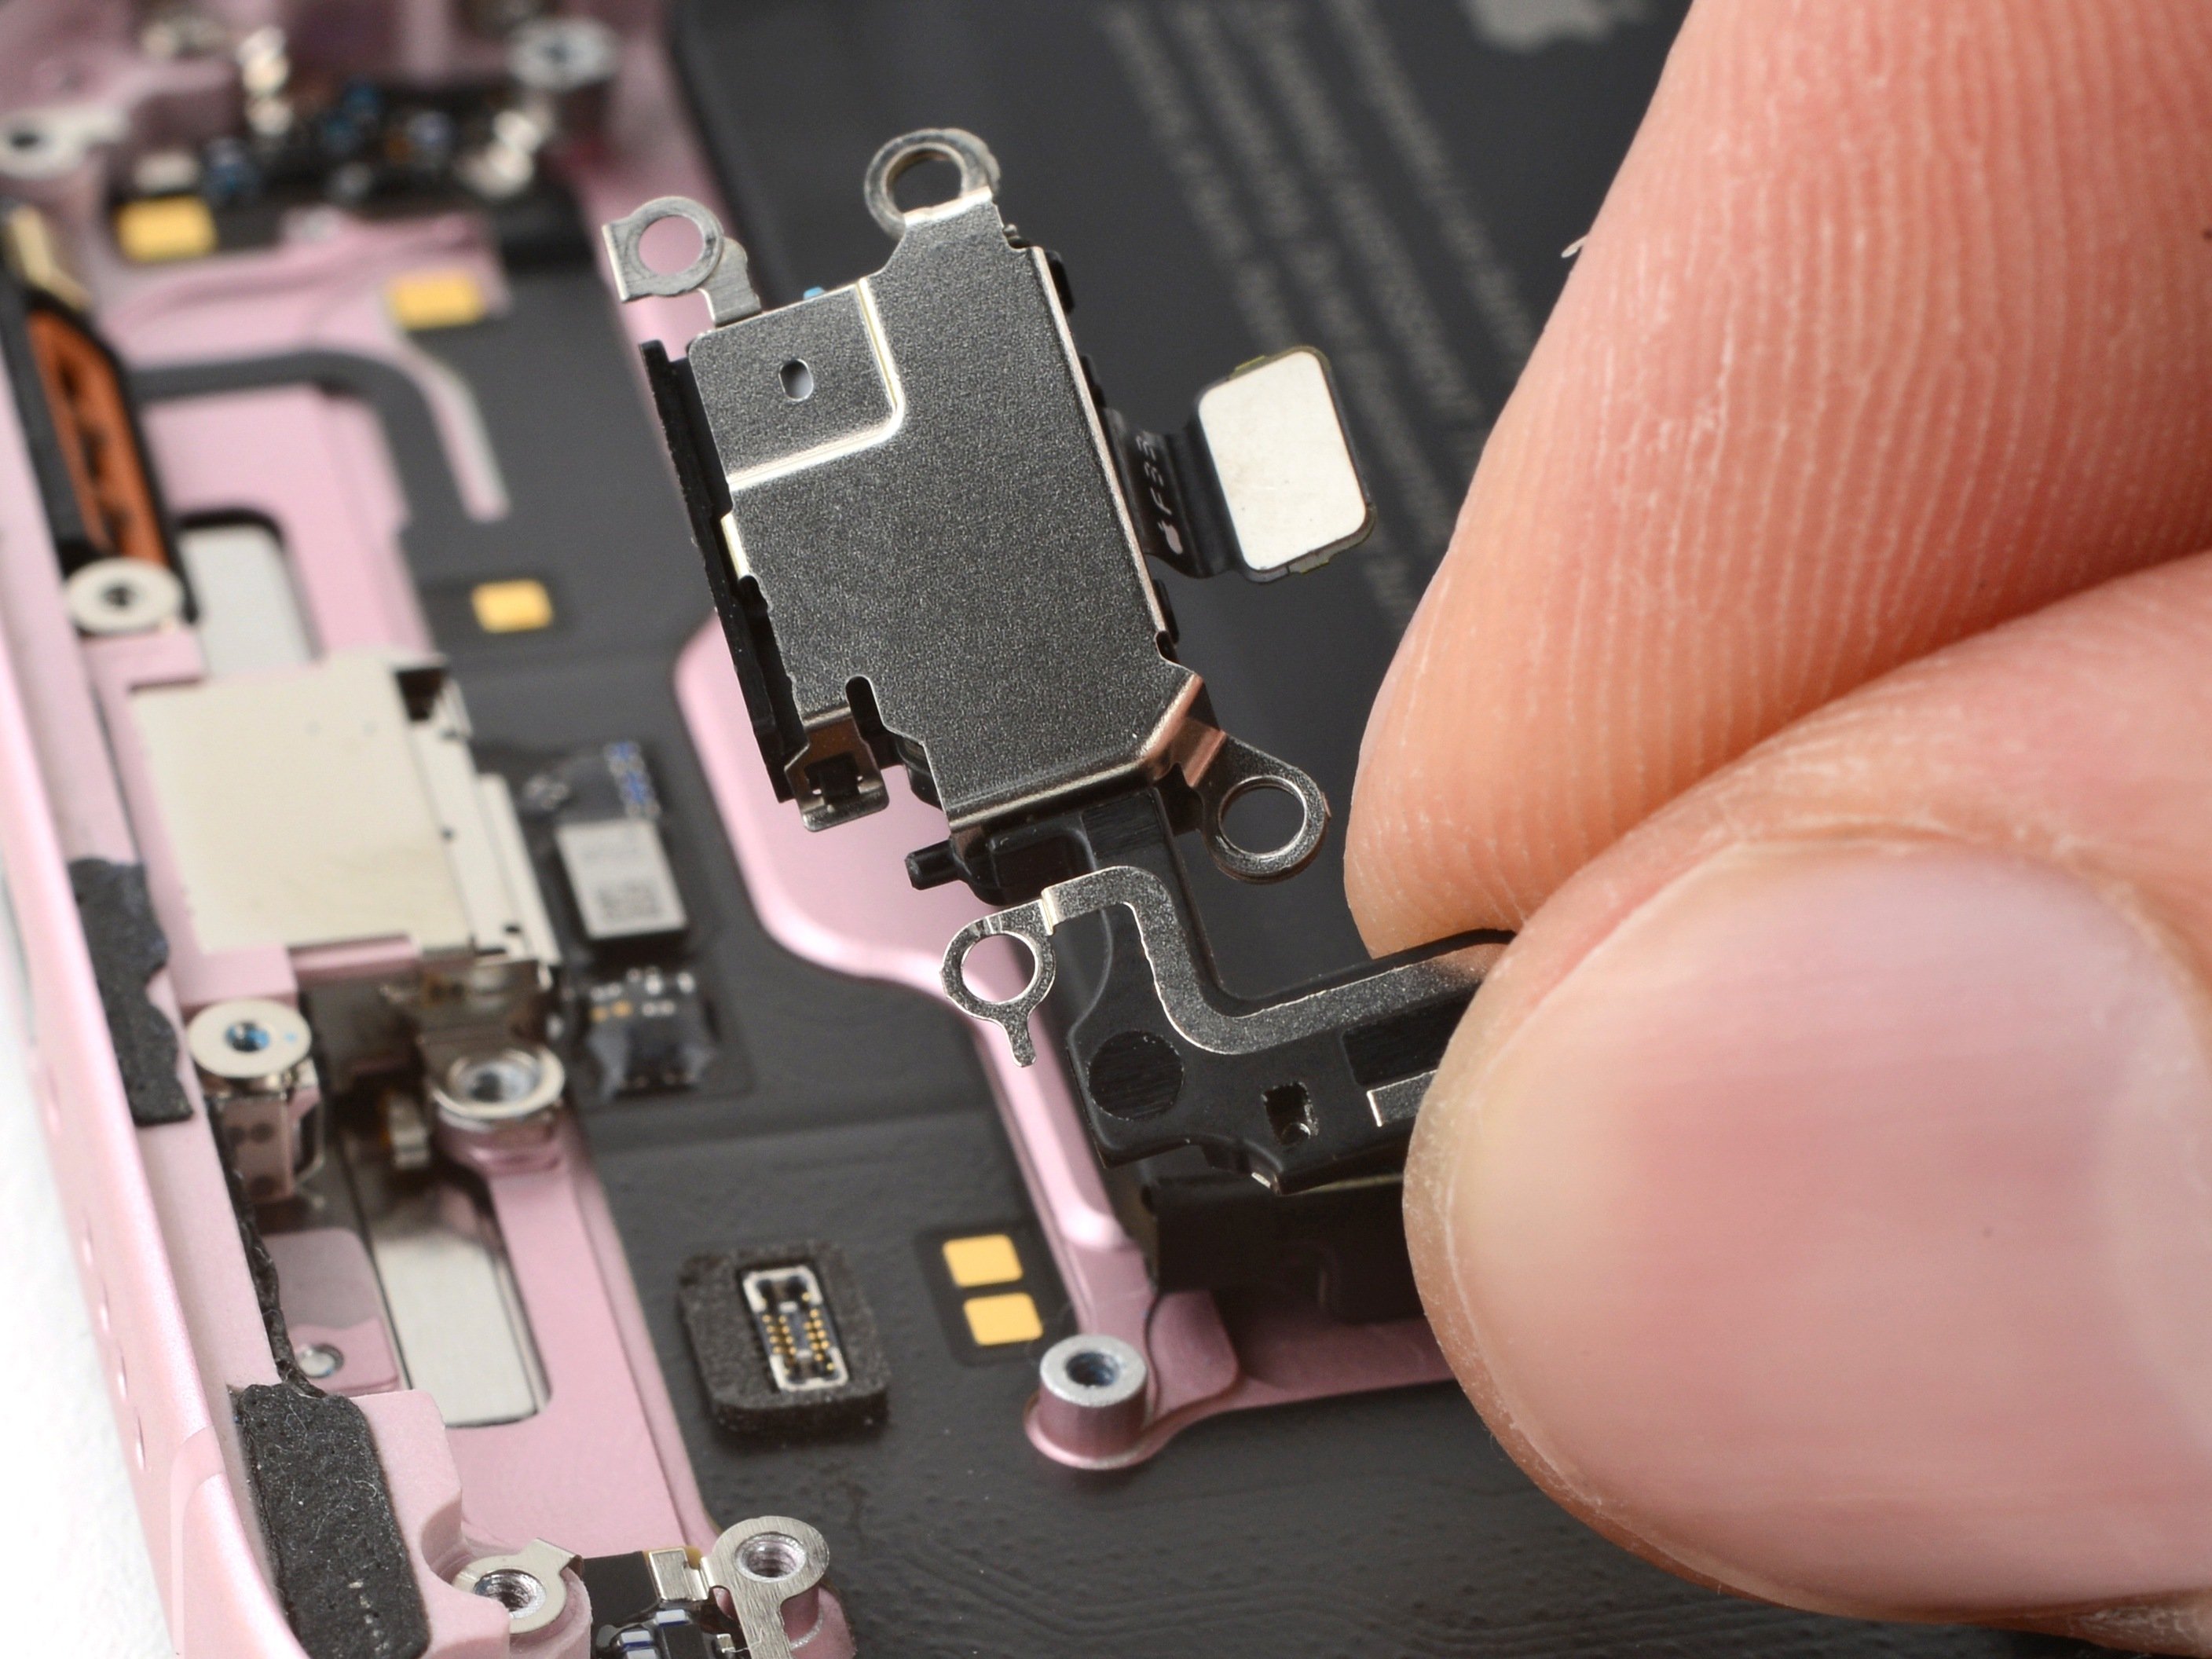
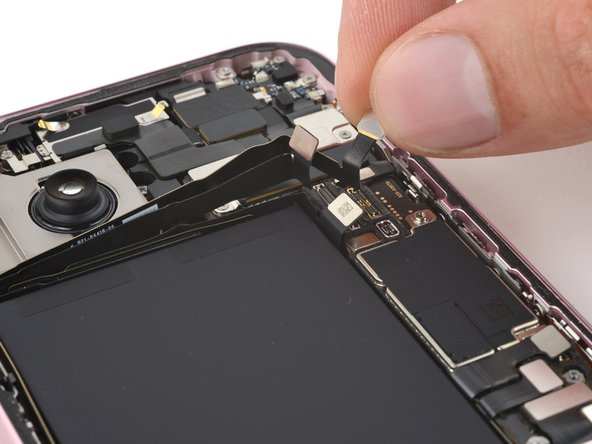
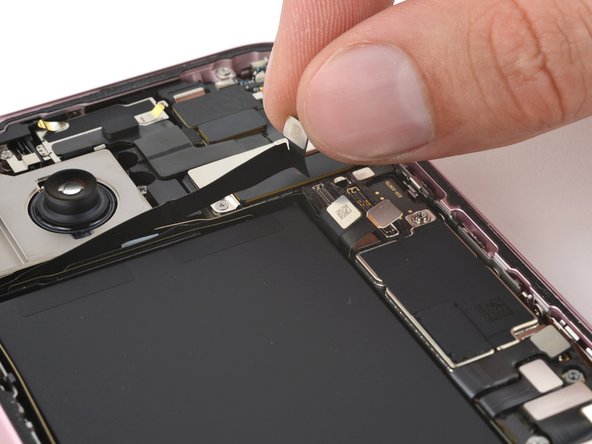
- Gently wiggle the tip of an opening pick under the two rear camera press connectors and the antenna press connector at the top right of the battery to carefully pop them loose.
Step 26

- Grab a Phillips #00 driver and carefully unscrew the three 2.2mm screws holding the rear cameras in place.
Step 27

Heads up: the two rear camera cables sneak under the antenna cable, so pulling out the rear camera isn’t as straightforward as it seems. Stick with us through the next two steps to carefully free those cables.
That just leaves the center one of the three press connectors still holding on tight.
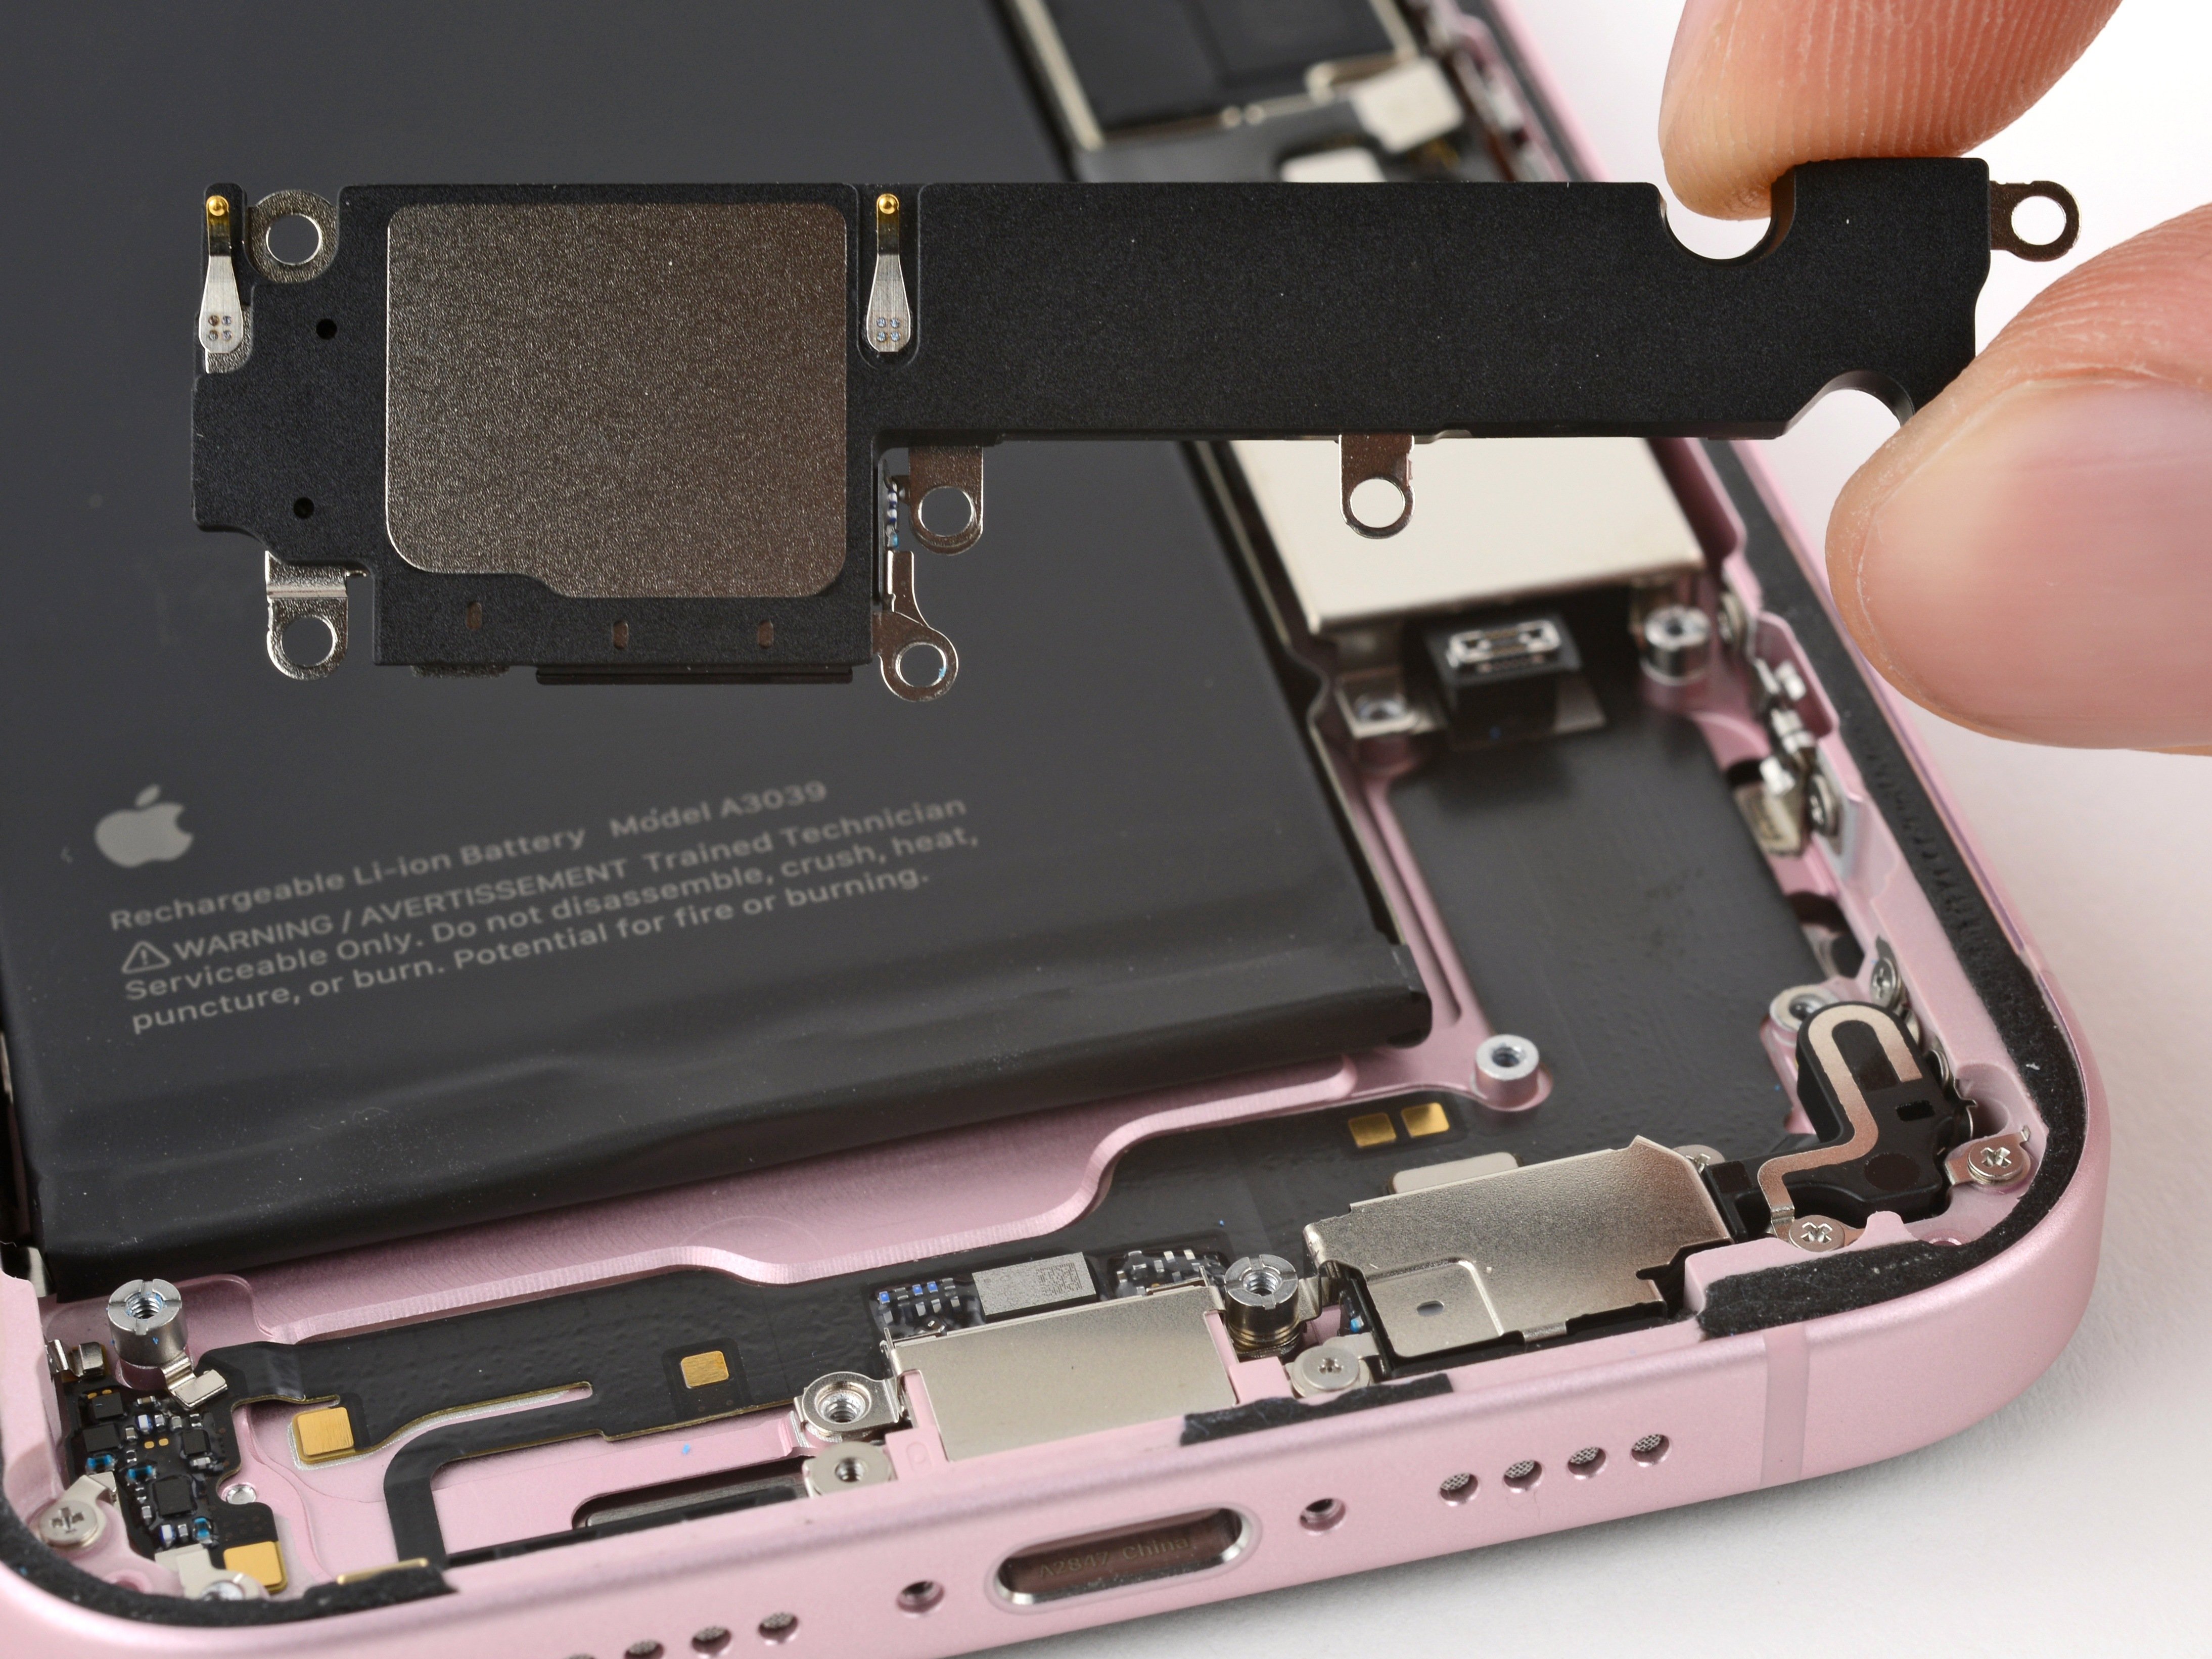
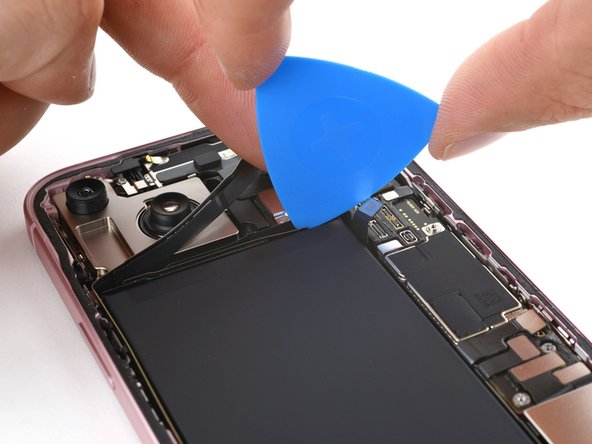
- Pinch those top and bottom press connectors between your fingers and gently lift their cables out of the channels lining the battery edge. Easy does it!
Step 28
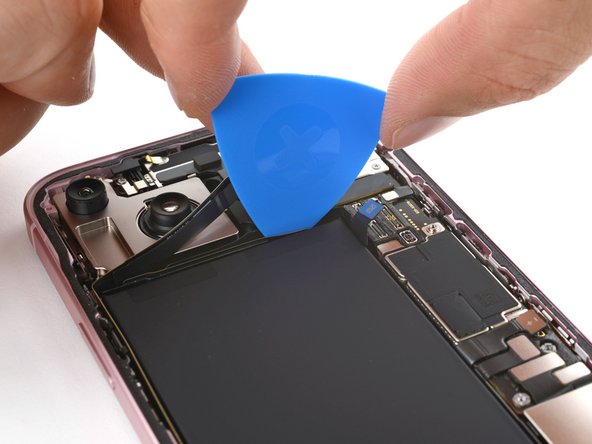

The middle press connector’s cable is stuck to a nearby cable along the top edge of the battery. In this step, you’ll carefully peel apart this sticky situation.
- Gently move the two cables you just freed to the side so they don't interfere with the middle press connector cable.
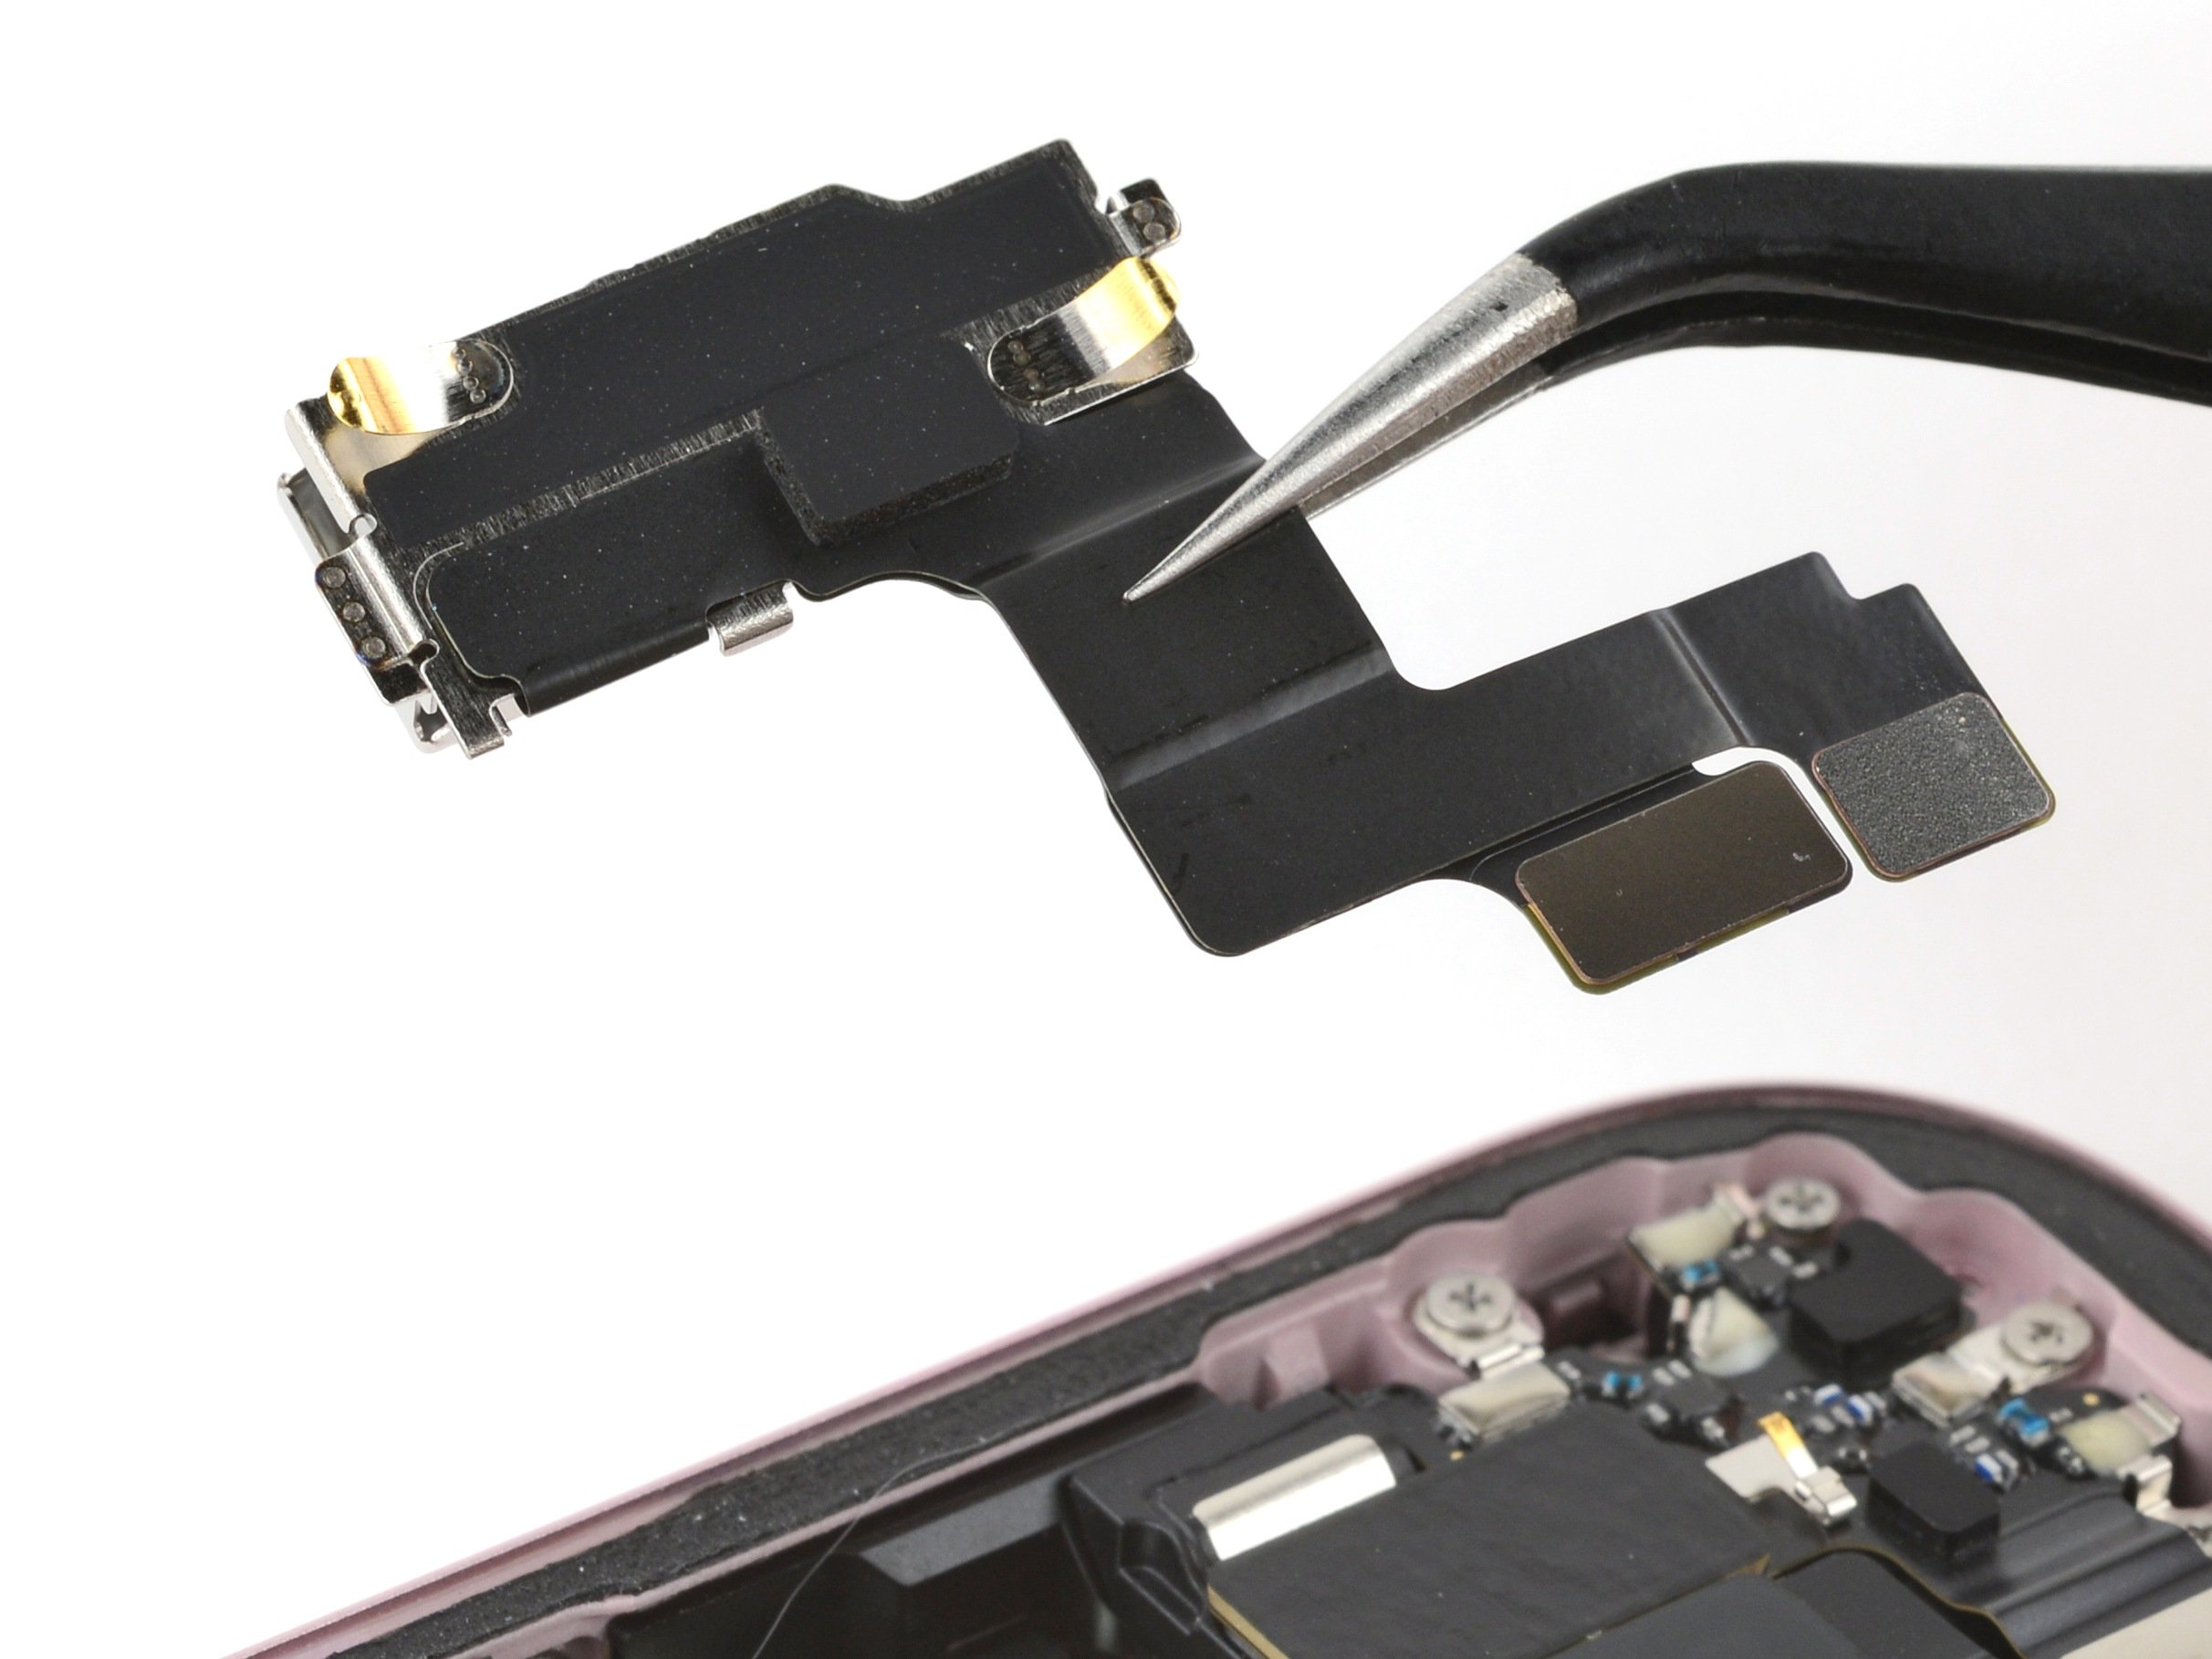
- Use the tip of your opening pick to carefully separate the adhesive between the middle press connector cable and its neighboring cable.
Step 29

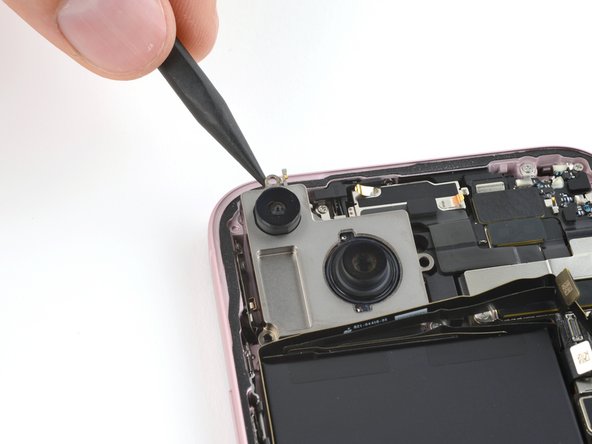
- Gently wedge the tip of your spudger under the top edge of the rear cameras and lift just enough until you can grab them with your fingers.
Tools Used
Step 30
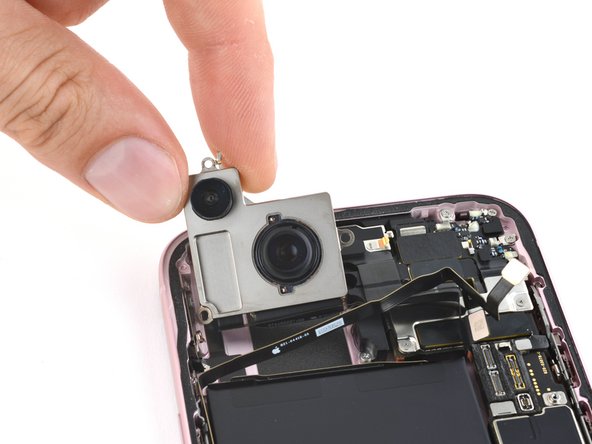
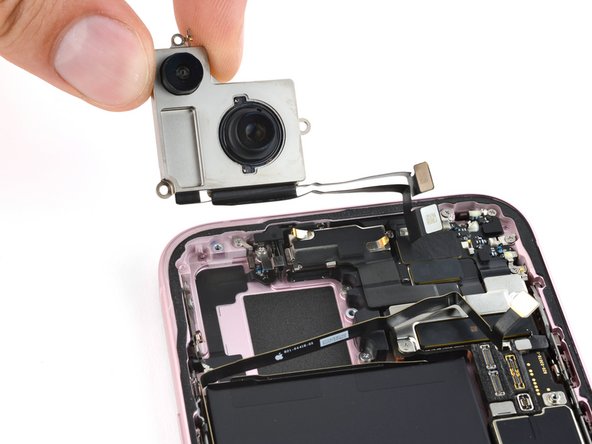

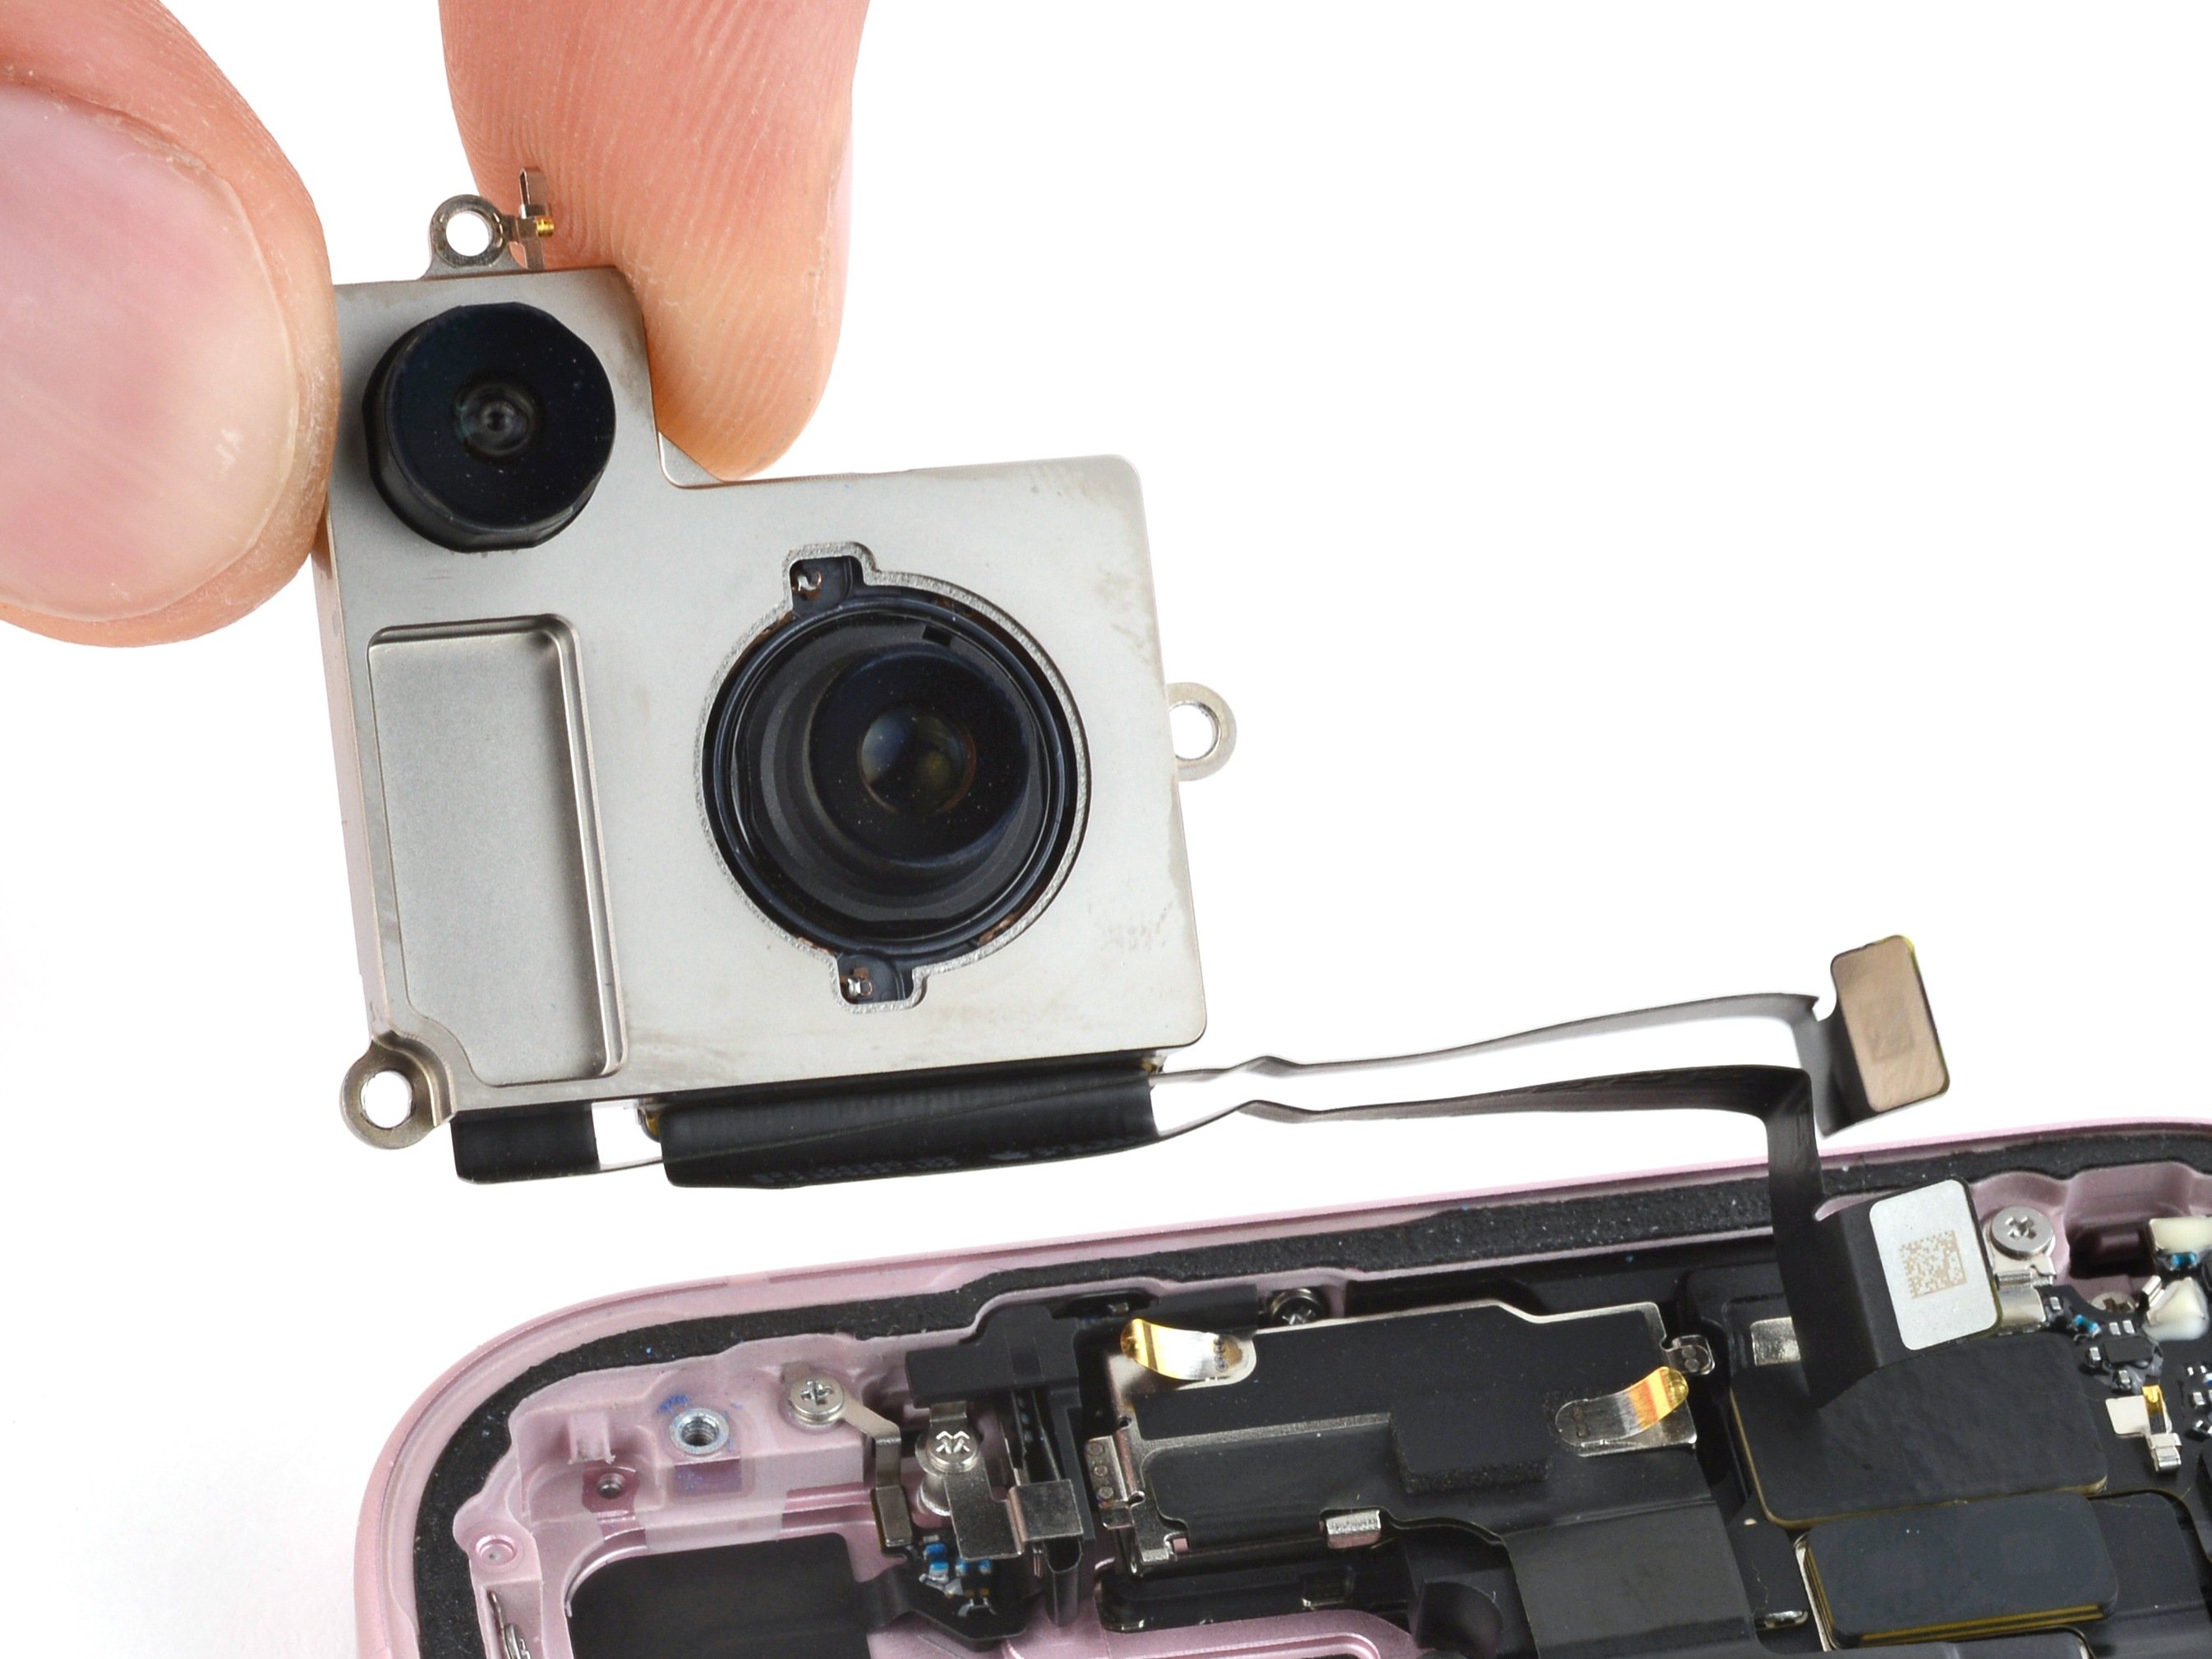
- Gently guide the rear cameras up toward the top of your phone, letting their cables slide right under the antenna cable—like they're sneaking past velvet ropes at a club.
- Lift out those rear cameras and set them aside. They're the VIPs of this step.
- When you put everything back together, make sure those camera cables party underneath the antenna cable. Check out this pic to keep your cable game strong and in order.