iPhone 15 Plus Screen Replacement
Duration: 45 minutes
Steps: 22 Steps
Ready to swap out that cracked screen on your iPhone 15 Plus? No worries, we've got you covered! A quick heads-up: you can't disconnect the battery during this repair, so take care not to use any metal tools or touch those exposed contacts. Also, due to Apple's parts pairing restrictions, after replacing the screen on iOS 17.6 or earlier, you might notice that True Tone and auto brightness don't work, even if you use an original Apple screen. But don't stress – on iOS 18 and later, you can recalibrate the screen using Apple's Repair Assistant to get everything back to normal with genuine parts. Need help? If you’re stuck or just don’t feel like doing this on your own, you can always schedule a repair.
Step 1


Let your phone's battery dip under 25% before you start—nobody wants an energetic lithium-ion surprise!
- Disconnect any cables plugged into your phone.
- Press and hold the power button along with either of the volume buttons, then slide to turn off your phone.
Step 2


Ensure there's a nice, flat spot near the bottom edge that's large enough for a suction cup to grab on to.
- If your screen or back glass is seriously cracked, slap some overlapping strips of packing tape over it to keep things together and make taking it apart a breeze.
Tools Used

Step 3


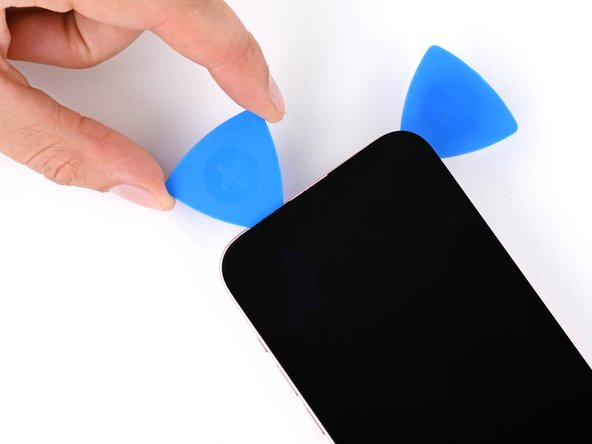
Be careful not to insert the pick too far, as it can cause some damage. To avoid that, try marking the pick to keep it safe.
You can also mark the other corners of the pick with different measurements to ensure precision.
Alternatively, stick a coin to the pick about 3mm from the tip using tape to keep things on track.
- Grab your opening pick and measure 3 mm from the tip—mark it with a permanent marker so you know exactly where the magic happens.
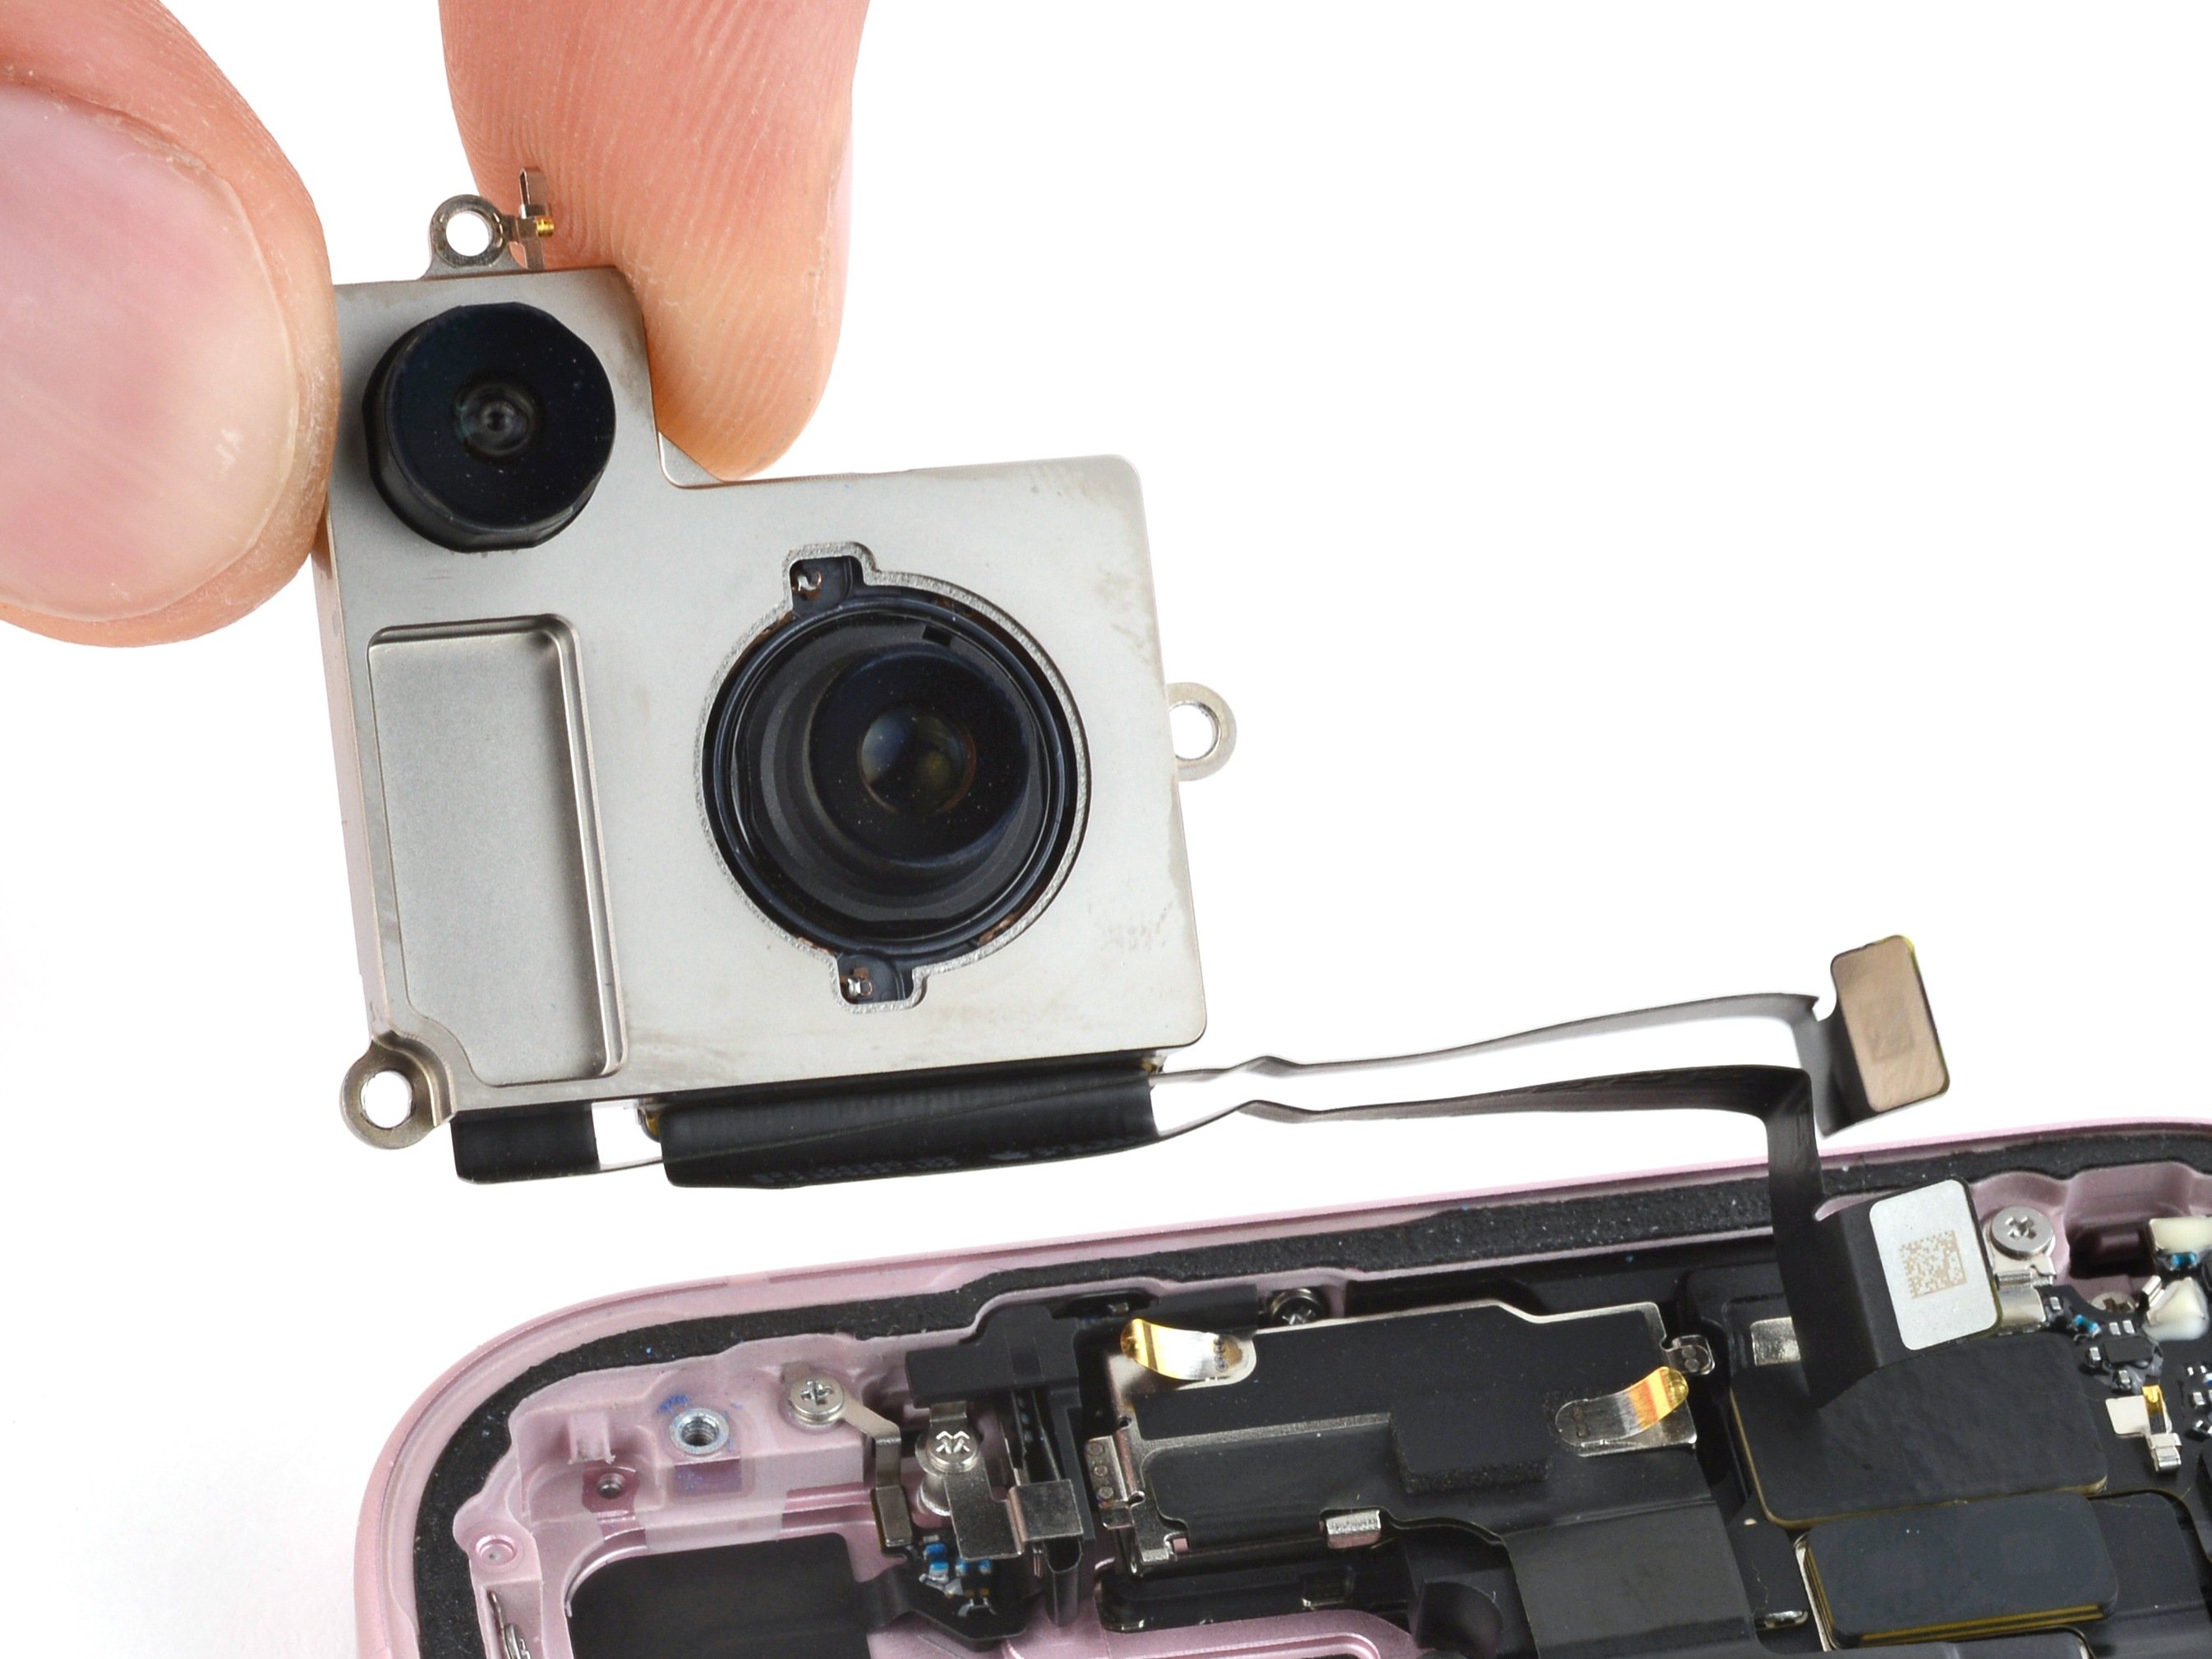
Step 4

- Grab your trusty P2 pentalobe driver and unscrew the two 7.7 mm-long screws flanking the charging port. Easy does it!
Step 5

Heads up! Don’t crank up the heat too much—the battery isn’t a fan of high temperatures and can get damaged easily.
- Grab your trusty hair dryer or heat gun and give the bottom edge of the screen a warm hug until it feels nice and toasty!
Tools Used


Step 6


- Grab a suction handle and stick it on the bottom edge of your screen.
- Give that handle a nice, firm pull to open up a little gap between the screen and the frame.
- Now, slide the tip of an opening pick into that gap you've just made.
Tools Used

Step 7

Heads up! When you're slicing through the adhesive holding the screen, watch out for these spots to avoid any oops moments:
- Heads up: there are two very sensitive cables connecting the screen to your phone—one hanging out just above the mute switch, and the other chilling halfway between the volume down button and the bottom edge.
- You’ll find several spring contacts all around the phone’s perimeter. Don’t get too adventurous with your pick in these spots—keep it shallow and avoid bending those contacts.
Step 8


Keep your opening pick shallow—no deeper than 3 mm along the bottom edge to avoid any surprises!
- Work your pick back and forth along the bottom edge to loosen up that stubborn adhesive.
- Keep the pick chilling in the bottom right corner so the adhesive doesn’t sneakily stick itself back together.
Step 9

- Warm up the right edge of the screen until it feels nice and toasty to the touch.
Step 10


Keep that pick no deeper than 5 mm along the right edge, okay? We want to keep things safe and sound!
- Pop a second opening pick in just to the right of the first one.
- Carefully slide that pick down the right edge of the screen to loosen the clips and break through the adhesive holding it in place.
Step 11

- Warm up the top edge of the screen until it feels nice and toasty!
Step 12

Keep your pick no deeper than 3 mm along the top edge—let's keep things light and breezy up there!
- Pop in a third opening pick at the top right corner and glide it along the top edge to unclip those two clips and break free from the adhesive holding it down. You're doing great!
Step 13

- Gently warm up the left side of the screen until it feels nice and toasty to the touch.
Step 14


Keep your pick no deeper than 3 mm along the left edge to steer clear of those two screen cables—you don’t want to mess with those connections!
- Gently slide your pick around the top left corner of the screen and down the left edge to pop the clips and break through the adhesive holding things tight.
Step 15


If the screen is feeling a bit stubborn, take a stroll around the edges and see if there are any sneaky spots of adhesive or clips that need a little extra love.
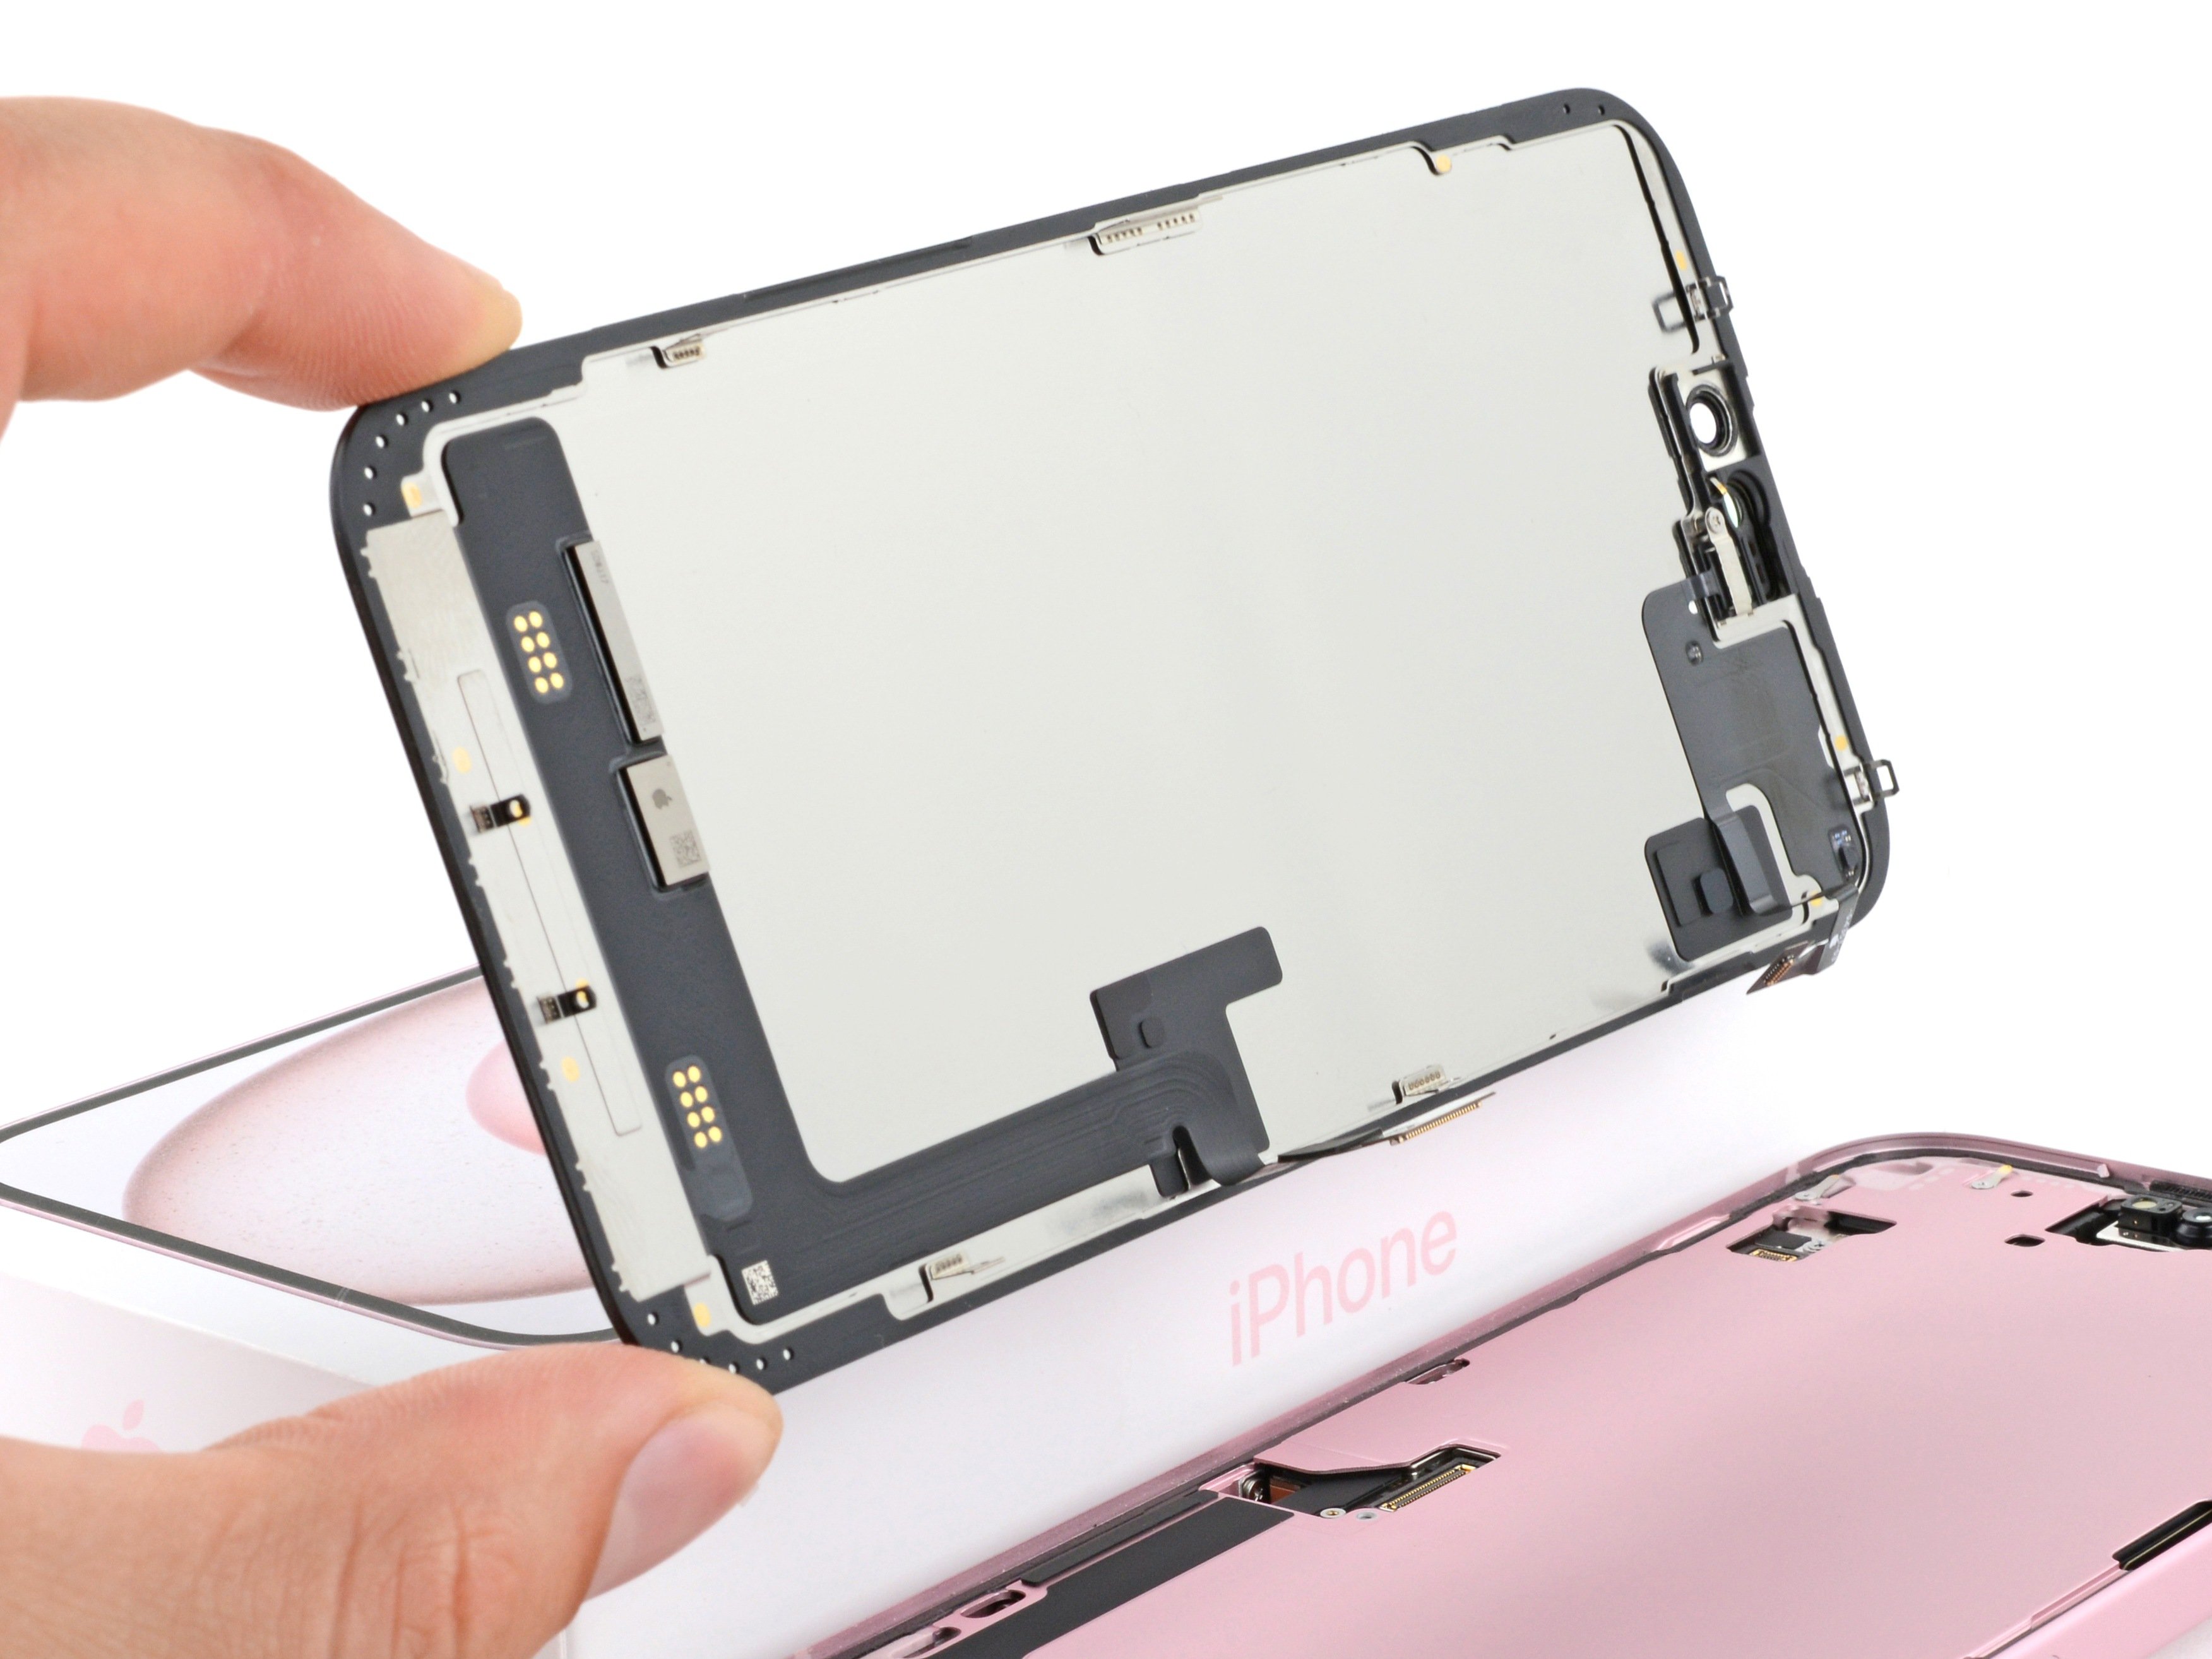
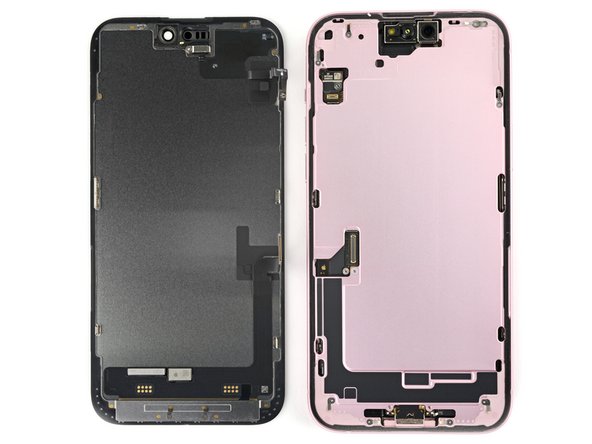
- Carefully swing the screen open from the left edge of the phone, like you're gently opening a book.
- Rest the screen on something soft but sturdy, like a box or cushion, so the cables don't get too stressed.
Step 16

- Grab your trusty tri-point Y000 driver and unscrew that 0.9mm-long screw holding the front sensor connector cover in place. It's a quick little step to get you on the way!
Step 17


- Grab your tweezers and gently lift the cover to a 90-degree angle. You got this!
- Now, carefully unhook the cover from its slot on the logic board. Slow and steady wins the race!
- Remove the cover like a pro, nice and easy.
- When putting it back together, remember: start by inserting the cover at a 90-degree angle, then hook it back in place before laying it flat on the press connector.
Tools Used

Step 18


Line up the connector with its socket, give one side a gentle push until you hear that satisfying click, and then do the same for the other side. It’s like a puzzle piece, but way easier!
- Gently slide the tip of your opening pick under the front sensor press connector and carefully pop it loose.
Step 19

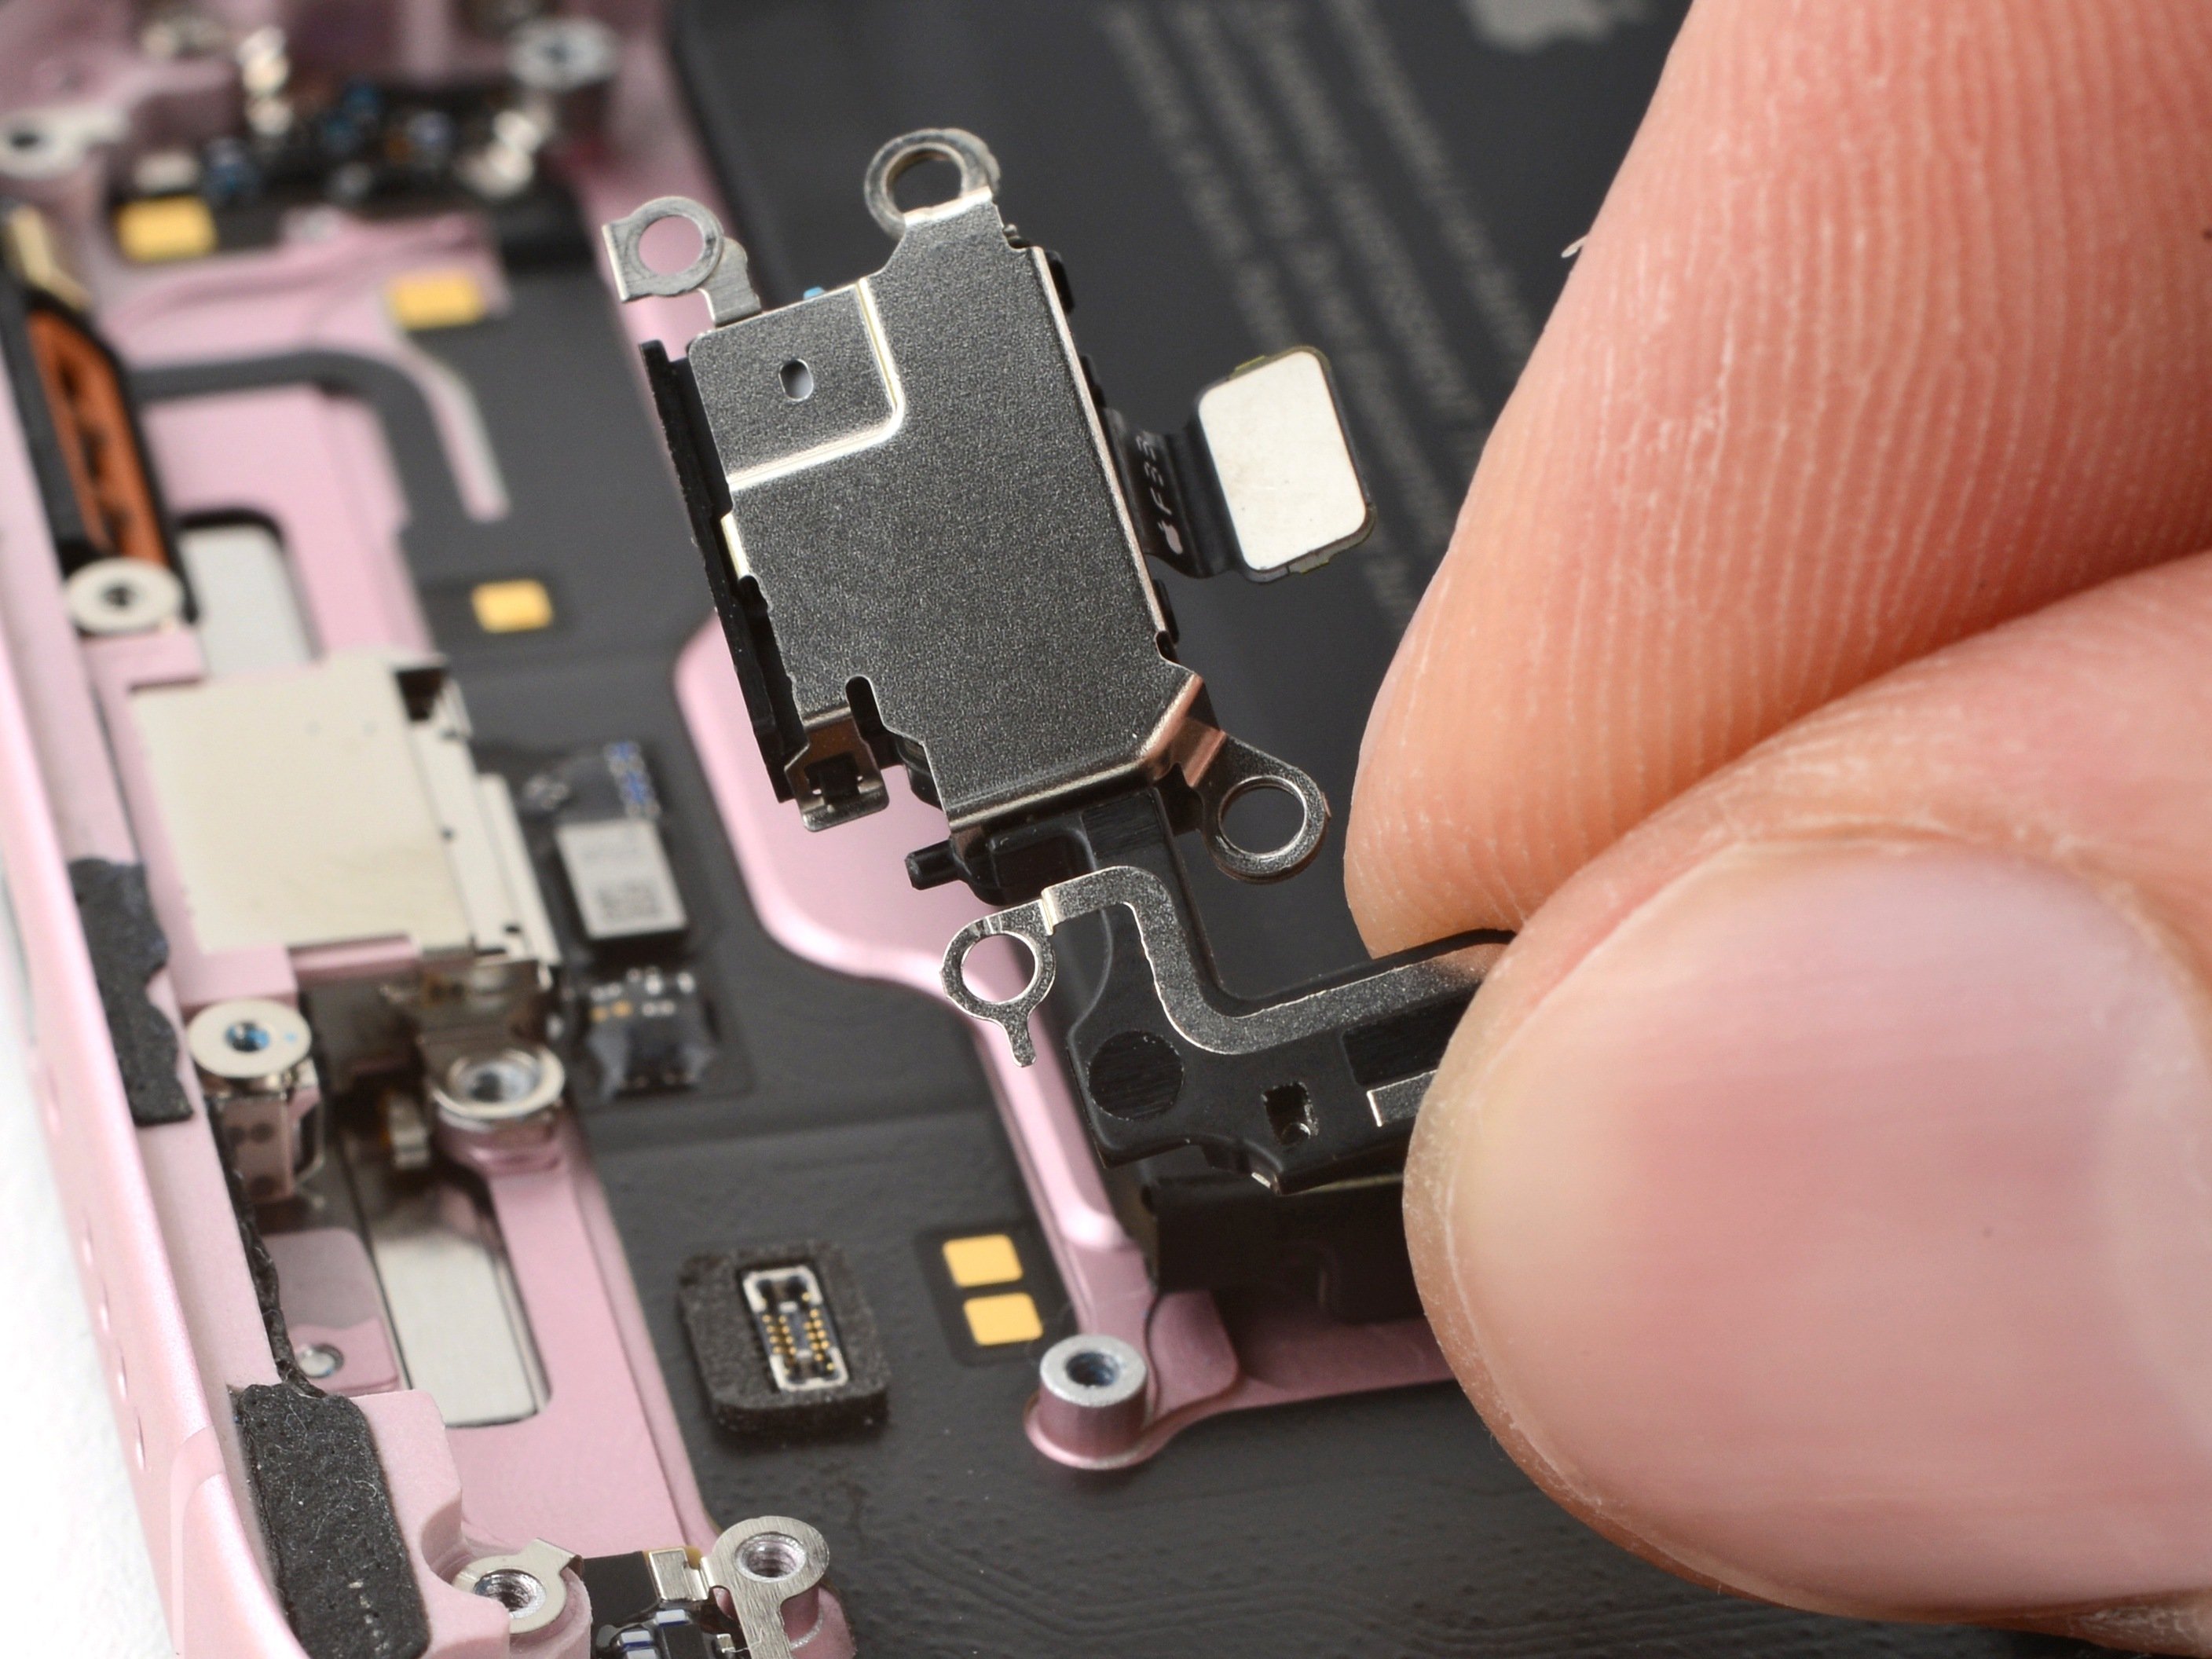
- Grab your tri-point Y000 driver and carefully unscrew the tiny 0.9 mm screw that's holding down the screen connector cover. You've got this!
Step 20


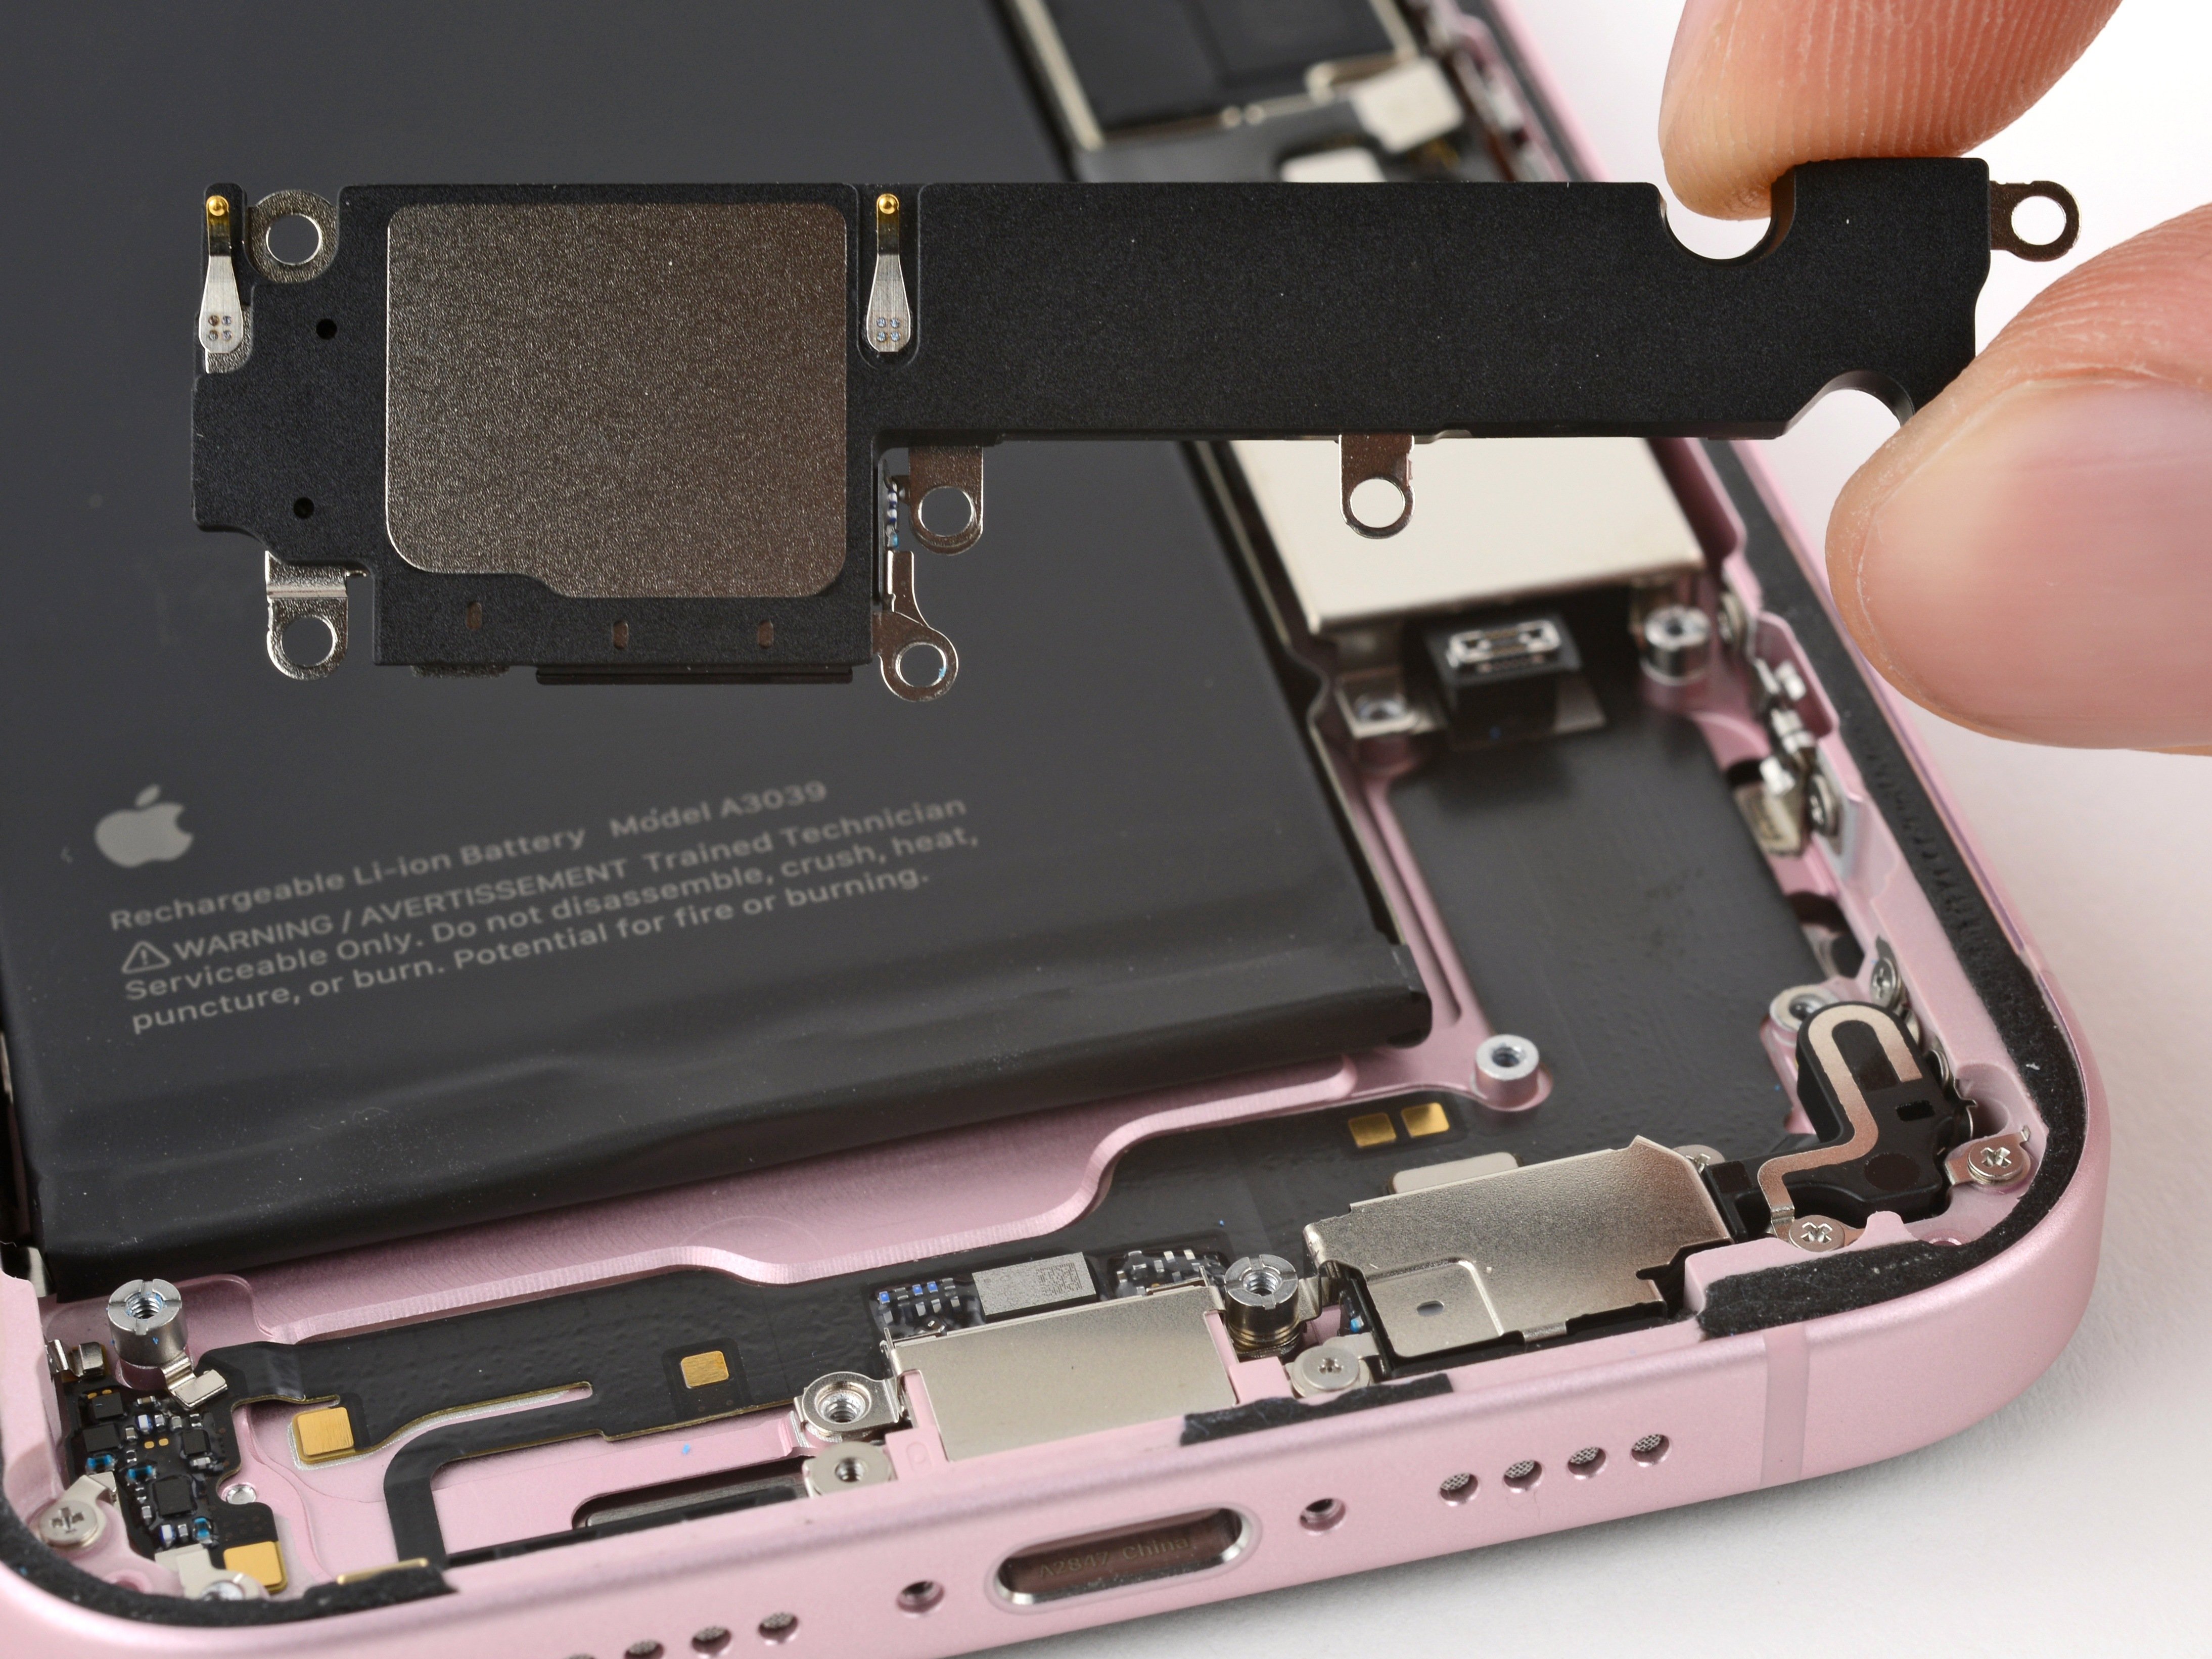
- Grab those tweezers and gently pop the cover off its little hook on the logic board. It’s hanging in there, but you’ve got this.
- Lift the cover away and set it aside like a pro.
Tools Used
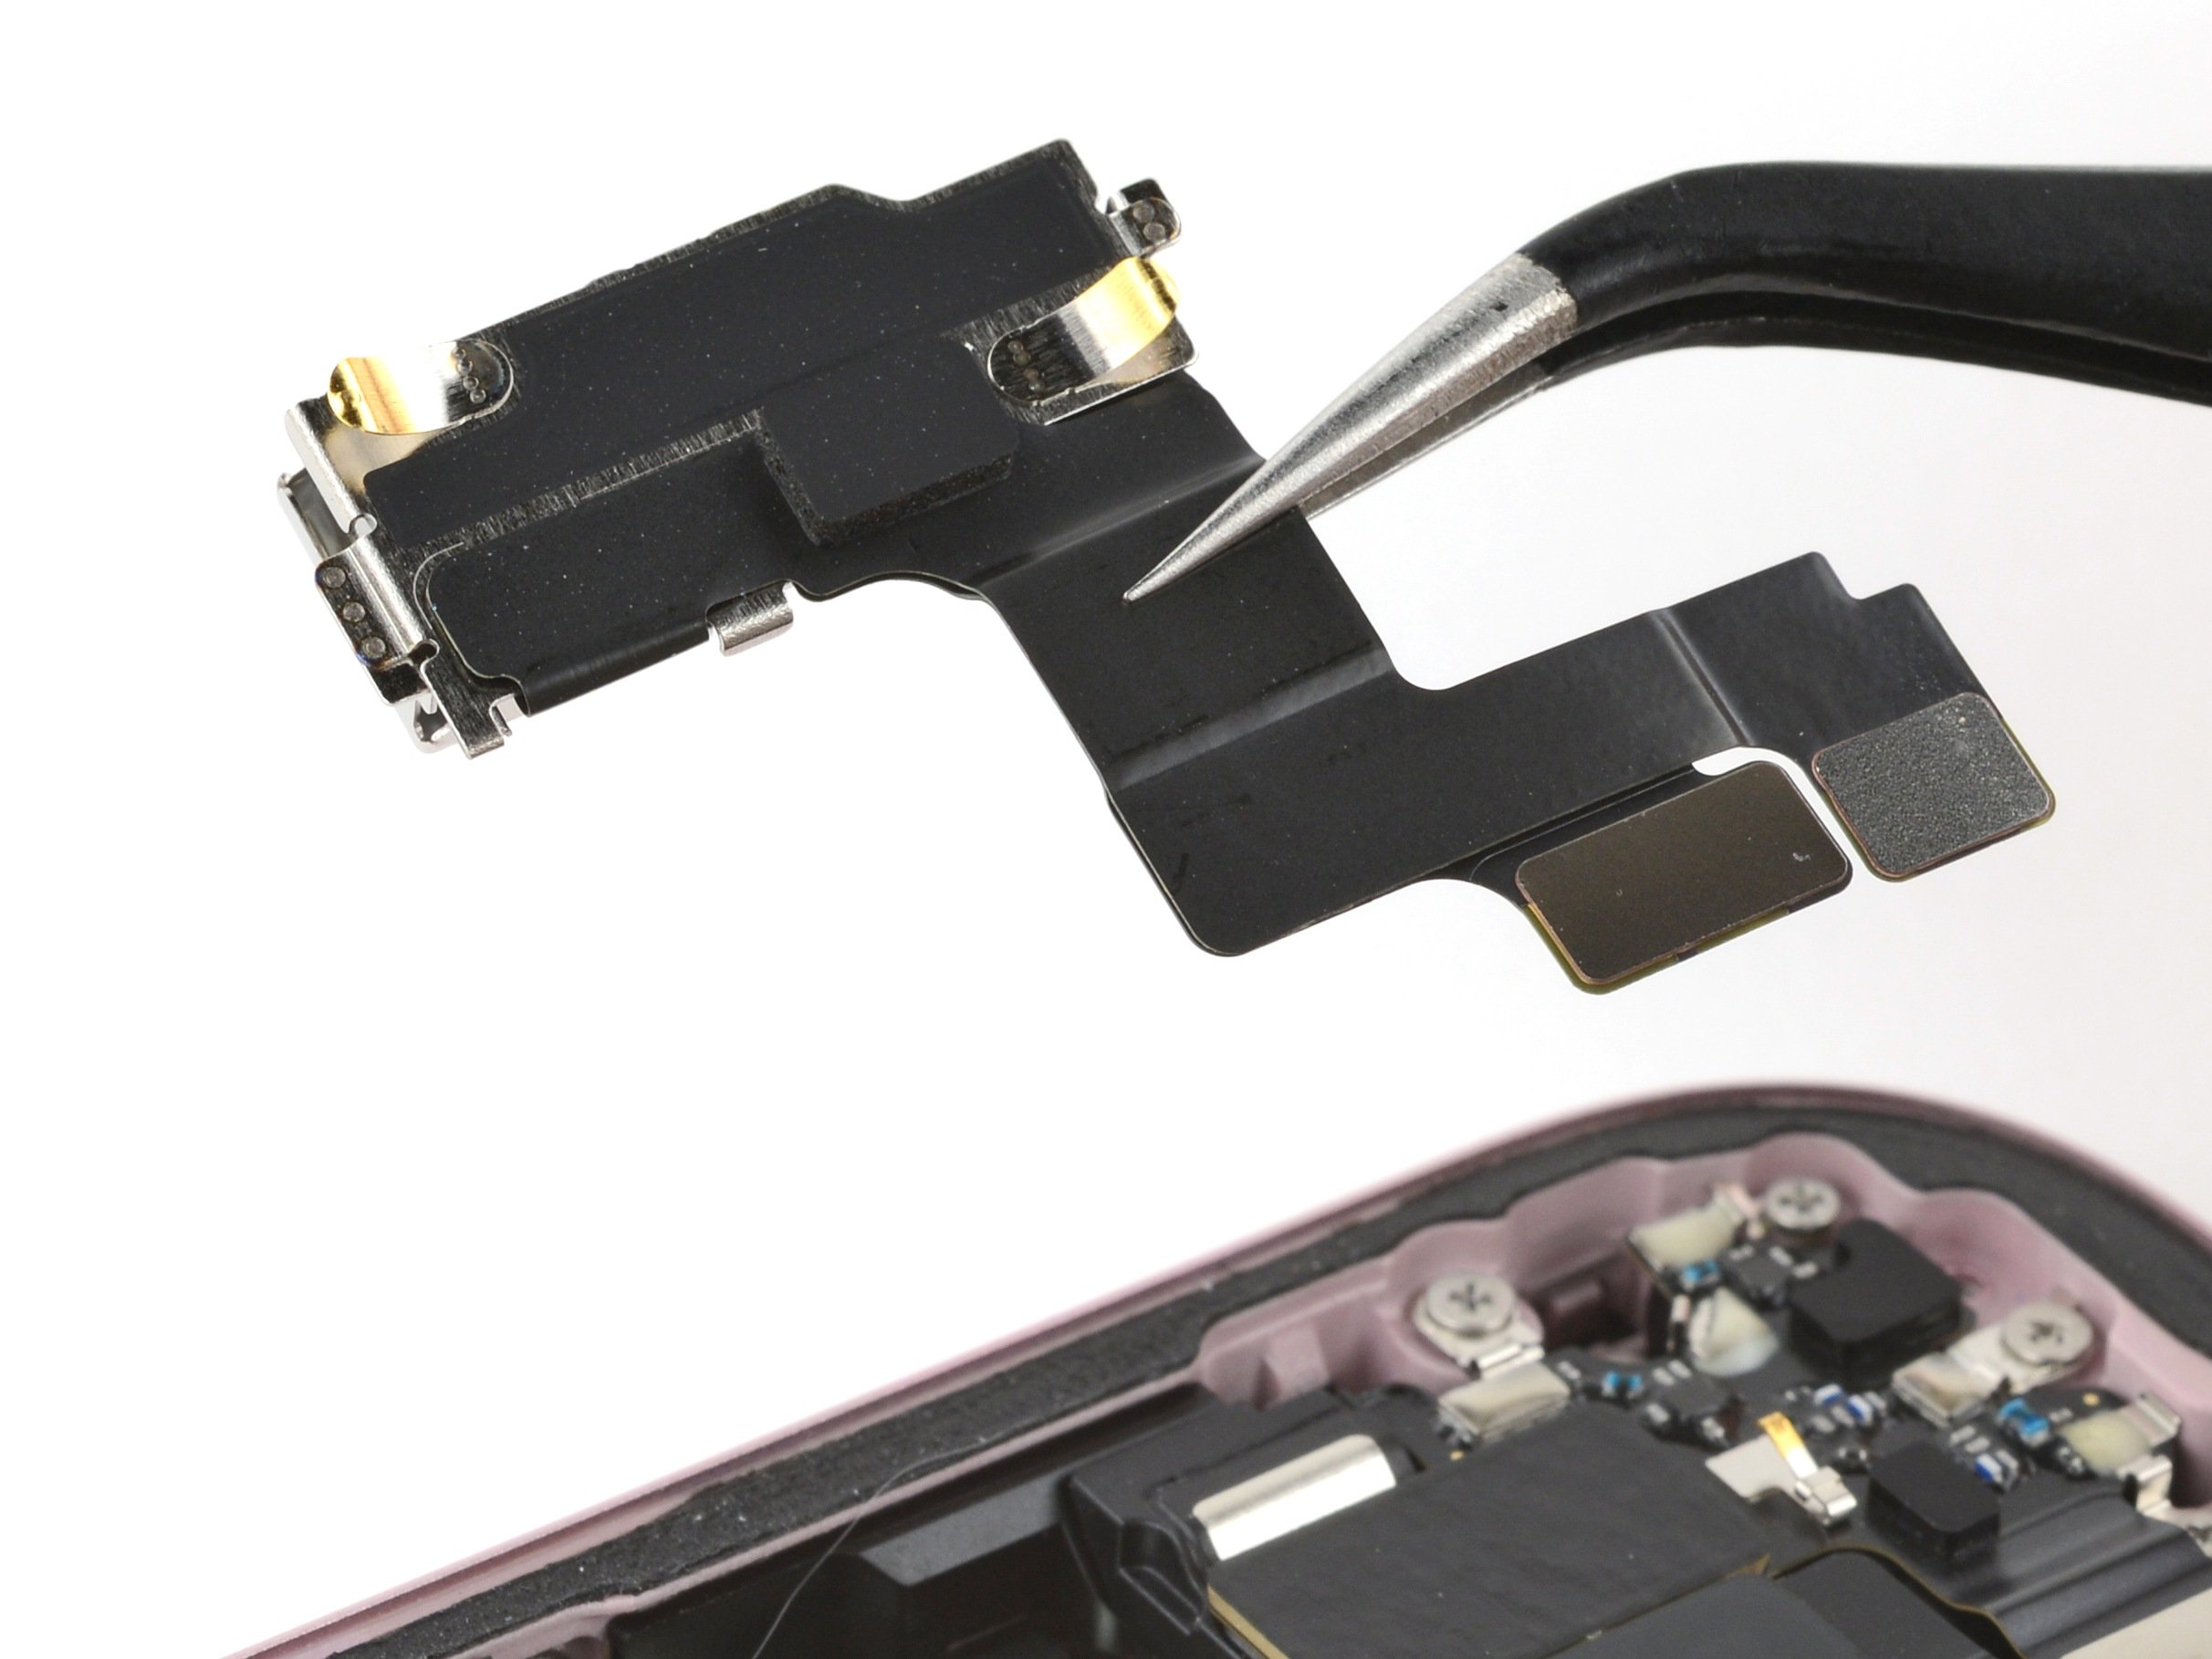
Step 21


- Gently slide the tip of your opening pick under the screen press connector and carefully pop it loose.
Step 22


Watch out for those spring contacts while you clean the frame—treat them gently so they don't get bent out of shape!
- When it’s time to put your phone back together, use this guide to reapply the adhesive and snap your screen in place.
- After finishing your repair, depending on the part you swapped, you might be able to calibrate it with Apple’s Repair Assistant starting with iOS 18. Just update your device, head to Settings → General → About → Parts & Service History, tap Restart & Finish Repair, and follow the steps on screen.
- Remember to drop off your electronic waste at an R2 or e-Stewards certified recycler to keep things eco-friendly.
- If something didn’t go quite right, don’t stress—try some basic troubleshooting or check out our Answers community for tips. And if you’re stuck, you can always schedule a repair with us!