iPhone 15 Plus Taptic Engine Replacement
Duration: 45 minutes
Steps: 29 Steps
Ready to give your iPhone 15 Plus a little TLC? This guide will help you swap out the Taptic Engine! If your vibrations are feeling a bit off—like a rattly tambourine or just not happening at all—it’s time for a replacement. Don't forget to grab some back glass adhesive to wrap up this repair like a pro!
Step 1


Let your phone's battery dip below 25%. A fully charged lithium-ion battery can be a bit moody and risky. Better safe than sorry!
- Disconnect all cables from your phone to keep things neat.
- Press and hold the power button along with either volume button, then slide to shut down your phone.
Step 2


Find a flat spot near the bottom edge that’s big enough for the suction cup to stick. A nice clean area is perfect for this step!
- If your screen or back glass is seriously cracked, slap some overlapping strips of packing tape over the glass to keep yourself safe and make taking it apart a whole lot easier.
Step 3


Don’t let your pick go rogue—if you push it in too far, it could mess with your device’s insides. Mark your pick to keep things safe and sound.
Feeling fancy? Add marks to the other corners at different depths for extra precision.
Or, for a quick hack, tape a coin 3 mm from the tip of your pick for an instant depth stop.
- Mark a spot 3 mm from the tip on your opening pick using a permanent marker—precision is key, but no pressure!
Step 4

- Grab your trusty P2 pentalobe driver and let's get those two 7.7 mm-long screws out of the way, one on each side of the charging port. You've got this!
Step 5

Watch out! Don't let your phone get too toasty—its battery can be a bit dramatic when it comes to heat. Keep it cool for a smooth repair process!
- Grab a hair dryer or heat gun and gently warm up the bottom edge of the back glass until it feels nice and toasty to the touch.
Tools Used


Step 6

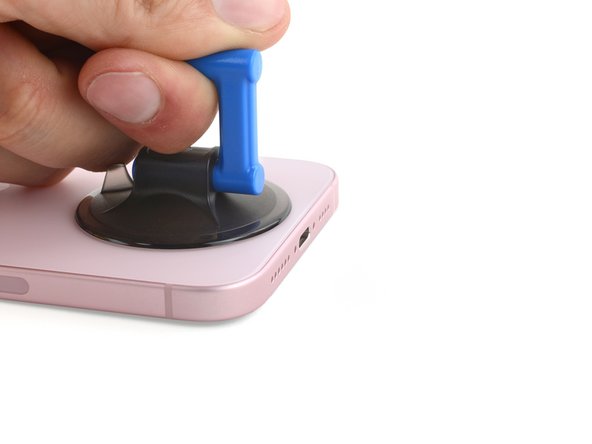
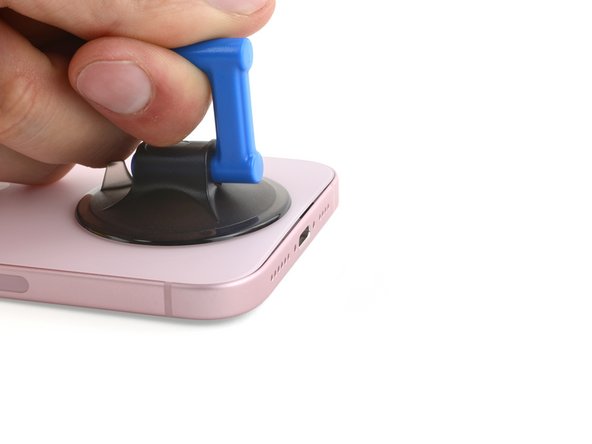
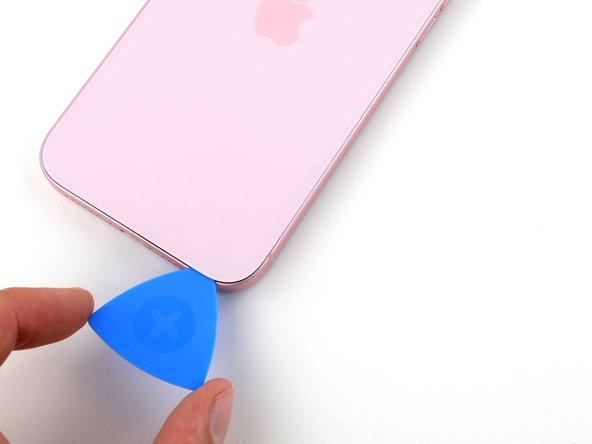
- Grab a suction handle and stick it right on the bottom edge of that back glass.
- Give it a solid, steady pull to pop open a little gap between the back glass and the frame. You've got this!
- Now, slip the tip of an opening pick into that gap you've just created.
Tools Used

Step 7

As you work on slicing through the adhesive holding the back glass, keep an eye on these spots to avoid any surprises.
- Watch out! There's a fragile cable linking the back glass to the phone right by the volume up button. Keep your pick away from this spot to avoid slicing through it.
- Around the edges of the phone, you'll find several spring contacts. Be sure not to push your pick in deeper than you need to at each step to keep these contacts safe and sound.
Step 8


Keep that opening pick no deeper than 5 mm along the bottom edge, or you might stir up some trouble!
- Work your pick back and forth along the bottom edge—just a little dance to break up the adhesive.
- Leave your pick chilling in the bottom right corner so the sticky stuff doesn’t sneak back together.
Step 9

- Warm up the right edge of the back glass until it feels nice and toasty to the touch.
Step 10


Keep your pick shallow—no deeper than 7 mm along the right edge to stay safe.
Avoid slicing near the volume buttons to keep that wireless charging cable happy and intact.
- Twist your pick around the bottom right corner and slide it halfway up the right edge until you hit a firm stop from a clip holding the back glass in place.
- Keep that pick wedged in to stop the adhesive from snapping back together.
Step 11

- Warm up the left edge of the back glass until it feels nice and toasty to the touch.
Step 12


Keep your pick shallow—no deeper than 5 mm along the left edge, please!
- Slip a second pick into the bottom edge—like you’re sneaking an extra fry.
- Spin that pick around the bottom left corner with a little finesse.
- Slide it all the way up to the top left corner to loosen up the sticky stuff.
- Keep the pick in place so the adhesive doesn’t get any ideas about sticking back together.
Step 13

- Warm up the top edge of the back glass until it feels nice and toasty to the touch.
Step 14


Keep your pick shallow—no more than 3 mm—when working along the top edge to stay safe and sound!
You’ll probably feel and hear a couple of satisfying clicks as those top clips pop free.
- Give your second opening pick a little twirl around the top left corner and glide it over to the top right corner to break free that adhesive. You've got this!
- Keep that pick right where it is to make sure the adhesive doesn't pull a sneaky move and seal back up.
Step 15

- Warm up the top right corner of the back glass until it's toasty—just enough to make it easy to work with.
Step 16


Keep your pick no deeper than 4 mm along the right edge to avoid any surprises.
- Swing the second opening pick around that top right corner, then glide it over to the volume up button—let’s show that adhesive who’s boss!
Step 17


If the back glass is giving you trouble, take a quick stroll around the edges to see if there’s any missed adhesive or clips that are still hanging on. A little extra attention here can save you some frustration!
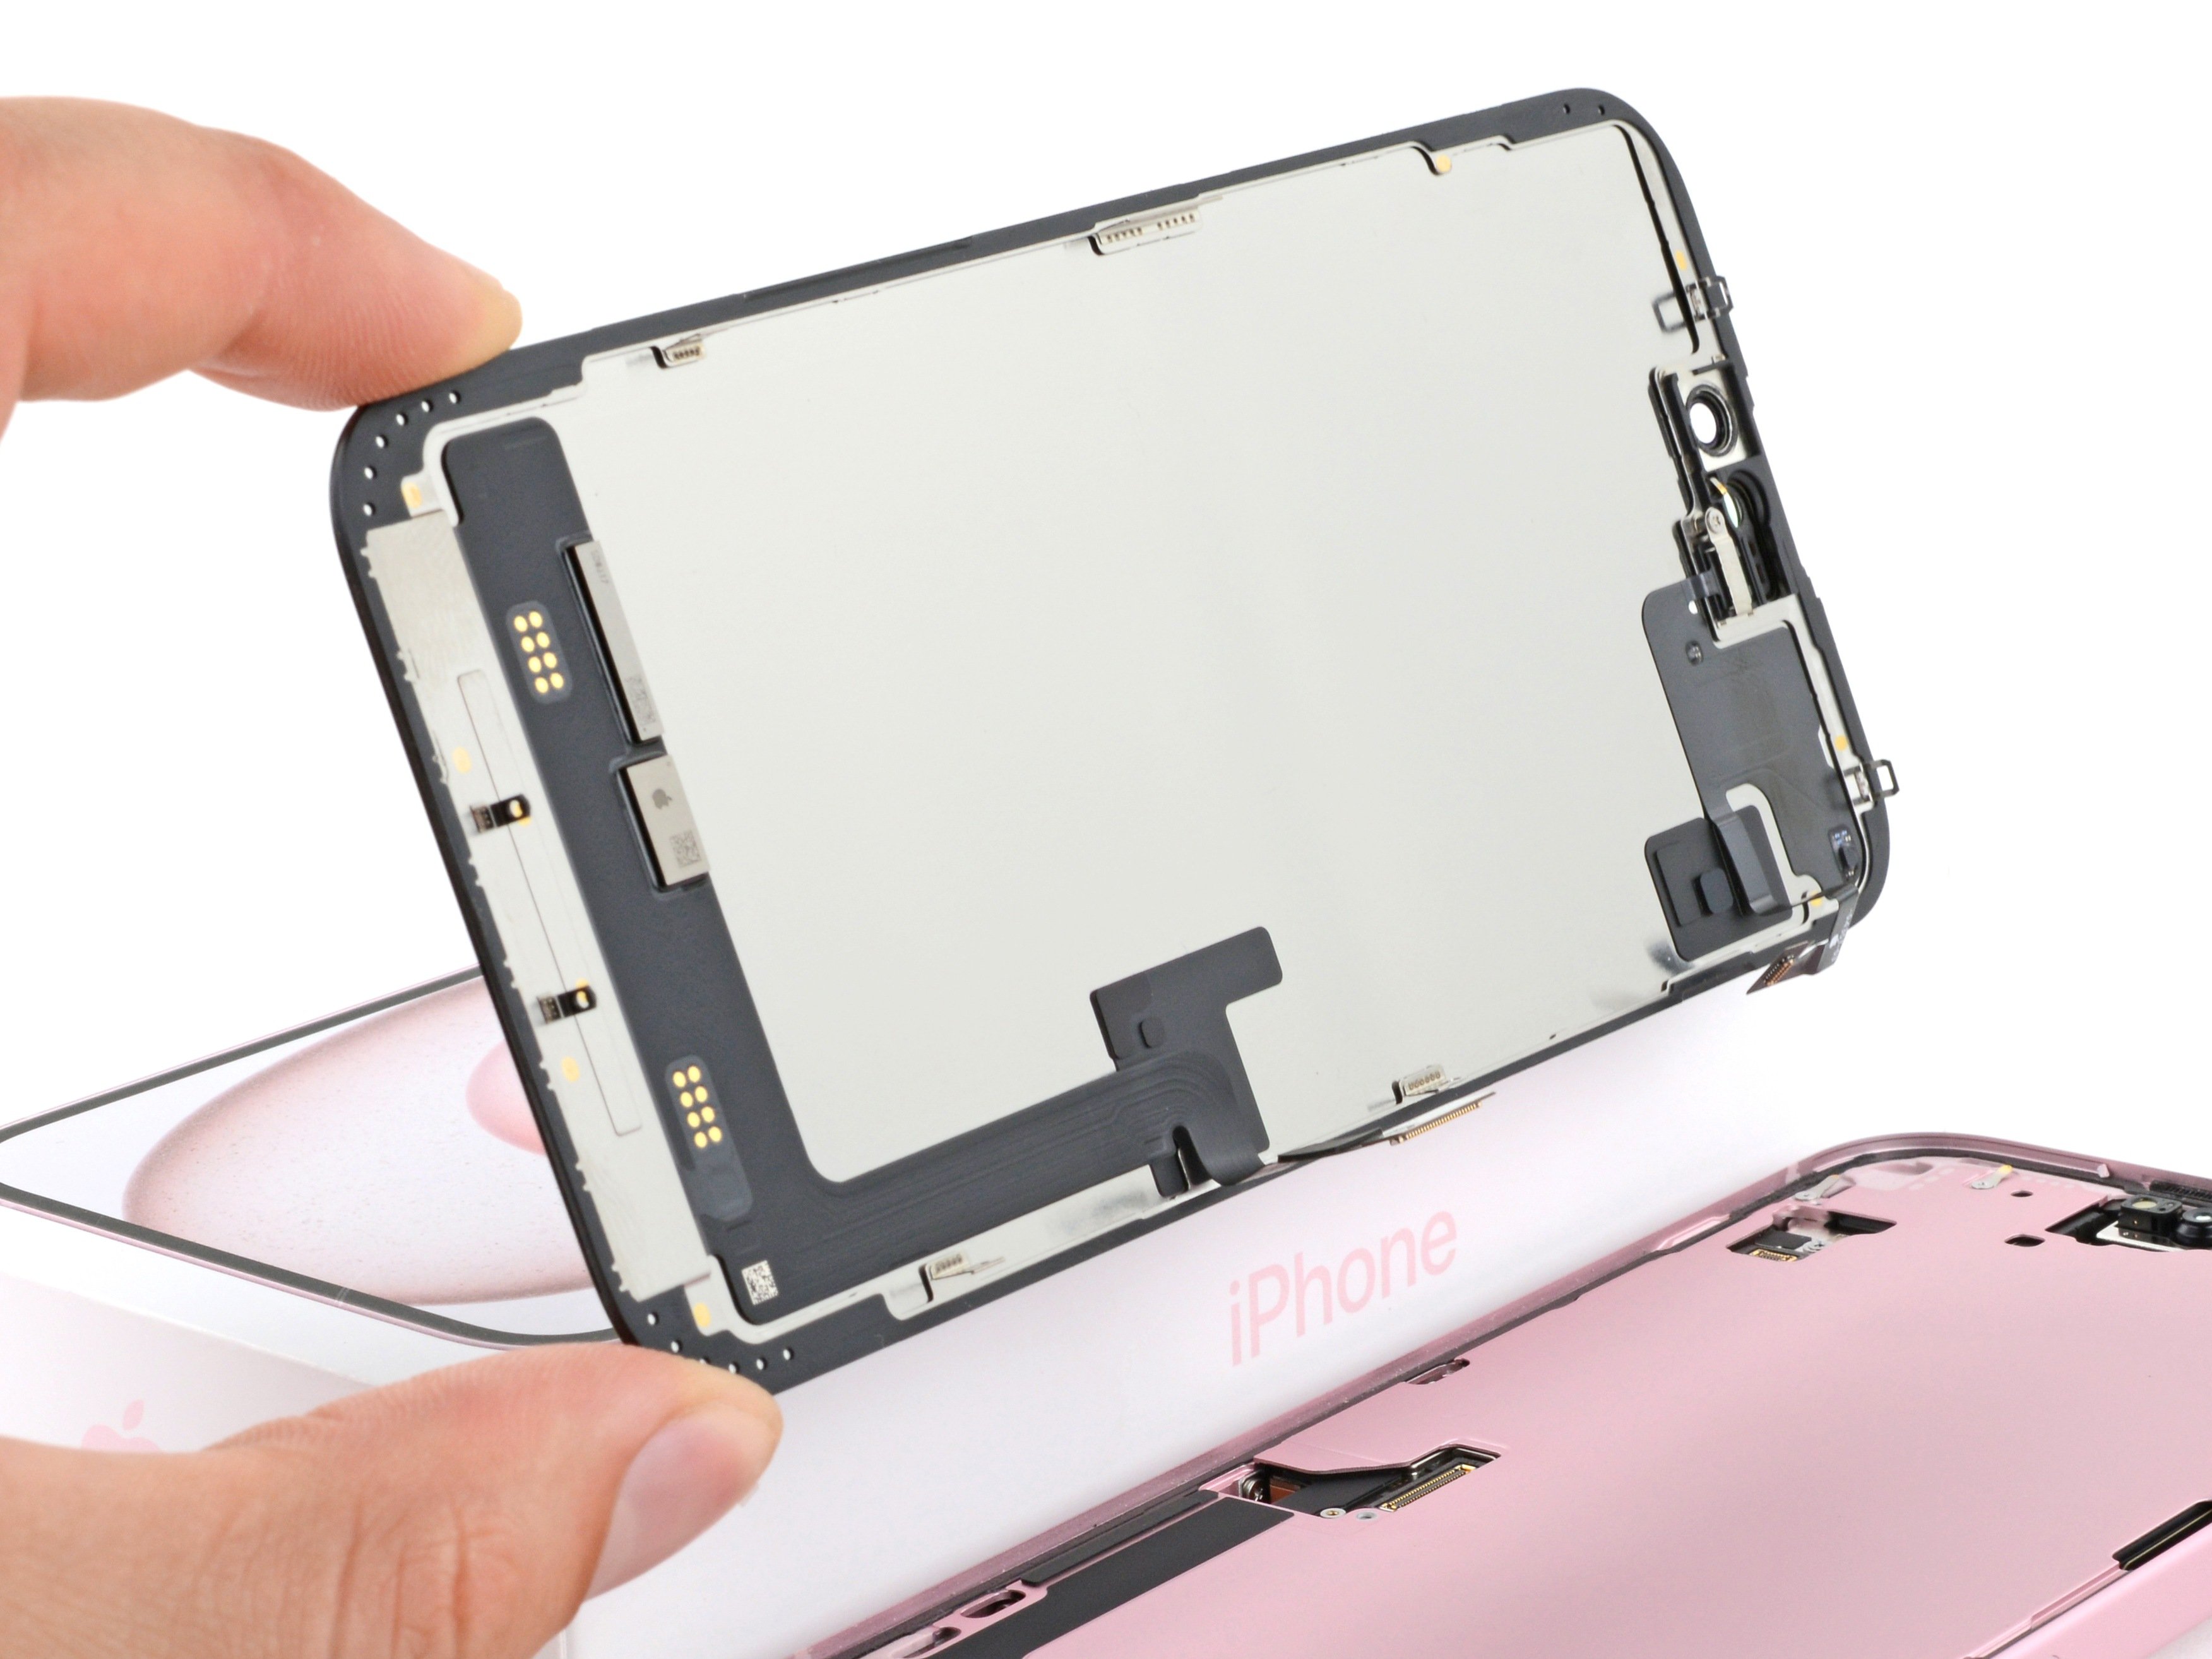
- Carefully swing the back glass to the right, like you're opening a door – but, you know, without the squeak.
- Rest the back glass on a soft, raised surface to keep the cable happy and avoid any tension.
Step 18


As you go, pay attention to every screw—each one has its own spot, and mixing them up is a recipe for chaos.
- Grab your tri-point Y000 driver and whip out those two 1.3 mm screws holding down the lower connector cover.
Step 19


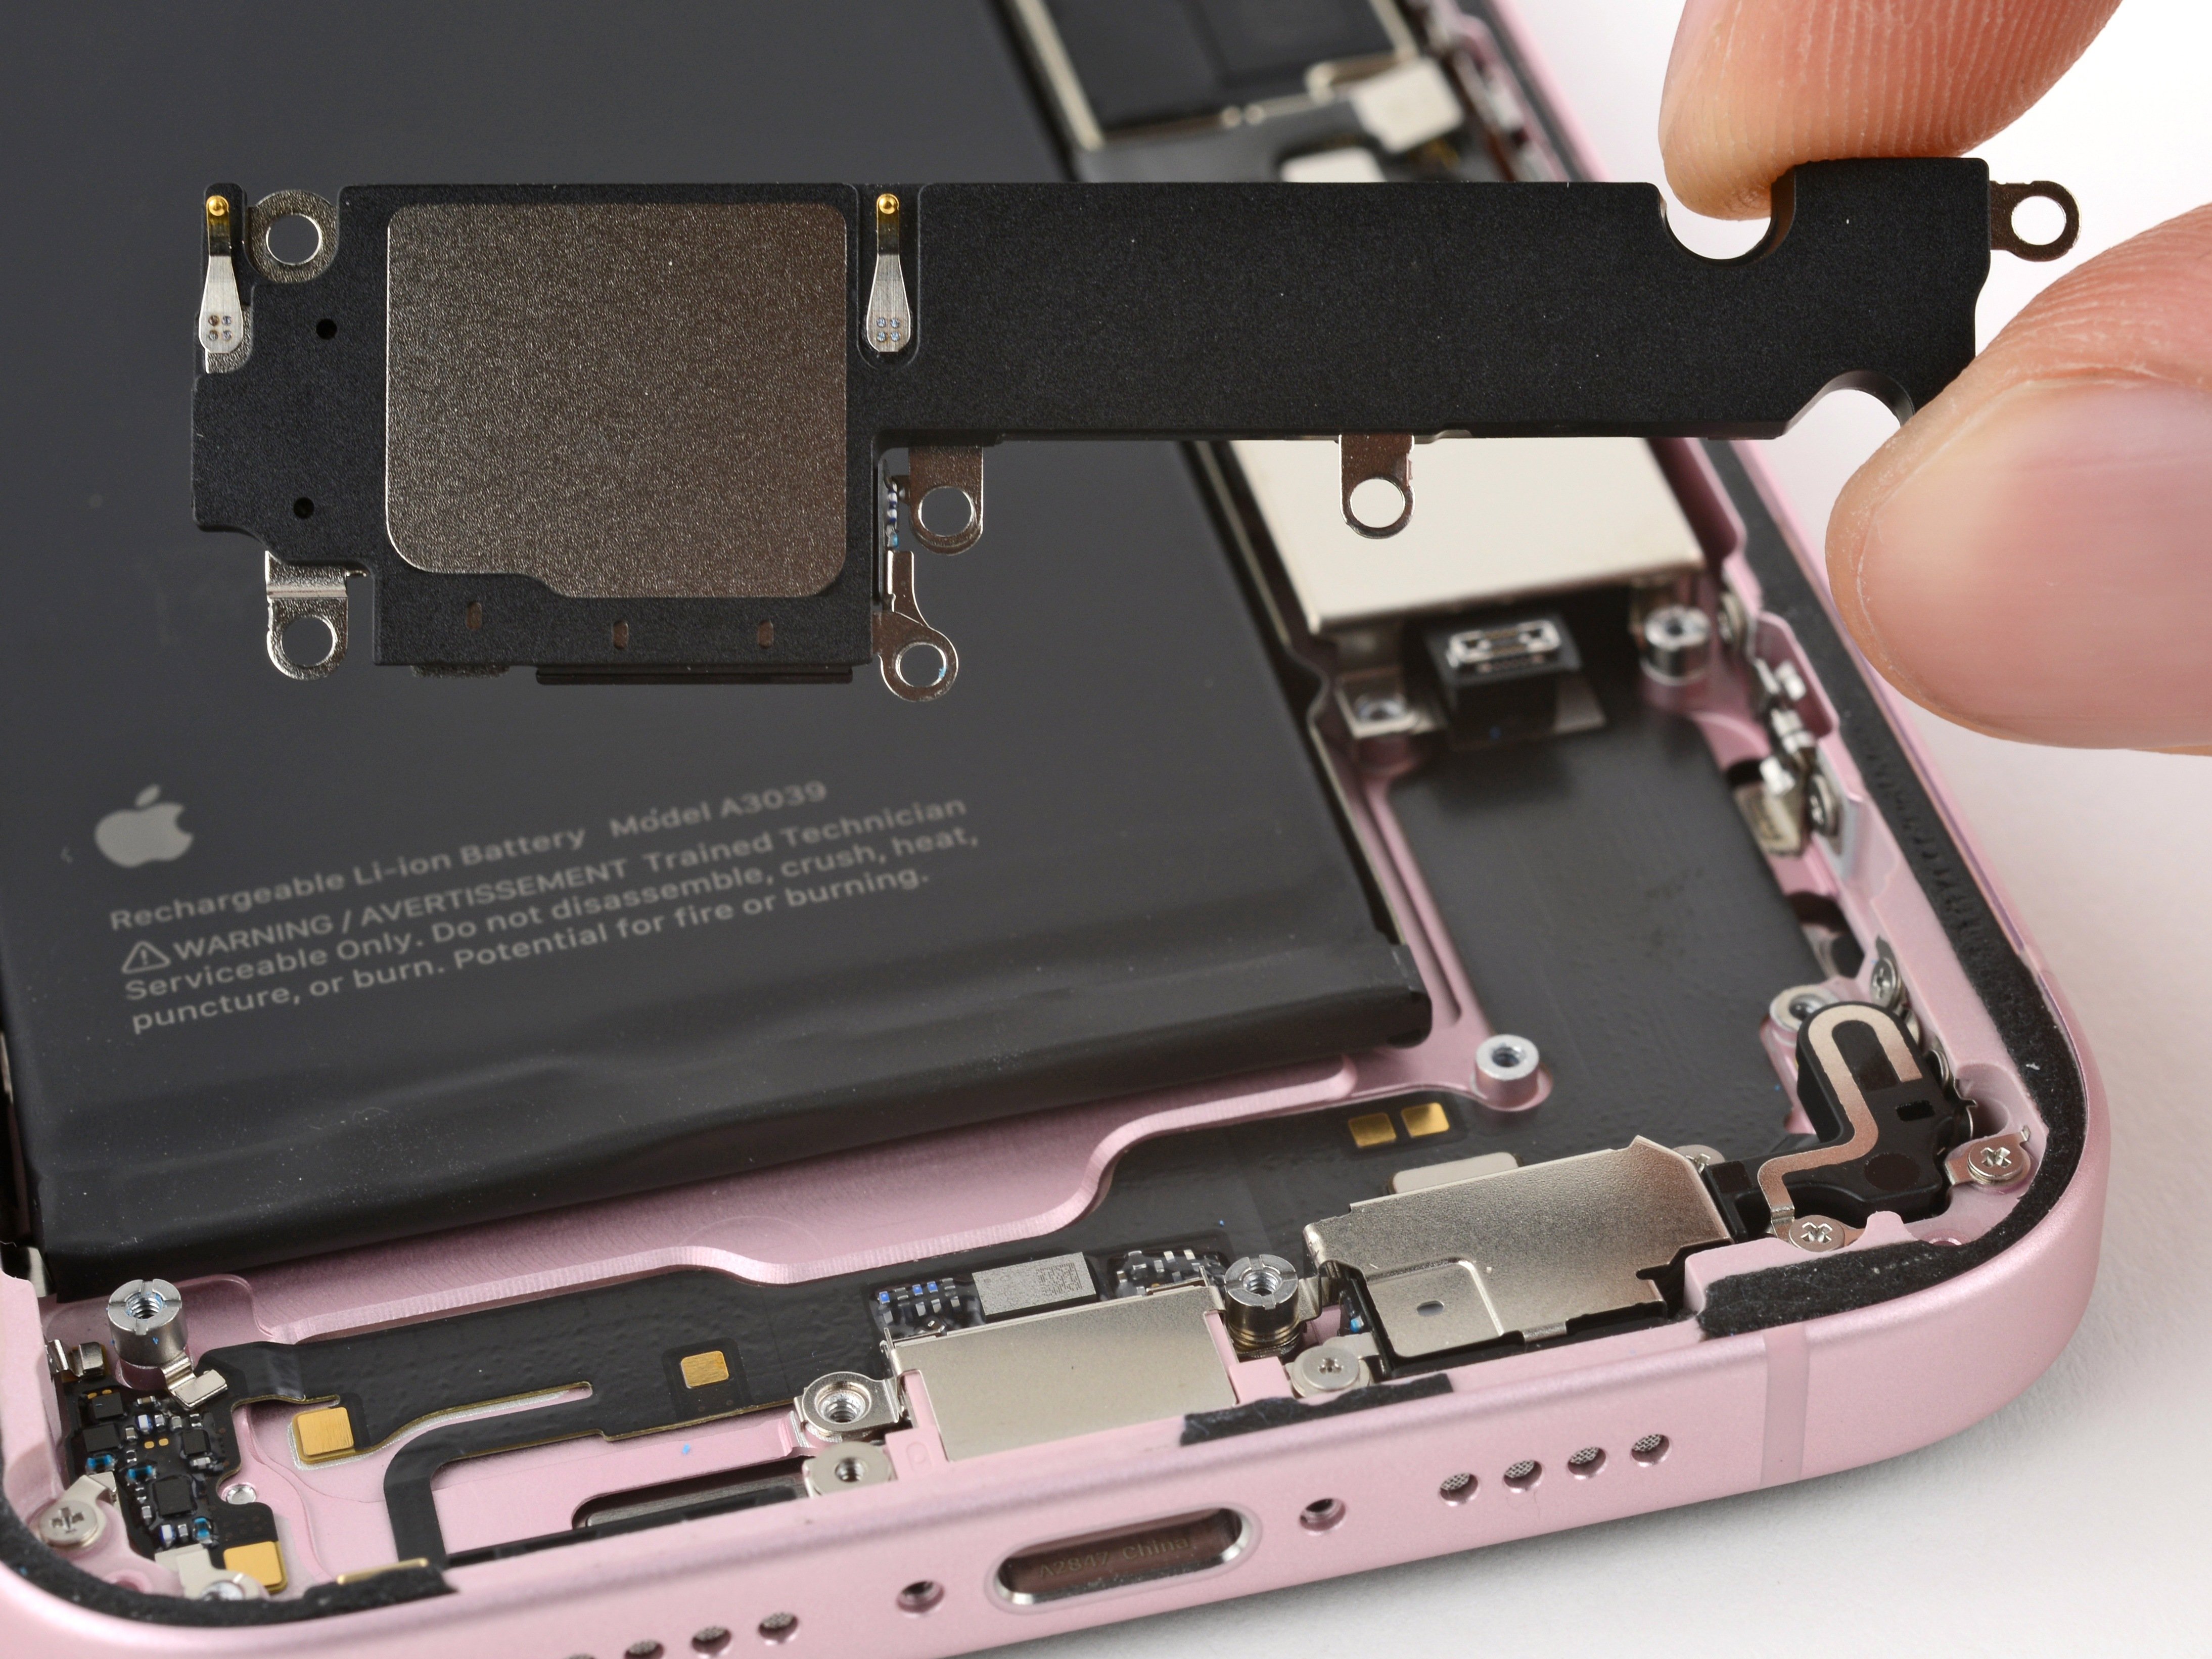
- Grab your trusty tweezers and gently slide the cover up towards the top of the phone to release it from the logic board's grip.
- Now, go ahead and take off that cover like a pro!
- When it's time to put everything back together, make sure to tuck the top edge of the cover into its cozy spot on the logic board before securing it with that little screw.
Tools Used

Step 20


To reconnect a press connector, line it up over its socket and gently press down on one side until you hear a satisfying click, then do the same on the other side. Make sure it lies flat—sometimes the rubber insulation around the sockets can keep it from making a proper connection.
Look for the plus and minus signs printed right on the connector’s head to get the orientation just right.
- Grip the back glass firmly with one hand, then swivel the bottom edge to the left to expose the battery press connector located just under the volume buttons.
- Gently wedge the tip of an opening pick underneath the battery press connector and carefully lift it off the logic board to disconnect.
Step 21


- Grab your tri-point Y000 driver and spin out the 0.9 mm screw holding down the middle connector cover.
Step 22


- Grab your trusty spudger or just use your finger and give that cover a gentle push towards the bottom of the phone to unclip its top edge like a pro.
- Now, go ahead and remove that cover with confidence.
- When it's time to put everything back together, align the cover so its tab is snugly behind the clip on the logic board. Give it a little press with one finger and slide the cover forward to lock it in place. You've got this!
Tools Used

Step 23


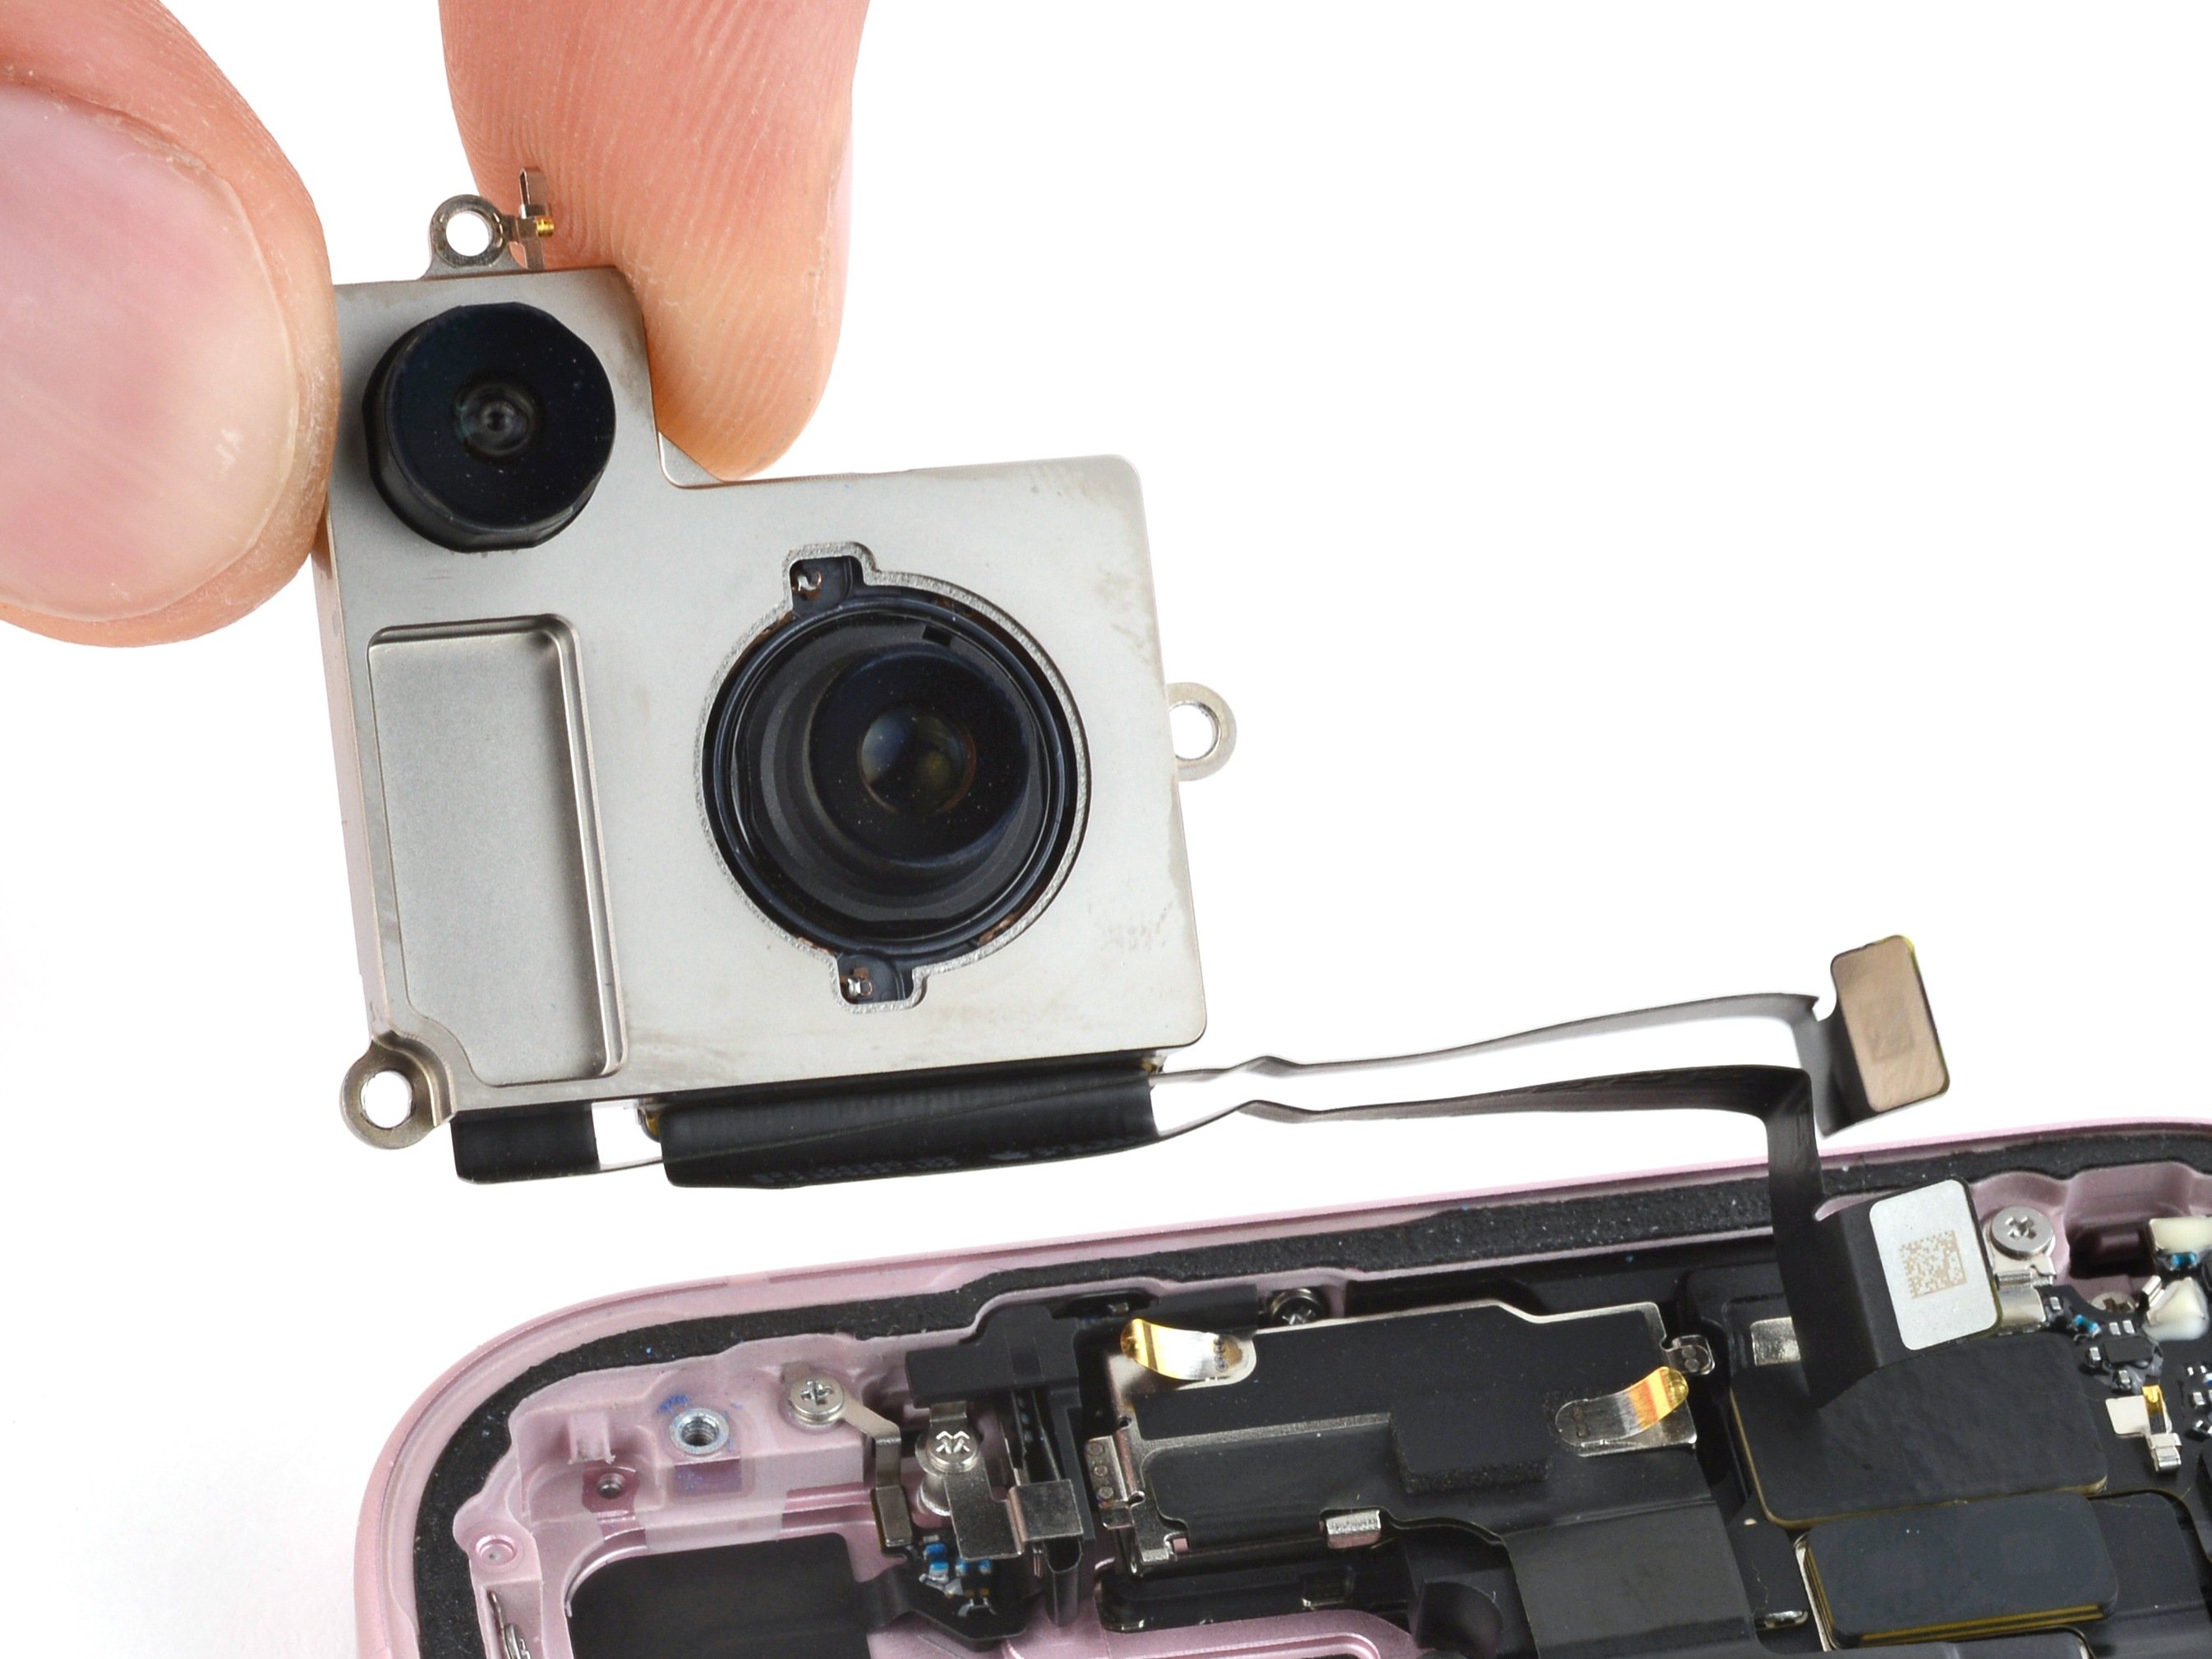
- Grab an opening pick and gently pry up to unplug the wireless charging coil and NFC connector. Easy does it!
Step 24

- Carefully pop off the back glass.
- On your way to reassembly:
- Now’s a good time to give your fix a quick test run. Just reconnect the battery and back glass for a minute, power up your phone, and make sure everything’s running smooth. Once you’re happy, power down and keep going.
- Follow this guide to stick the back glass back on and seal things up.
Step 25

- Grab your Phillips #000 driver and let's tackle those screws holding the Taptic Engine and its connector cover in place:
- One screw measuring 1.4 mm long, ready to be whisked away.
- One 1.9 mm long screw with a larger head, making it stand out in the crowd.
- Another 1.9 mm long screw, but this one has a smaller head—just to keep things interesting.
- And finally, one 2.1 mm long screw, because why not add a little variety to the mix?
Step 26

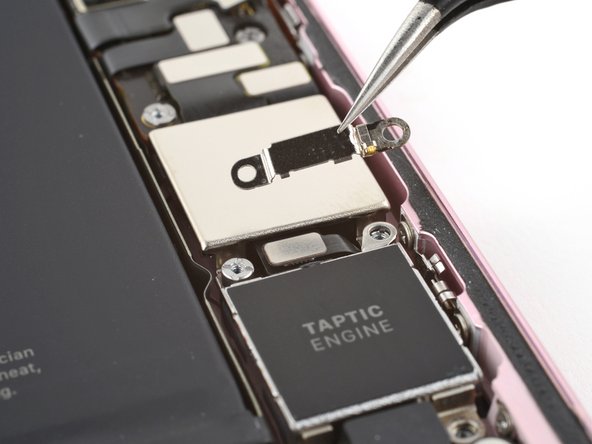
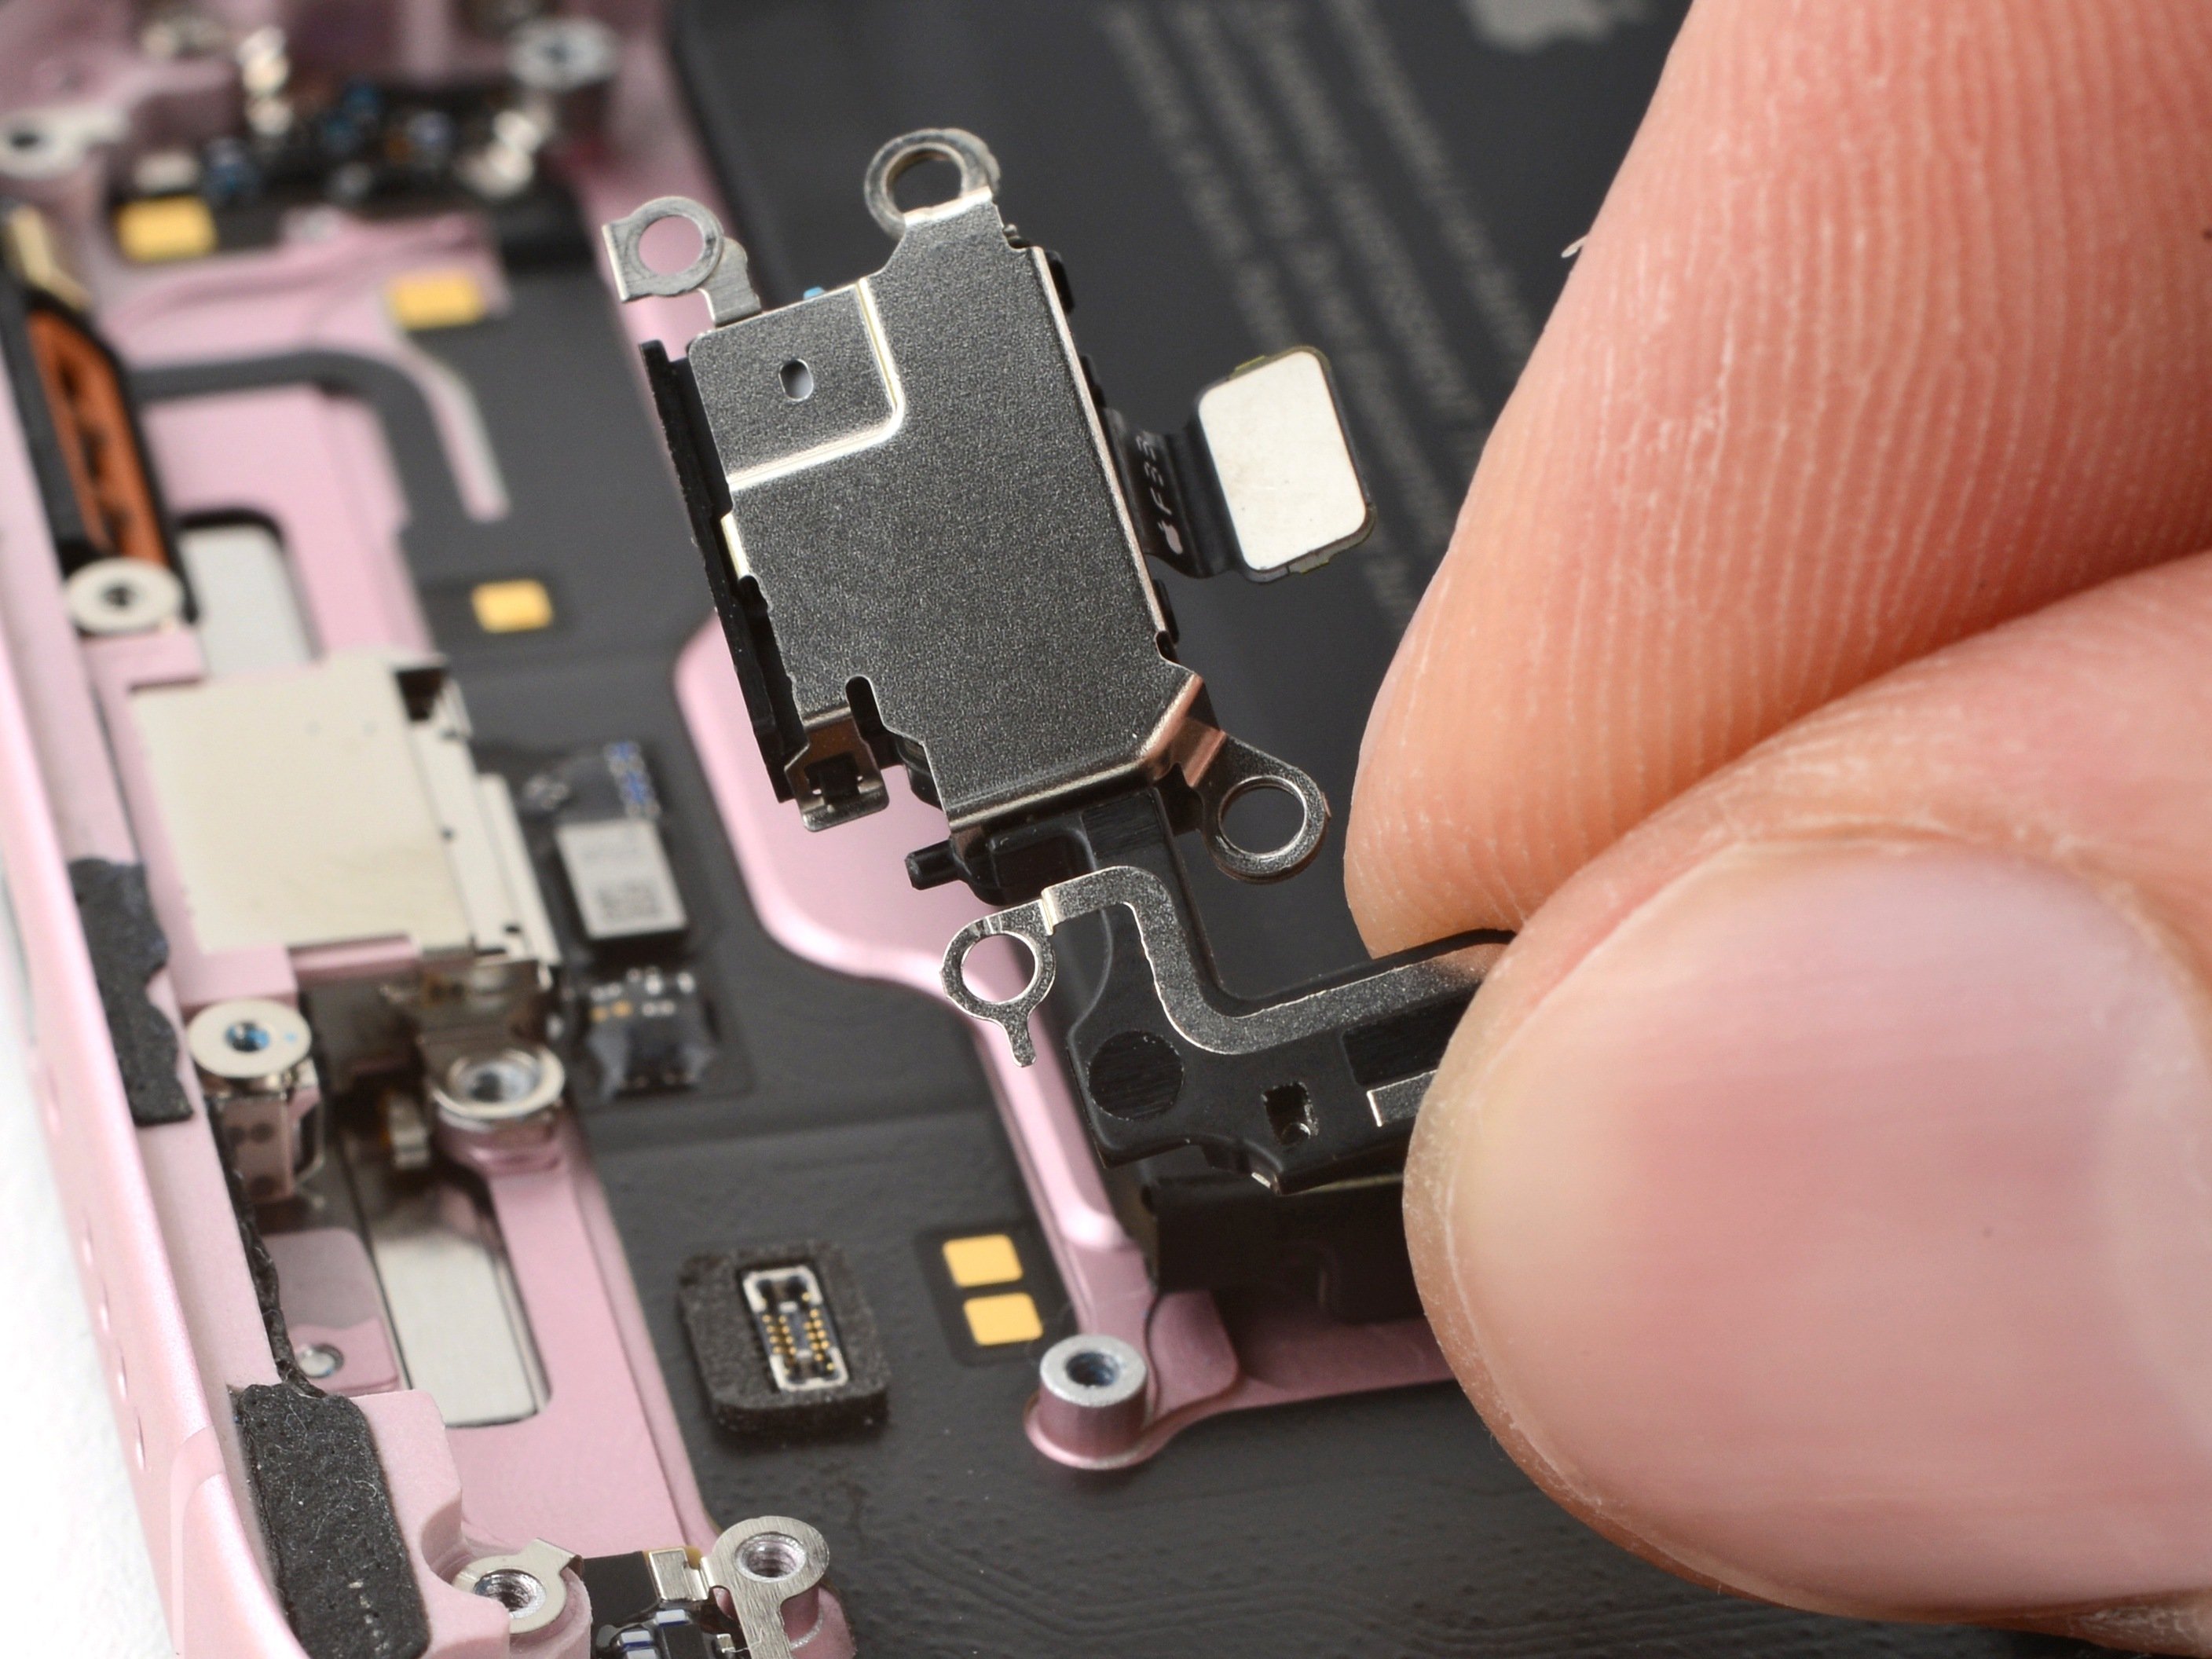
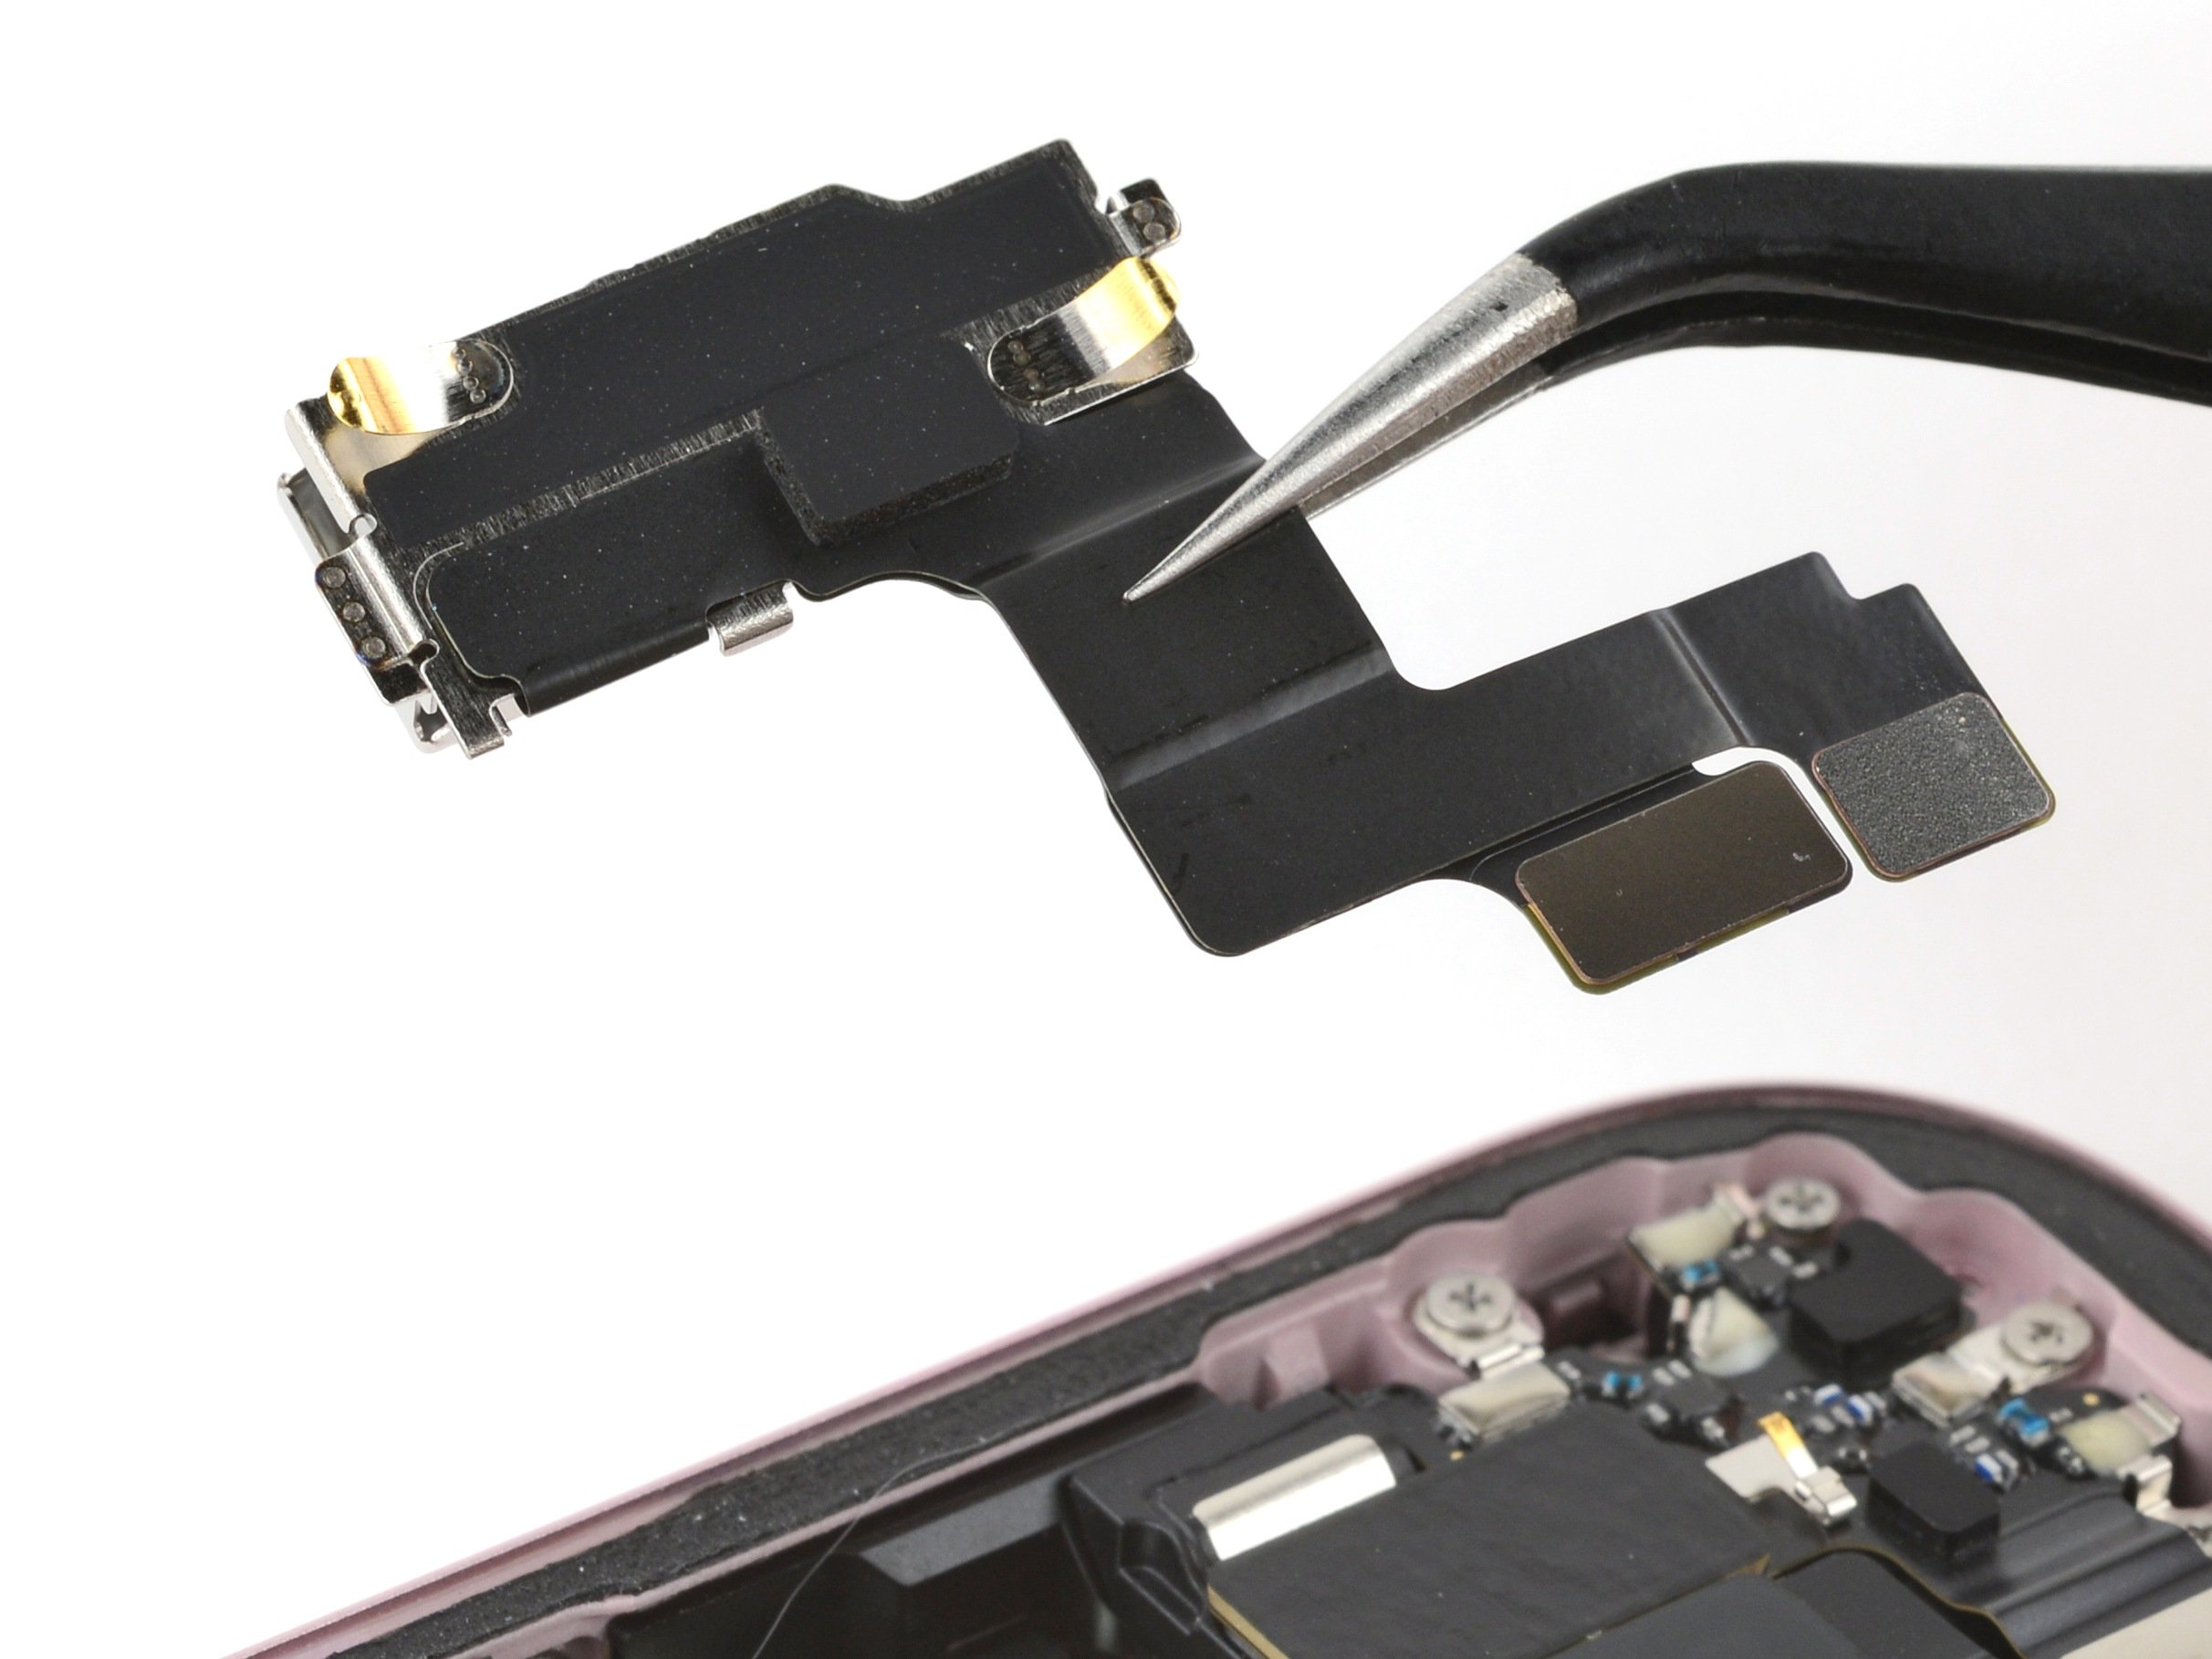
- Grab those tweezers and carefully lift the Taptic Engine connector cover out of its spot.
- When putting everything back together, make sure the gold spring contact on the cover faces the edge of the frame. It's all about that perfect alignment.
Tools Used
Step 27


- Gently use the tip of your spudger to lift and unplug the Taptic Engine press connector.
Tools Used
Step 28

No standoff driver? No worries! A thin flathead driver can do the trick—just take it slow and steady so you don’t mess up those shallow screw notches.
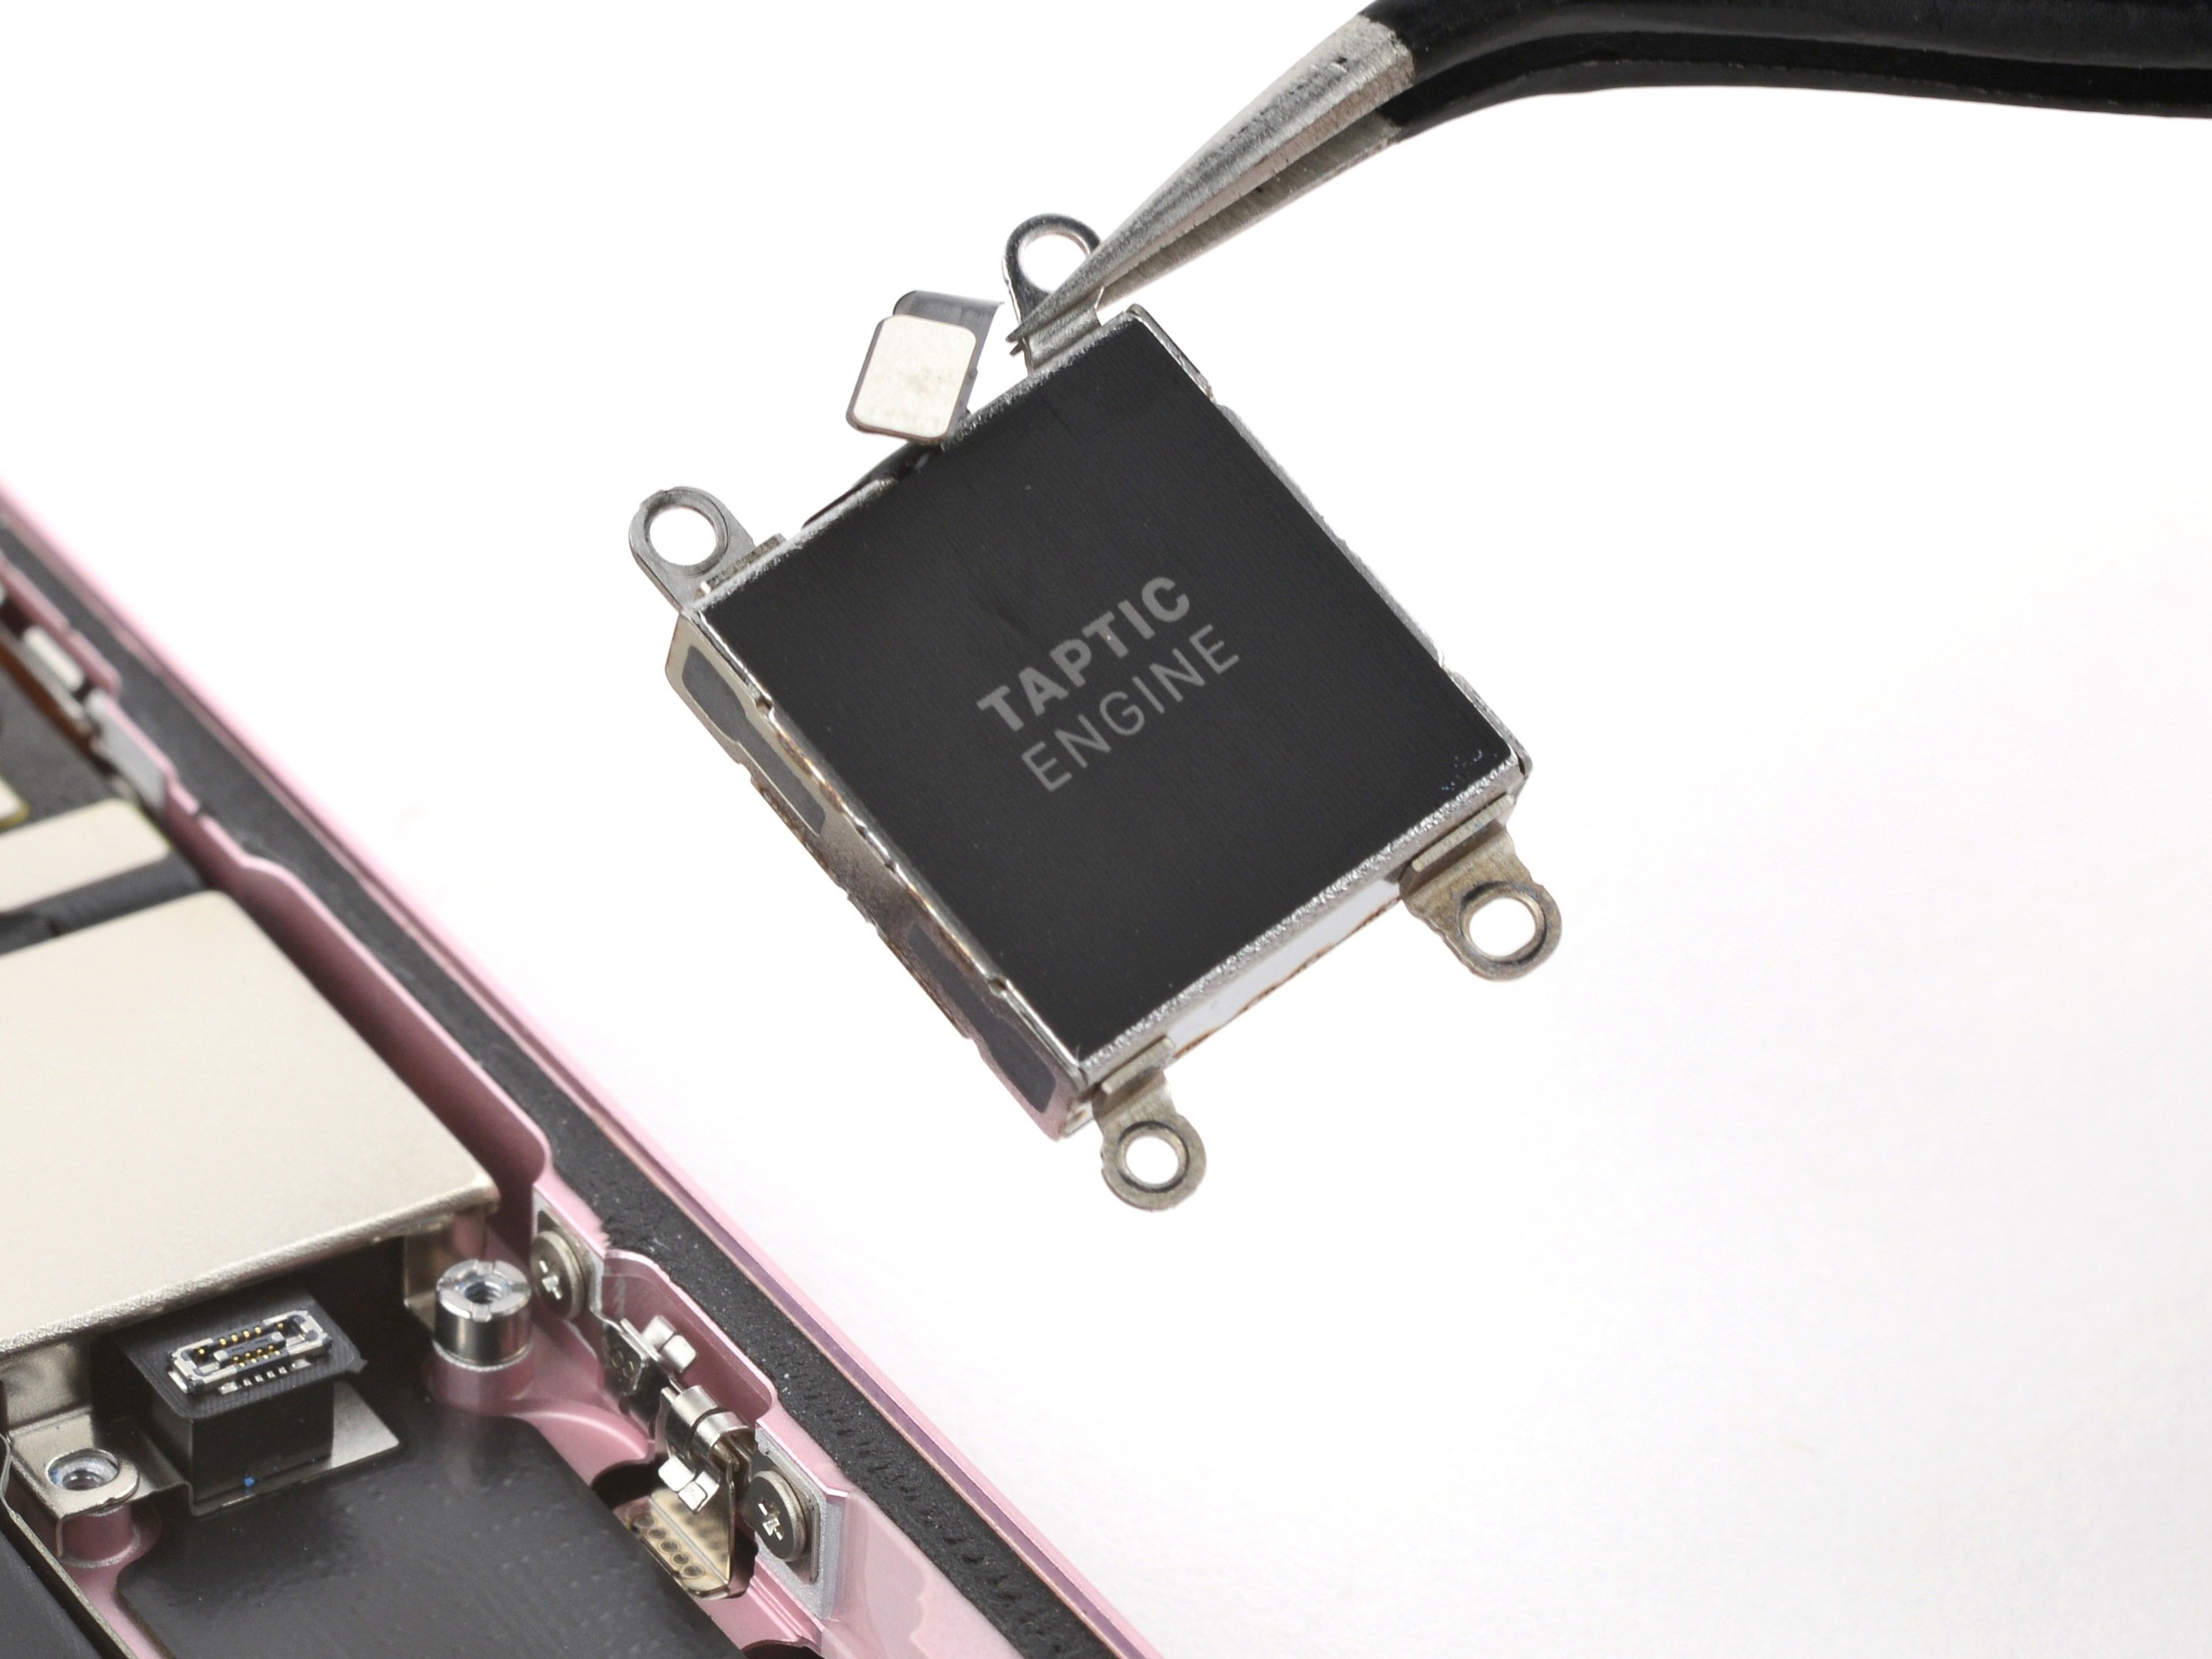
- Grab your trusty standoff driver and unscrew the 3.3mm screw on the top left of the Taptic Engine. It’s the little screw that keeps everything in place, so let’s show it who’s boss!
Step 29


- Put your phone back together by working through these steps backward.
- Remember to drop off your e-waste at an R2 or e-Stewards certified recycler.
- If things didn’t quite work out, try some basic troubleshooting or reach out to our Answers community for some extra help.
-