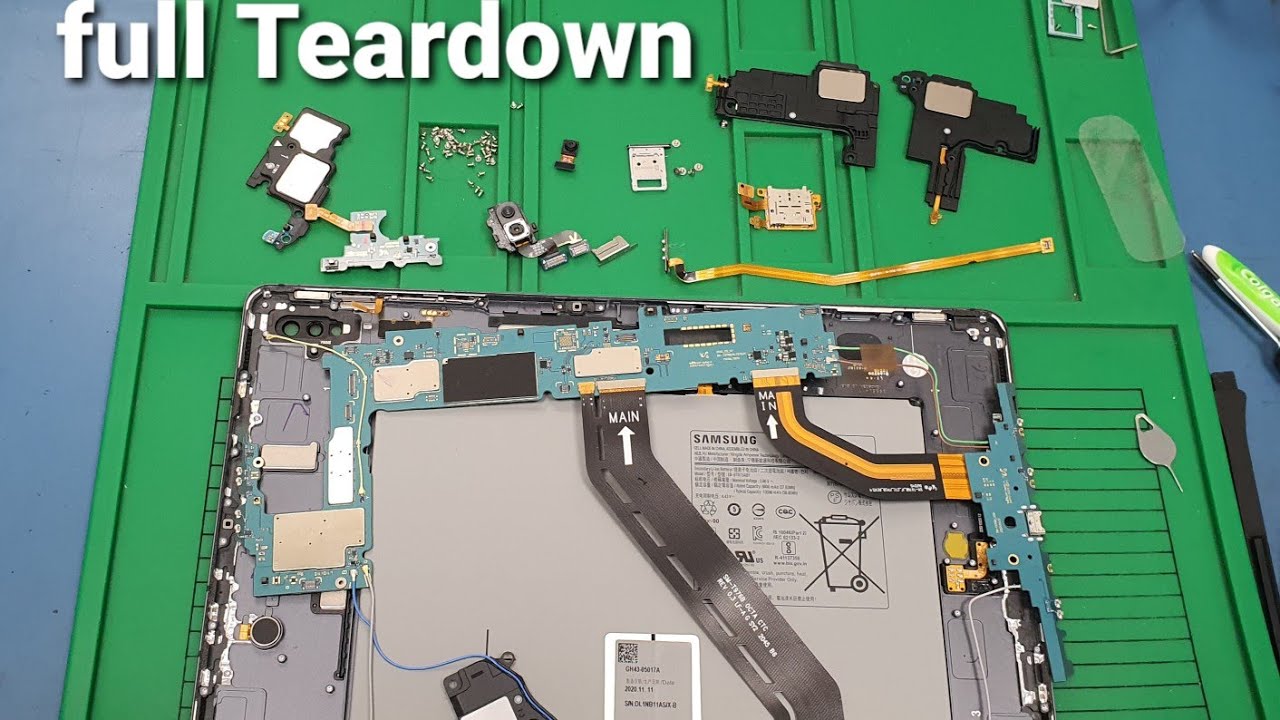
Samsung Galaxy Tab S7 Plus Screen Replacement
Duration: 45 minutes
Steps: 24 Steps
Make sure to warm things up nicely and take it easy during the prying part—safety first!
Just a heads up, discharge that battery completely before diving into your tablet disassembly. Better safe than sorry!
To replace the screen and remove the fingerprint scanner cable in your Samsung Galaxy Tab S7+ Wi-Fi, follow this step-by-step guide from Salvation Repair. Be sure to fully discharge your battery before you start to minimize the risk of fire. The screen is pretty delicate, so things might get a little tricky – apply some heat, be careful, and take your time when prying it open. If you’re dealing with a swollen battery, be sure to take the right precautions. Keep in mind that your device’s water resistance will depend on how well you reapply the adhesive, but you will lose its IP rating. Some of the images in this guide may look a bit different from your device, but don’t worry, they won’t affect the steps. If you need help along the way, you can always schedule a repair with us.
Step 1

– Warm up the bottom edge of your device with a heated iOpener—this helps soften up that stubborn adhesive hiding underneath.
Make sure your device is completely powered down before diving into the repair. No one wants surprises halfway through!
The adhesive holding the Galaxy Tab S7+ display is super strong, so don’t be surprised if you need to heat it up and use the iOpener a few times—both during the prep and while lifting the display. You can also use a hair dryer, heat gun, or hot plate to warm things up, but just be careful not to overheat the device. If you need help, you can always schedule a repair.
Tools Used

Step 2


Be gentle when inserting the pick—no more than 2 mm for circuits, or 3 mm for displays—lest you risk damage. Take it slow and steady, and if you need a hand, you can always schedule a repair.
– While you’re letting the adhesive loosen up, keep these tips in mind:
– There’s a long circuit board attached to the display that runs parallel to the bottom edge.
– This picture shows an example of the display starting to separate from the glass panel.
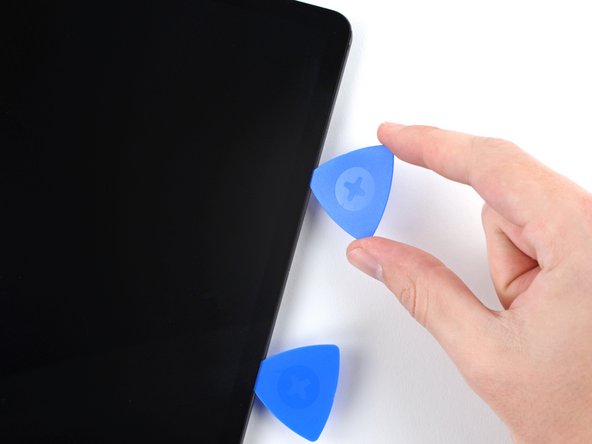
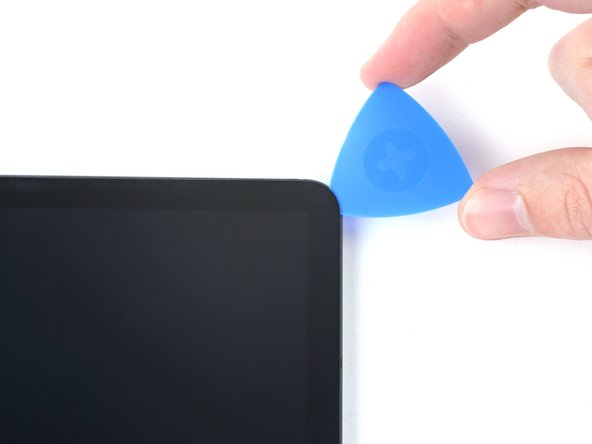
Step 3


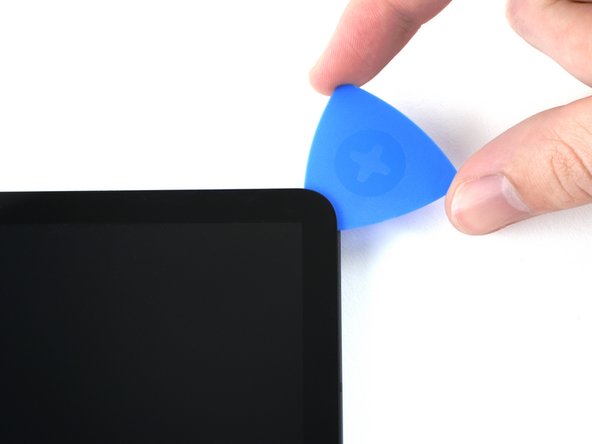
– When your screen is feeling nice and toasty, grab a suction handle and stick it right on the bottom edge of the screen, as close to the edge as you can get.
– Give a gentle lift to the screen with the suction handle to open up a small gap between the screen and the frame.
– Slide an opening pick into that gap you just created between the frame and the screen.
– Keep that opening pick in place to stop the adhesive from sticking back together.
Keep your pick within 2 mm—it’s a tight squeeze, but it helps protect that delicate circuit board!
If your screen is heavily cracked, laying down a sheet of clear packing tape over it can help the suction cup stick better. If tape isn’t doing the trick, try using some strong tape instead of the suction handle. And if all else fails, a little superglue on the suction cup might do the trick. For tricky cases, remember you can always schedule a repair with Salvation Repair.
Tools Used

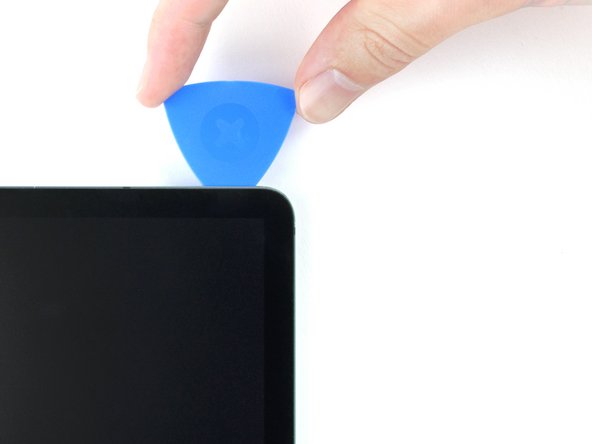
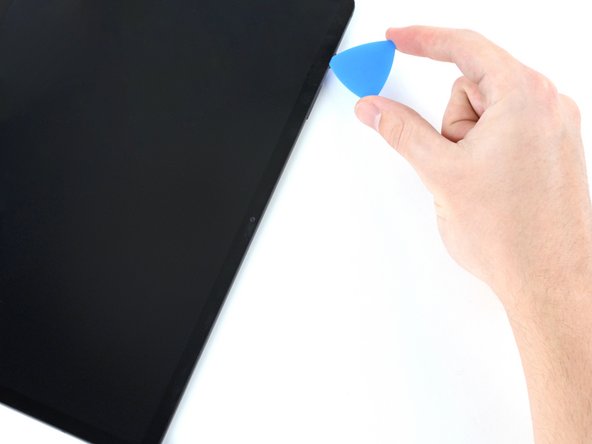
Step 4


– Gently slide a new opening pick into that gap you just made.
– Now, guide that pick along the bottom edge of the device all the way to the bottom-right corner.
Step 5

– Place a heated iOpener along the right edge of the device to soften the adhesive underneath. Take your time and be gentle—if you need help, you can always schedule a repair.
Tools Used
Step 6


– Swing that opening pick around the bottom-right corner like a pro.
– Keep the pick parked there so the sticky stuff doesn’t close back up on you.
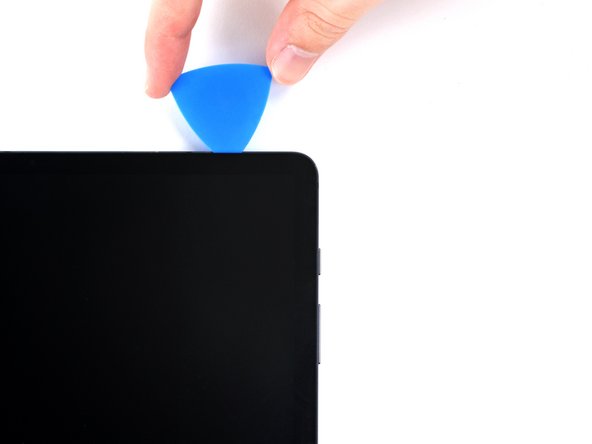
Step 7


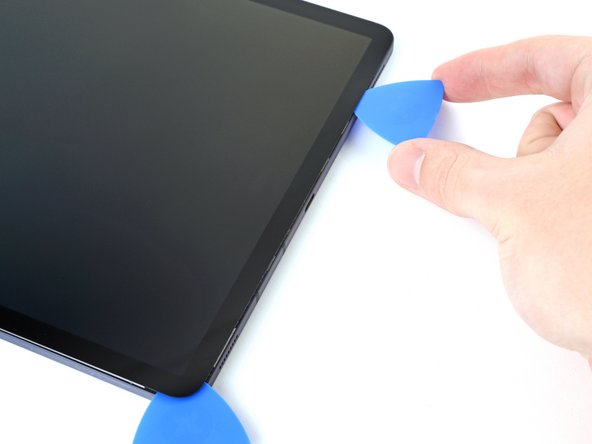
Keep the pick shallow—no more than 3 mm—or you might run into some delicate parts hiding along the right edge.
– Grab a new opening pick and gently slide it into the gap you just made.
– Next, glide the pick along the right edge of the device, heading up towards the top-right corner.
Step 8

– Heat up an iOpener and gently apply it to the top edge of your device. This will help loosen the adhesive underneath so you can get a smooth start!
Tools Used
Step 9


– Gently wiggle the opening pick around the top-right corner of your device, giving it a little dance to loosen things up.
– Keep that opening pick right where it is to stop the adhesive from making a comeback.
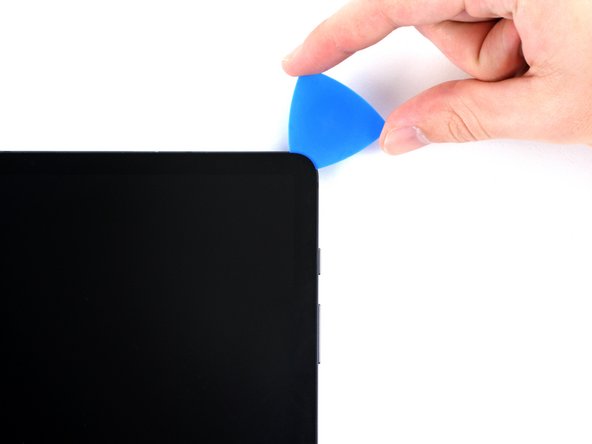
Step 10


– Gently slide a fresh opening pick into the gap you’ve made.
– Now, glide that pick along the top edge of your device, steering it towards the top-left corner.
Step 11

– Apply some heat to the left edge of your device using a heated iOpener to loosen up that sticky adhesive underneath.
Tools Used
Step 12

– Swing your opening pick smoothly around the top-left corner—think of it as tracing a curve with style.
– Let that pick chill there to keep the sticky stuff from closing back up.
Step 13


– Gently insert a new opening pick into the gap you just made, like you’re giving it a little nudge.
– Then, slide that pick along the left edge of the device, heading towards the bottom-left corner—keep it smooth and steady.
Step 14


By now, the screen’s edge should be loose from the frame. If you still feel some resistance around the perimeter, grab an opening pick and gently go around to cut through any remaining adhesive. Keep at it until the screen is free and ready for the next step.
– Gently spin the opening pick around the bottom-left corner of your device like you’re making a smooth turn on a road trip.
– Leave the pick in place to keep the adhesive from sticking back together—trust us, it’ll thank you later!
Step 15


Take it easy with the screen for now – don’t yank it off just yet! It’s still hooked up to the frame by a flex cable.
Keep it gentle! Don’t twist or pull the screen too far from the frame, or that flex cable might not be so happy.
– Start by holding your device with the screen facing up. Gently lift the screen from the bottom, opening it like a book—careful not to force anything.
– Once opened, lay the screen upside down and keep it parallel to the frame before moving on to the next step.
– When you’re ready to reassemble, this is a good moment to power on your tablet and make sure everything’s working smoothly before sealing it back up.
– Before putting everything back together, remove any leftover adhesive bits using tweezers or your fingers. To clean off sticky residue, dampen a cloth with high-concentration (above 90%) isopropyl alcohol and wipe gently.
– If you’re using custom-cut adhesives, follow the specific instructions for those. For double-sided tape, refer to this guide schedule a repair if you need extra help.
Tools Used

Step 16

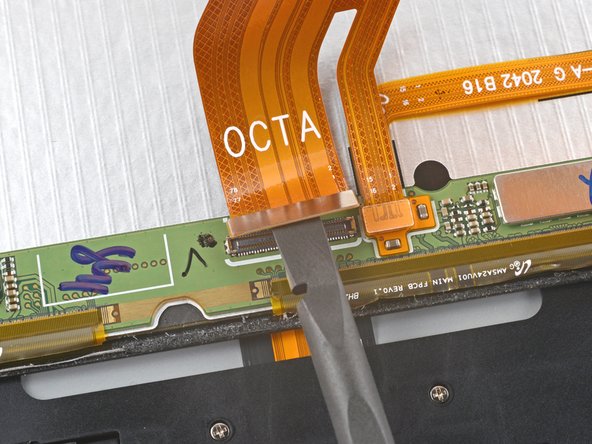
– Grab the flat end of a spudger and gently lift to disconnect the display cable’s press connector from the screen—think of it as giving your device a little high-five to free it up.
– When it’s time to reconnect, line up the press connector carefully—like fitting the last piece of a puzzle—and press down on one side until it clicks. Then do the same on the other side. Avoid pressing in the middle; misaligning the pins can bend them, and nobody wants that kind of drama. If you need a hand, you can always schedule a repair.
Tools Used

Step 17

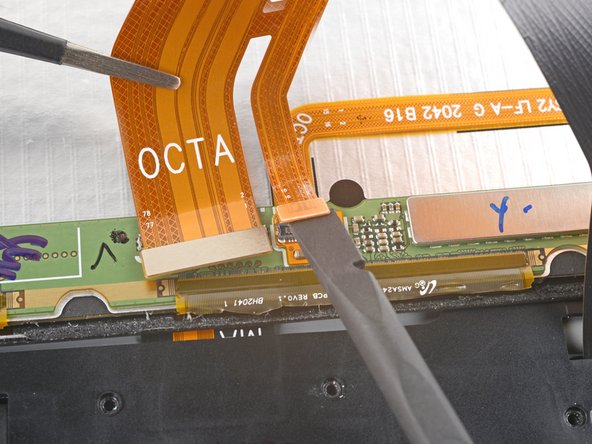
– Grab those display cables with tweezers or your fingers—whatever feels comfy—and hold them steady.
– Use the flat end of a spudger to gently pry up and disconnect the fingerprint sensor’s press connector from the display cable—think of it as unplugging a tiny, delicate plug.
– Pay close attention to how the display cable is positioned; you’ll want to replicate that exact bend when attaching the new screen later on. If you need help, you can always schedule a repair.
Step 18


– Gently lift the screen away from the frame, and set it aside like the delicate treasure it is.
Step 19

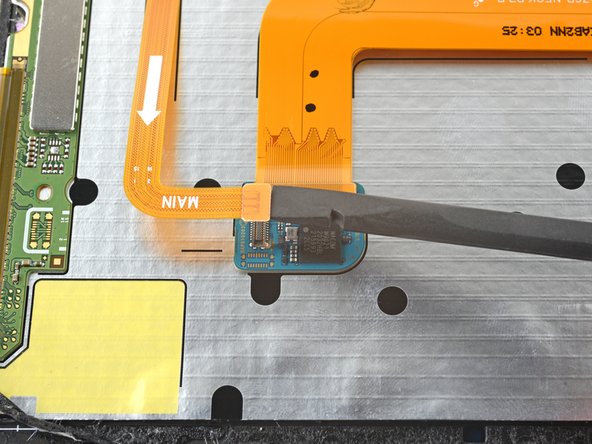
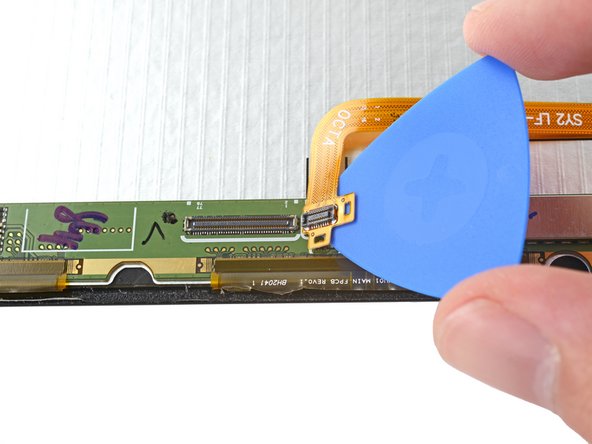
– Grab the flat end of a spudger and gently pry up to disconnect the fingerprint scanner cable’s press connector. Easy does it!
Tools Used
Step 20

– Place a heated iOpener on the bottom edge of the screen and hold it there for about two minutes. This will help loosen things up. If you need help, you can always schedule a repair.
The fingerprint sensor cable is held in place on the screen with some adhesive, so applying a bit of heat will soften things up and help prevent any tears during removal. You can use a hair dryer, heat gun, or hot plate—just be cautious not to overheat the device and cause damage. If you need a hand with this or any other step, you can always schedule a repair.
Tools Used
Step 21

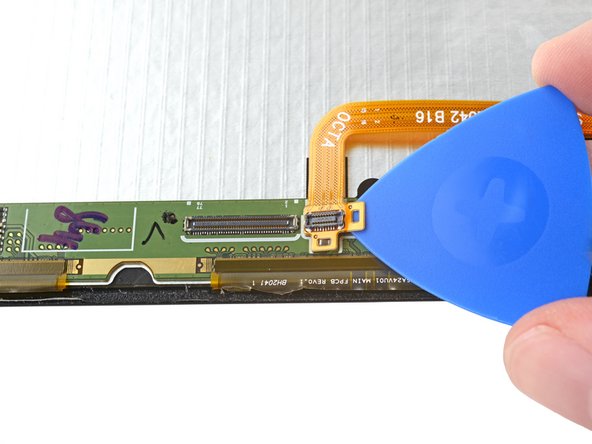
– Slide an opening pick between the fingerprint cable’s press connector and the circuit board at the lower edge of the screen.
– Gently wiggle and lift the pick while slicing through the adhesive to loosen the press connector from the screen.
Step 22

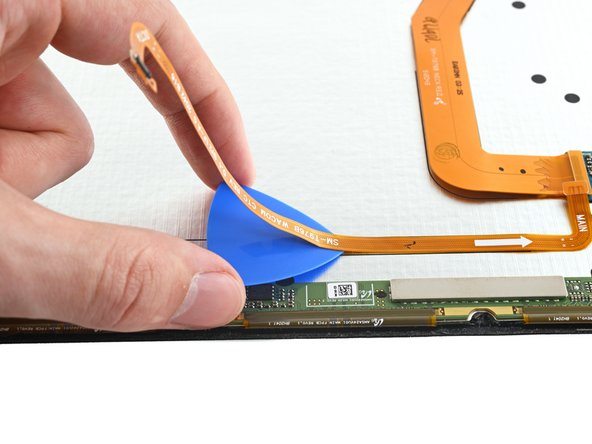
– Gently slice with an opening pick along the bottom of the fingerprint sensor’s cable to carefully detach it from the screen.
Step 23

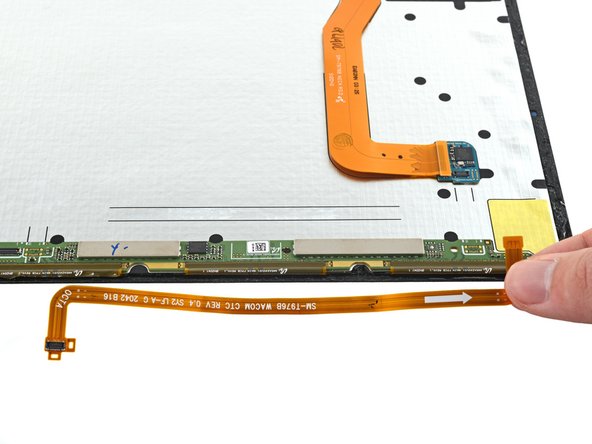
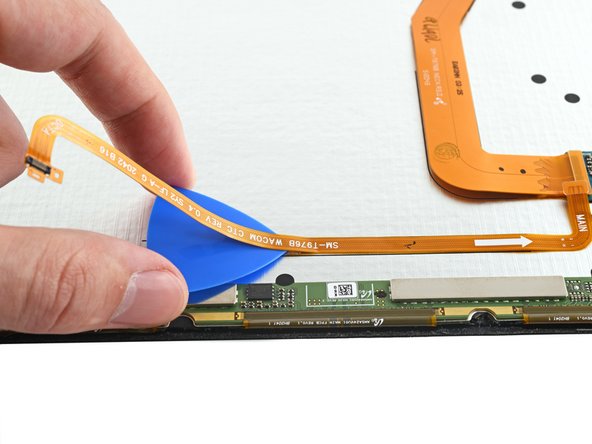
– Grab some tweezers or use your fingers to gently disconnect the fingerprint sensor cable. Once free, set the cable aside—you’ll be reusing it when putting everything back together. Keep it safe and organized, and if you need a hand, you can always schedule a repair.
Tools Used
Step 24

Make sure you’ve got the calibration toolkit on hand, which includes three handy rubber calibration blocks—perfect for getting things just right.
– Make sure to line up your shiny new part with the old one—don’t forget to move any leftover bits or peel off those sticky backings before you dive in!
– Putting your device back together? Just retrace your steps in reverse order, and you’ll be golden.
– Got old electronics? Don’t forget to drop them off at an R2 or e-Stewards certified recycler!
– If things didn’t go as smoothly as you hoped, don’t sweat it! Try some troubleshooting, or if you’re really stuck, feel free to reach out to our community for some friendly advice.
– If you need help, you can always schedule a repair.


