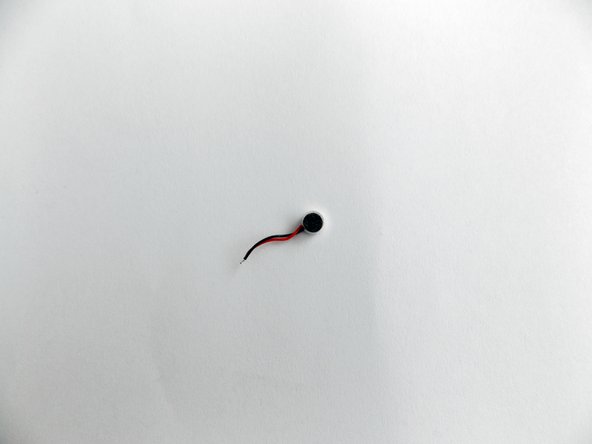
Nobis NB07 Microphone Replacement
Duration: 45 minutes
Steps: 12 Steps
Got a tablet with a microphone that’s gone rogue? Don’t sweat it, replacing it is a breeze. You’ll need to take your tablet apart and bust out the soldering tools, but trust us, it’s doable. Follow this step-by-step guide and you’ll be back to chatting, recording, and selfie-taking in no time. If you need help, you can always schedule a repair
Step 1
– Take a peek at the top side of the tablet, where the power button is chilling.
– Gently slide a plastic opening tool into the gap between the two halves of the case.
– Slowly work the tool back and forth to start prying the case open.
Step 2
Handle with care when parting the two halves! Start from the side opposite the camera, as there’s a sneaky cable connecting them. You got this!
– Grab your trusty plastic opening tool and gently slide it into the gap between the two sides of the case. Glide that tool along the tablet’s edge until the two halves are fully separated. Easy peasy!
Step 3
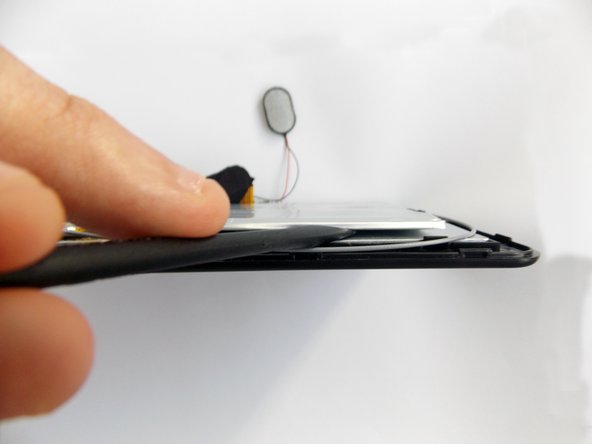
– Peel off the tape that’s keeping the battery stuck in place.
Step 4
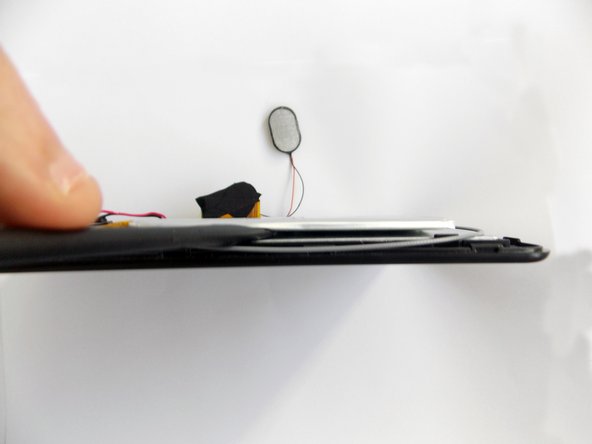
This battery is a bit on the flexible side, so a little twist and turn is totally normal!
– Slide the flat end of your trusty spudger into the tiny gap right under the battery.
– Gently wiggle the spudger from side to side to break up the glue that’s keeping that battery stuck in place.
Tools Used
Step 5
Label each color spot-on to make putting everything back together a breeze.
– Once you’ve freed the battery from its adhesive prison, take a moment to find the cables linking it to the motherboard. They’re like the trusty connections keeping your device powered up!
Step 6
Check out the soldering guide if you need a hand with soldering.
– Carefully desolder those cables with your trusty soldering iron, and don’t forget to use a desoldering braid to tidy up that solder mess.
– Once that’s done, go ahead and gently pop out the battery!
Step 7
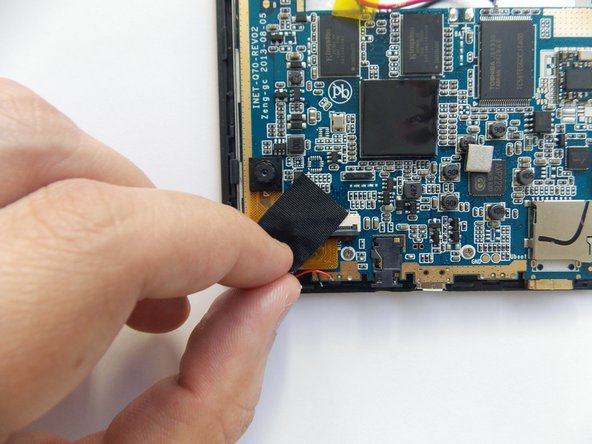
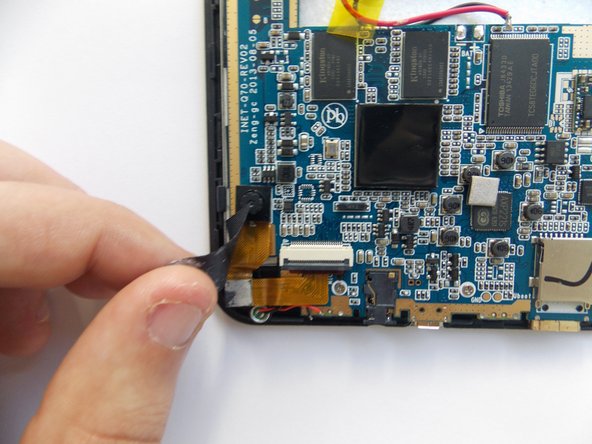
– Peel back the black tape hiding the camera’s power cable—time to get a closer look!
Step 8
– Grab your trusty spudger and gently lift the ZIF connector to unplug the power cable—easy does it!
Tools Used
Step 9
The camera should pop right out, but remember, no need to go all Hulk on it!
Once you’ve unplugged the power cable, the backside camera is all yours to remove. Just keep in mind that both the front and back cameras are connected in sequence through that power cable, and the front camera is glued pretty firmly to the motherboard.
– Grab those tweezers and gently snag the front camera, giving it a little twist as you go. You’ve got this!
– Now that you’ve made the move, it’s time to pop out the cameras. Easy peasy!
Tools Used
Step 10
Mark each color’s spot so putting everything back together is a breeze.
– Find the microphone cables hiding in front of the cameras’ ZIF connector. They’re not hard to spot, just take a careful look and make sure you’ve got the right spot.
Step 11
Check out the soldering guide if you need a hand with the soldering process!
– Heat up your soldering iron and carefully melt away the connections holding the cables in place. Use a desoldering braid to absorb the excess solder like a pro. Keep it steady, and soon you’ll have a clean slate ready for the next step.
Step 12
– Grab those tweezers and use the pointy end to gently fish out the microphone from its cozy little socket.
– Now that you’ve got it, feel free to lift out the microphone!


