iPhone 14 Front-Facing Camera Assembly Replacement
Duration: 45 minutes
Steps: 25 Steps
Uh-oh! It looks like Face ID has decided to take a vacation.
Follow this clear, step-by-step guide to remove or swap out the front-facing camera assembly on your iPhone 14. This walkthrough uses the A2882 (international) model as a reference. If your iPhone 14 is a different version, things might look a bit different, but the process stays pretty much the same. Keep in mind you'll need some replacement adhesive to stick the screen back on during reassembly. Also, be aware your device will probably lose its IP (Ingress Protection) rating after this. The assembly includes both the front-facing camera and Face ID hardware, which come as a single unit with sensors paired uniquely to your logic board. Heads up: replacing this part means Face ID won’t work anymore. This repair will get your selfie camera back in action, but on iOS 17.6 and earlier, only Apple or an Apple-authorized technician can restore Face ID. On iOS 18 and later, you can recalibrate new genuine front-facing cameras using Apple’s Repair Assistant.
Step 1
- First, let's power down that iPhone. It's always a good idea to start with a clean slate.
- Next up, grab your Pentalobe P2 screwdriver and remove the two 6.8mm screws at the bottom of your device. They’re the ones keeping the bottom edge snug, so give them a little twist and set them aside.
Step 2
Pushing the opening pick in too deep can mess up your device — so let’s keep it safe by marking your pick to know just how far to go.
Feel free to mark the other corners of the pick with different measurements to keep things flexible.
Or, if you want to get creative, tape a coin onto your pick about 3 mm from the tip as a handy depth guide.
- Grab your opening pick and measure 3 mm from the tip, then mark it with a permanent marker to keep your tool on point.
Step 3
Pop on some safety glasses—your eyes deserve a shield from any surprise glass bits that might try to escape during the fix.
Got a cracked rear glass on your iPhone? No worries! Simply tape it up to avoid any further damage or accidental injury while you work on your repair.
If you're feeling adventurous, you can always try supergluing the suction cup to the cracked glass. Just be sure to handle it carefully!
- Cover the iPhone's back glass with overlapping strips of clear packing tape until the entire surface is sealed.
- If the suction cup won’t stick in the next steps, no worries—fold a sturdy tape like duct tape into a little handle and use that to lift the rear glass instead.
Tools Used
Step 4
Keep your hair dryer moving—don’t let it hang out in one spot too long!
- Grab a hair dryer or a heat gun and give the bottom edge of your iPhone a warm hug for about 90 seconds, or until that rear glass is feeling a bit too toasty for your fingertips.
Tools Used
Step 5
The adhesive holding the rear glass is seriously tough. You’re going to need to put in some elbow grease to create that first gap. If you're struggling, try applying a bit more heat, and gently rock the rear glass up and down to loosen the adhesive. Once you’ve made enough of a gap, you can slide in your opening pick and keep moving forward!
- Grab a suction handle and stick it to the bottom edge of the rear glass—just be careful not to go right to the edge!
- Give that suction cup a good pull with steady pressure to create a little gap between the rear glass and the case.
- Slide an opening pick into that gap you've just made.
Tools Used
Step 6
- Grab a hair dryer and give the left edge of your iPhone some warm love for about 90 seconds, or until the rear glass is just a tad too hot to comfortably touch. This will make the next step a breeze!
Tools Used
Step 7
Keep your pick shallow—no deeper than 3 mm—to avoid poking anything vital inside.
- Carefully slide the opening pick around the lower left corner, then move it up the left edge of the iPhone. This will slice through the adhesive holding that rear glass in place. Stay steady, you've got this!
Step 8
Heads up! There's a sneaky little cable running along the right edge by the volume up button. Avoid sliding your pick in there to keep that cable safe and sound.
Step 9
- Grab your hair dryer and give the right edge of your iPhone (the side with the power button) a good warm-up for about 90 seconds. The goal: get that rear glass nice and toasty—almost too hot to touch, but not sizzling. This helps loosen things up for the next step!
Tools Used
Step 10
Keep your pick shallow—no deeper than 3 mm—or you risk giving the charging coil cable an accidental makeover it didn’t ask for!
- Slide your pick back in at the bottom edge of the iPhone, then carefully glide it up along the right side to keep loosening that stubborn adhesive.
Step 11
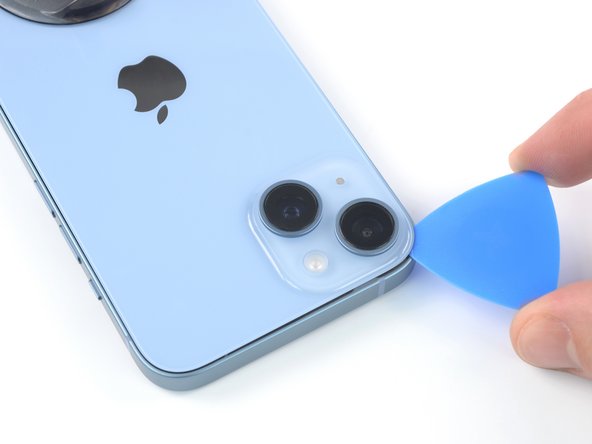
- Grab a hair dryer and warm up the top edge of your iPhone for about 90 seconds, or until the back glass feels just a little too toasty to touch.
Tools Used
Step 12
- Slip your pick under the top right edge of the phone, then glide it smoothly around the corner and halfway across the top edge—like you're tracing a chill little route for your pick.
Step 13
Hold off on pulling the rear glass completely away just yet—there's a delicate ribbon cable still hooking it up to the iPhone's logic board.
Keep that pick insertion under 3 mm to avoid messing up or smudging the camera array.
- Slip your pick under the top-left corner of the phone. Wiggle it around the corner and then slide it halfway along the top edge. Keep it smooth and easy – you've got this!
Step 14
Watch out for the short charging coil flex cable—it's delicate, so handle it gently!
- Start by gently freeing your suction handle from the rear glass.
- Now, slowly open your iPhone by lifting the rear glass up from the left side, just like flipping the cover of a book.
- Prop the rear glass up against something sturdy while you work your magic on the phone.
- When it's time to put everything back together, position the rear glass, align the clips along the top edge, and carefully press the top edge into place before giving the rest a little snap down. If it doesn't click in as easily as you'd like, take a moment to check the condition of those clips around the edges—make sure they're not bent out of shape.
- If you find yourself without a prop for the rear glass, no worries! Your trusty suction handle can step in to save the day.
Tools Used
Step 15
Keep a close eye on every single screw during this repair and make sure each one goes back exactly where it came from—mixing them up could cause trouble for your iPhone.
- Grab your Y000 screwdriver and carefully take out the two 1.3 mm screws holding down the battery connector cover.
- When putting it all back together, this is a perfect moment to power on your iPhone and make sure everything’s working smoothly before sealing the display. Don’t forget to shut it down completely again before moving on.
Step 16
- Grab the battery connector cover with some tweezers and gently slide it up towards the A15 print to unhook the top part.
- Carefully remove the battery connector cover.
Tools Used
Step 17
Be gentle with the black silicone seals around the board connections. These little guys help keep out water and dust, so giving them some TLC will ensure they keep doing their job and protect your device.
- Grab your spudger and use the pointed end to gently lift the battery cable connector straight up from its socket. No need to rush, just a steady hand!
- Once you've got the connector up, tilt it slightly away from the logic board. This will stop it from accidentally touching the socket and turning your phone on while you're in the zone fixing it.
Tools Used
Step 18
- Grab a Y000 screwdriver and carefully remove the tiny 1.0mm screw that's holding the charging coil connector cover in place. Don't worry, it's a small step to big progress!
Step 19
- Grab your tweezers and gently lift off the charging coil connector cover.
Tools Used
Step 20
- Grab the pointy end of your spudger and gently pop the charging coil cable connector straight up out of its socket. Easy does it!
Tools Used
Step 21
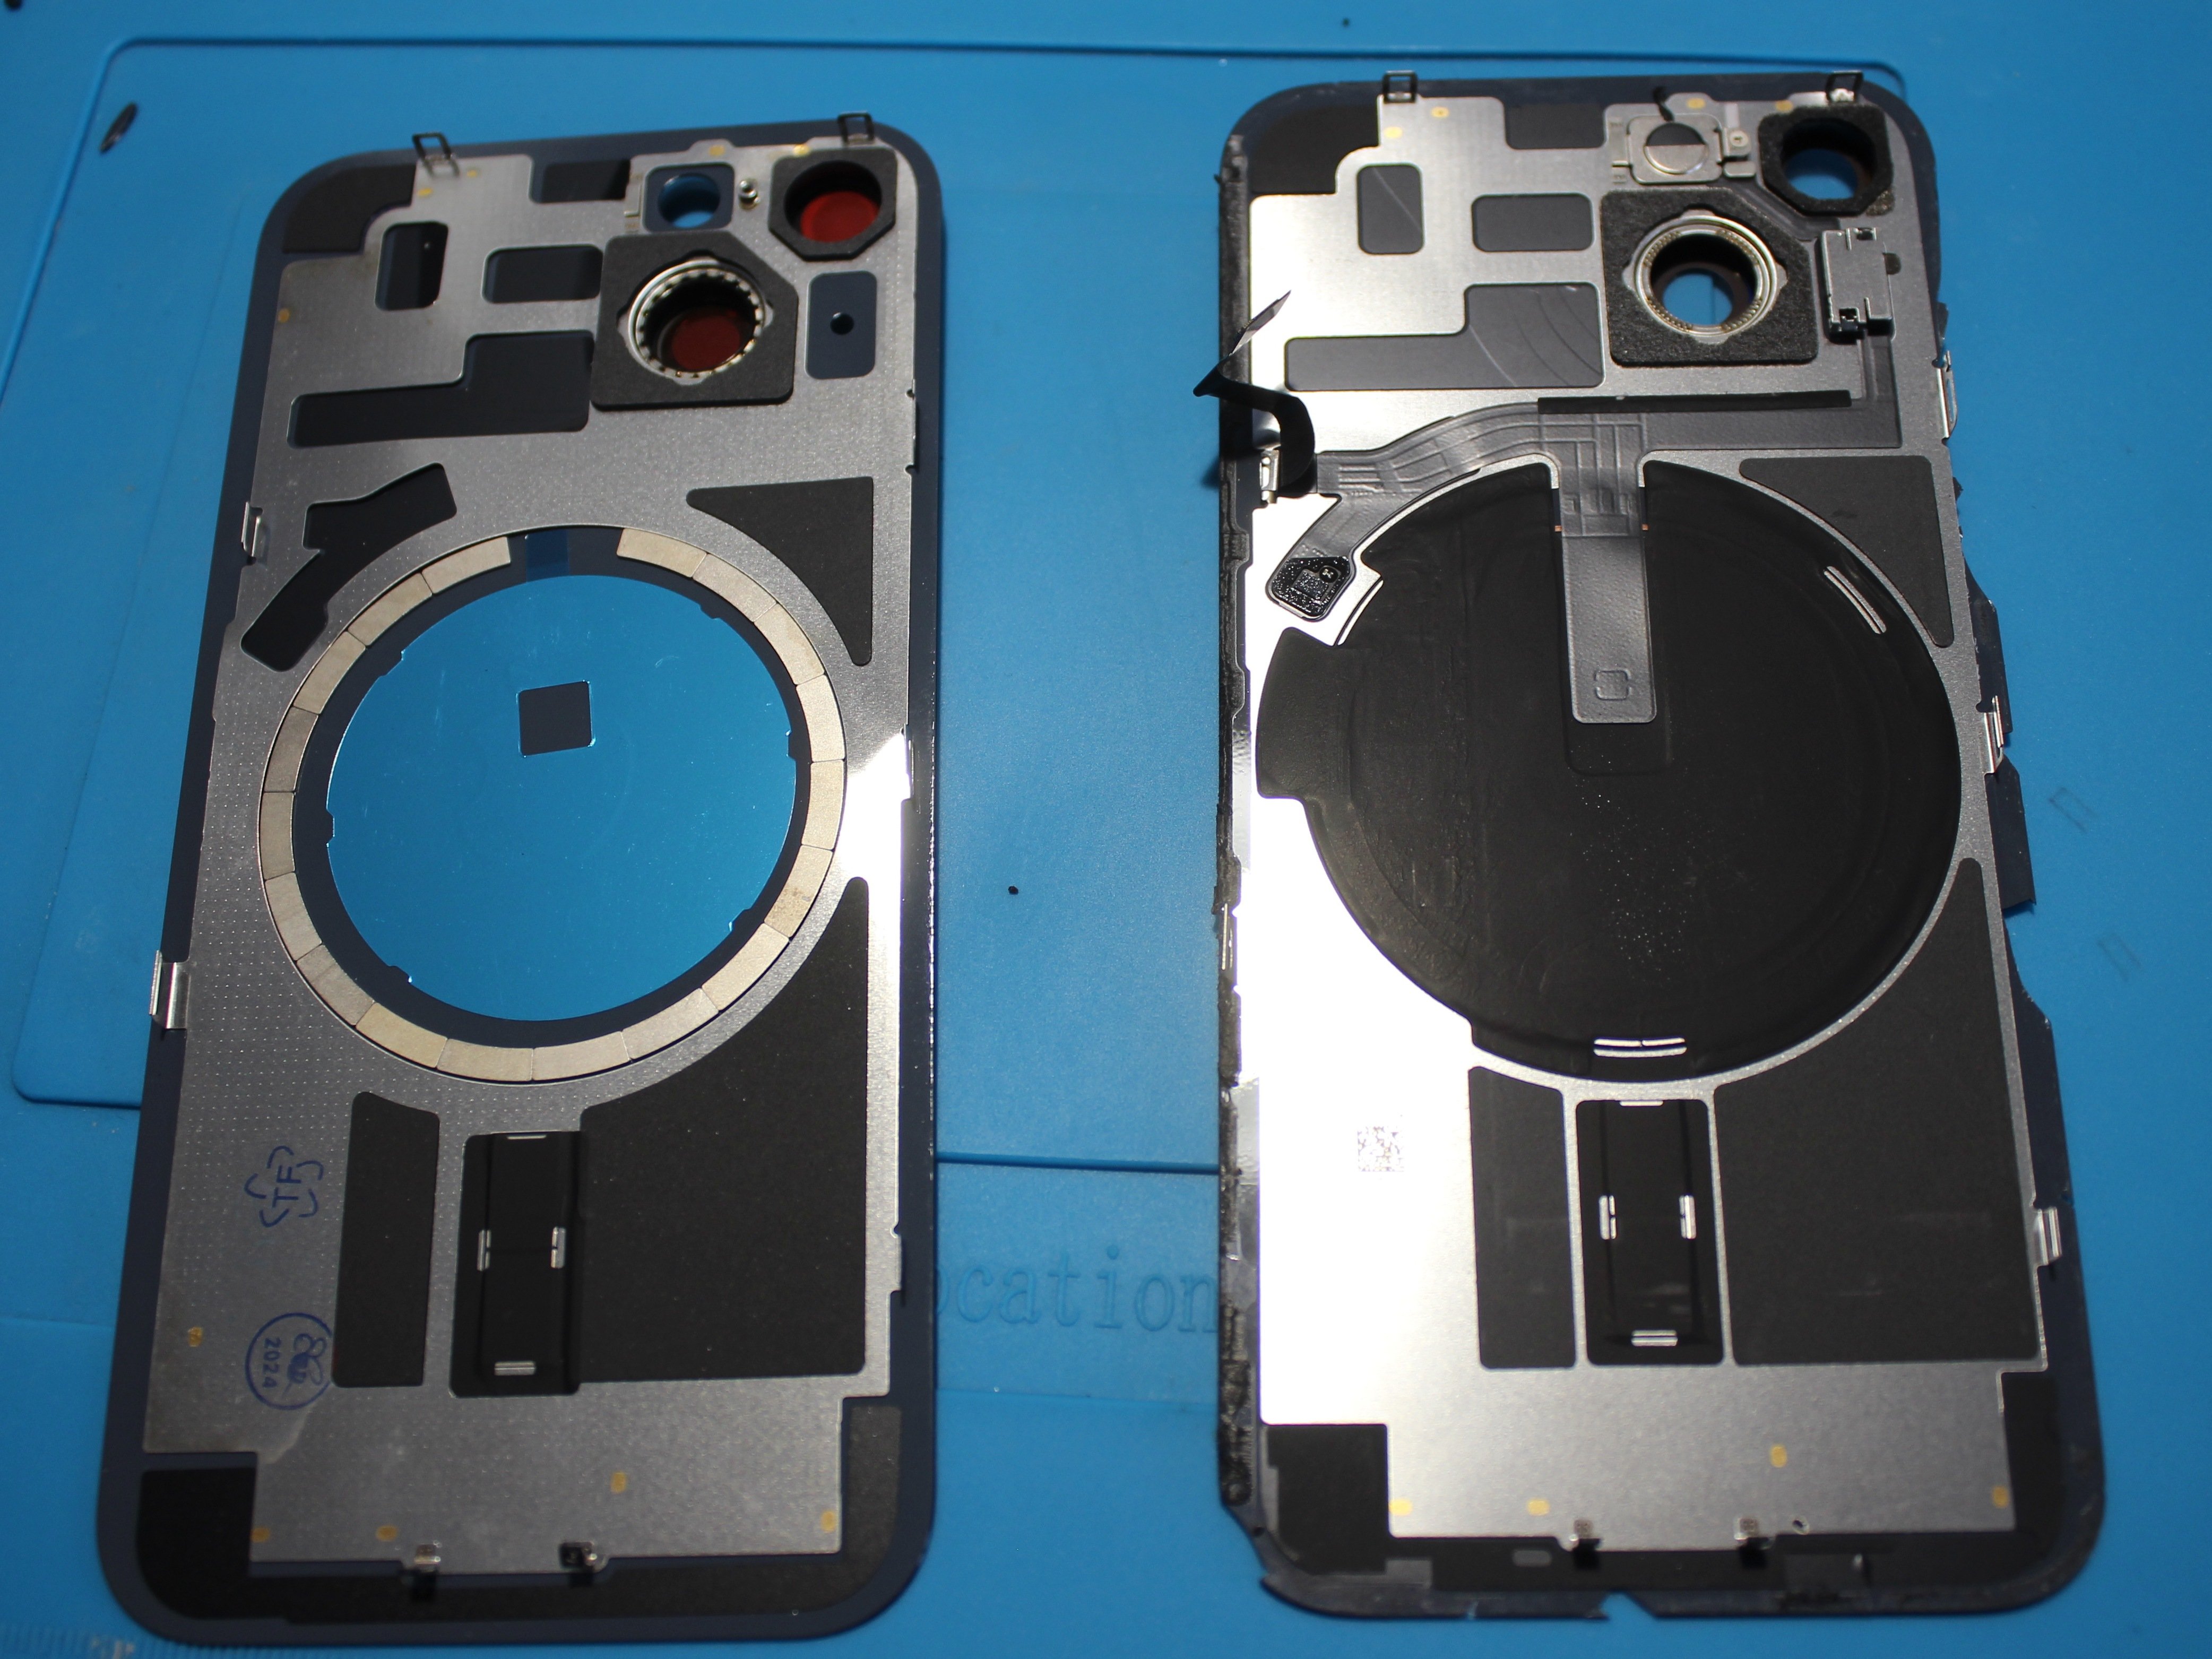
- Pop off that rear glass assembly—nice and easy, like opening a well-chilled soda.
- Clean up the sticky spots with some strong isopropyl alcohol (90% or more), then lay down fresh adhesive wherever it’s needed. Your phone deserves a clean new look!
- Before you put everything back together, take a breather if you want to swap out those rear glass adhesives.
Step 22
- Grab your trusty Y000 screwdriver and let's tackle those two 1.3 mm screws holding down the front camera assembly cable bracket. You've got this!
Step 23
- Grab a pair of tweezers or just use your fingers to gently lift off the front camera assembly cable bracket. You've got this!
Tools Used
Step 24
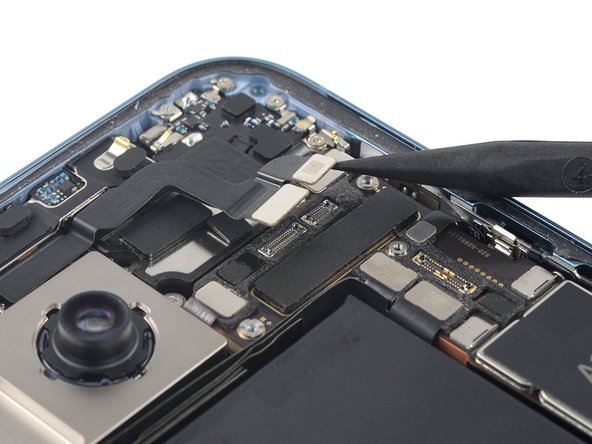
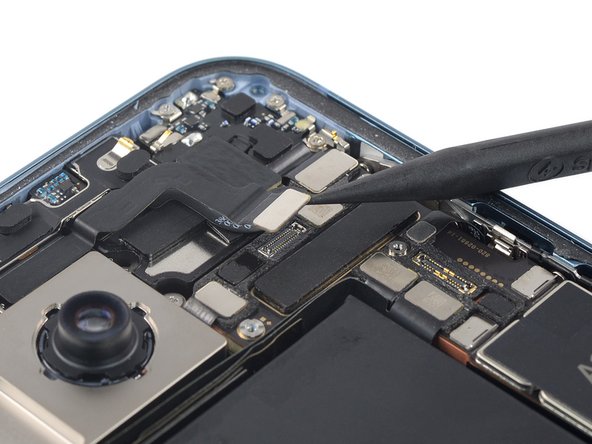
- Grab your trusty spudger and gently pry the camera and sensor cables up from their sockets. Make sure to disconnect them by lifting straight out—no wrestling moves needed here!
Tools Used
Step 25
- Grab your tweezers (or just your fingers if you’re feeling bold) and gently lift out the front-facing camera and sensor assembly. Easy does it!


