iPhone 14 Rear-Facing Cameras Replacement
Duration: 45 minutes
Steps: 25 Steps
Ready to swap out the rear cameras on your iPhone 14? This guide walks you through the process using the A2882 (international) model as our example. If your iPhone 14 is a different version, things might look a bit different, but the steps are pretty much the same. Heads up: on iOS 18 and later, you can calibrate new, genuine camera modules with Apple's Repair Assistant. Don’t forget, you’ll need fresh adhesive to put the screen back on during reassembly. Your phone will work just fine afterward, though it will probably lose its IP (Ingress Protection) rating.
Step 1


- Before you start, make sure your iPhone is powered off—let’s keep things chill and safe.
- Take out the two 6.8 mm pentalobe P2 screws hanging out at the bottom edge of your iPhone.
Step 2


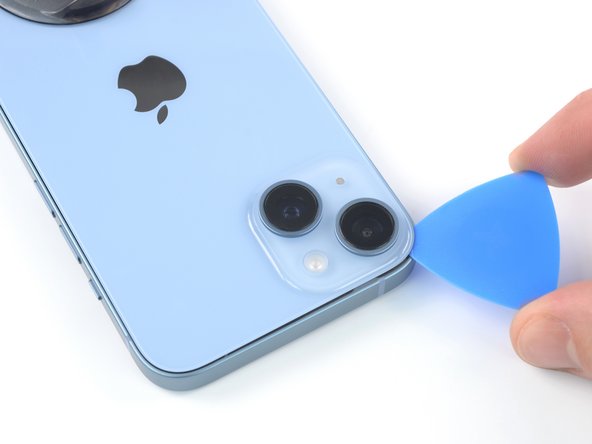
Be careful not to insert the pick too far—it can cause some damage to your device. To avoid that, try marking your pick at the right spot to keep things safe.
Feel free to mark other corners of the pick with different measurements if it helps you out.
If you want to get a little creative, you can also tape a coin about 3mm from the tip of the pick. Works like a charm!
- Grab your opening pick and measure out 3 mm from the tip. Go ahead and mark that spot with a permanent marker, so you know exactly where to start. Let's keep it precise and fun!
Step 3


Grab some safety glasses to keep your eyes safe from any rogue glass pieces that might come loose during the repair.
If your iPhone's rear glass is looking a bit worse for wear, let's keep things safe and sound! A little tape over that cracked glass will help prevent any further mishaps and keep your hands unscathed during the repair process.
And if you're really in a tight spot, a little superglue on the suction cup can hold it together for that extra grip on the rear glass.
- Cover the entire back of the iPhone with overlapping strips of clear packing tape. This keeps things tidy and helps you handle the glass safely.
- If the suction cup refuses to stick in the next steps, no worries! Grab a sturdy piece of tape (like duct tape), fold it into a little handle, and use that to lift the rear glass instead.
Tools Used


Step 4

Keep the hair dryer moving—don’t let it hang out in one spot too long!
- Grab your hair dryer or heat gun and warm up the bottom edge of your iPhone for about 90 seconds, or until the back glass feels just a bit too toasty to touch.
Tools Used


Step 5


The glue keeping the rear glass stuck on there is no joke; getting that first little gap open takes some serious muscle. If it’s being stubborn, heat it up a bit more, then gently wiggle the rear glass up and down to loosen the adhesive until you’ve got enough space to slide in your opening pick.
- Stick a suction handle near the bottom edge of the rear glass, but steer clear of the very edge to keep things safe.
- Give the suction cup a steady, firm pull to gently nudge a small gap between the rear glass and the case.
- Slide an opening pick into that gap you just made and get ready for the next step.
Tools Used

Step 6

- Warm up the left edge of your iPhone with a hair dryer for about 90 seconds, or until the rear glass feels just a bit too warm to touch. Keep it cool, but get it toasty enough to make things easier to work with.
Tools Used
Step 7


Keep your pick under 3 mm for a smooth sailing repair adventure, as going deeper might ruffle some internal feathers!
- Gently glide the opening pick around the lower left corner and up the left edge of the iPhone, and watch as it skillfully slices through the adhesive that’s keeping the rear glass snug as a bug.
Step 8

Watch out for the fragile cable hanging out along the right edge, right by the volume up button. Keep your pick away from this spot to avoid any accidental damage to the cable!
Step 9

- Grab a hair dryer and give the right side of your iPhone (the side with the power button) a little love for about 90 seconds, or until the rear glass feels just a bit too warm to touch. You're aiming for just the right heat to make the next steps a breeze!
Tools Used
Step 10


Keep your pick to a maximum of 3 mm—going deeper might just tick off that charging coil cable!
- Slide your pick into the bottom edge of the iPhone and gently work it up along the right side to keep separating the adhesive. Take it slow and steady—you've got this!
Step 11

- Grab a hair dryer and gently warm up the top edge of your iPhone for about 90 seconds or until the rear glass feels just a bit too hot to touch. It's like giving your phone a little spa treatment!
Tools Used
Step 12


- Slide your pick under the top right corner of the phone, then glide it smoothly around the edge and halfway along the top—easy does it!
Step 13


Hold your horses on fully separating that rear glass just yet! There's a delicate ribbon cable still hanging on to the iPhone's logic board, so let's be gentle.
Keep that pick to a maximum of 3 mm! Going deeper might just cause some unwanted drama with the camera array.
- Slide your pick under the top-left edge of the phone, then gently work it around the top-left corner and halfway across the top edge. Take it slow and steady—you're almost there!
Step 14


Give that charging coil flex cable some slack—no need to put it under pressure!
- Take off your suction handle from the rear glass—you're all set to move on!
- Gently swing the rear glass up from the left side, just like opening the back cover of a book. Nice and easy does it.
- Prop the rear glass up against something sturdy so it stays put while you work your magic inside the phone.
- When you're putting it all back together, place the rear glass in position, line up the clips along the top edge, and press that top edge down carefully before snapping the rest into place. If it doesn’t snap in smoothly, double-check the clips around the glass edge to make sure they’re not bent or out of shape.
- No good spot to lean the glass? No worries—your suction handle can hold it up just fine.
Tools Used
Step 15


As you tackle this repair, remember to keep an eye on each screw and make sure it finds its way back to its original home. This way, your iPhone stays safe and sound, and you avoid any unwanted surprises!
- Grab your Y000 screwdriver and pop out the two tiny 1.3 mm screws holding down the battery connector cover. Easy does it!
- Before you button things up, flip your iPhone on and make sure everything works—screen, buttons, the whole crew. Once you’re done checking, power it down again before moving on.
Step 16


- Grab the battery connector cover with some tweezers and slide it up (towards the A15 print) to pop open the top hook.
- Lift off the battery connector cover.
Tools Used

Step 17


Careful not to mess up the black silicone seal around this and other board connectors. These little guys are the unsung heroes, keeping water and dust out like champs.
- Grab your trusty spudger and gently pop the battery connector straight up out of its socket—no need for brute force, just a little nudge.
- Tilt the connector away from the logic board so it doesn’t sneak back and power up your phone mid-repair. Safety first, good vibes always!
Tools Used

Step 18


- Grab your trusty Y000 screwdriver and take out that tiny 1.0mm screw holding the charging coil connector cover in place. Easy peasy!
Step 19


- Grab a pair of tweezers and carefully lift off the charging coil connector cover. Take your time – no rush here, just a gentle touch.
Tools Used
Step 20


- Grab the pointy end of your spudger and carefully pry the charging coil cable connector straight up from its socket to disconnect it. Easy does it!
Tools Used
Step 21


- Time to say goodbye to the rear glass assembly. Gently remove it, no rush!
- Before sticking the new one down, make sure the relevant areas are squeaky clean. A little isopropyl alcohol (90%+) should do the trick, and you'll be ready to apply fresh adhesive where needed.
- Almost there! If you're thinking about swapping out the rear glass adhesives, take a moment to pause and do that now before moving on with the reassembly.
Step 22


- Grab your spudger and gently pop up the two rear camera cables by lifting their connectors straight out of their sockets. Easy does it!
Tools Used
Step 23

- Grab your trusty Phillips screwdriver and let's get to work! Unscrew those three tiny 2.1 mm-long screws that are holding the rear camera assembly in place. You're doing great!
Step 24


- Slip the pointed end of a spudger under the top edge of the rear camera assembly.
- Gently pry upwards with the spudger to free the rear camera assembly.
Tools Used
Step 25


- Before sealing everything up, power on your device and give it a quick test to make sure your repair went smoothly.
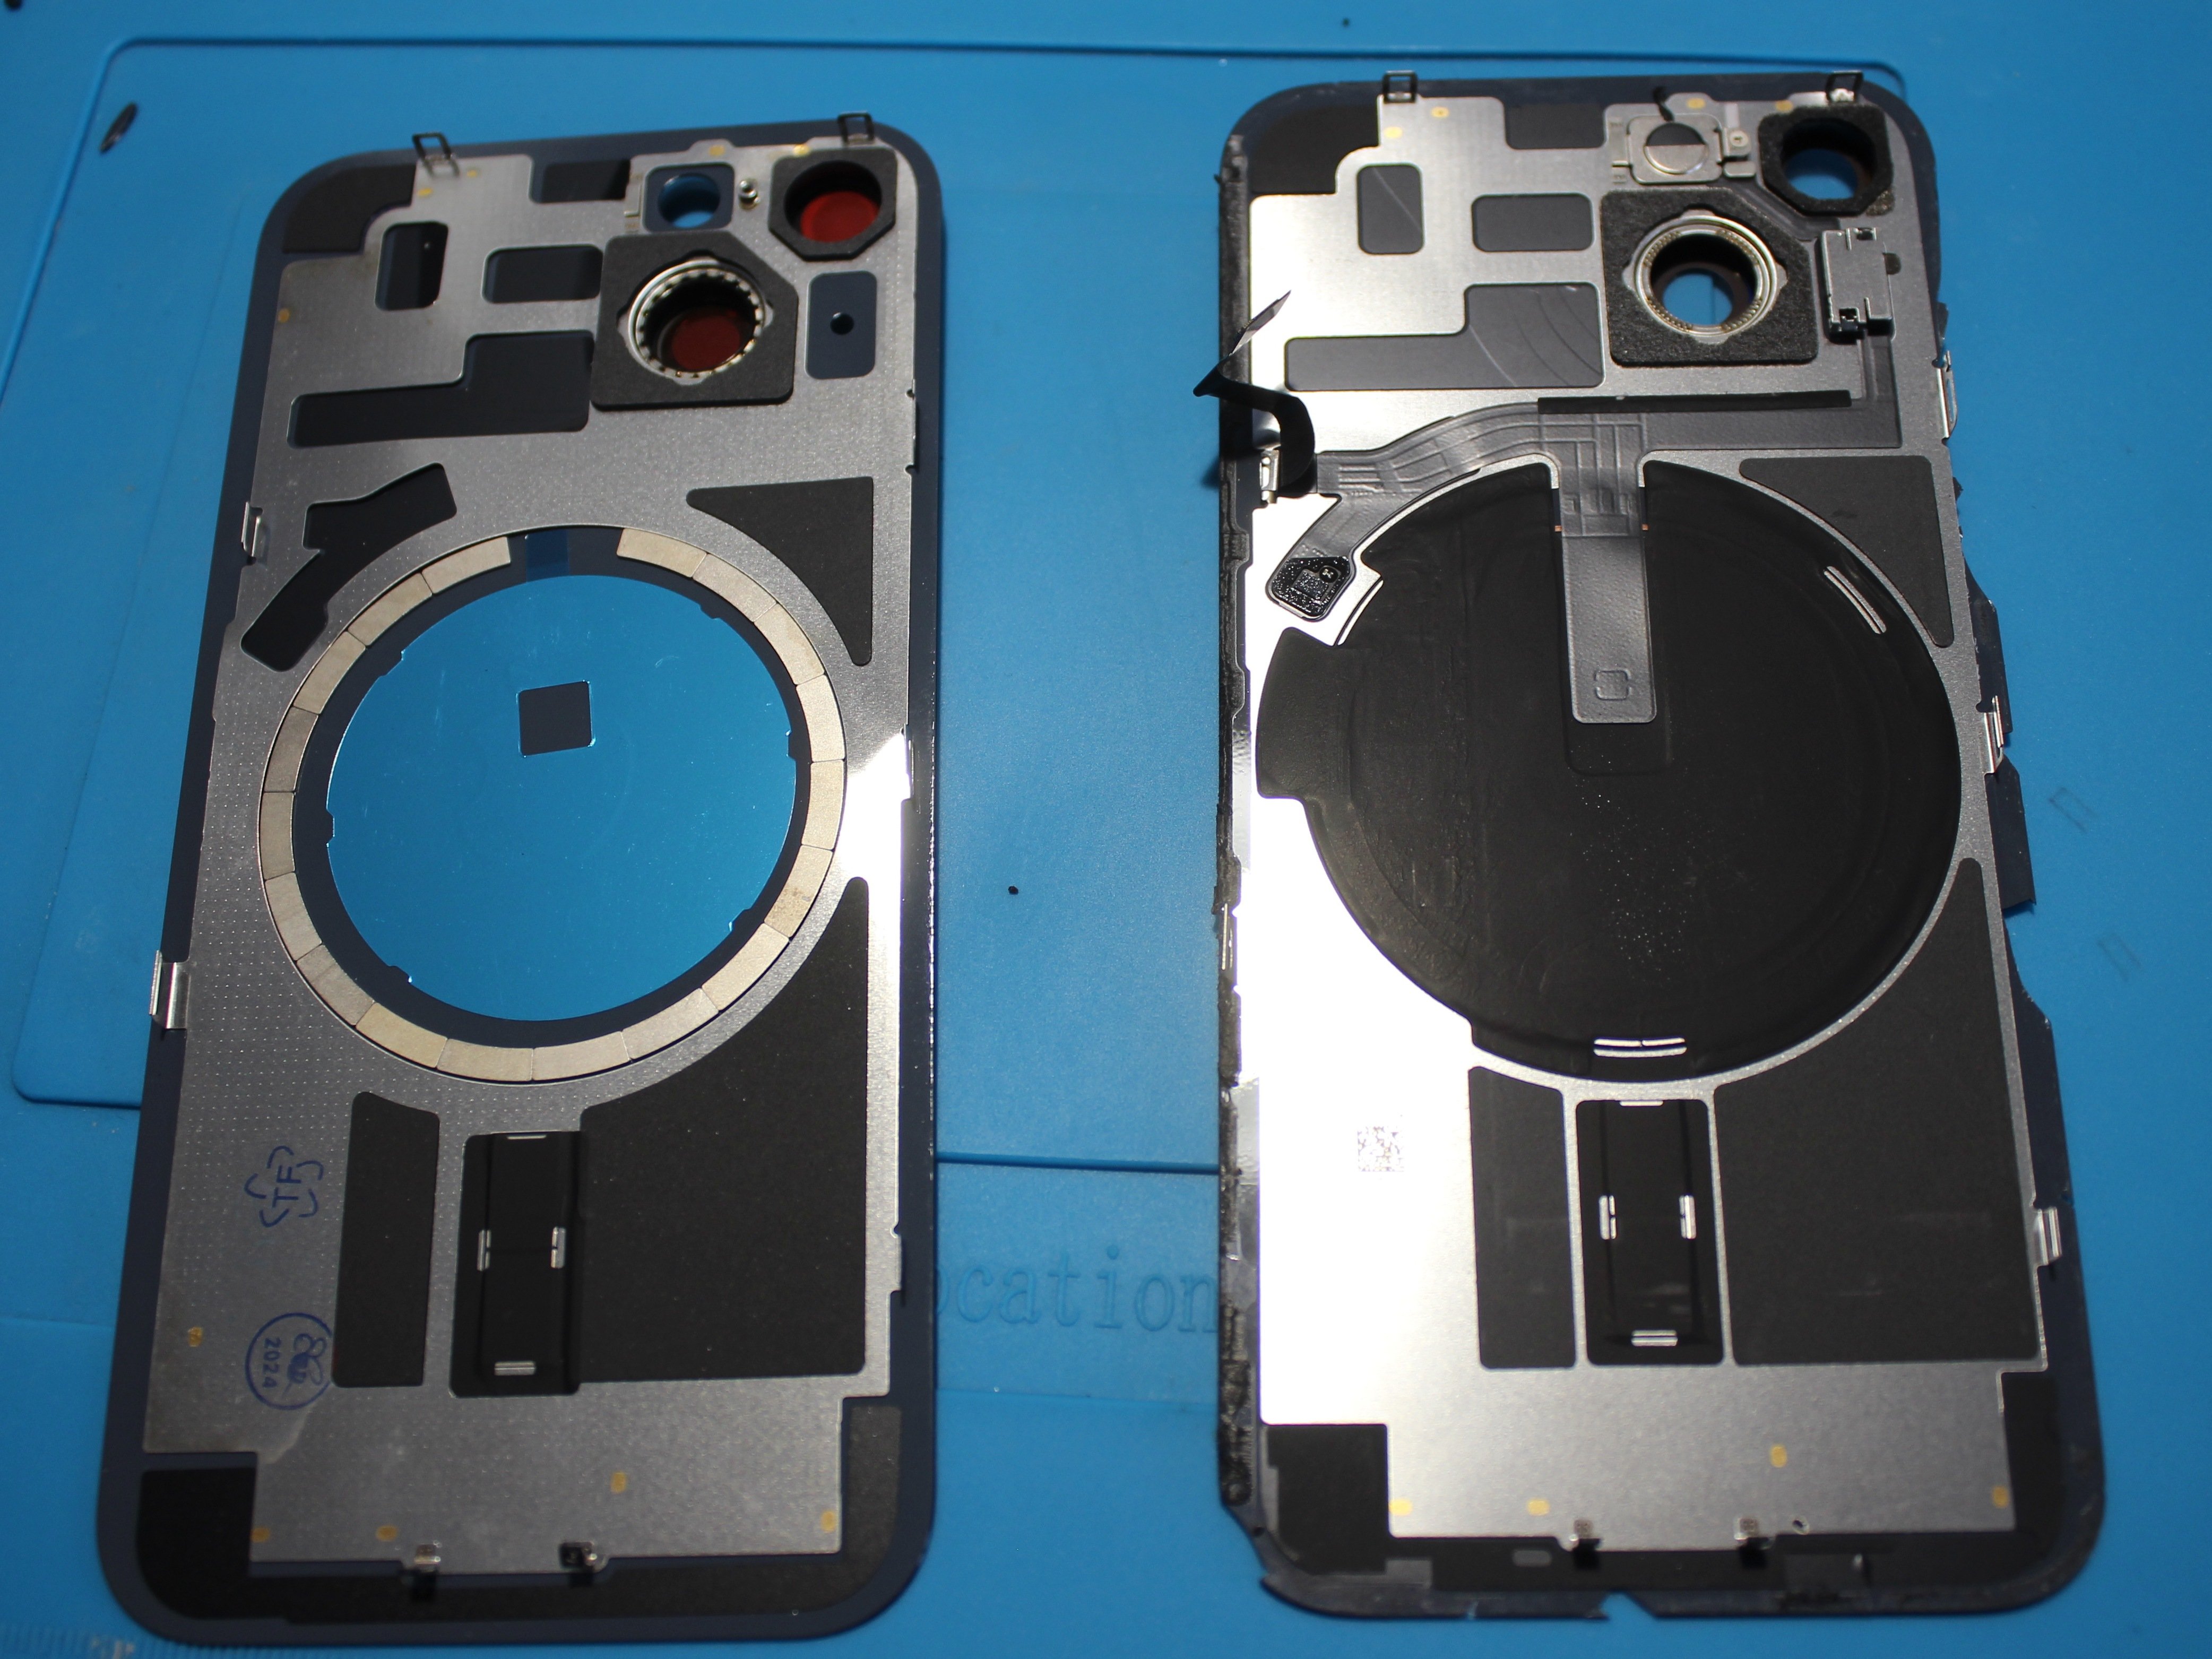
- Take a moment to compare your new replacement part with the original—sometimes you might need to swap over a few components or peel off some adhesive backing before you're good to go.
- Reassembly time! Just follow these steps in reverse order to get everything back together.
- If your replacement part supports it, you can calibrate it using Apple's Repair Assistant (iOS 18 or later). Just update your device, head to Settings→General→About→Parts & Service History, hit Restart & Finish Repair, and follow the prompts.
- Got e-waste? Make sure to recycle it responsibly by taking it to an R2 or e-Stewards certified recycler.
- Things didn't go quite as planned? Don't sweat it—try some basic troubleshooting or ask our Answers community for help. If you're stuck, schedule a repair and we'll give you a hand!