NeuTab Air7 Motherboard Replacement
Duration: 45 minutes
Steps: 4 Steps
The motherboard is the heart of your device, connecting everything together. If it fails, your device is basically a fancy paperweight. That’s why it’s super important to make sure it’s fixed right. Follow these steps to replace it and get your device back in action!
Step 1


Make sure your device is switched off before diving in!
– Grab the opening tool and carefully slide it around the edges of the tablet to gently lift off the back cover. Take it slow and steady, giving it some love as you go along the perimeter.
Step 2


– Peel away any sticky tape that’s clinging to the motherboard—it’s gotta go!
– Gently pop off the connecting ribbons from the motherboard using tweezers or your fingers. Easy does it!
Tools Used

Step 3

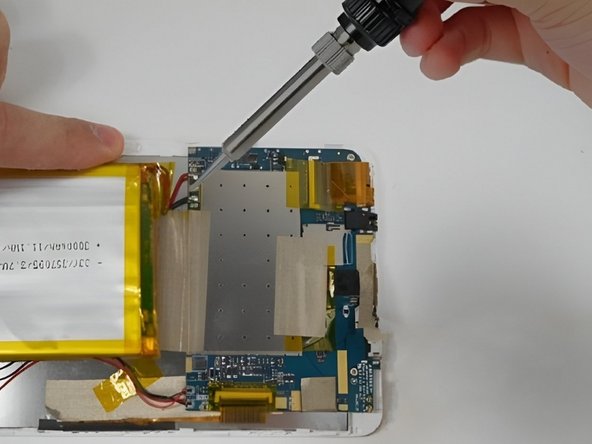
Heads up! This step calls for soldering—it’s a bit tricky and comes with the risk of burns or damaging parts, especially if you’re new to the game. So, take it slow, stay focused, and keep it safe!
Ready to get started with soldering? Click here for a helpful guide to get you up to speed!
– Carefully detach all the wires from the motherboard to break those connections like a pro!
Step 4

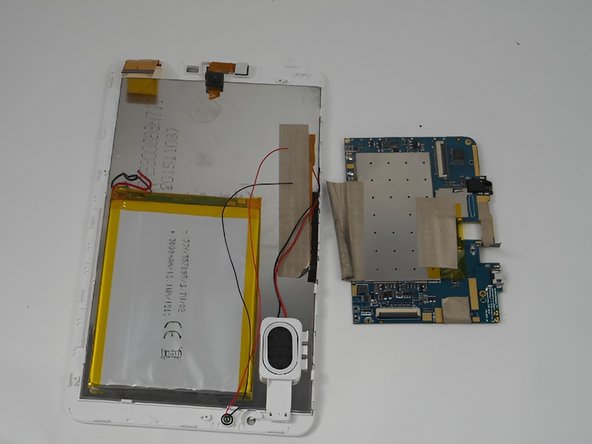
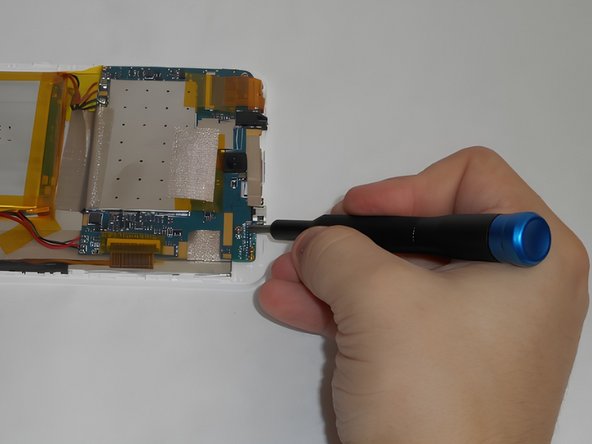
– Grab your trusty Phillips #00 screwdriver and get ready to set that motherboard free! Remove all three 0.8 screws holding it in place.
– Now it’s time to say goodbye to the motherboard – carefully lift it out and set it aside.
