Nabi DreamTab HD8 Speaker Replacement
Duration: 45 minutes
Steps: 9 Steps
The Nabi DreamTab HD8 packs a pair of tiny internal front-facing speakers that are prone to wear and tear from physical damage or overuse. Since the speakers have small magnets inside, you might notice a little magnetic resistance when unscrewing them. Grab yourself a non-magnetized screwdriver for smooth sailing on this one! This device runs on 800 watts and is compatible with MP3, AAC, and WMA formats. Speaker issues are often a common hiccup with tablets—no surprise there—so they’re thoughtfully placed on top of the opened device for quick and easy access.
Step 1


Got a different case on your device? No worries, these steps are tailored for the manufacturer’s case, so just consult your case’s manual for the lowdown on removal. We’ve got you covered with this step-by-step guide, and if you need help, you can always schedule a repair
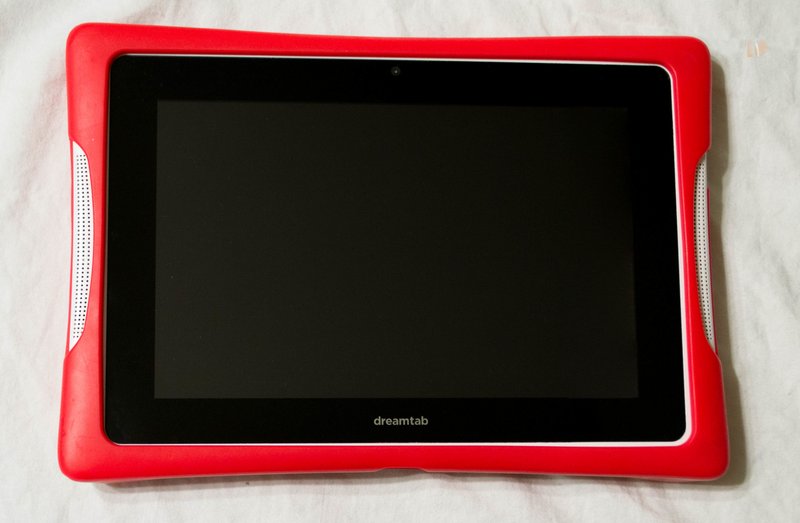
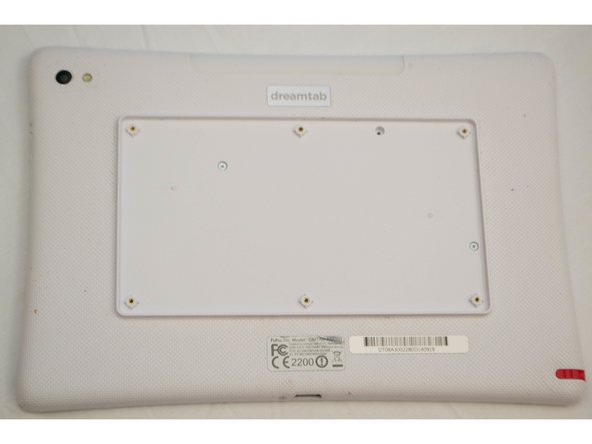
– Place your Nabi DreamTab on a flat, non-metal surface with the screen facing up and the DreamTab logo nearest to you. It’s like setting up a comfy little home for your tablet.
– Gently peel off the red silicone case from the Nabi DreamTab HD8. It should come off easily, but take your time to avoid any unnecessary stress.
Step 2

Heads up! Going past this point will void the manufacturer’s warranty. If you’re ready to dive in, follow these steps with care.
– Flip it over so that the tiny black circular camera is sitting pretty in the upper left corner.
Step 3
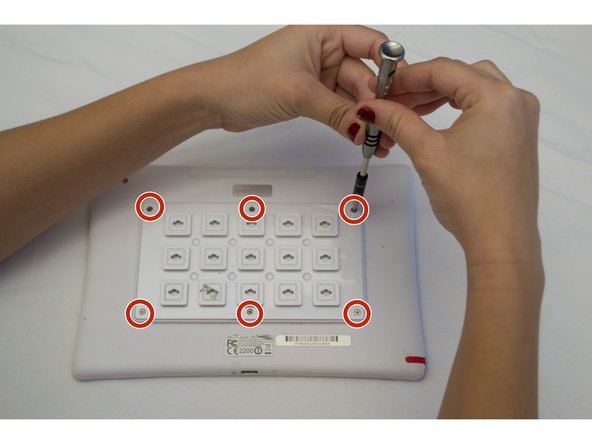
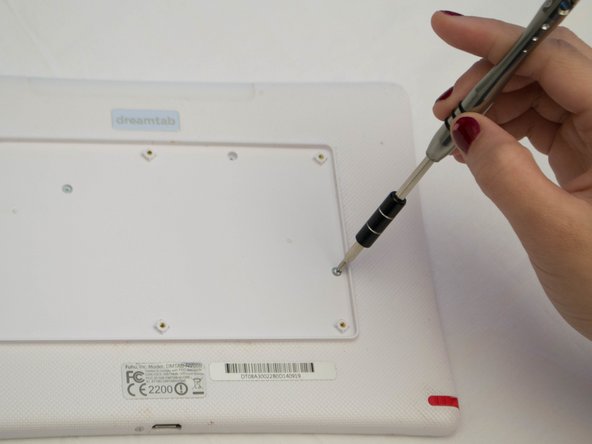
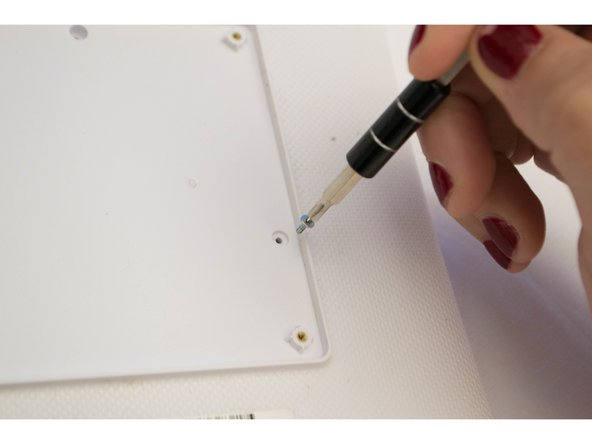
– Take out the six 2.5 mm JIS #000 screws holding the custom grid to the back panel.
Step 4

This part should come off without any issues. If you’re having a hard time with it, double-check that all screws have been fully removed. Take a moment and try again!
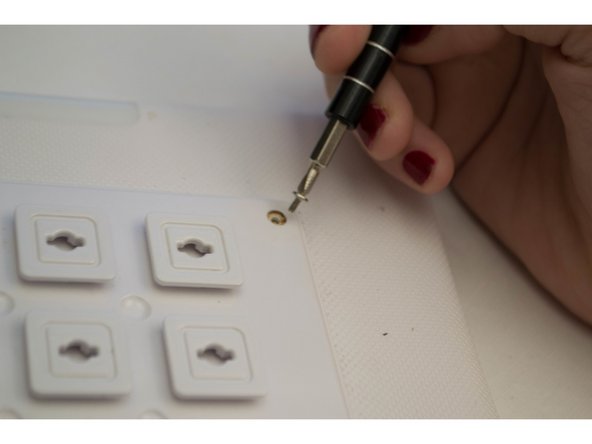
Just a heads-up: the golden threads are not screws, so don’t get them mixed up!
– Grab one of the handy little squares sticking out and carefully pry off the back plate. Set it aside for now, you’ll need it later when you’re putting everything back together.
Step 5

– Grab your trusty J-0 screwdriver and carefully take out the three 3.5mm screws that are holding the back panel snugly in place. You’re doing great!
Step 6


Heads up! While you’re at it, you might crack a few bits of the case. No worries, just take it easy around the speakers, audio jack, and charging ports to keep it all smooth. A little care goes a long way!
Let’s find that audio jack! It’s usually marked with a tiny icon of headphones and a small 3.5mm hole – pretty hard to miss, right?
– Give your device a spin so the audio jack is chilling on the right side.
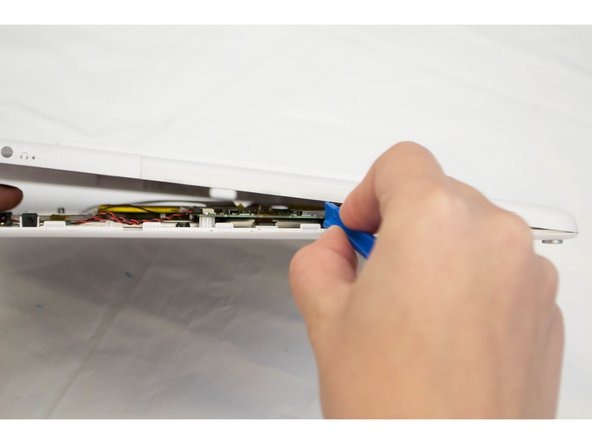
– Slide your plastic opening tool right where the front and back panels meet near the audio jack.
– Gently pry until you hear that satisfying click—that’s just the clips letting go.
– Work your way around the edge, using the same prying move to separate the panels bit by bit.
– Once you’ve made a lap around the device, return to your starting spot by the audio jack.
Step 7
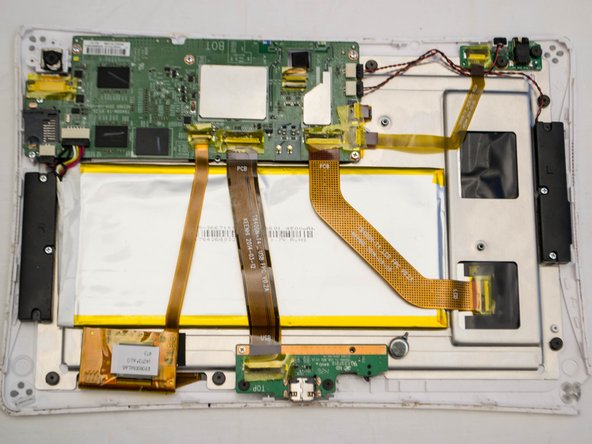
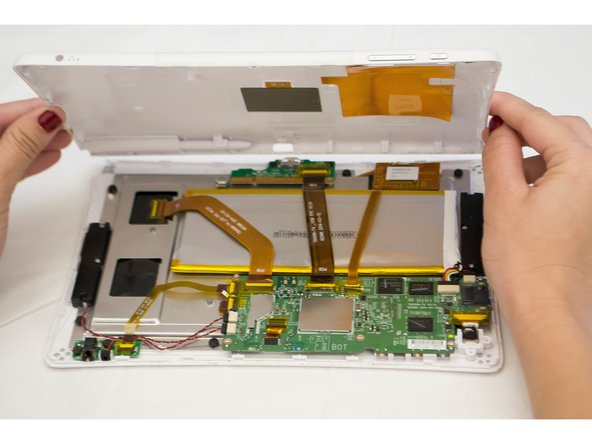

– Now that the front and back panels are separated, gently place your device back onto the table with the display facing down and the camera at the top left. You’re almost there!
– Carefully lift the back panel off, then give the device a quick 180-degree turn so that the screen stays facing down. You’re doing great!
Step 8

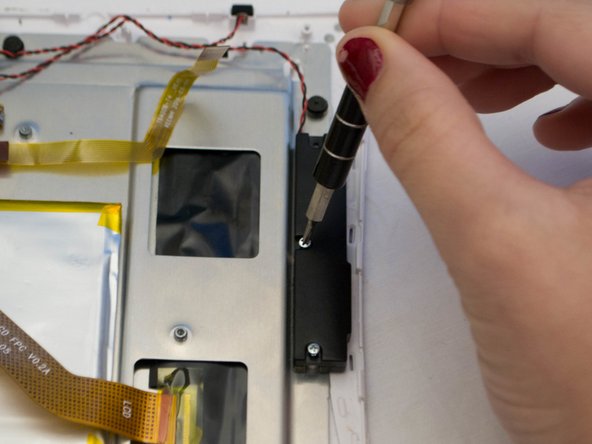
The speakers are positioned on each side of the device when it’s opened up. Look for the L and R labels to easily tell them apart.
– Let’s get started by removing the four silver 2.5mm Phillips #000 screws. Take your time and make sure they’re all out before moving on to the next step.
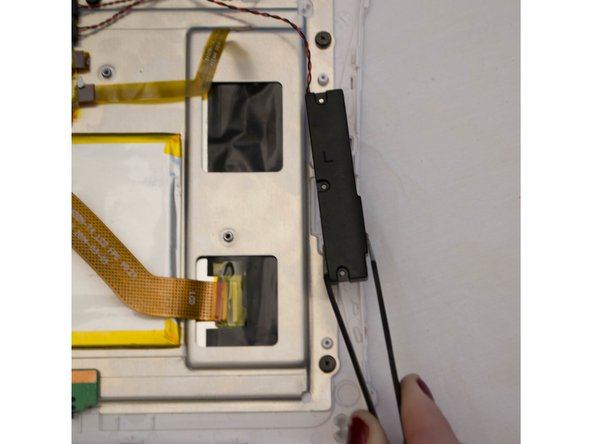
Step 9
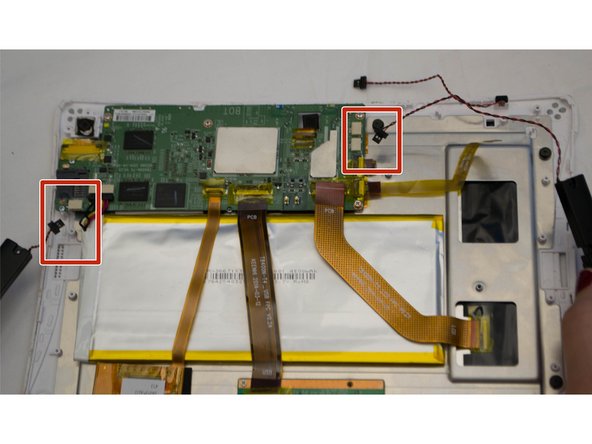

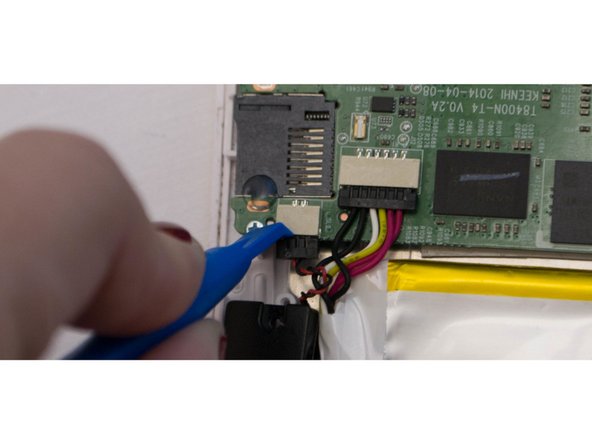
These parts are snugger than your favorite skinny jeans, so give those connectors a firm nudge to pop them loose. Keep your fingers steady—sharp components are not your friends!
Besides those four 2.5 mm screws, the speakers are still hanging on thanks to some cables connecting them to the motherboard. Don’t yank anything just yet!
– To put your device back together, retrace the steps you’ve taken to dismantle it—no magic wand needed here!
– If you need help, you can always schedule a repair.
Success!