Nabi DreamTab HD8 Audio Jack Replacement
Duration: 45 minutes
Steps: 12 Steps
The DreamTab’s universal 3.5mm audio jack is super convenient for watching videos with your favorite headphones. But, be aware that using it too much can cause wear and tear on the component. Luckily, replacing the audio jack is a breeze compared to replacing the whole device. So go ahead, enjoy your videos, and don’t worry if you need to make a replacement down the line – it’s an easy fix.
Step 1


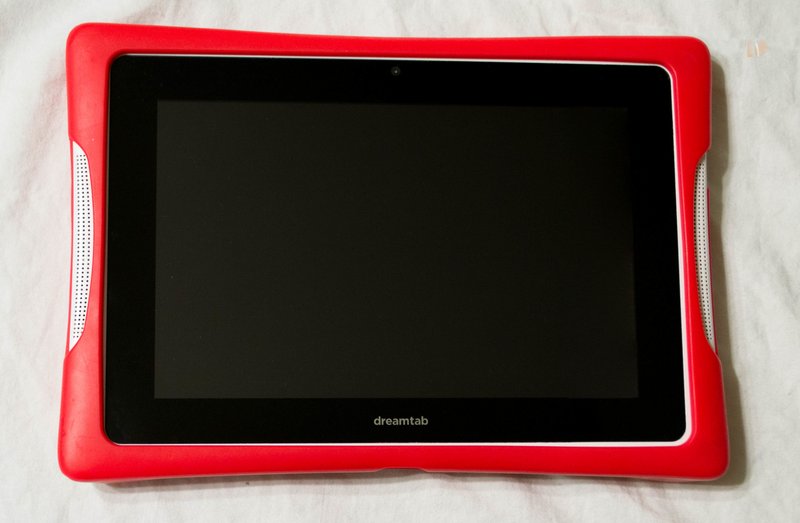
This guide is tailored for the included manufacturer case. If you’re rocking a different protective case, check out its manual for removal—because every case has its own way of saying goodbye!
– Lay your Nabi DreamTab face-up on a non-metallic surface, with the screen looking up at you and the DreamTab logo closest to your side.
– Gently peel off the red silicone case from your Nabi DreamTab HD8—no wrestling moves required.
Step 2

If you keep going from here, you might just kiss your manufacturer’s warranty goodbye! But if you’re feeling adventurous and ready to dive in, just follow these steps closely for a smooth ride.
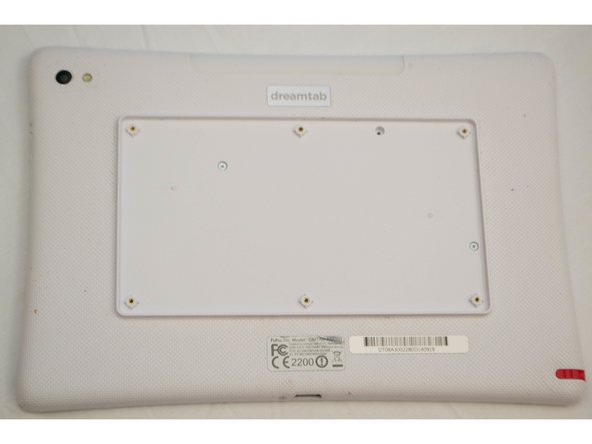
– Flip it over so the small black circular camera is in the upper left corner. Keep it steady and make sure it’s just right.
Step 3
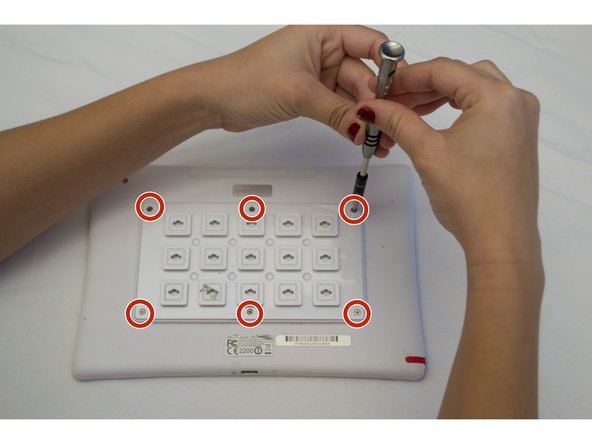
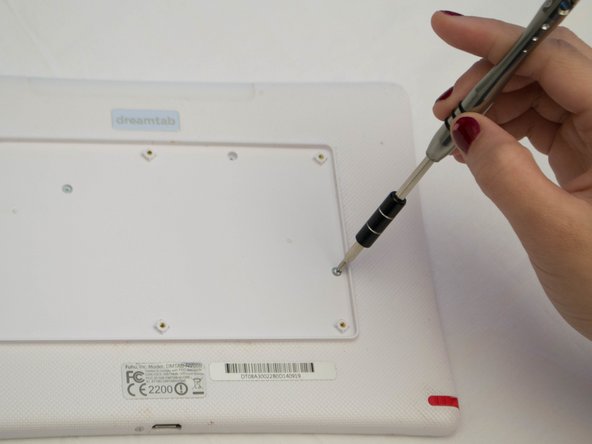
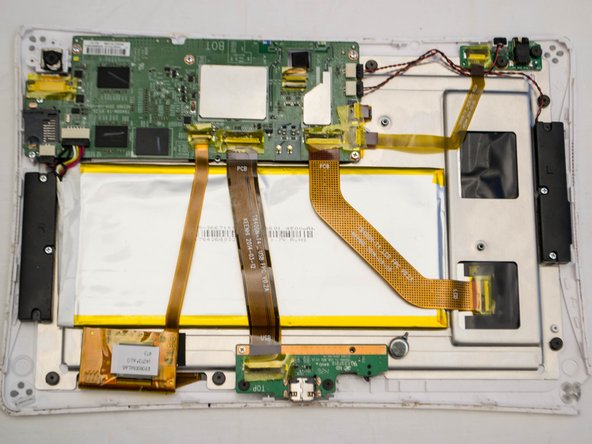
– Time to play detective with your screwdriver! Remove the six 2.5 mm JIS #000 screws that are keeping the custom grid snug against the back panel. No rush—just steady hands and a bit of patience.
Step 4

This piece should pop off with ease. If it’s giving you a hard time, double-check that all the screws are actually out—those little guys can be sneaky.
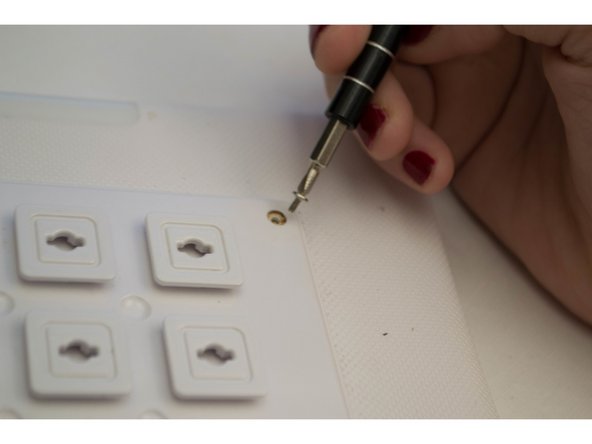
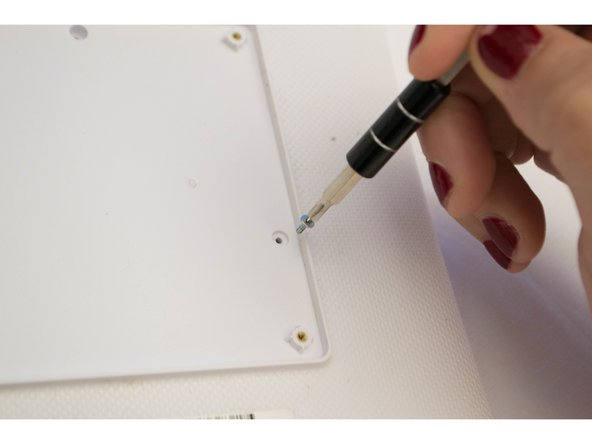
Golden threads might look important, but they are NOT screws. Don’t let them fool you!
– Grab one of the little raised squares and gently lift the back plate off. Set it aside for later when it’s time to put everything back together.
Step 5

– Let’s get started by removing the three 3.5mm screws that hold the back panel in place. Grab your trusty J-0 screwdriver and get to work!
Step 6


You might hear a little crackle as you work through this step—don’t sweat it! Gently work your way around the speakers, audio jack, and charging port to keep things as smooth as possible.
Look for a tiny headphone symbol next to a small 3.5mm hole—that’s your audio jack! It’s like a secret handshake for your headphones.
– Turn the device so the top is facing you, making sure the audio jack is chilling on the right side.
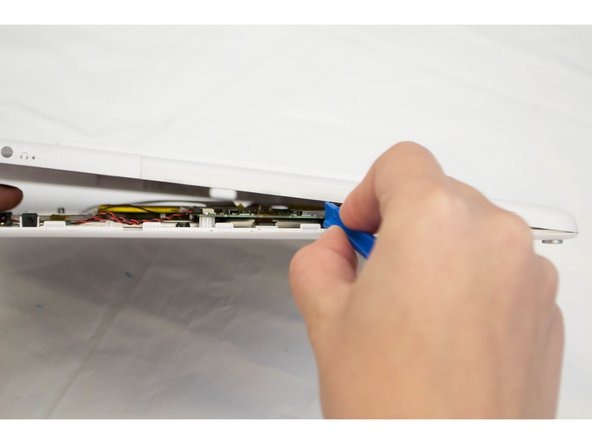
– Grab your trusty plastic opening tool and slip it into the gap where the front and back panels meet near the audio jack.
– Give it a solid but controlled pry—when you hear that satisfying *click*, the clips are letting go!
– Work your way around the edges, keeping up the same prying motion to ease the panels apart bit by bit.
– Once you’ve made your way around, circle back to the starting point near the audio jack for the final separation.
Step 7
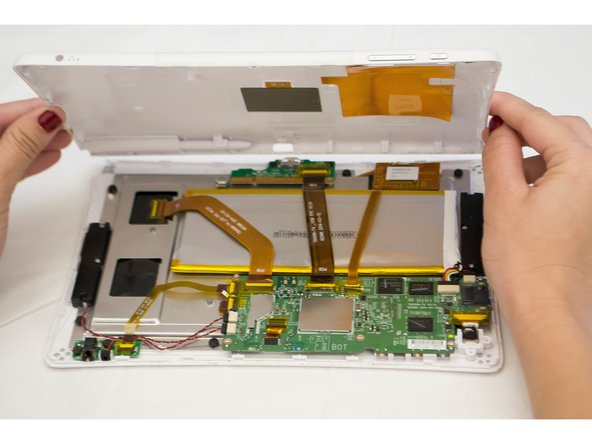

– Now that you’ve successfully separated the front and back panels, carefully place the device back on the table with the display facing down and the camera at the top left – you’re making great progress!
– Next, remove the back panel and give the device a 180-degree spin while keeping the screen facing down. Easy does it!
Step 8

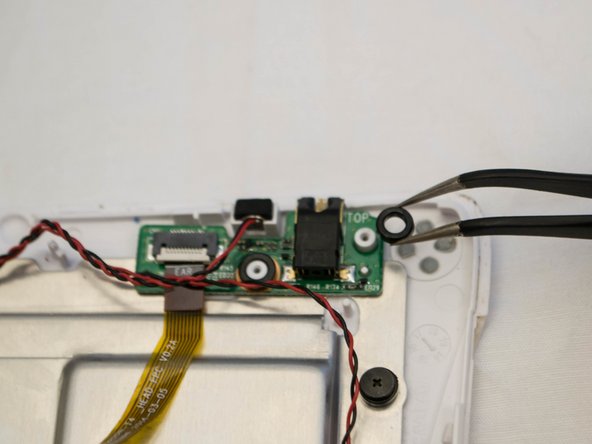
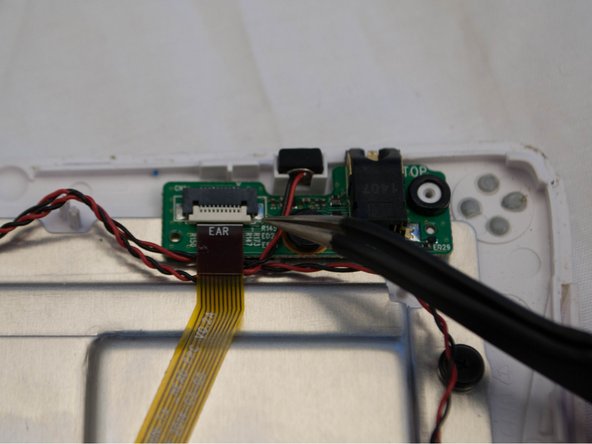
– Take a peek at the upper right corner of your device. There, you’ll spot a little label that reads EAR. That’s your audio jack—pretty neat, right?
Step 9

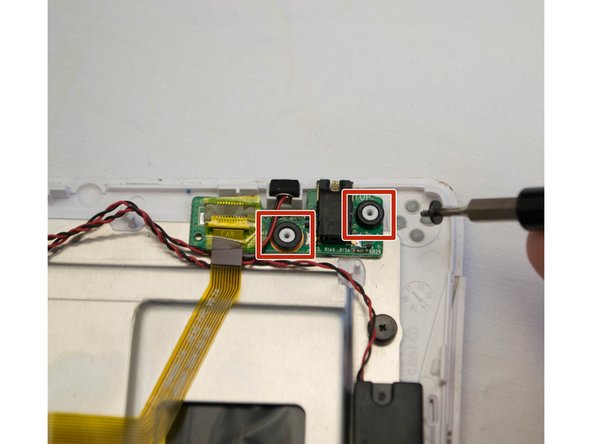
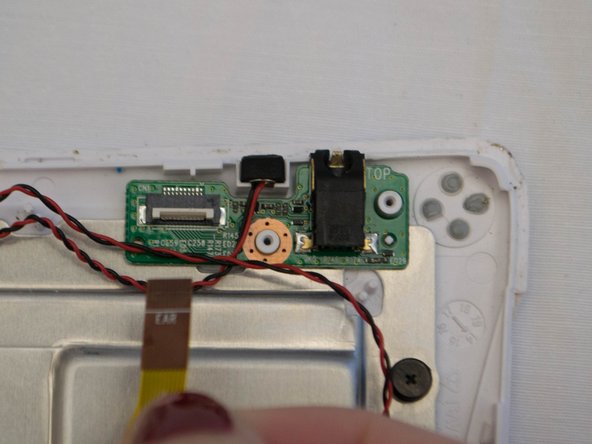
– Unscrew the two black 3.5 mm Phillips #00 screws and pop off those attached washers like a pro.
Step 10

– Gently grasp the yellow plastic tape on the connector with your trusty tweezers and carefully remove it.
Tools Used

Step 11

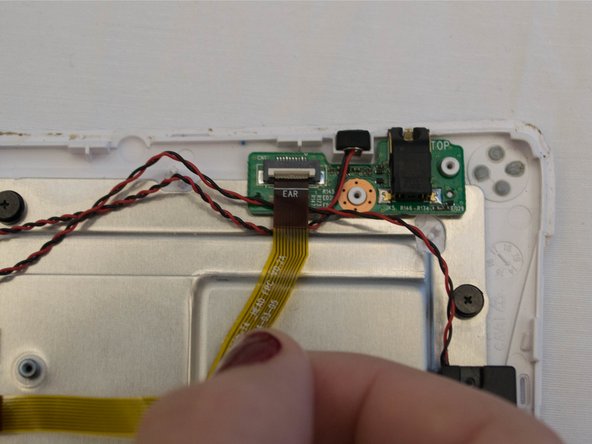
– Carefully lift the white part of the connector and gently pull it out. You got this!
Step 12
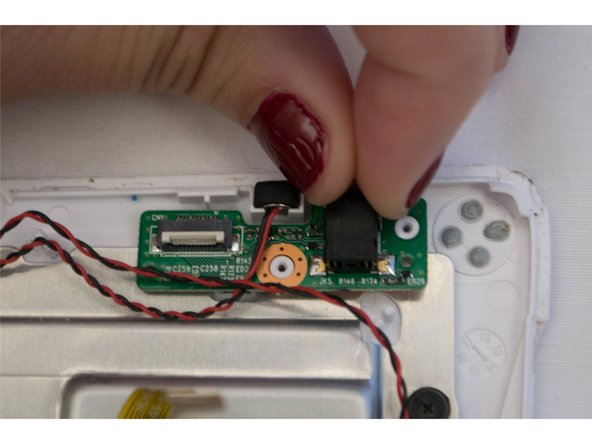

– Gently grab the black section of the audio jack and lift it out for a smooth swap.