Fix iPhone 12 Won’t Turn On By Infrared Thermal Imaging Camera
Duration: 45 minutes
Steps: 6 Steps
Step 1


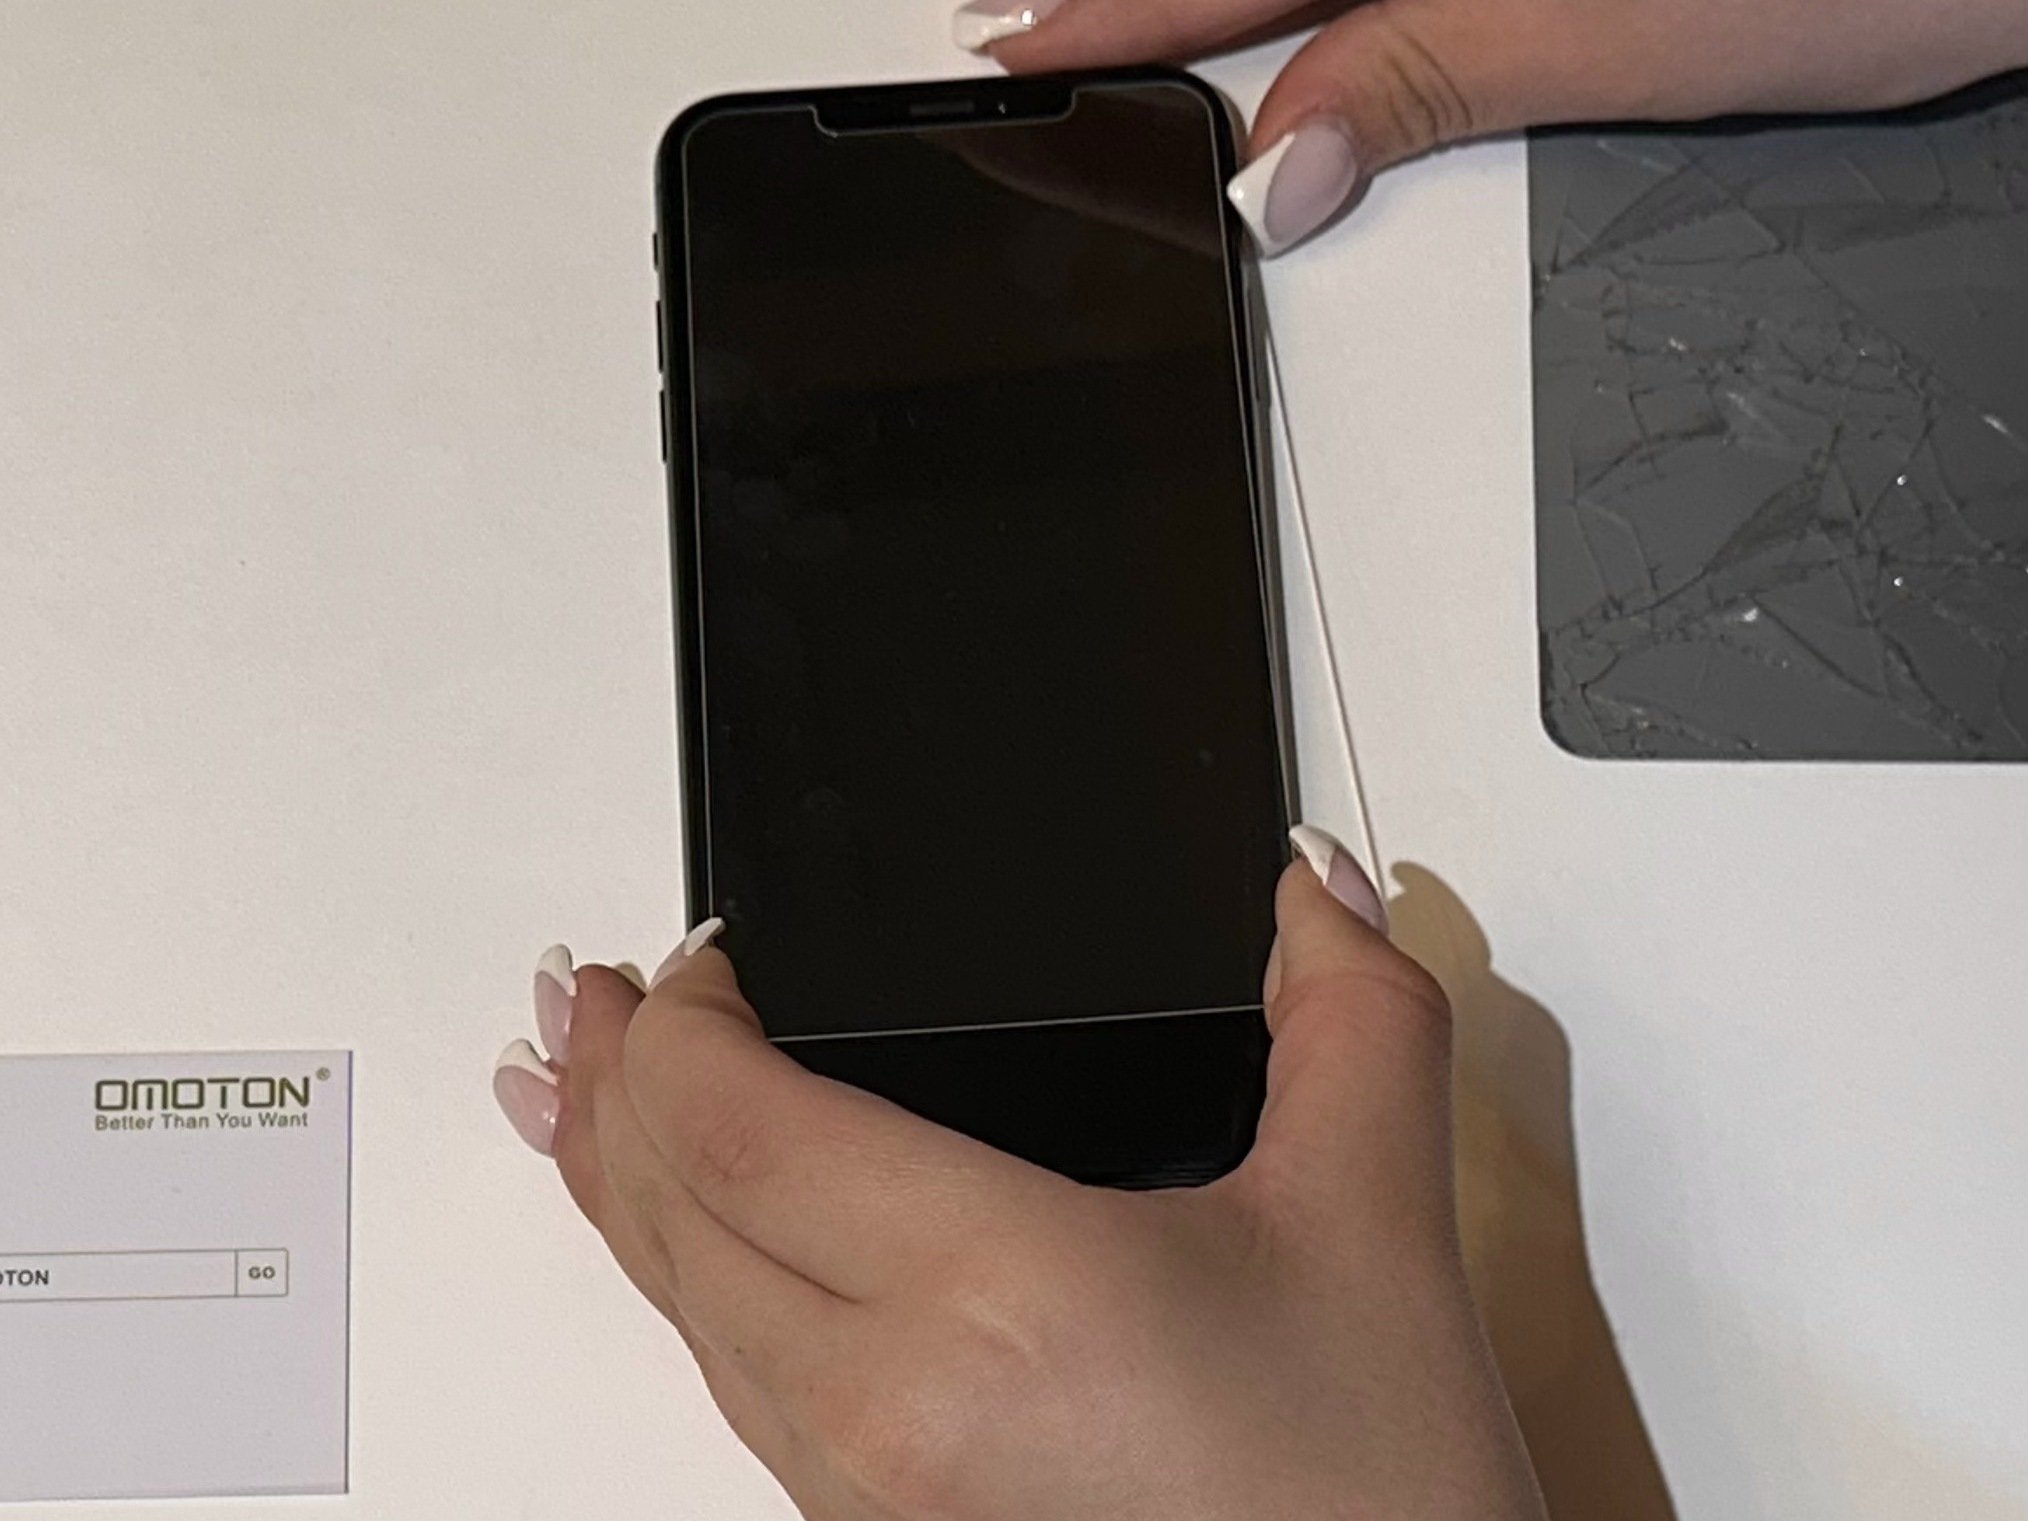
- Press the power button and... nothing happens? Uh-oh, no power. Try plugging it in and still nothing? Yikes, it’s time to dive in and see what’s going on.
- Next, disconnect the display and power up the motherboard. Just a heads-up: don’t let the motherboard power up for too long. If the current’s looking a bit too high, there’s a good chance the motherboard is short-circuited.
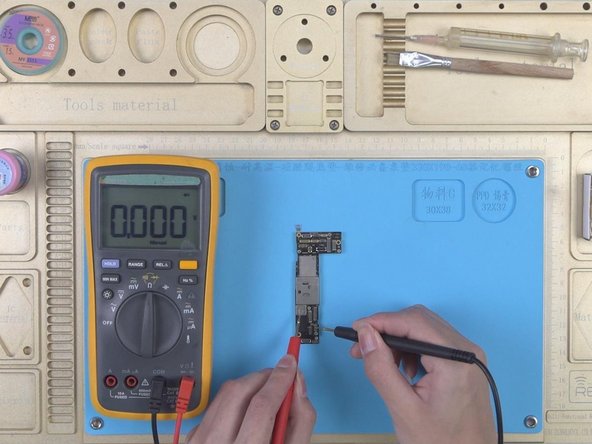
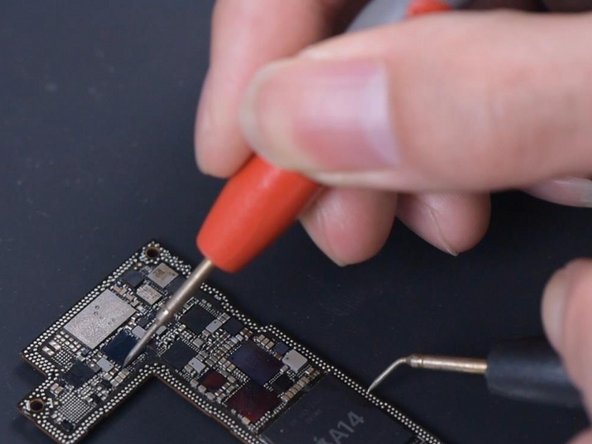
- Alright, time to take out the motherboard and hunt down the culprit. Use your multimeter to check the diode value of the PP_BATT_VCC line. If it reads 0, bingo! That line is definitely short-circuited.
- Heads up! The PP_BATT_VCC line and the PP_VDD_MAIN line on the iPhone 12 are connected by an inductor. So, if one of them is short-circuited, chances are the other one could be in trouble too.
Step 2


- Back in the day, fixing big issues meant using rosin to find the trouble spots. By melting rosin, you could spot the faulty part. It’s cheap and gets the job done, but there’s a catch: the motherboard ends up covered in rosin, which can be a real pain to clean off afterward.
- Plus, you have to take off the shielding covers on the motherboard to get a good look, which definitely cranks up the difficulty level.
- Today, we’re stepping up our game with a Thermal Imager Camera. This cool gadget spots parts running hotter than usual by sensing infrared radiation, making it way easier to find short circuits.
- With the thermal imager, you can detect electric leaks on the motherboard in seconds. Just place the board under the camera and watch it highlight the problem areas fast, boosting your repair speed big time. While you’re at it, it also checks the overall health of the motherboard and pinpoints faulty parts with great precision.
- On top of that, this thermal imaging tool is a pro at spotting tiny electric leaks, shorts, and other issues safely and simply, cutting down on mistakes. If things get tricky, remember, you can always schedule a repair.
Step 3
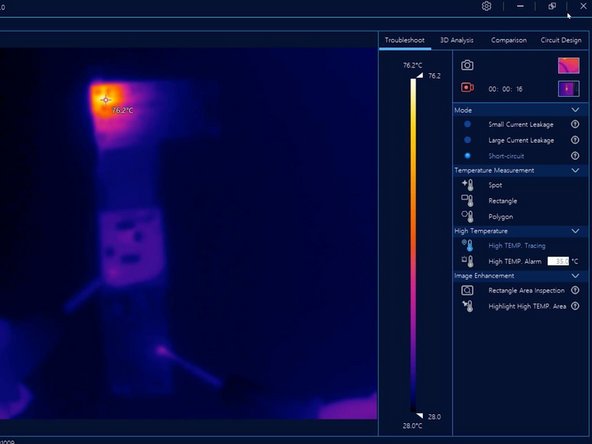
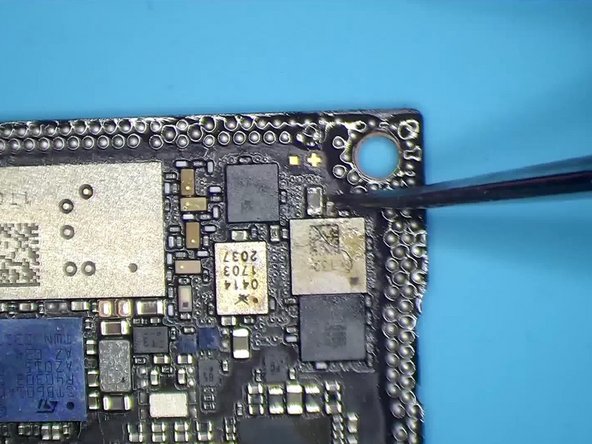
- Start by placing the motherboard on your work surface. Hook up the black probe of your direct power supply to ground and the red probe to the PP_BATT_VCC line. Notice the temperature rising at the top left corner—that's your clue to the faulty component location.
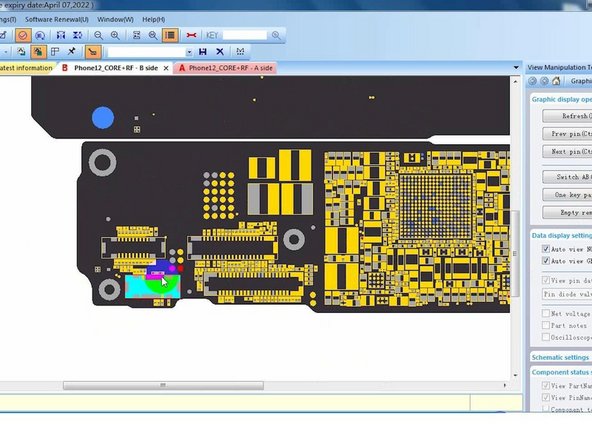
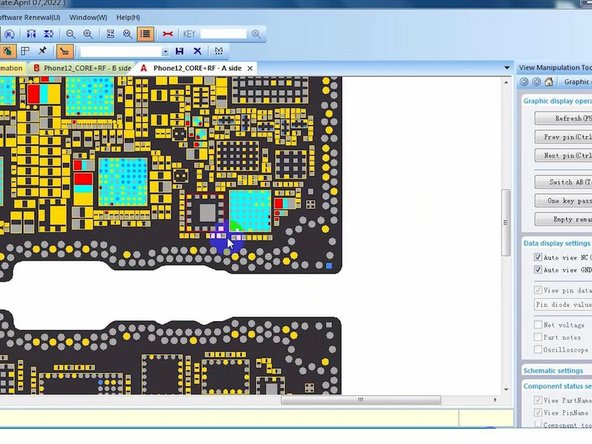
- Next, open up the bitmap. You'll see that the PP_BATT_VCC line isn’t in the top left corner. Since PP_BATT_VCC and PP_VDD_MAIN lines are linked in series by an inductor, this suggests the PP_VDD_MAIN line has a short circuit.
- Follow the PP_BATT_VCC line through its inductors and check the other side of the inductor. This side connects to PP_VDD_MAIN, helping you narrow down where the issue is.
- The bitmap confirms that the PP_VDD_MAIN line runs along the logic board, so focus your troubleshooting there.
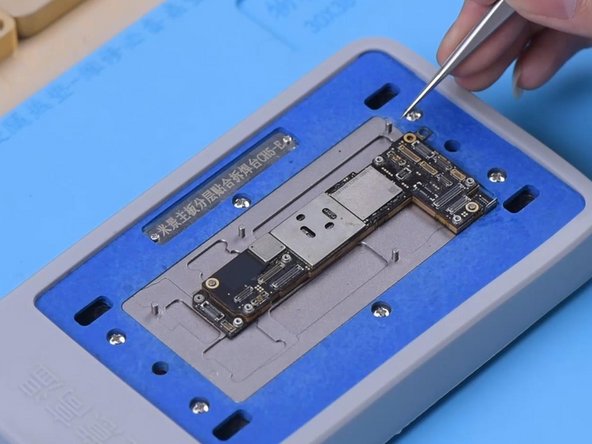
Step 4
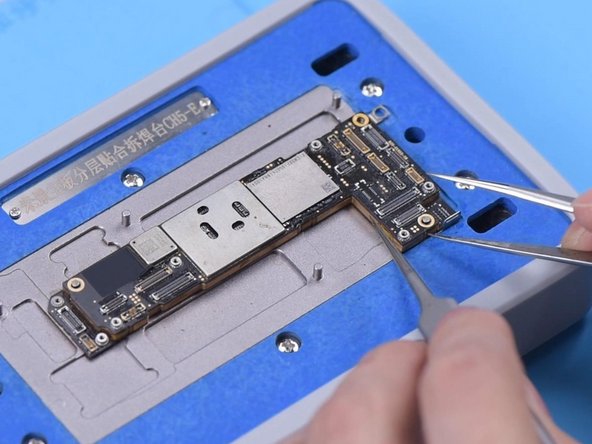
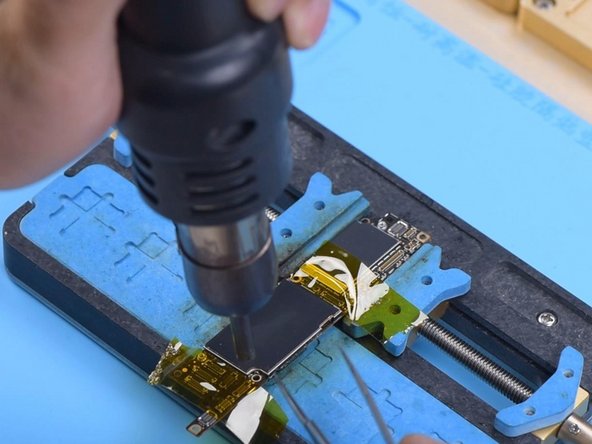
- First up, let's separate that motherboard. Pop it onto a 170°C Heating Platform to give it a little warmth and make things easier.
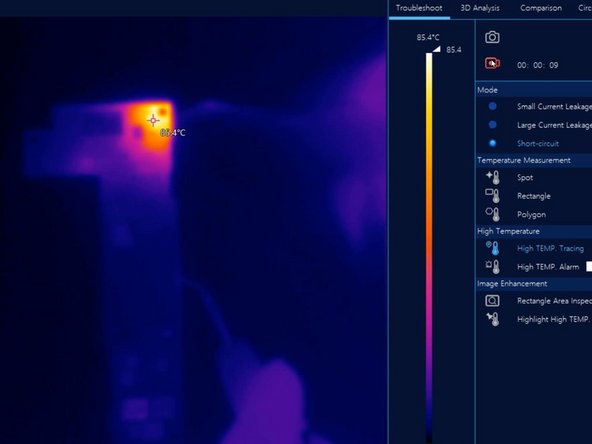
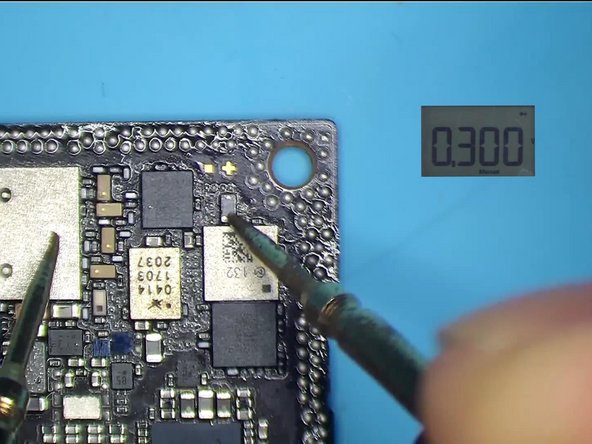
- Once the logic board has cooled down, it's time to power it up. Attach the black probe to the ground and the red probe to the PP_VDD_MAIN line. With the thermal image, we can easily spot the troublemaker. Looks like the capacitor's got some charring going on.
Step 5
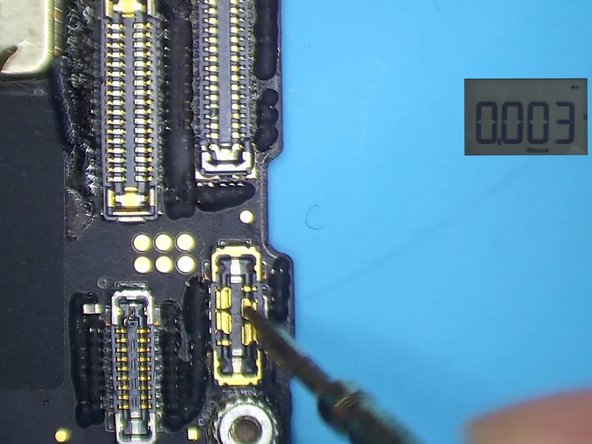
- First, gently remove the capacitor and give that bonding pad a nice clean with some PCB cleaner. Next, check the diode values for the PP_VDD_MAIN and PP_BATT_VCC lines. When the diode values come back to normal, you've successfully eliminated the short circuit fault. Nice work!
Step 6
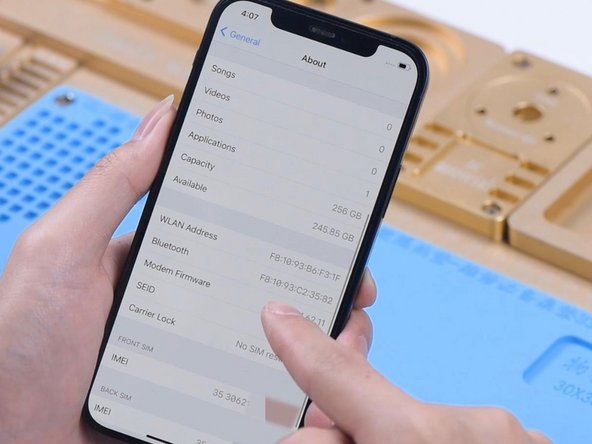
- Now, let’s put everything back together and power it up. The phone should boot up like a champ. WiFi and baseband? No problem, they’re working great! And hey, the IMEI number is there. That’s it, the issue is solved and you’re good to go!