Fix iPhone 11 Pro Max Won’t Turn On
Duration: 45 minutes
Steps: 11 Steps
Step 1


- Oops! The phone isn’t waking up from its nap. Let's get that sorted out! First, gently lift the screen off. Next, disconnect the battery like a pro. Then, connect the motherboard with a power cable. Check the ammeter, and it should indicate a current of 1 A. If the phone is drawing a hefty current without even trying to boot up, that’s a tip-off that something’s amiss in the main power supply circuit and its buddies. Let’s tackle this troubleshooting adventure together!
Step 2

- Alright, let's pull out that motherboard next. Grab your multimeter and check the diode value at the battery connector — it’s reading 314, which means all’s good there.
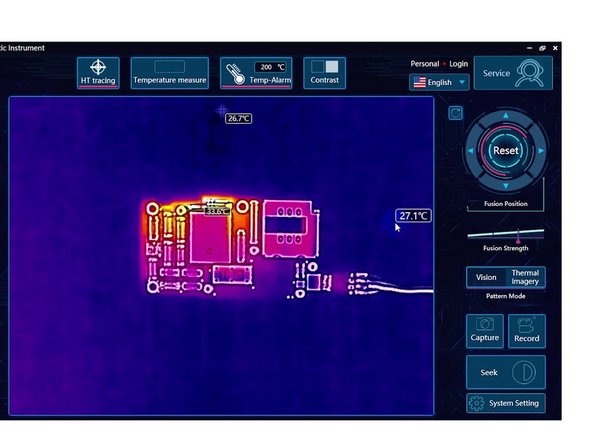
- Now, place the motherboard on the thermal imager and hook it up to a power cable. You’ll notice the areas around the NAND are heating up quite a bit. Since the NAND isn’t connected to the main power supply circuit, we’ll need to separate the motherboard for some deeper testing.
Step 3

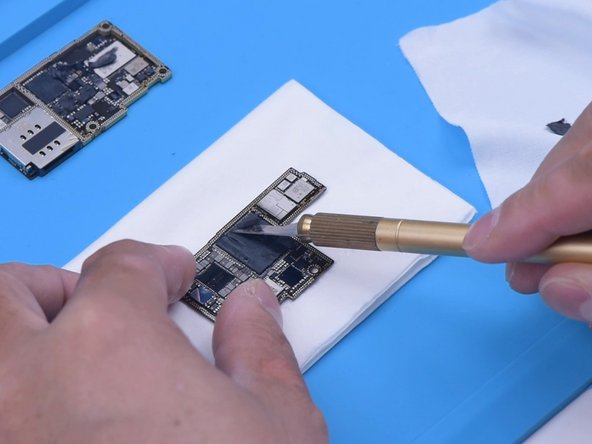
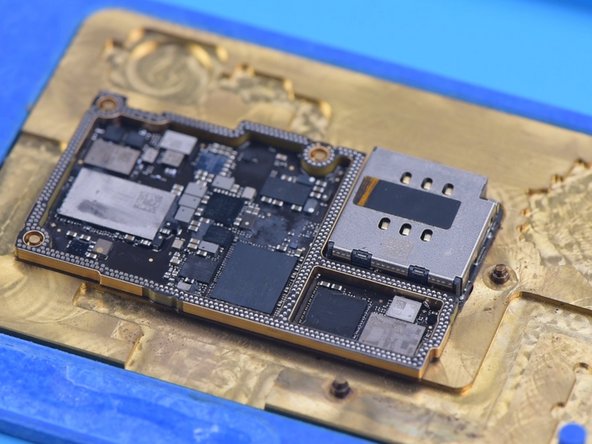
- Gently remove the logic board using the Heating Platform set to 170 °C.
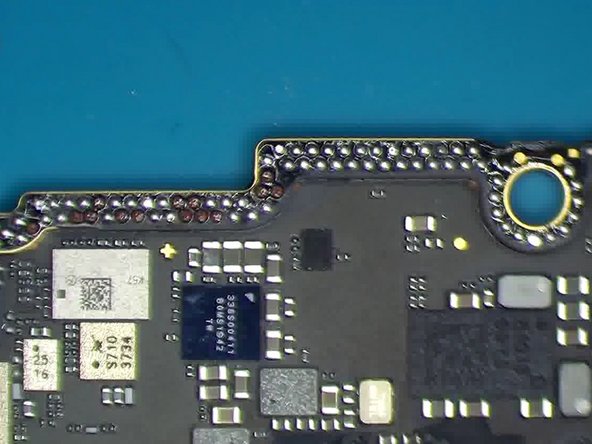
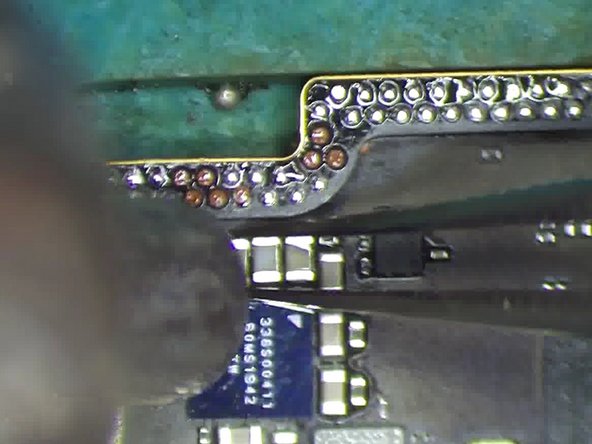
- Since this phone took quite a tumble, you’ll notice several bonding pads are missing—guess it’s been through some adventures!
Step 4
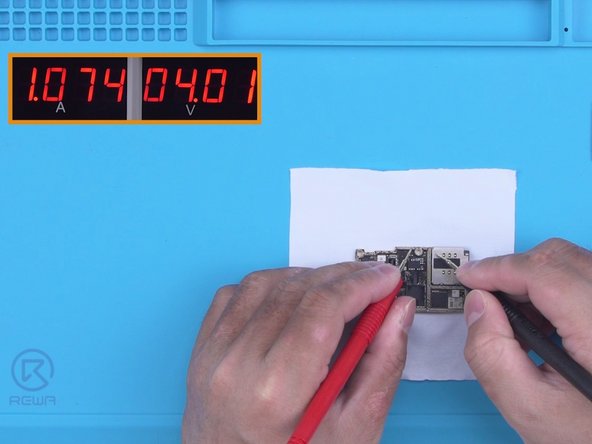

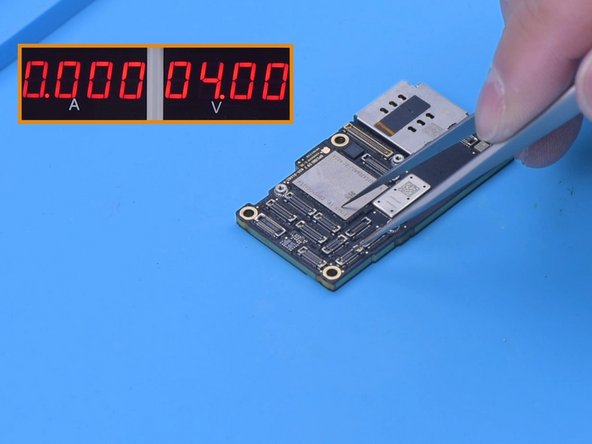
- First up, hook the logic board to a power cable. No wild currents here—the logic board is pretty chill. Chances are, the signal board is where the trouble’s hiding.
- Now, fire up the signal board using the multimeter probes. If you spot a big surge in current on the signal board, bingo! That’s your culprit.
Step 5


- Let's get detective-y! Place the signal board on the thermal imager, power it up, and watch closely—the area around U5000 heats up to 80°C in no time.
- Grab your multimeter and check those capacitors near U5000. Yep, there's a short circuit! Plus, one of the capacitors decided to toast itself. Time to swap it out.
Step 6


- Time to tackle that capacitor! Dab on some Paste Flux to get things moving.
- Fire up your Hot Air Gun to 380 °C and gently lift out the old capacitor. Pop in a fresh one.
- Grab your multimeter and check again – you should see a happy diode value of 446.
Step 7


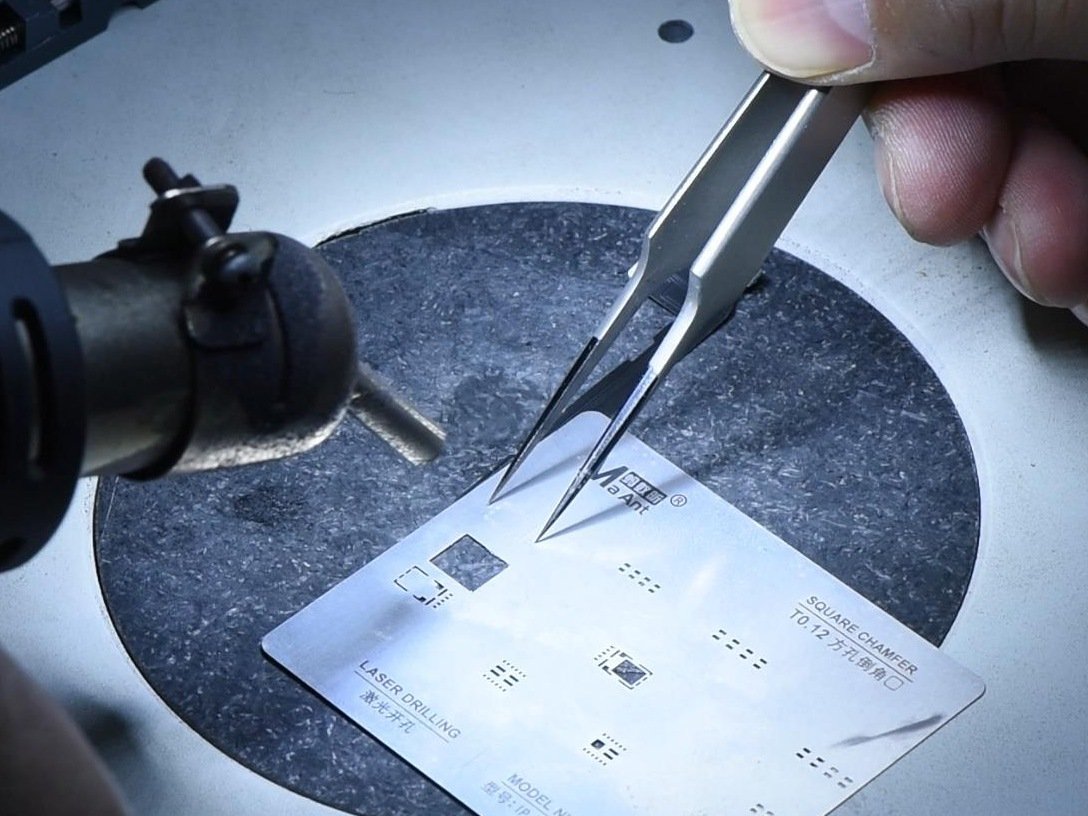
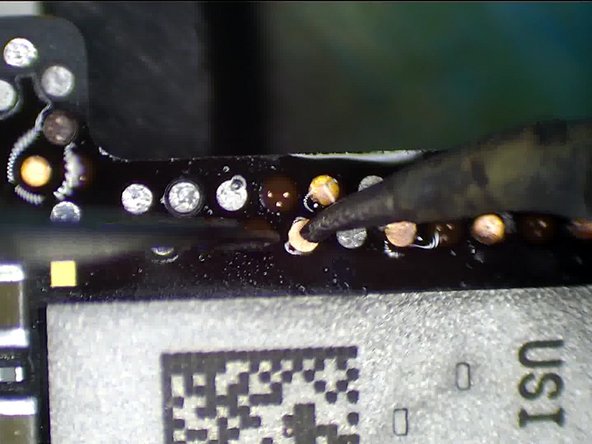
- Since there are still some missing pads, let's fix those up! Start by cleaning the solder from the bonding pads on the signal board using your soldering iron and solder wick. Do the same for the bonding pads on the logic board, then gently remove the thermal paste. Keep the bonding pads nice and clean with some PCB Cleaner to get them ready for the next step.
- Fire up REFOX Bitmap to pinpoint exactly which pads need your repair magic.
Step 8

- Some missing pads are already grounded, so you can skip fixing those. For the others, grab your Sculpture Knife and gently scrape to reveal the circuit underneath.
- Heat up your Soldering Iron to 380°C and add a little tin to the bonding pads. Pop the Soldering Lugs right where they need to go, then solder those connections.
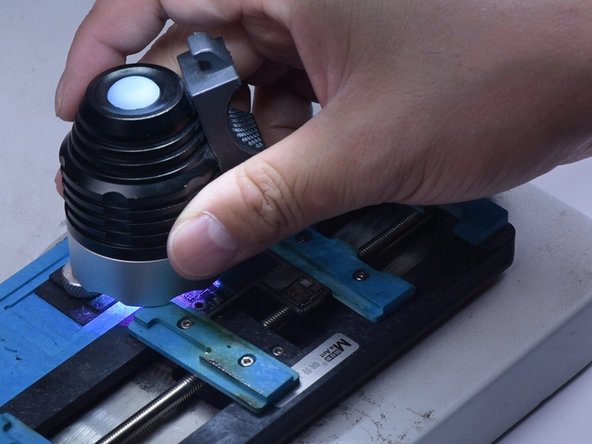
- Protect your hard work by brushing a bit of Solder Mask over the repaired pads. Finish it up with a UV Lamp for 5 minutes to lock everything in place.
Step 9

- Once your solder mask has set, grab a Sculpture Knife and clean up any extra bits to reveal the pads underneath. Nice and neat!
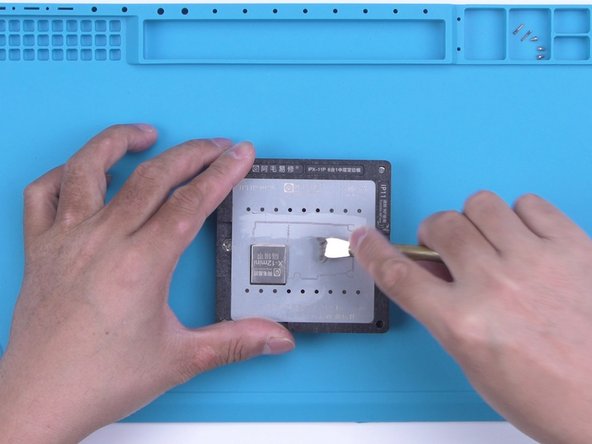
- Now it’s time to reball that signal board! Smoothly spread a layer of low-temperature Solder Paste all over. You got this!
- Next, place the signal board on the heating platform set at a cozy 170 °C. Let it warm up nicely!
Step 10

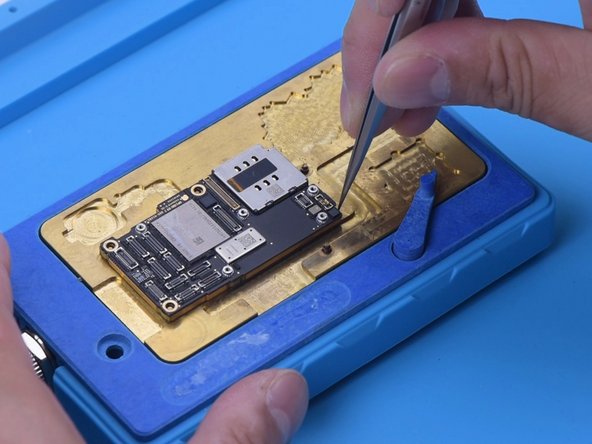
- Once those solder balls are all set and your motherboard has taken a chill pill, it’s time to slather on some Paste Flux to those bonding pads. Let's keep it slick!
- Now, gently position the logic board like it’s the star of the show. Make sure everything lines up just right!
Step 11


- Ready to put everything back together? Just follow the steps backwards and your device should be good as new! If you hit a snag, you can always schedule a repair.