How To Fix iPhone 11 Pro Max Face ID Not Available – Motherboard Repair
Duration: 45 minutes
Steps: 6 Steps
We all know that iPhone X and newer models might experience Face ID issues after a drop or water damage. But, just so you know, a little mishap during regular repair work could also cause damage to Face ID components, leading to problems. Stay careful out there!
Step 1
- Pop into Settings, tap Face ID & Passcode, and hit Reset Face ID. If your iPhone hits you with 'Face ID is Not Available, try setting up Face ID later,' don’t sweat it—we’re not done yet.
- Open the Camera app, switch to Portrait mode, and flip to the front camera. If you point it at a face and the lighting effect stays stuck on ‘Natural Light’ (and there’s no flashy red Dot Projector light show), something’s not quite right.
- When Portrait mode is working like it should, ‘Natural Light’ turns yellow and the Dot Projector flashes a little red light. If that’s not happening, Face ID needs some TLC!
Step 2
- Time to give those Face ID parts a look. Pop open the phone and gently remove the motherboard.
- Check that earpiece speaker and sensor flex cable—no drama here! Dot projector flex, infrared camera flex, and the front camera flex are all looking good with no signs of trouble.
Step 3
- Now, let's get to the motherboard. Grab some PCB Cleaner and give it a good clean. After that, it's time to check out the earpiece speaker and sensor connector, as well as the dot projector connector with a diode mode measurement. If everything checks out, the values should be normal.
- Next up, let's take a look at the infrared camera connector. Based on the measurement, it looks like Pin 8's circuit might be open-circuited. A normal reading here should be around 260.
Step 4
- The PMU sends out a sweet 1.8V, which cruises over to Pin 8 of the infrared camera connector, taking a pit stop at the inductor highlighted in red on the bitmap.
- Take a peek at the components along this voltage highway. Looks like the inductor here’s seen better days.
- It seems when the screen was being swapped, a little rough handling during the flex cable disconnect gave this inductor a bad time. Keep it gentle next time!
Step 5
- Time to swap in a fresh inductor and check how it performs.
- Start by peeling off the black adhesive around the area. Next, spread some medium-temp solder paste onto the bonding pad. Use the Soldering Iron set at 365℃ to tin the pad with the solder paste. When you’re done, give it a clean with PCB Cleaner.
- Add a bit of rosin to the bonding pad now. Heads up: the damaged inductor is super tiny, and finding a replacement can be tricky.
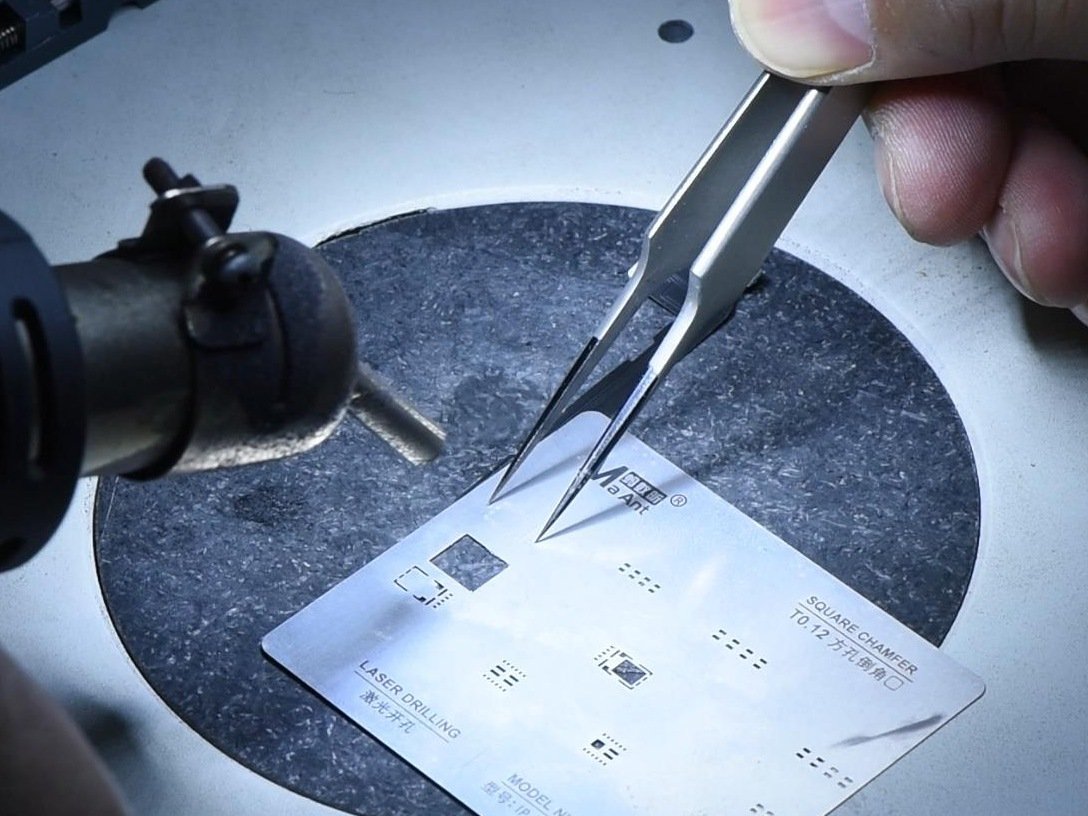
- No worries—let’s solder in a zero-ohm resistor instead. Place the resistor carefully in the right spot, then use the Hot Air Gun at 330℃ with airflow set to 1 for soldering. Afterward, clean the area again with PCB Cleaner.
- Finally, run a diode mode measurement on Pin 8 of the infrared camera connector. The reading should be around 257, which means everything’s looking good.
Step 6
- Let's put this phone back together and give it a spin!
- Fire up the Camera app! If your camera spots a friendly face, you’ll see the ‘Natural Light’ effect name light up in yellow, and the Dot Projector will give a little wink with a red flash.
- Head over to Settings > Face ID & Passcode > Set Up Face ID. With a little luck, Face ID will be ready to roll! You’ll be unlocking your phone just by showing your charming face this time around.


