iPhone 11 Pro Max Back Glass Replacement
Duration: 45 minutes
Steps: 8 Steps
We all know there’s no shortage of teardown videos and articles about taking apart the iPhone 11 Pro Max. The big reveal? The glass back is one tough cookie—arguably the toughest Apple has ever used. So, when that back glass shatters, you’re in for a real challenge. All the internal components need to come out, and if you’ve got the triple-lens camera system in the mix, the difficulty level goes up a few notches. So, how do you tackle this beast without damaging that beautiful OLED display? You've probably tried methods like heat separation and freezing, but let's face it, they don't always do the trick. But here's the good news: there's a way around it. Let's take a look at how to fix the iPhone 11 Pro Max back glass with the help of a blue light laser separation machine. Ready? Let’s dive in!
Step 1


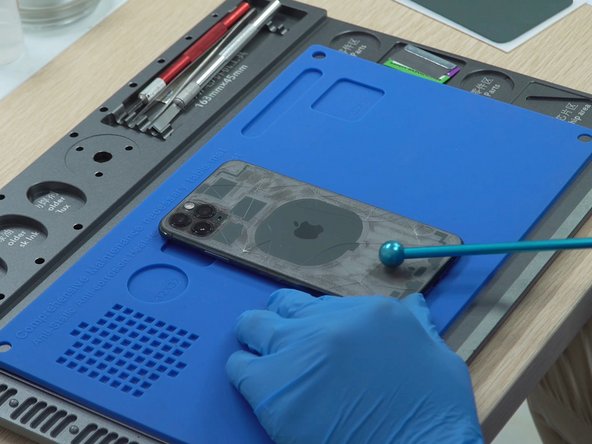
- First, carefully slide the iPhone 11 Pro Max back glass into the centered positioning mold. Make sure it's snug and secure, like it's settling in for a cozy nap.
- Next, grab a focal length rod and gently tweak the distance between the laser head and the back glass. It’s all about finding that perfect sweet spot—take your time and get it just right!
Step 2


- Close the door, then pick the iPhone 11 Pro Max’s back cover image from the model list. After that, hit the ‘Figures’ button and let the machine work its magic, automatically lasering the back glass.
- The machine is like a little fort with a window door, and don’t worry—no lasers are getting out. You can keep an eye on things through the window while the laser does its job. It’s totally safe and reliable, so just relax.
- And the best part? While the laser is doing its thing, you’re free to tackle other repair tasks. Super convenient, right?
Step 3


No need to crank it—gentle does it!
- When the laser has wrapped up its work, gently pull the phone out and give the back glass a light tap with a focal length rod. You'll notice some cracks forming, making it a breeze to separate the glass from the phone!
Step 4

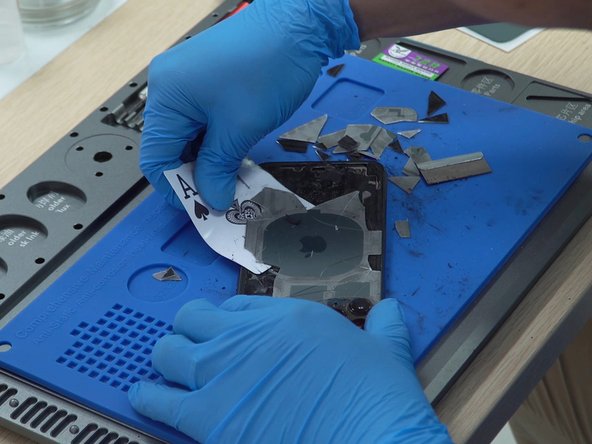

Watch out for any sharp glass edges – they can be sneaky and cause a cut. Pop on some gloves to keep those hands safe while you work.
- Now it's time to bust out a blade and a trusty playing card to gently pry off that back glass. Go ahead, it's all part of the adventure!
- Once you've popped off the back glass, take a peek—a wireless charging sensor is chilling right in the middle of your phone, ready to power you up!
Step 5


If the glass in this area is still being stubborn, no worries—just give it one more go with the laser. Patience is key, and it’ll pay off!
This step might take a bit of time, so hang in there! With a little persistence, you'll be able to pop the glass out successfully.
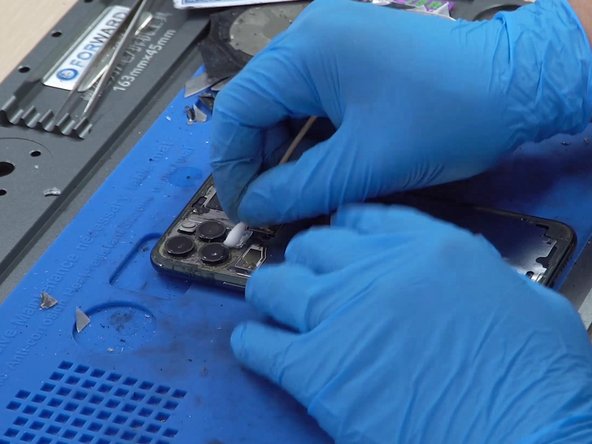
- The glass surrounding the triple-lens camera is pretty thick and can be a tough nut to crack. But don’t worry, with the right approach, it’s totally doable!
- In this step, the technician is carefully using a blade, a grinding tool, and a sculpting knife to gently pry the glass away from this stubborn spot.
Step 6


- Once you've wrapped up the last step, grab some alcohol and a lint-free cloth to wipe away any lingering glue and pesky black dust. You'll be amazed at how clean it looks!
- Check out that shiny back stainless steel plate in the picture! Now, let’s get ready to install the new back glass and make it look as good as new!
Step 7

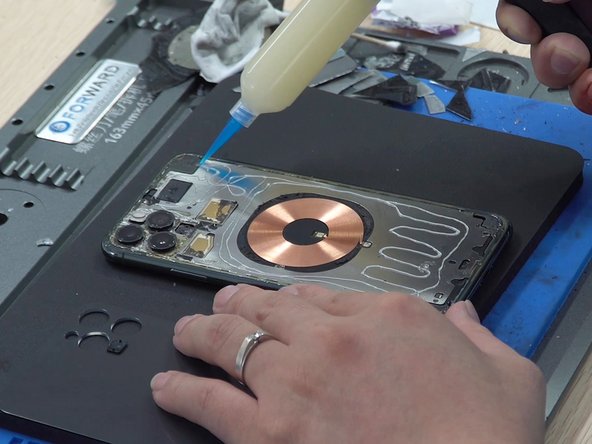

- First things first! Before you slap on that shiny new back glass, make sure to pop the dustproof net back into the microphone area. We want to keep things squeaky clean!
- Next up, it's time to get sticky! Apply a fresh layer of glue to the back stainless steel plate and carefully place the new back glass on top. You've got this!
Step 8


That's a wrap for today! If you're curious to dive deeper into cell phone repair tips, just reply to this post and we'll keep the good stuff coming.
- Now, give it a good 30 minutes to set up. Patience is key here.
- Check out the final result in the picture below – looking great, right?
- Time to test the camera! Looks perfect to me.