
iPhone 11 Pro Teardown
Duration: 45 minutes
Steps: 6 Steps
You know what they say, while some folks are dazzled by the spectacle, the pros are busy figuring out the magic behind it all. Apple has once again wowed the repair scene with its latest iPhone lineup. So, what’s the scoop on how this fresh design impacts our repair gig?
Step 1

Pro tip: Be gentle with the pry tool—don’t push it too deep! Start lifting the screen from the left side to keep things smooth. Going too far in could mess up those fragile flex cables, and we definitely don’t want that. Keep it cool and steady, and you'll be all good.
- First things first, let's tackle those two pentalobe screws at the bottom edge of your phone. Grab your trusty tool and unscrew them. Next, warm things up a bit! Use the Hot Air Gun along the edges of the screen for about a minute to get those waterproof seals nice and soft.
- Now it's time to get a grip! Press the suction cup firmly onto the screen, then hold the phone steady with one hand while you pull the ring-pull of the suction cup with the other. You've got this!
- As you lift the screen, look for a tiny gap—there it is! Gently slide a plastic pry piece into that gap to keep it open. Then, grab another pry piece and run it along the edges of the screen to set it free from the rear housing. You're making great progress!
Step 2

- Get ready for some extra juice—iPhone 11 Pro packs a chunkier battery than the X series. You’ll notice it’s got a little more thickness to it.
- Spot the new module hanging out on the charging port flex cable. That’s why the Taptic Engine on the 11 Pro is trimmed down compared to the X series.
Step 3

- Keep going and remove the connector bracket.
- Next up, disconnect the battery and take out the screen. Without the 3D touch layer, the iPhone 11 Pro screen is just a bit slimmer. Plus, the new bracket protection on the bonding area makes this repair a little more challenging, but totally doable.
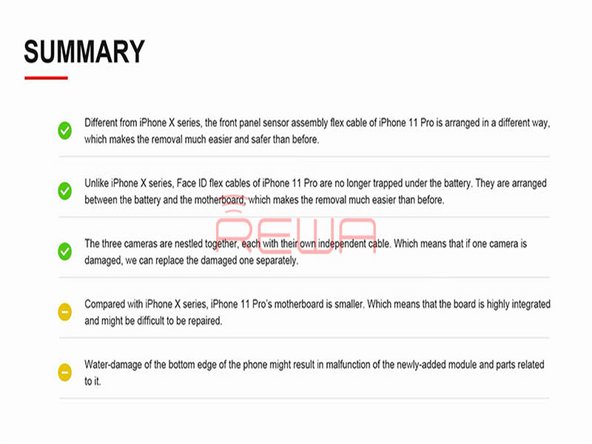
- Unlike the iPhone X series, the Face ID flex cables in the iPhone 11 Pro aren’t hidden under the battery anymore. Now they’re sandwiched between the battery and motherboard, making the removal process a lot simpler than before.
Step 4

- Keep going—unplug the rest of those flex cables and gently lift the motherboard out of its spot.
- Now remove the Face ID components. On the iPhone 11 Pro, the Face ID setup is almost the same as the iPhone X series, which means if it ever goes bad, fixing it is still really tricky. Take it slow here!
Step 5

- Let's keep going and peel off that shielding cover on the snazzy new module! Look at those four flex cables just hanging out, all connected to the module.
- One of them is the flex cable for the Taptic Engine, another one belongs to the battery, there's one for the wireless charging coil, and last but not least, we've got the flex cable for the speaker.
Step 6
- To get the lowdown on Face ID, take a peek at the Face ID Teardown - Why Face ID Isn't Working After Repair.


