
iPhone Camera Repair
Duration: 45 minutes
Steps: 8 Steps
Step 1


- Ready for a quick dive into iPhone camera mysteries? Salvation Repair is here to show you how to tackle a camera issue and share some cool camera know-how along the way.
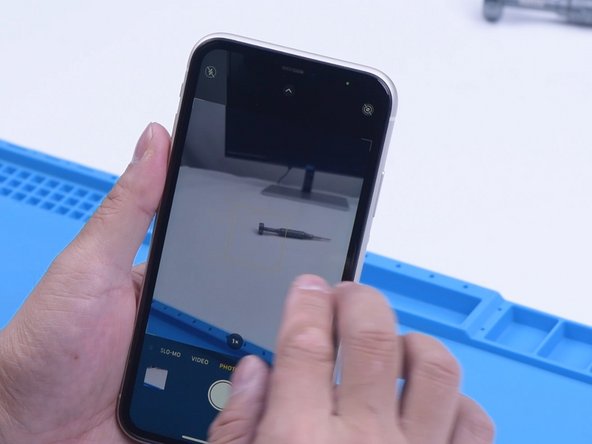
- Fire up your phone's camera app. Snap a pic with the wide-angle lens—notice any cracks or funky lines in your photos? If the ultra-wide lens is working perfectly, it’s a good clue that the wide-angle camera’s optical filter has taken a hit.
Step 2


- Let's figure out that the optical filter of the wide-angle camera is on the fritz! Time to disassemble that phone and give the camera some TLC. First up, place the camera on the specialized Heating Platform and crank it up to 100 °C.
- Once the temperature hits that sweet spot of 100 °C, carefully remove the black adhesive wrapping around the camera using a Sculpture Knife. Then, gently pry the wide-angle camera loose.
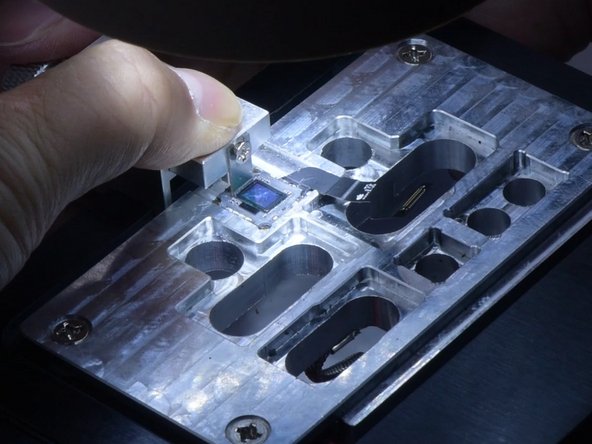
- Now, attach your camera to the specialized holder. Before diving into the repair, don’t forget to slap on some protection tape to keep everything safe and sound!
Step 3


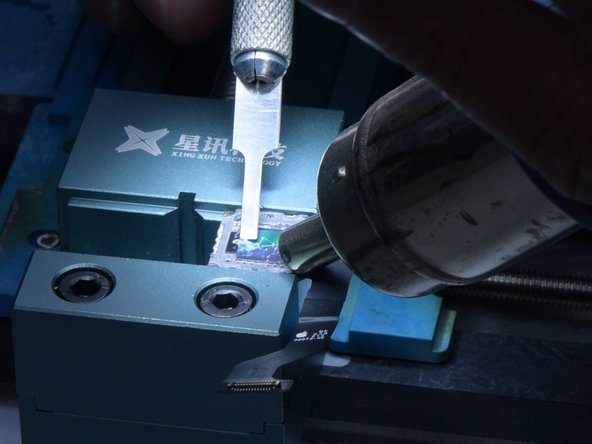
- Let's start by gently prying apart the camera edges using a Sculpture Knife. Once that's done, heat things up with a Hot Air Gun set to 120 °C to lift off the metal cover.
- Keep that Hot Air Gun going at 120 °C and use some Tweezers to carefully remove the black adhesive. A little bit of Paste Flux will help things flow smoothly.
- Now, with your ultrathin Soldering Iron heated to 380 °C, it's time to separate the motor from the CMOS. You're doing great!
Step 4


- Looks like the optical filter is cracked, but the motor and blue lens are still in good shape. If the motor goes bad, your camera might struggle to focus or start shaking. Swapping out the motor will get things back on track.
- Right in the middle of the motor is the blue lens. When this little guy gets damaged, your camera’s images turn blurry. The fix? Replace the blue lens.
- Finally, swap out that cracked optical filter with a fresh, new one.
Step 5


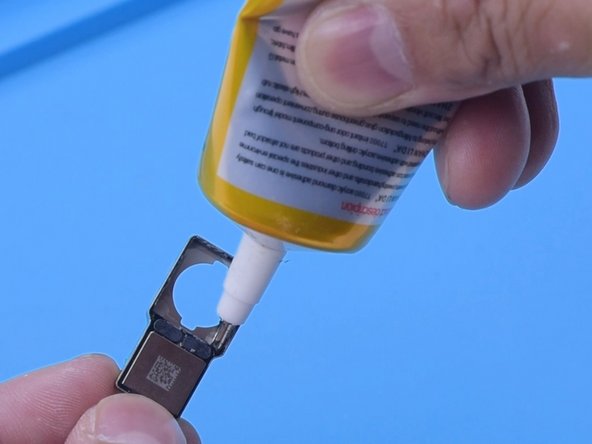
- Squeeze out a little UV adhesive onto the busted optical filter—no need to go wild.
- Pop the new optical filter right where it belongs, like it owns the place.
- Zap it with a UV lamp to lock everything in. All set!
Step 6

- Gently warm up the side adhesive using a Hot Air Gun to loosen it.
- Carefully slide out the cracked optical filter with the help of a specialized holder.
- Warm things up again with the Hot Air Gun to remove any leftover shards and stubborn black adhesive.
Step 7


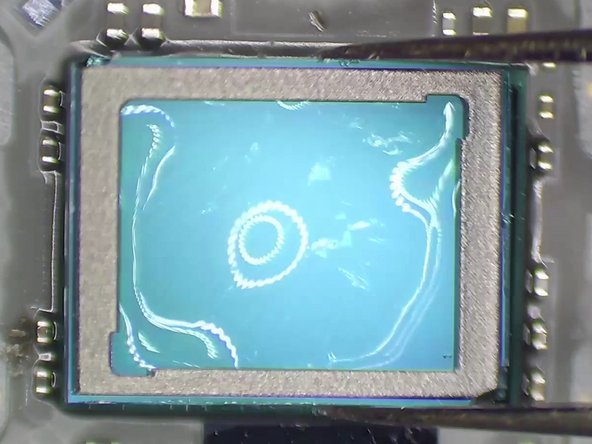
- Next up, grab a specialized swab and gently wipe away those pesky dust spots. Just a heads up—be super careful not to mess with the CMOS during this process. If that little guy gets damaged, your camera will be out of commission for good!
- After that, it's time to apply some UV adhesive and pop in a shiny new optical filter. Let that magic happen by solidifying it with a UV lamp!
Step 8

- Time to put things back together! Just retrace your steps, and your device will be back in action. If things get tricky, you can always schedule a repair.


