Fix an iPhone XS with no service
Duration: 45 minutes
Steps: 7 Steps
Step 1


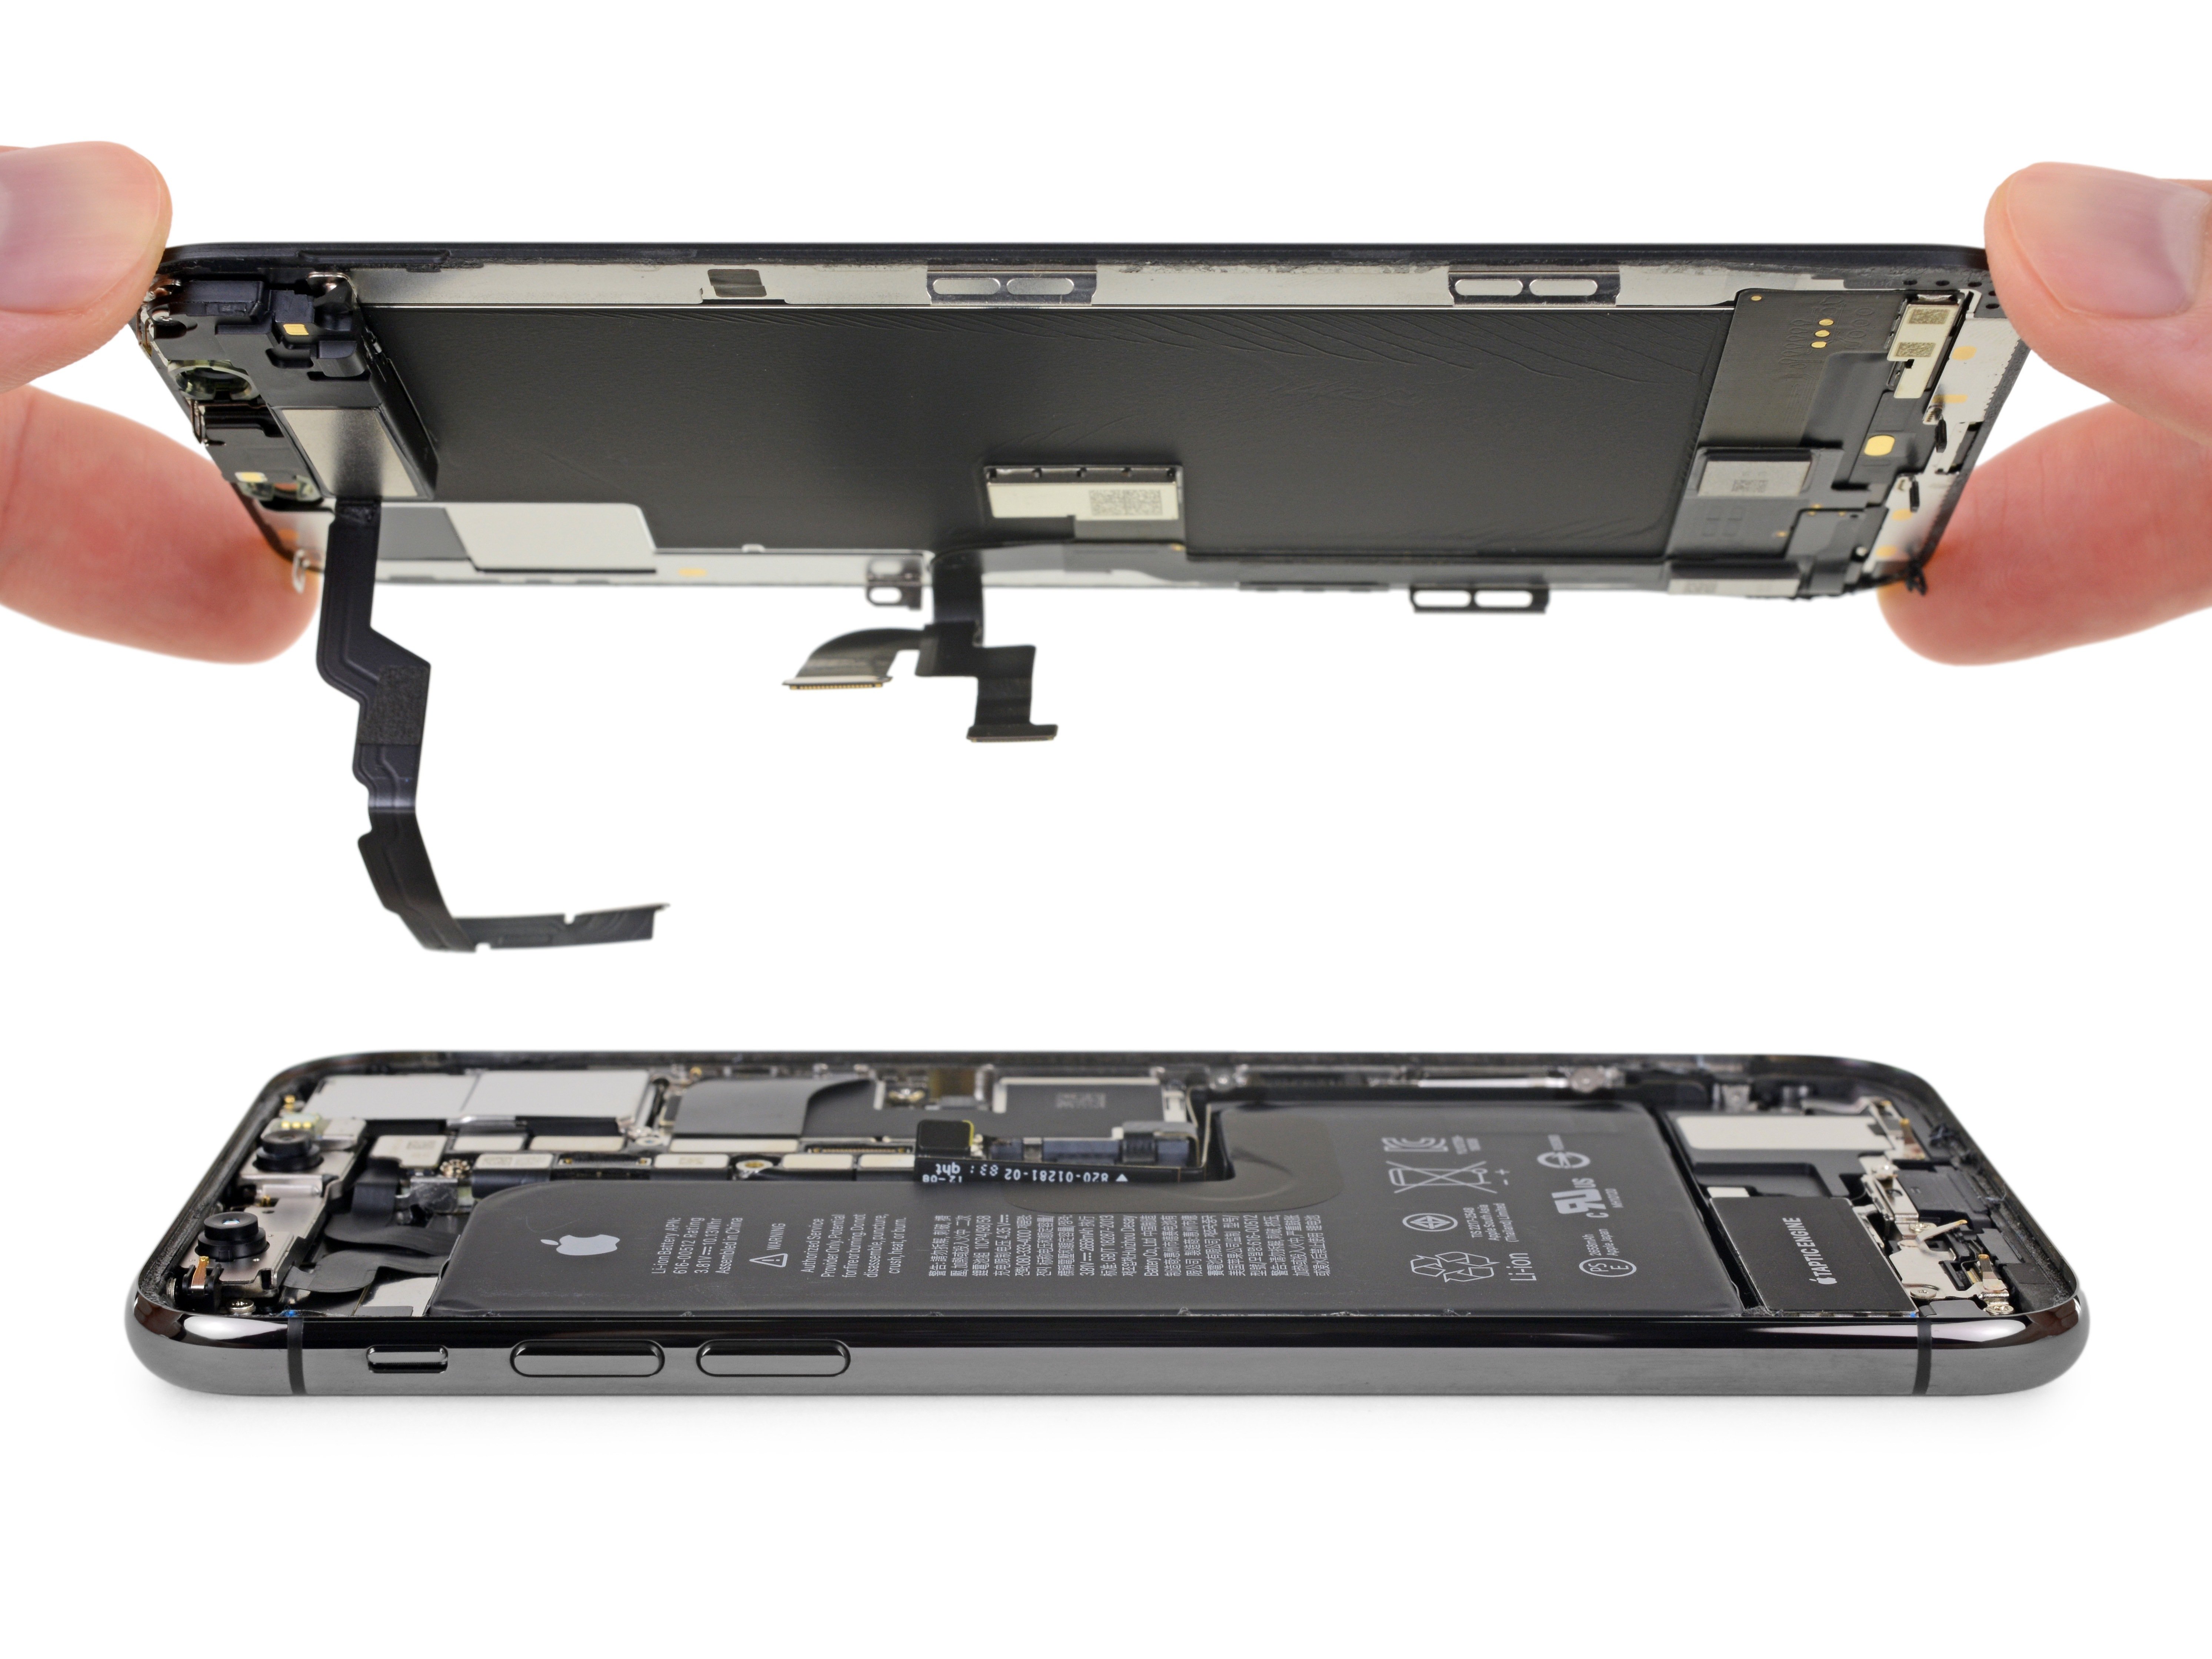
- After the phone took a little tumble and failed to get service post-system upgrade, let's start by checking out the motherboard. Good news: it’s not bent out of shape or waterlogged. Phew!
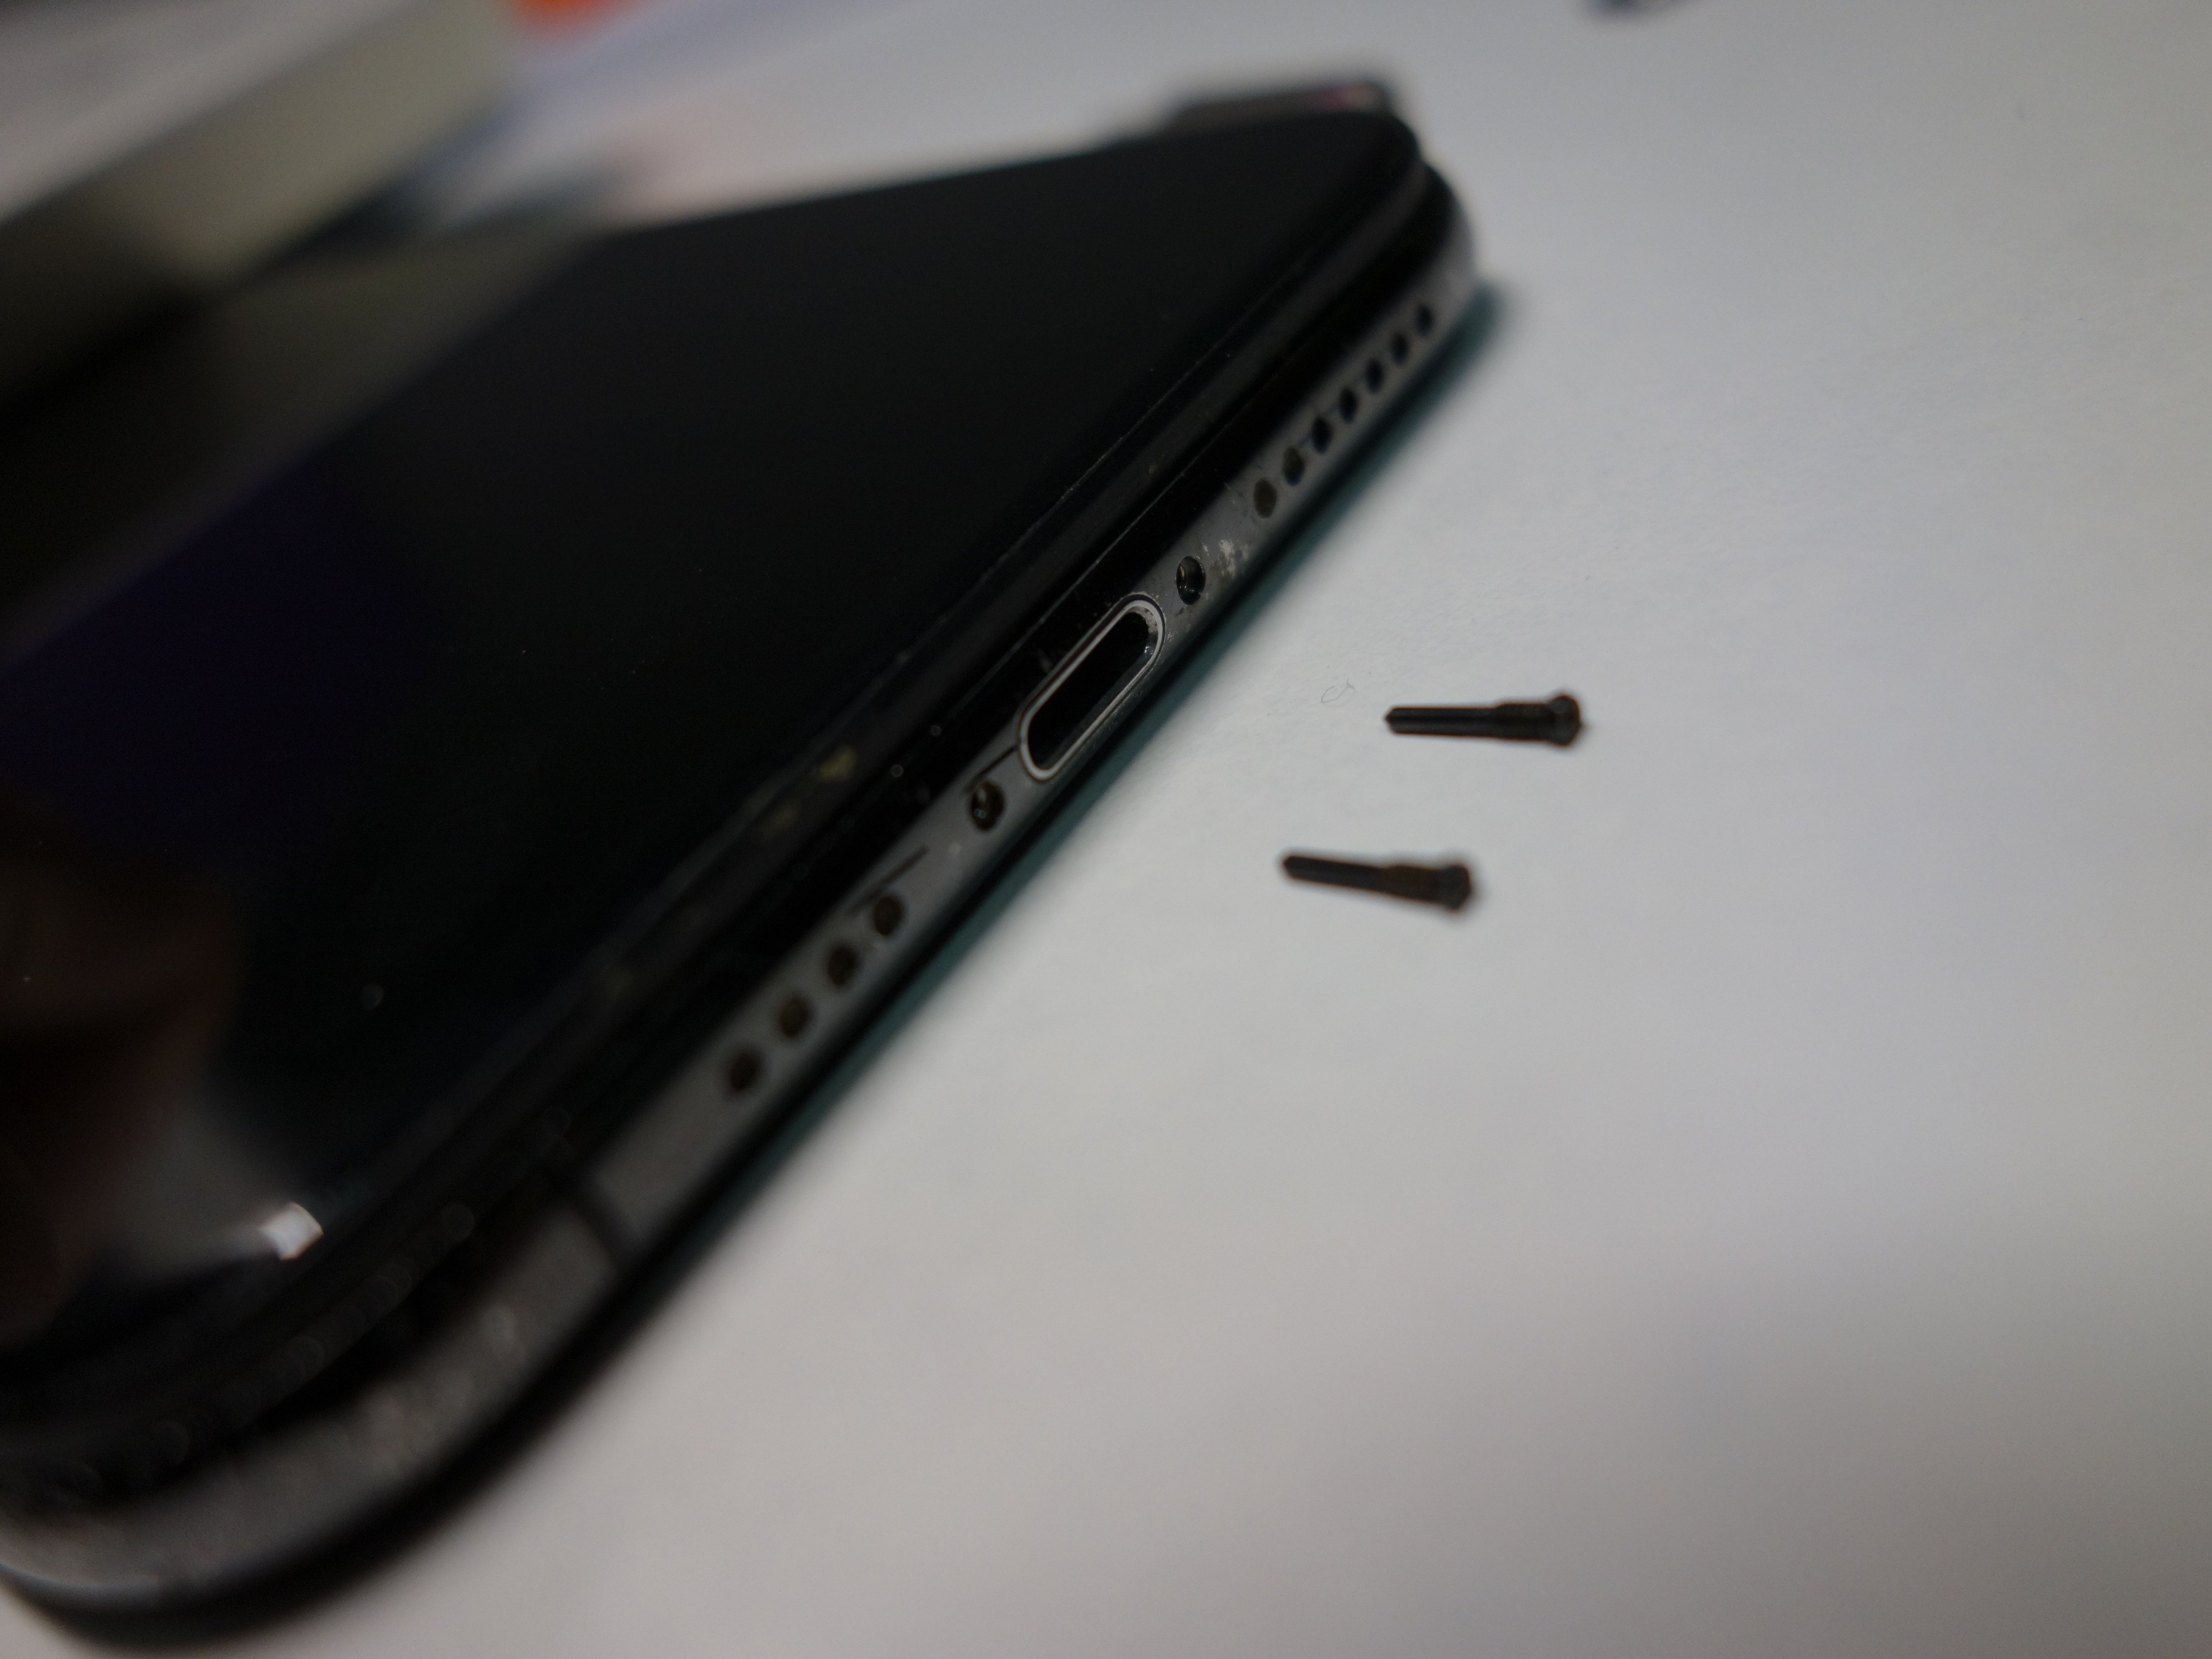
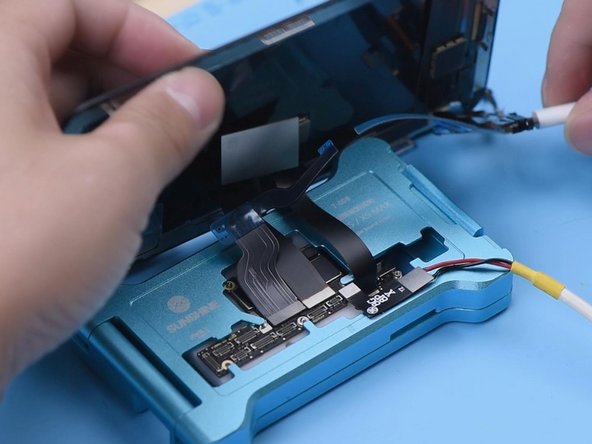
- Next, we’ll pop the motherboard back into the phone for a test. Connect the display and battery, then slide in the SIM card. The phone powers up, but wait—no ICCID showing. Looks like the SIM card isn't being read, which means it’s not quite making the connection yet.
Step 2


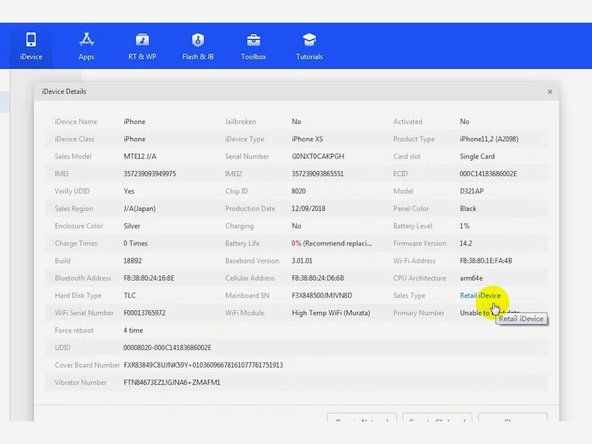
- Plug your phone into the computer and launch 3uTools to check out the device details. Heads up: 3uTools can’t read info from the baseband version or Wi-Fi module here.
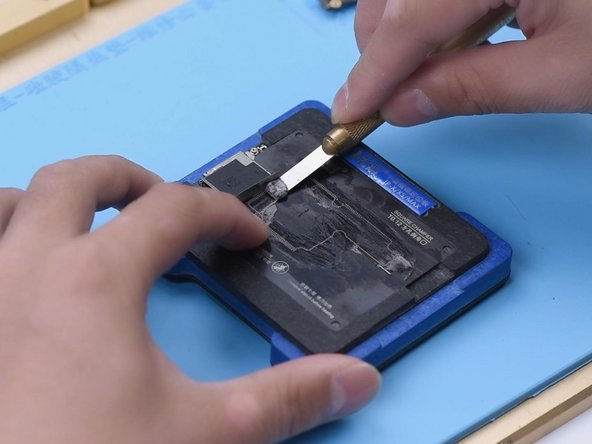
- Since the phone lost service after the drop, it looks like a tricky pseudo-soldering issue inside the middle layer might be the culprit. Time to separate the motherboard. Place it on the Heating Platform and carefully peel off the foam.
- To make lifting the logic board easier after separation, screw in a driver screw onto it. Then, take a sculpture knife and slice through the tape holding it down.
Tools Used
Step 3


- Crank up the Heating Platform to 180℃ and warm up that motherboard. Once it hits 180℃, gently press the signal board with tweezers. Use another pair of tweezers to carefully clamp the screw and lift off the logic board. Then, power down and remove the signal board.
- Clean off the thermal grease from both the logic board and signal board. Secure the signal board in the holder. Heat up your soldering iron to 365℃, dip some rosin, and use solder wick to clear the tin from the bonding pad. Repeat the tin removal on the logic board the same way.
Tools Used
Step 4

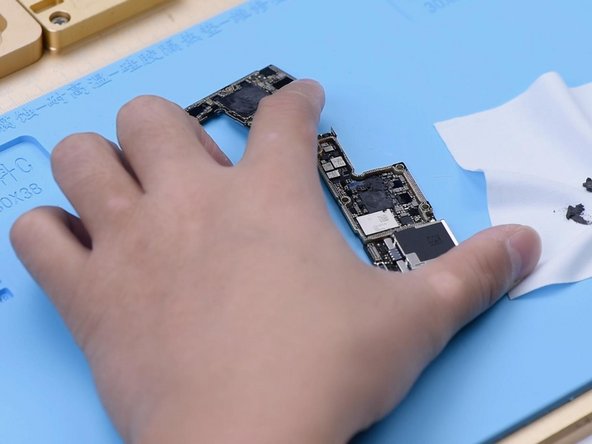
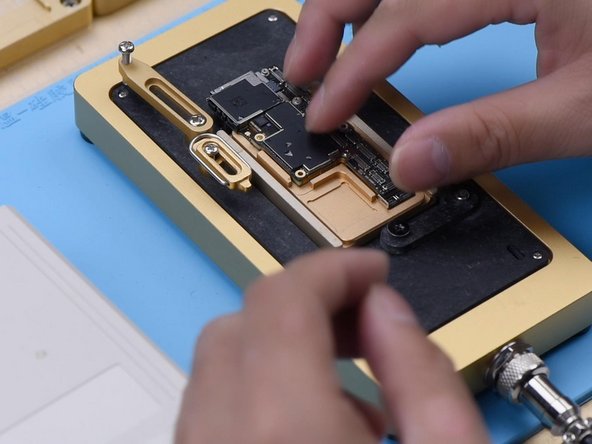
- Give the logic board a good scrub with some PCB Cleaner and unscrew any necessary bits. Don't forget to clean the signal board too – it's like a little spa treatment for your parts.
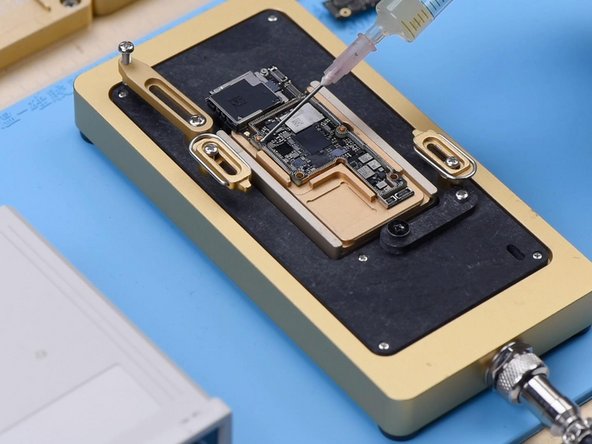
- Now, let's get the show on the road! Attach the signal and logic boards to the Testing Fixture. Then, hook up the screen to the motherboard with a Test Extension Cable, and connect the charging port flex cable and power cable. Once that's done, power it up by connecting it to the computer. Watch the magic happen!
- Time to check the device details using 3uTools. If you can see the baseband version and Wi-Fi module, you're golden. But, if there's no baseband version, it's likely due to some bad soldering. Don't sweat it, just make sure to fix those solder joints!
Step 5

- Alright, time to bring the logic board and signal board back together! Start by placing the signal board on the Reballing Platform. Then, position the Reballing Stencil just right. To keep things neat, slip a metal plate underneath to stop the solder paste from sneaking into the motherboard crevices.
- Now, let's apply a layer of low-temperature Solder Paste. Grab an anti-static wipe and gently remove any extra paste. Once that’s done, carefully take off the Reballing Stencil and signal board. And voilà!
Tools Used
Step 6

- Place the signal board on the Heating Platform and set it to a toasty 180°C. Let the board chill there until those solder balls show up nice and round. Power off and let the signal board cool down—no need to rush, it’s earned a break.
- Add a dab of Paste Flux, align the logic board on top, and get ready to heat things up again at 180°C. Keep it steady and let the magic happen!
Tools Used
Step 7


- Once everything is back together, pop the motherboard back into the phone. Go ahead and power it on. Slide in the SIM card and you’ll see the ICCID pop up. Heads up: the phone’s network is locked, and since we don’t have the carrier’s SIM, we can’t run further tests. No worries though! If you hit any snags, you can always schedule a repair.