How To Restore True Tone After Screen Replacement On iPhone XS
Duration: 45 minutes
Steps: 6 Steps
The iOS 13 update has brought back the True Tone missing issue for some iPhone users. No worries—there’s a neat way to fix it! Using the iPhone XS as our example, we’ll guide you through restoring True Tone on aftermarket screens, step by step.
Step 1

- Head over to Settings > General > About and check your phone's software version – it should be iOS 13.2. Next, tap on Display & Brightness. Look at that! The True Tone is all set and shining bright with a green switch.
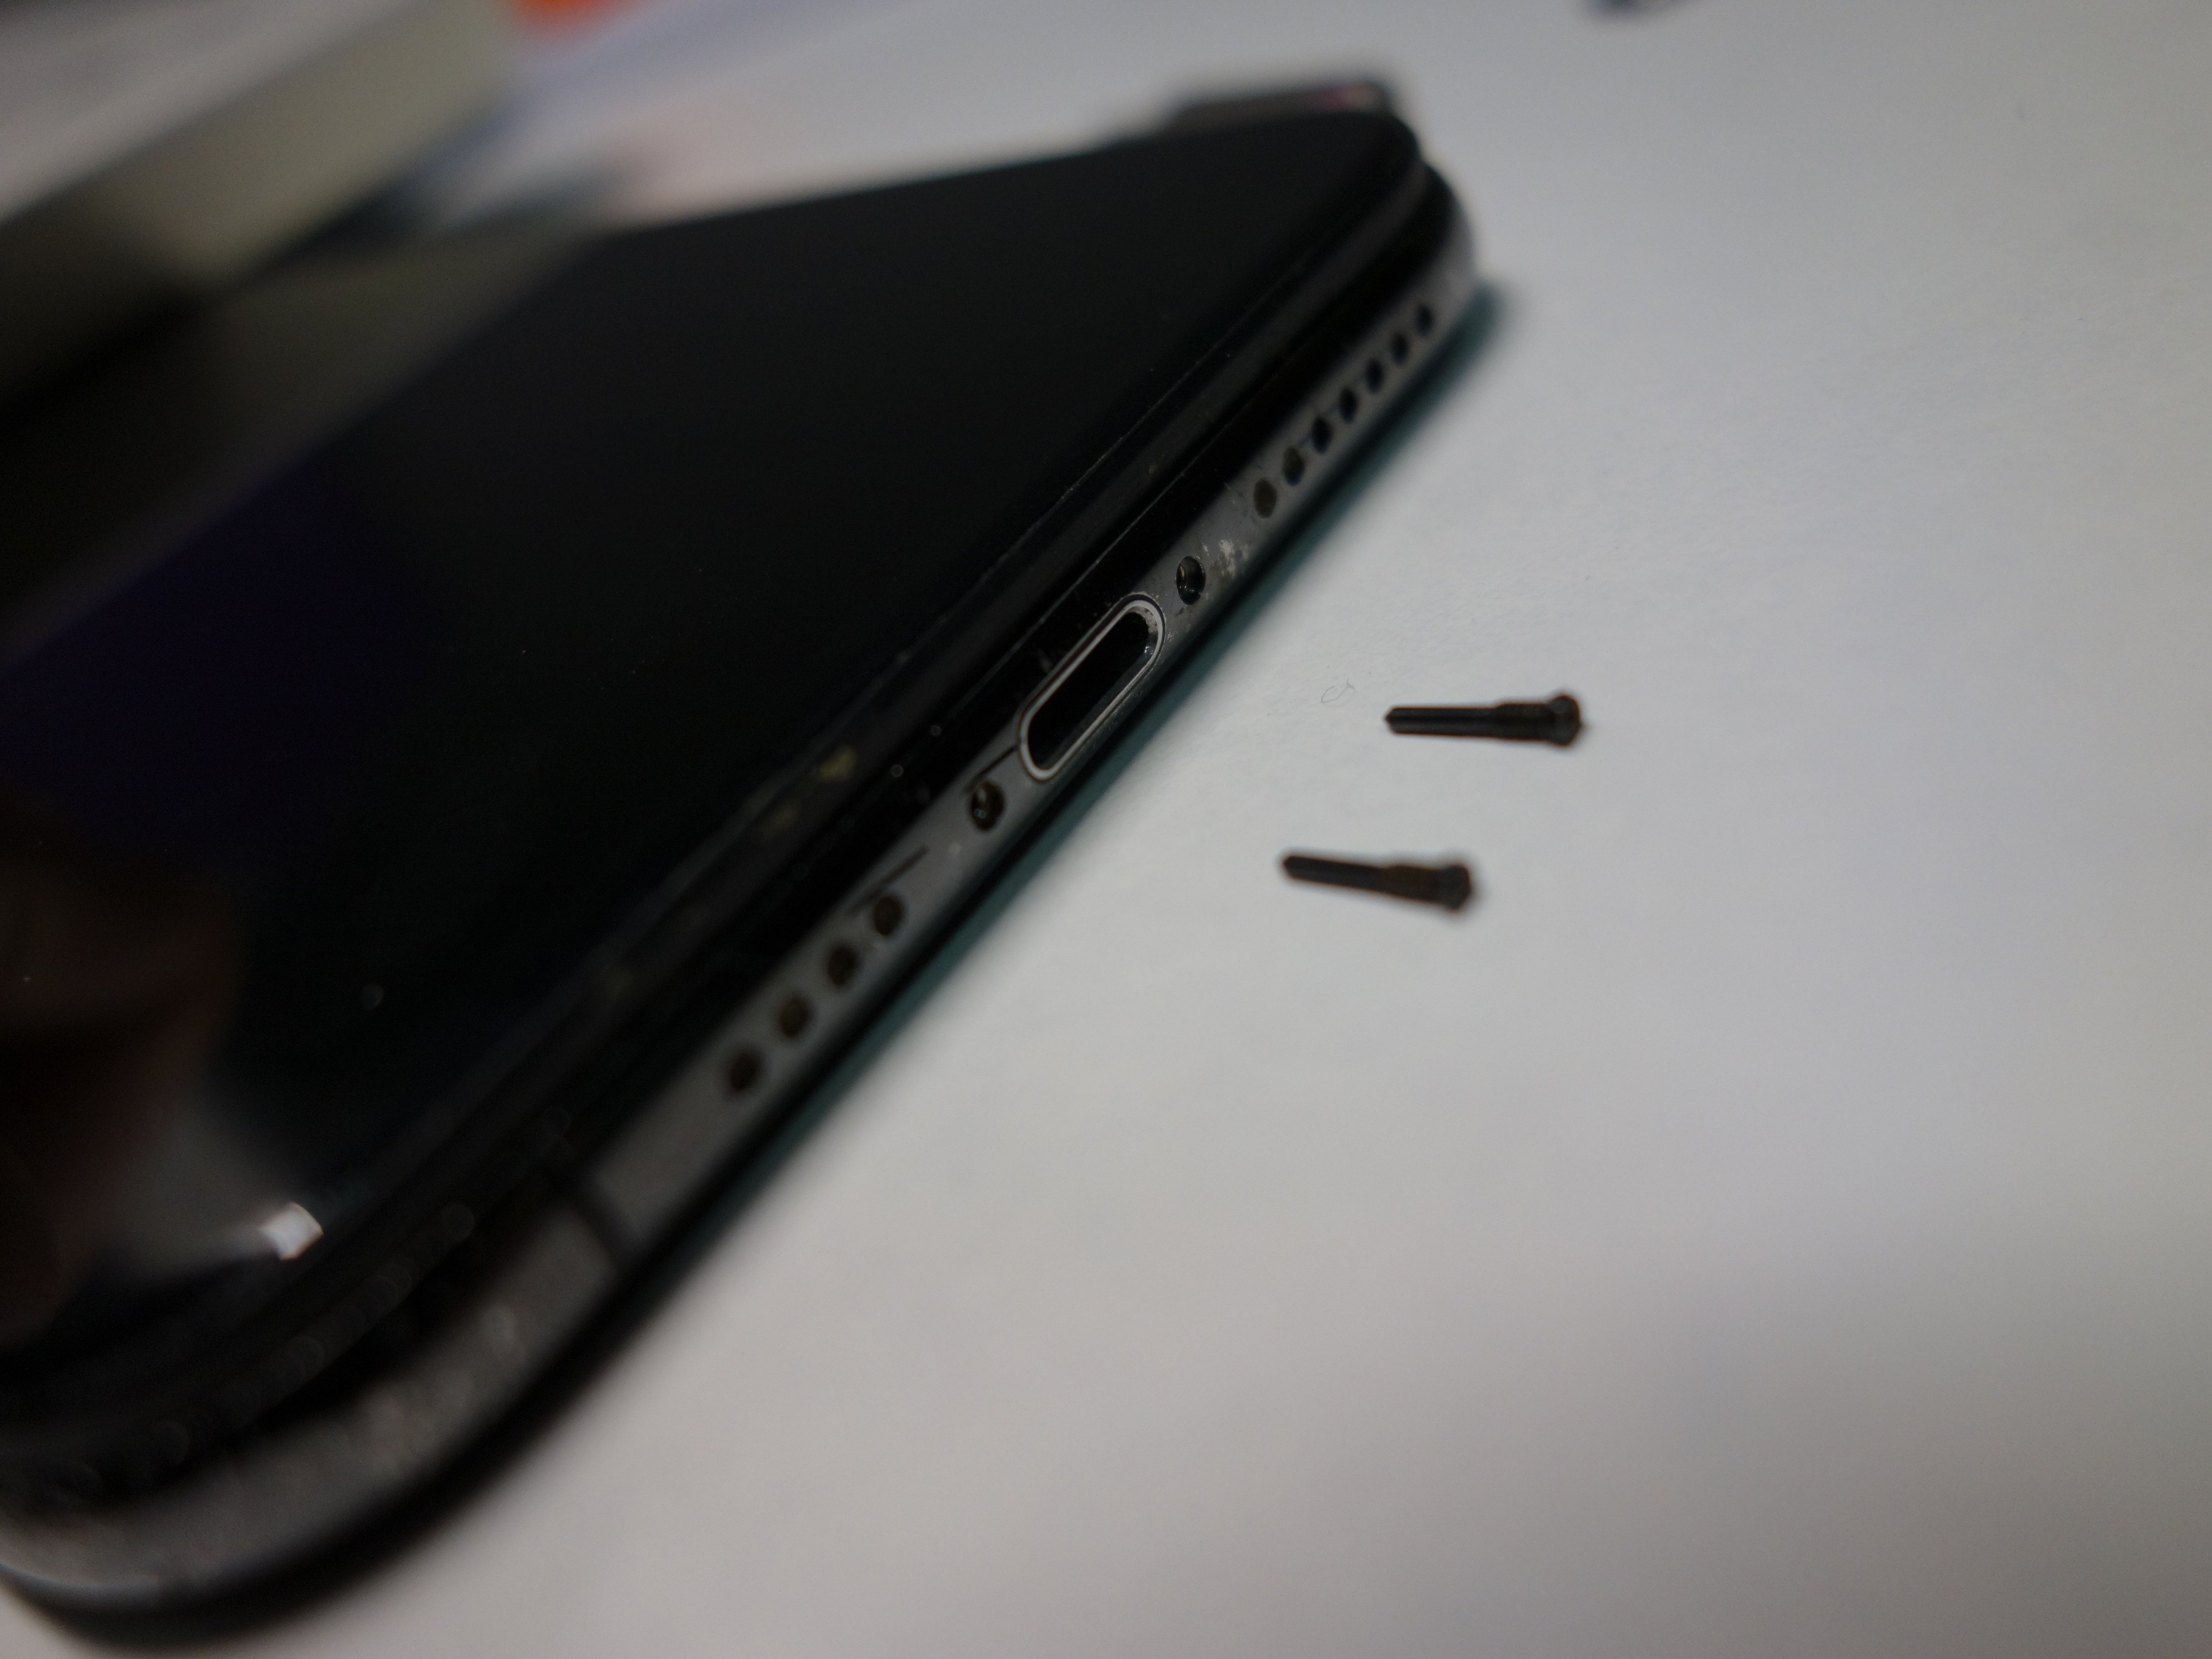
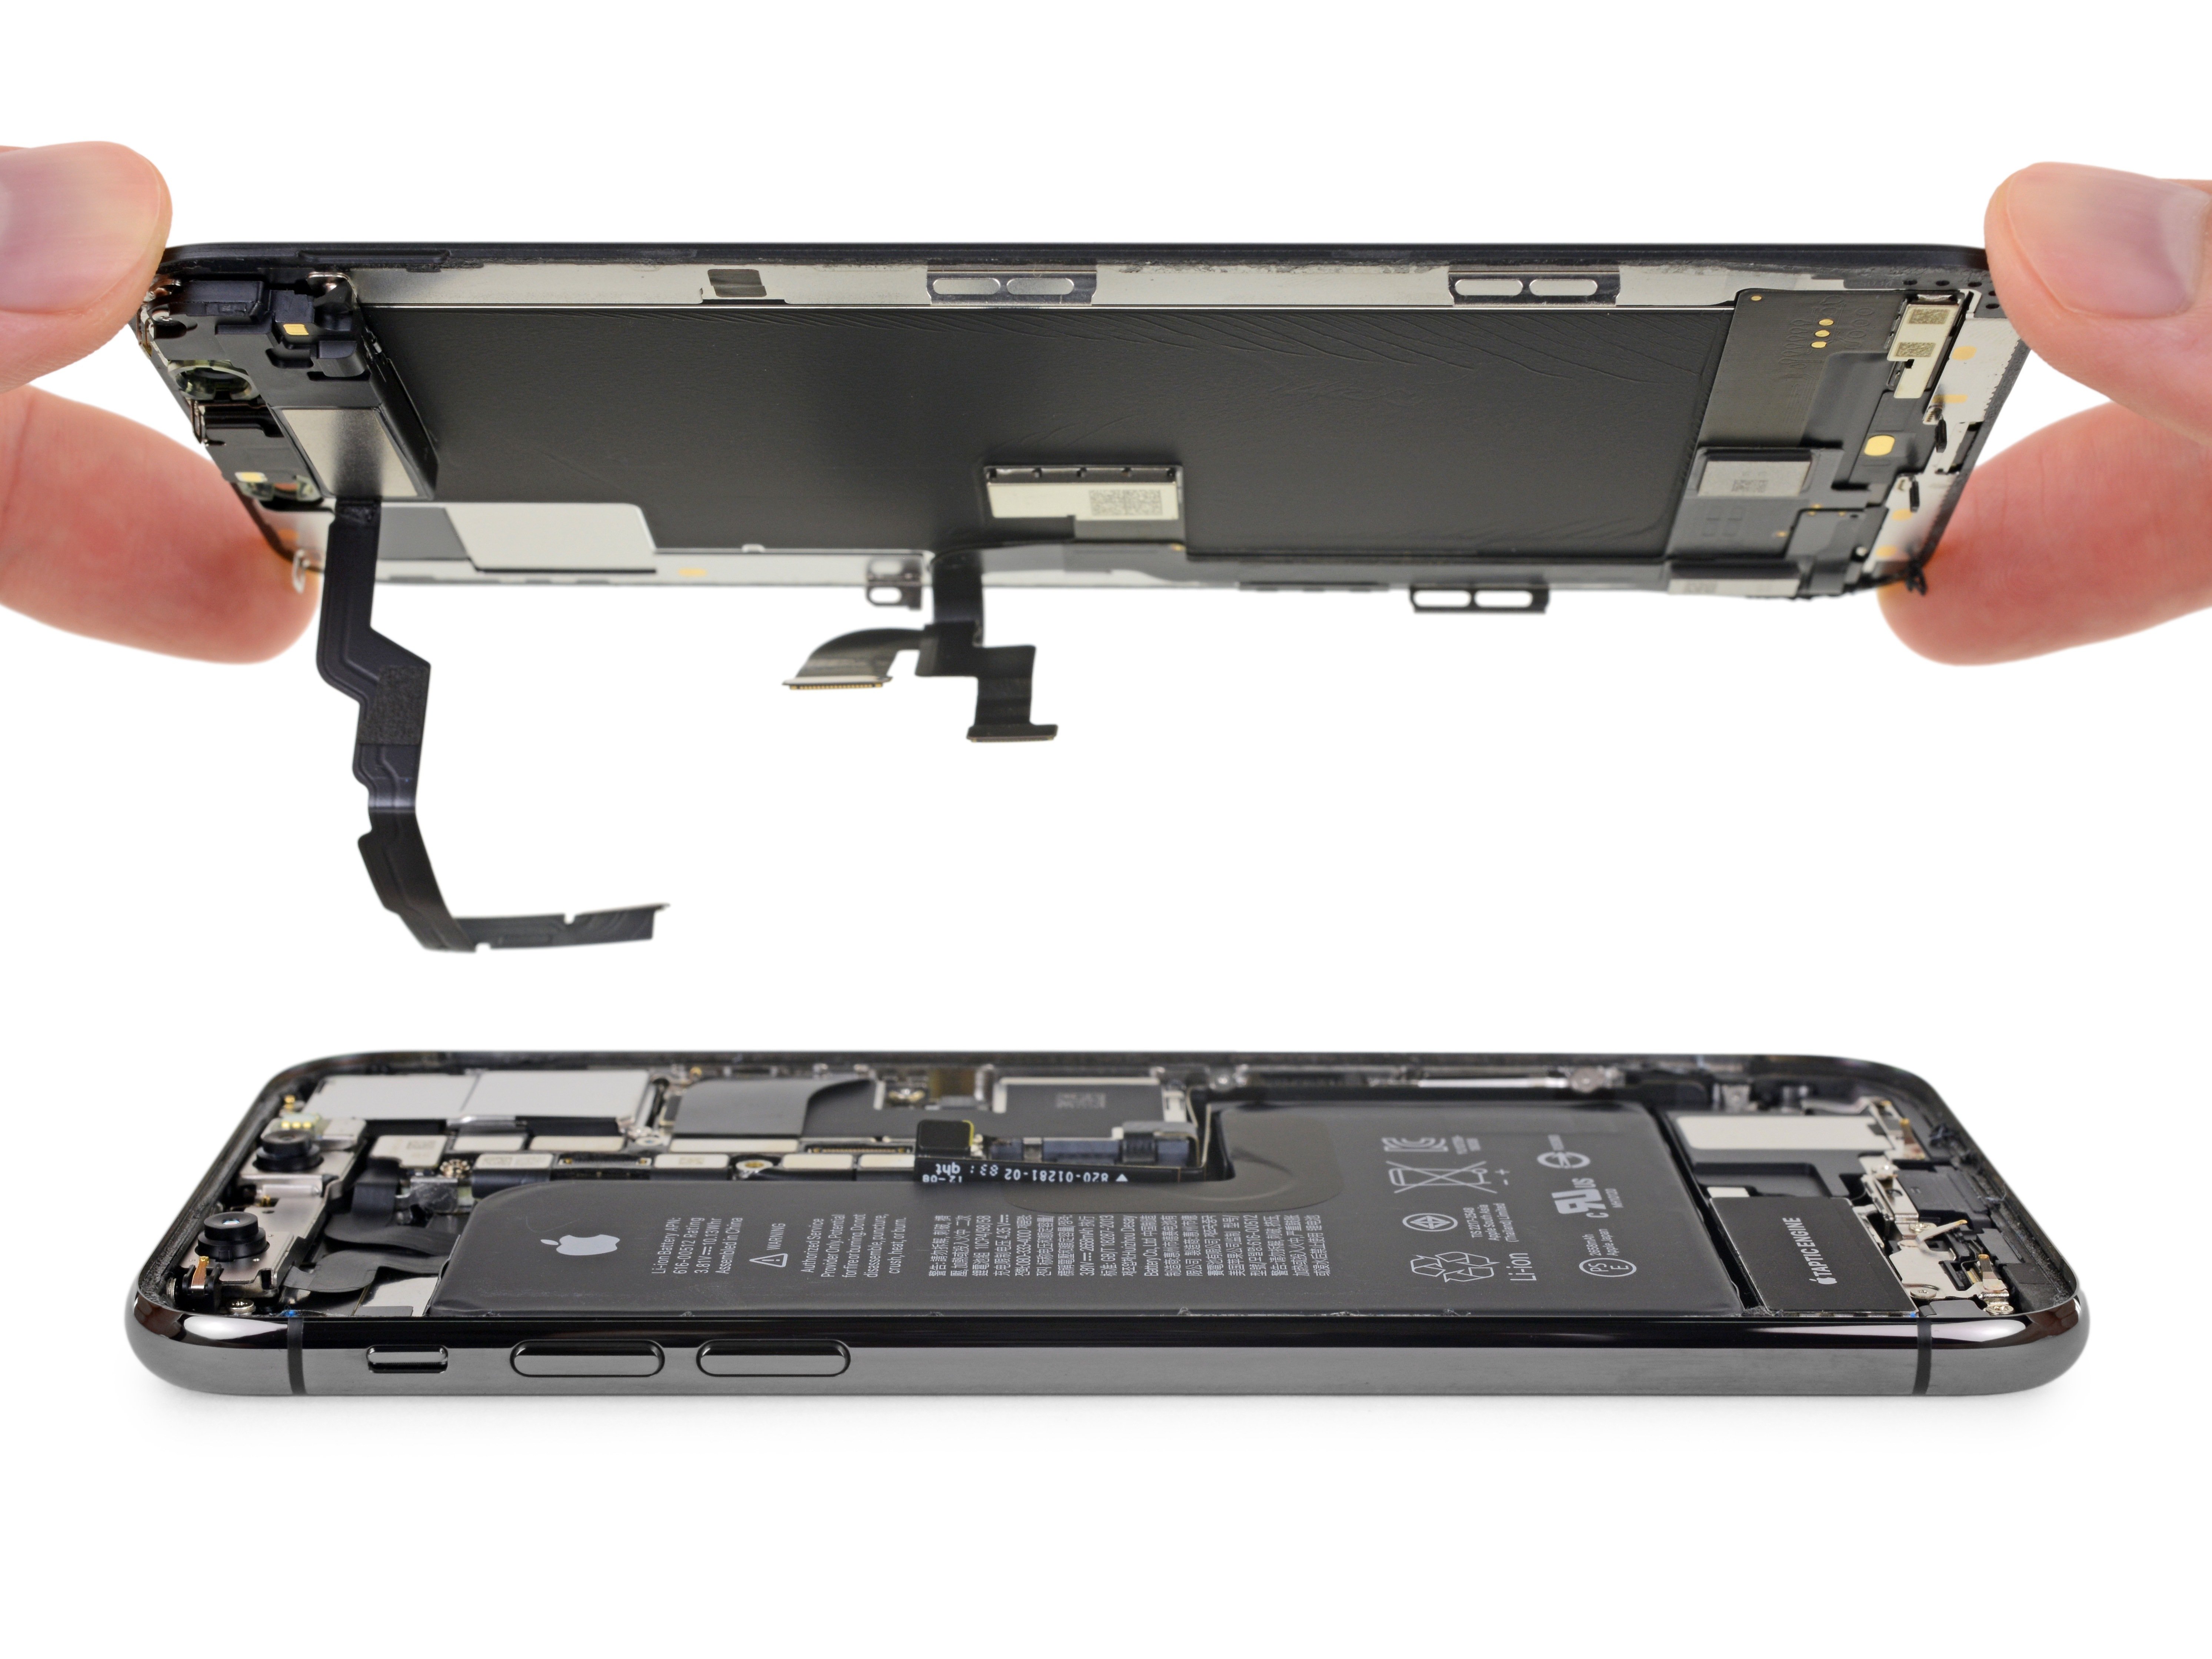
- Time for a little upgrade! Swap out that old screen for a shiny new aftermarket one.
- Tap back into Display & Brightness. If you notice that the True Tone option has decided to play hide and seek, don’t worry!
Step 2

- Alright, let’s get the true tone back using our handy multi-functional programmer.
- First, hook up the display extender module to the programmer. Then, attach your original screen to the extender.
- Next, fire up the programmer to read the data from the original screen.
- Once you’ve got that done, unplug the original screen and plug in your new aftermarket screen to the extender.
- Now, it's time to use the programmer to write the data onto your new screen. After that, disconnect it and you're almost there!
Step 3

- Alright, time to put the phone back together and fire it up!
- Go to Display & Brightness. Check out that True Tone switch—it's glowing green, which means True Tone is back in action. Nice work!
Step 4

- Head over to Settings > General > About and check the phone's software version – it should show iOS 13.2. Then tap on Display & Brightness to confirm that the true tone option is missing.
- Plug the phone into your computer and launch the WL assistance software. The phone’s cover board number will be detected automatically.
- Next, power off the phone and unplug it from the computer. Carefully remove the aftermarket screen after that.
Step 5

- Alright, let's get that true tone back in action, even without the original screen! First, plug in that aftermarket screen along with the display extended module, and don't forget to link the multi-functional true tone programmer to your computer.
- Now, to work some magic and restore the true tone without the original screen, we’ll need to transfer the cover board number we previously read to the aftermarket screen using our trusty software. Let's make it happen!
Step 6

- Alright, it's time to put your phone back together and give it a whirl! Start by getting that aftermarket screen installed and reconnect the battery. Then, give the power button a little press and watch your phone spring back to life.
- Next up, tap on Display & Brightness. Look at that! The True Tone should be glowing green, which means it's back in action. You've successfully restored the True Tone!