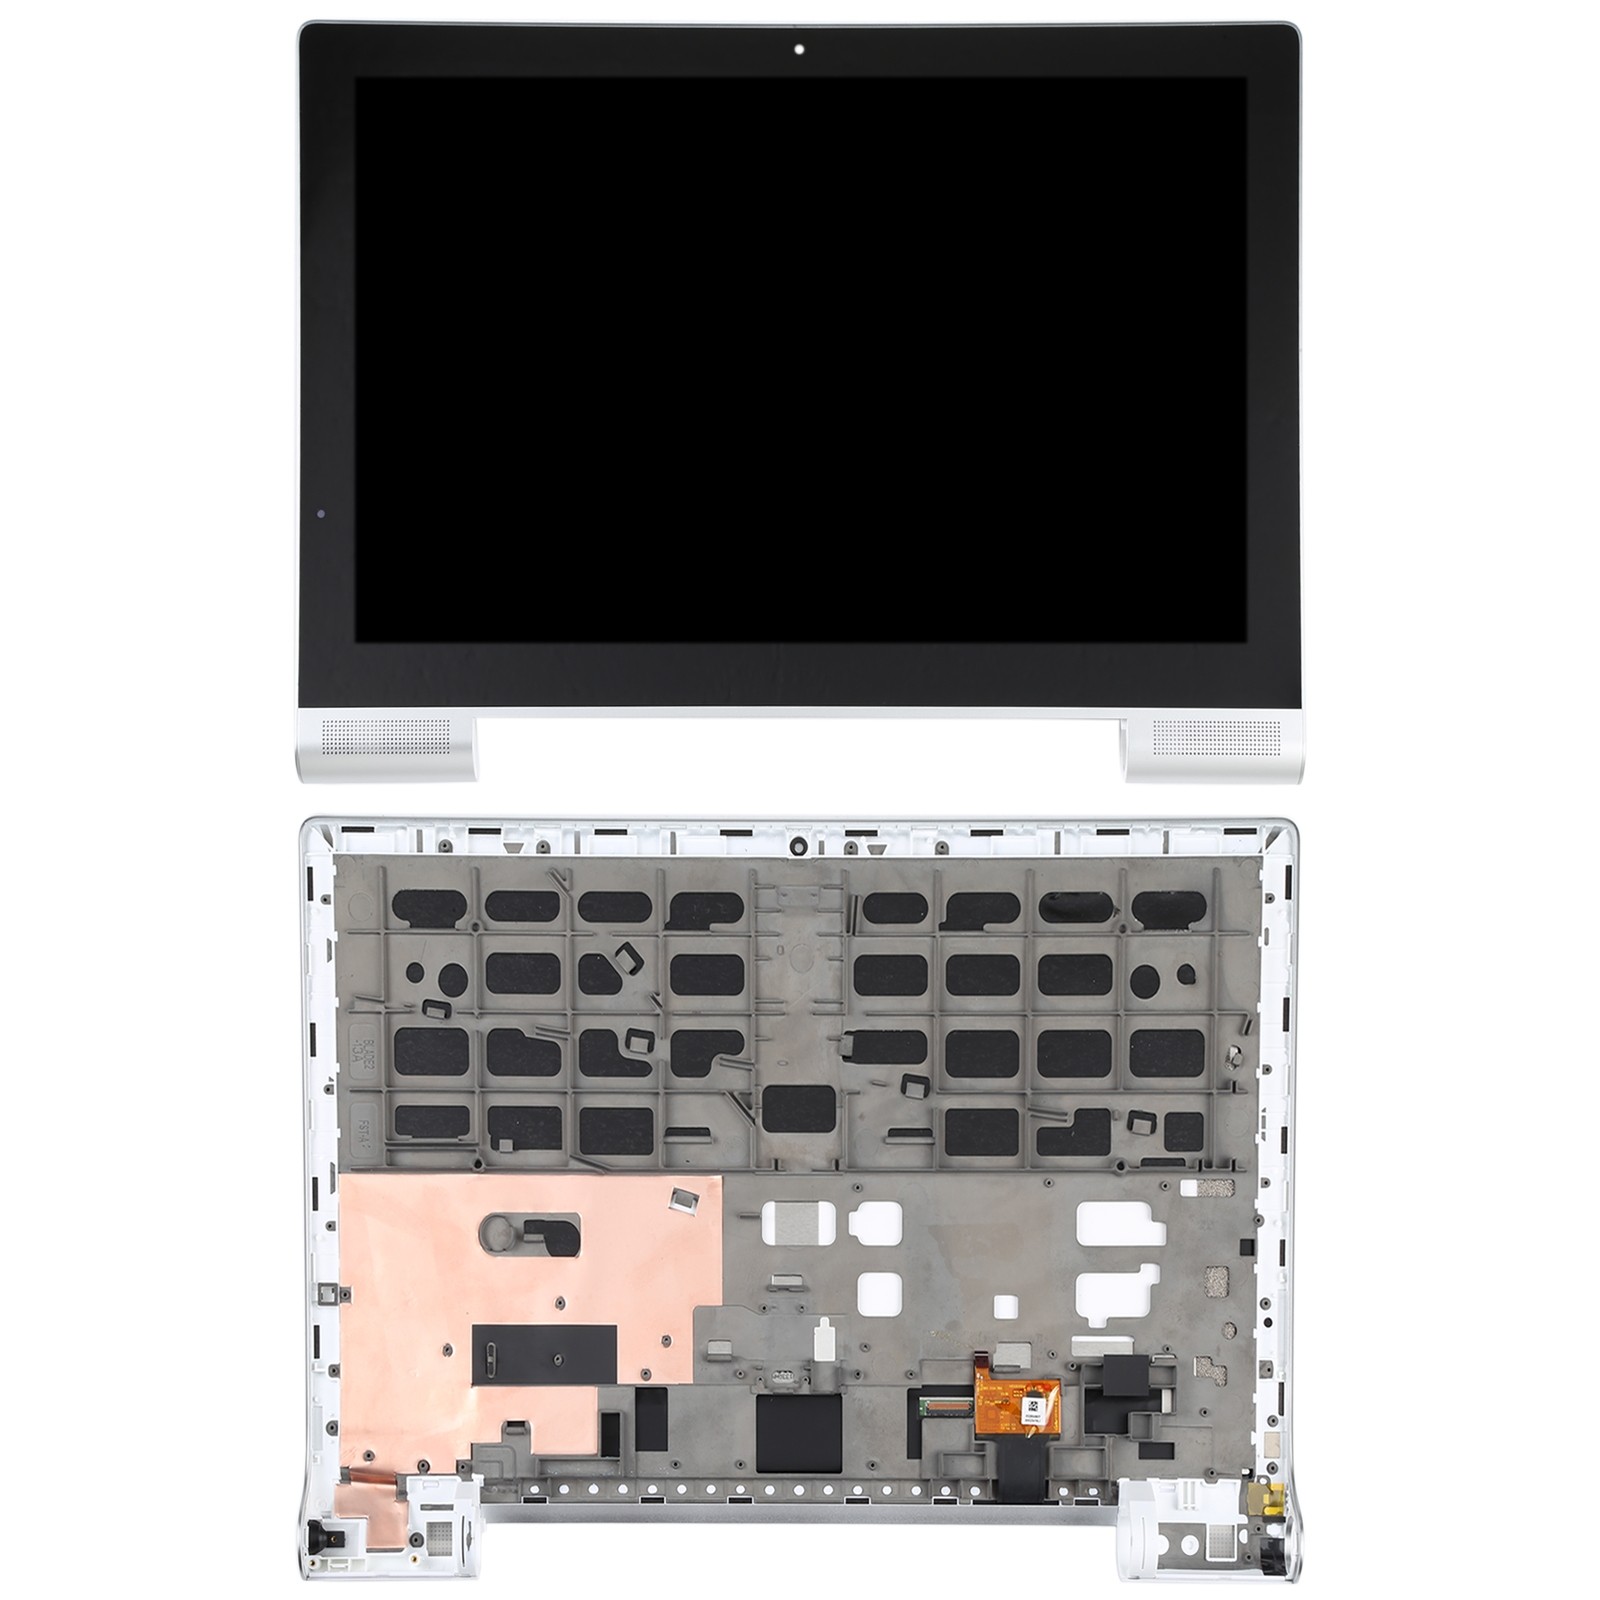
Lenovo Yoga Tablet 10 Camera PCB Replacement
Duration: 45 minutes
Steps: 12 Steps
Before diving into this guide, make sure you’ve got a clever plan to keep those tiny screws from disappearing on you!
Step 1

You’ll find those sneaky screws hiding behind the device’s stand, just waiting for a little attention!
Looks like our device decided to go screw-less this time; no worries!
– Let’s get started by removing the two tiny Phillips #000 screws. Grab your trusty screwdriver and get to work!
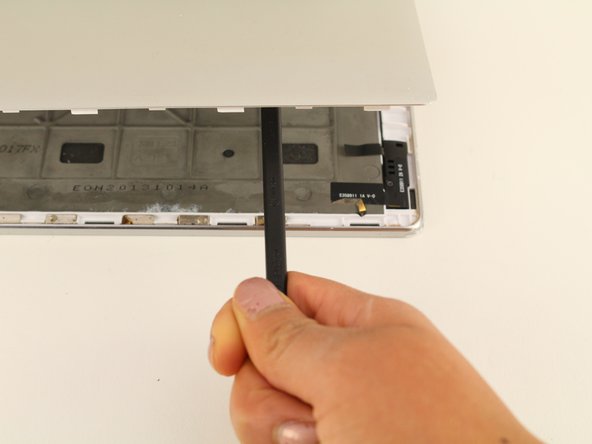
Step 2

Hold up! Before you dive straight into prying off that back cover, make sure you’ve tackled Step three first. Otherwise, you might risk snapping it off—let’s keep things in one piece, shall we?
– Grab a plastic opening tool and gently wiggle it between the edge of the back cover and the screen to loosen things up. You’ve got this!
Tools Used

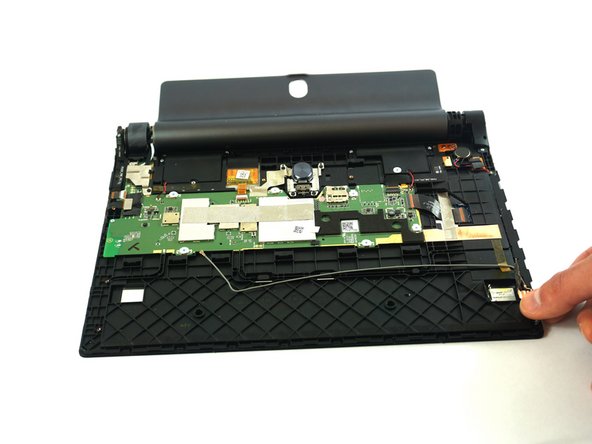
Step 3

– Grab that trusty spudger and gently slide it into the center of the device. With a little upward nudge, pop off the back case—no sweat!
Tools Used

Step 4


– Get ready to tackle that 5mm screw with your trusty Phillips #00 Screwdriver! Time to loosen it and set your device free!
Tools Used

Step 5


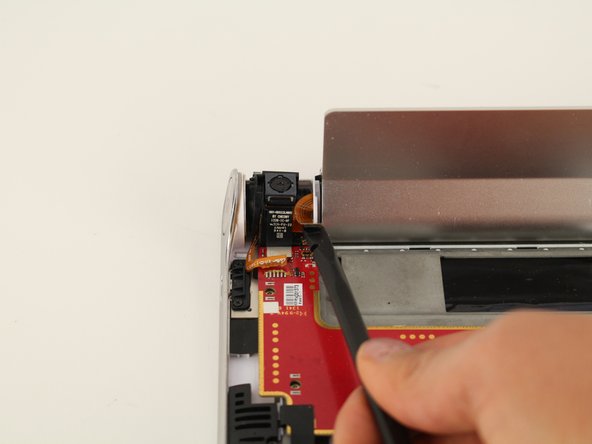
– Grab your trusty spudger and gently work it between the camera and battery connections and the printed circuit board. Give it a little upward push to disconnect them – you’re doing great!
Tools Used
Step 6

– Let’s get started! Remove one 5mm screw using your trusty Phillips #00 screwdriver.
Tools Used
Step 7


– Grab your nylon tip tweezers and gently nudge the camera out from its spot between the power button and the kickstand. Easy does it!
Step 8

– Let’s get started by removing the four 1 mm screws using a trusty Phillips #00 Screwdriver. Take your time and make sure they’re all out before moving on to the next step.
Tools Used
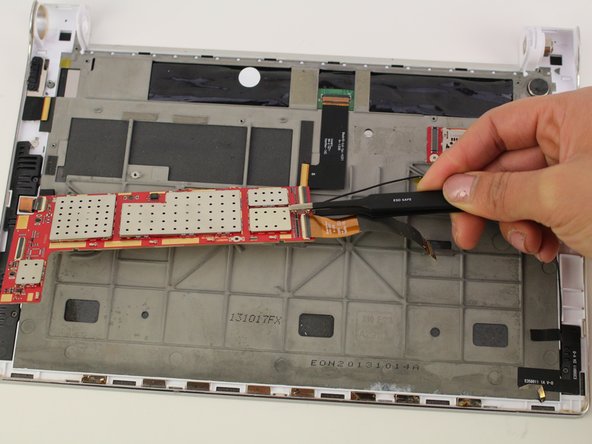
Step 9
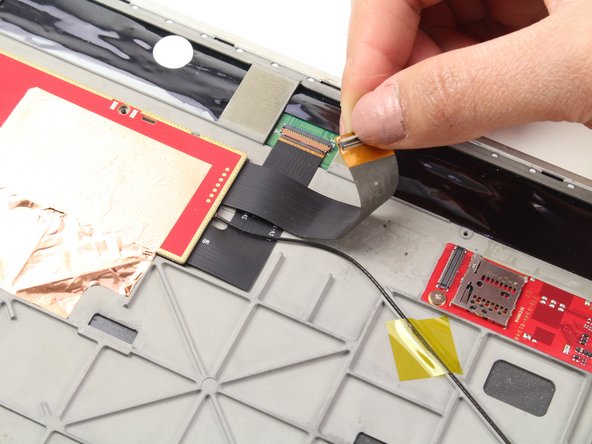

– Grab your trusty spudger and gently nudge that ribbon wire upwards to disconnect it. You’ve got this!
Tools Used
Step 10
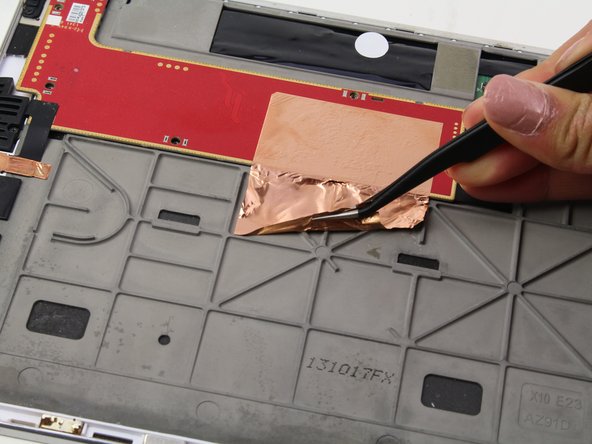
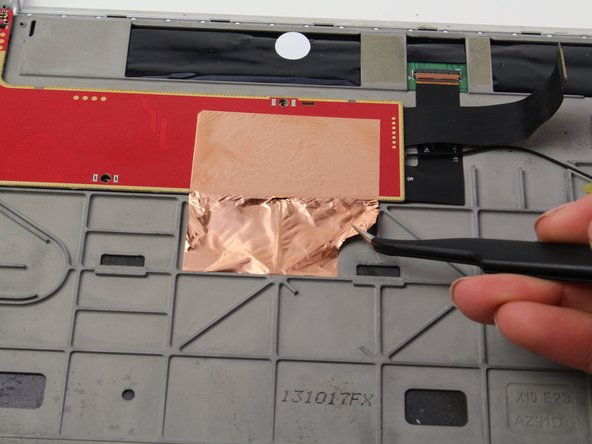
Be careful, the foil might tear, so handle it with care!
– Gently grab the foil with tweezers and lift it up carefully.
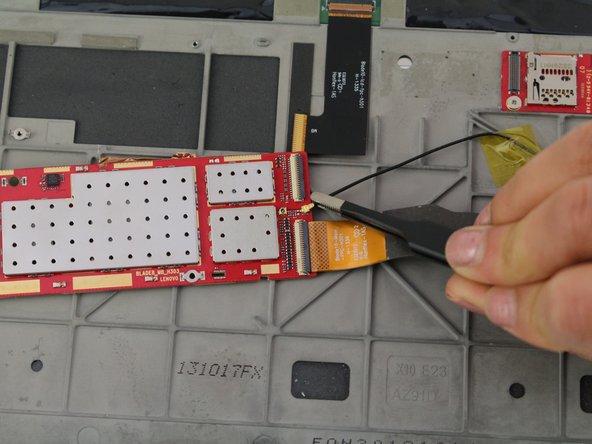
Step 11
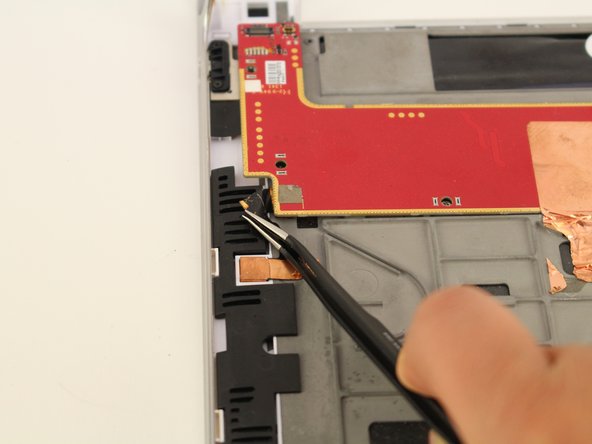

– Grab those tweezers and carefully peel back the black tape from the corner of the printed circuit board. You’ve got this!
Step 12

– Now, just reverse the steps to put your device back together like a pro! If you run into any hiccups, don’t sweat it—just reach out and schedule a repair for some expert help!
–