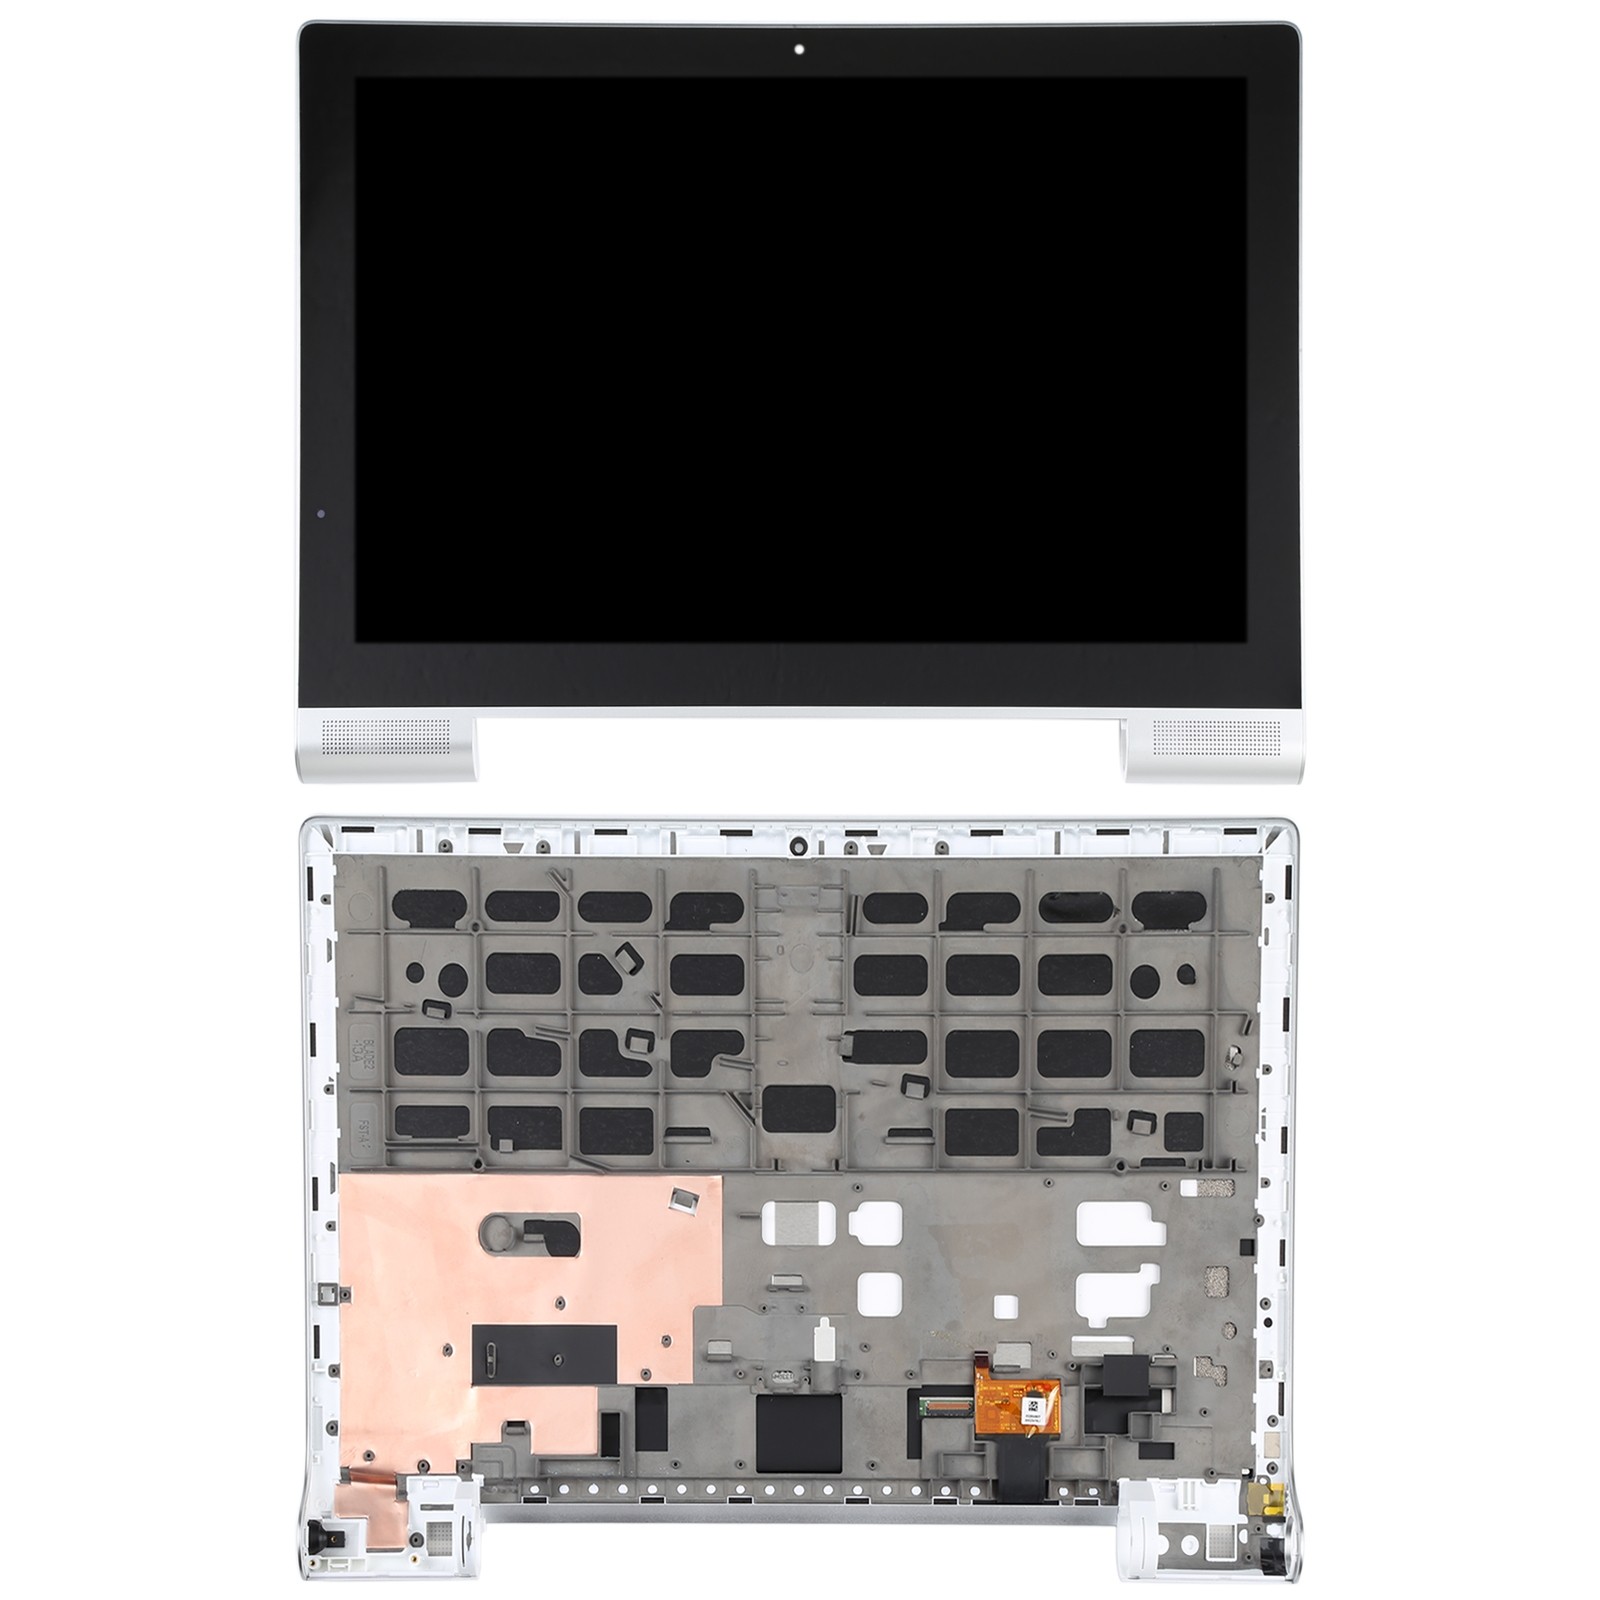
Lenovo Yoga Tablet 10 Battery Replacement
Duration: 45 minutes
Steps: 17 Steps
Ready to swap out that tired battery? This guide will walk you through it! Since the battery’s chilling out behind the kickstand, you’ll just need to pop out the back camera and the headphone jack first. Let’s get your device powered up and good as new!
Step 1

You’ll usually find these screws chilling out behind the stand.
On our device, these screws decided not to show up.
– Take out the two tiny Phillips #000 screws—it’s like giving your device a little TLC!
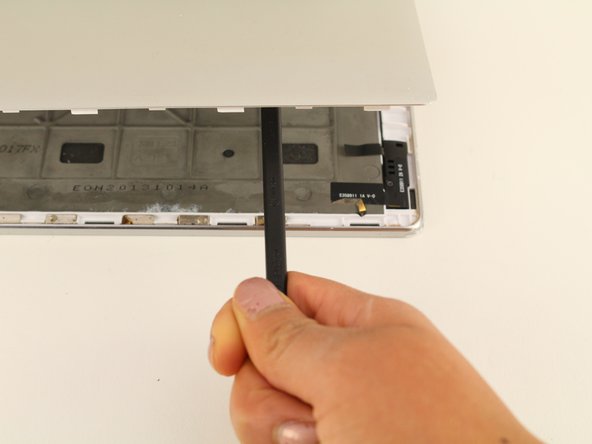
Step 2

Hold up—before you even think about popping off the back cover, make sure you’ve tried Step three first, or you could end up with a cracked mess instead of a cover.
– Grab a plastic opening tool and work your way along the edges of the back case—slide it between the cover and the screen like a pro. Apply gentle pressure to pop it loose, but don’t go Hulk mode on it! Take your time, and soon, that back case will be free.
Tools Used

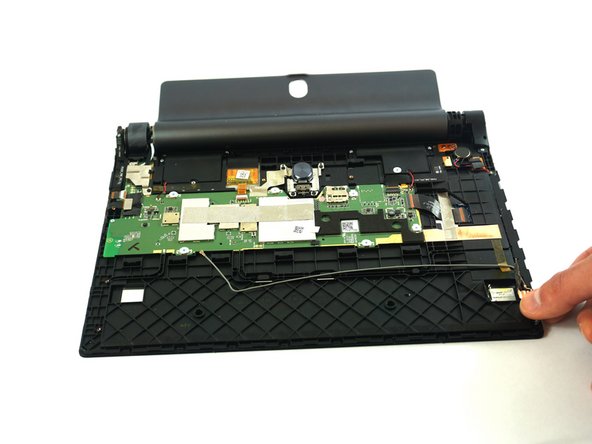
Step 3

– Take the spudger and gently slide it into the middle of your device. A little upward pressure and voilà, the back case should pop off like magic. No need to be too rough – just enough to lift it away.
Tools Used

Step 4


– Get your Phillips #00 Screwdriver and gently twist out that little 5mm screw. You’re doing great!
Tools Used

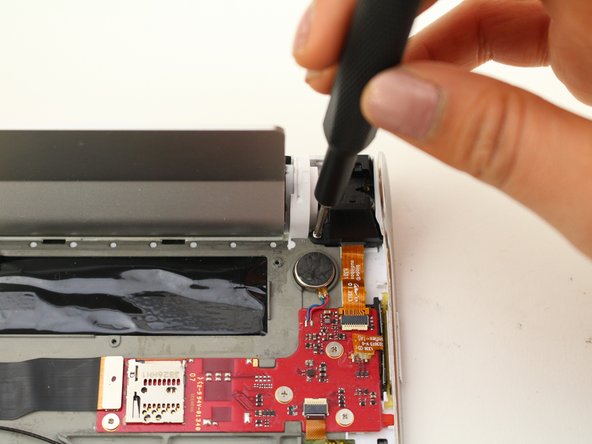
Step 5


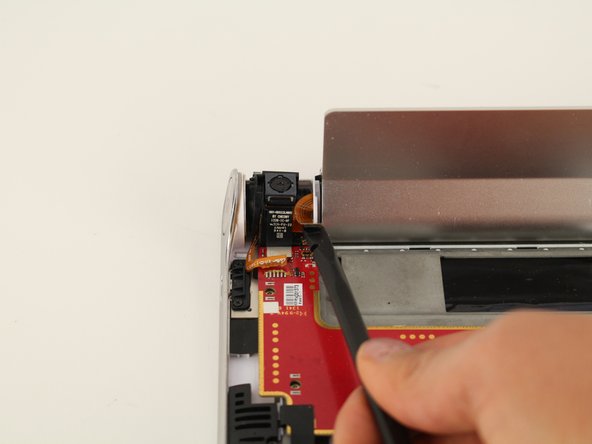
– Grab your trusty spudger and gently slide it between the camera and battery connections and the printed circuit board. Give it a little push upwards to disconnect them like a pro!
Tools Used
Step 6

– Grab your Phillips #00 screwdriver and whisk away that 5mm screw.
Tools Used
Step 7


– Grab those nylon tip tweezers and gently nudge the camera out from its cozy spot nestled between the power button and the kickstand. You’ve got this!
Step 8


– Grab the headphone jack cover with your trusty tweezers and gently pull it straight up, away from the device. No need for force—just a smooth, confident motion!
Step 9


– Let’s get started by removing the two 3.5mm screws using your trusty Phillips #00 Screwdriver. Take your time and make sure they’re completely out before moving on to the next step.
Tools Used
Step 10


– Time to get that headphone jack disconnected! Carefully insert the spudger between the connections and the motherboard, and gently pry it up towards you to release the jack.
– Now, give that wire a little tug towards the headphone jack to fully disconnect it. You’re making great progress!
Tools Used
Step 11


– Grab your trusty tweezers and carefully pull the headphone jack out by lifting it up and towards you.
Step 12


Hey there! Just a friendly reminder to take it easy with that metal spudger – too much pressure can crack the plastic cover. If you sense that the plastic might give way, try shifting the angle of your spudger. You’ve got this!
Stick with the metal spudger on the same side as the headphone jack—trying it on the other side is just a wild goose chase.
– Grab your trusty metal spudger and get ready for some action! Slide it between the kickstand and the plastic, then give it a gentle upward nudge to pop out that battery compartment lock. You’re doing great!
Tools Used

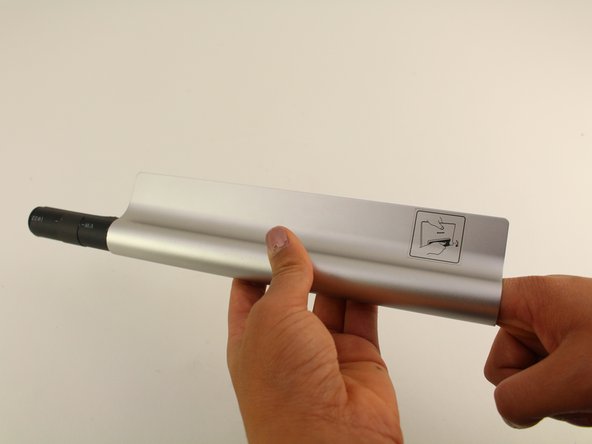
Step 13


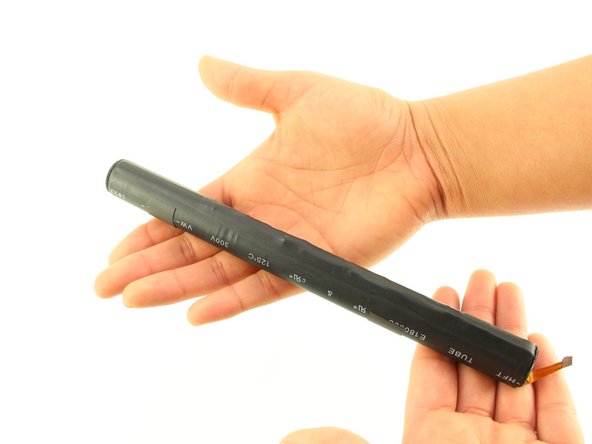
Guess what? The battery compartment also doubles as the kickstand. How cool is that?
– Gently detach the battery compartment from the device.
Step 14

– Grab your trusty tweezers and peel away the gray tape to uncover a sneaky screw hiding at each end of the compartment. You’ve got this!
Step 15

– Let’s get started by removing one 3.5 mm screw from each end. Grab your trusty Phillips #00 screwdriver and get to work!
Tools Used
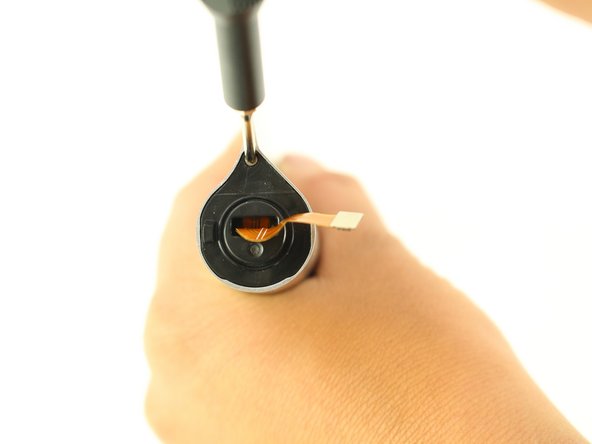
Step 16

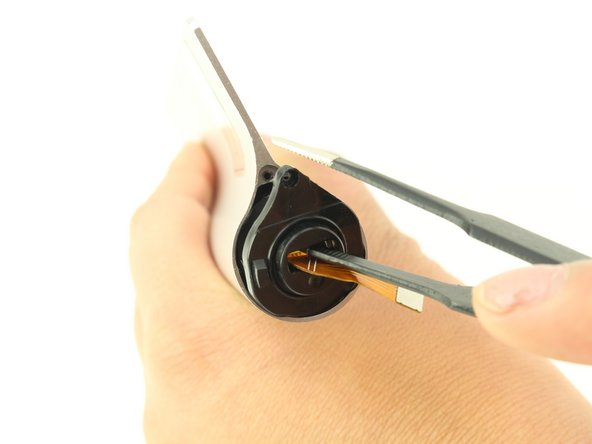
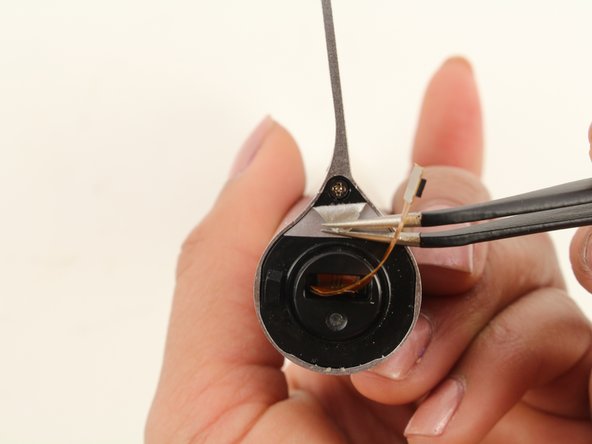
When you place the tweezers right in the middle of the cap and give it a gentle pull, you should hear a satisfying snap – like the moment you finally get the lid off a stubborn jar. That’s the signal that it’s time to move on!
– Grab your trusty tweezers and gently lift off the cap from the side with the orange connector poking out. Take your time—no rush, no stress!
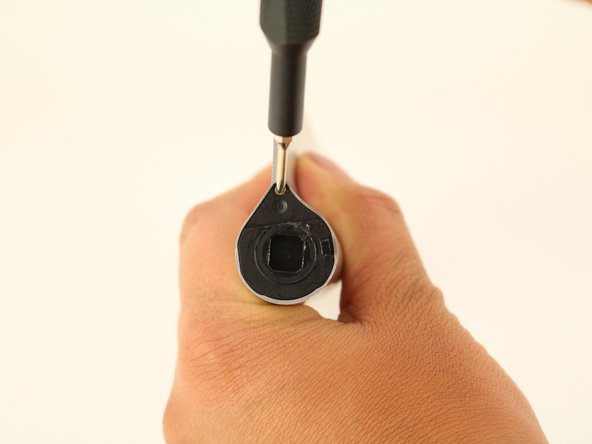
Step 17

Whatever you do, don’t let that cap wander off—it’s a sneaky little thing! Keep track of it, or you’ll be hunting for it later.
– Time to put your device back together! Just retrace your steps and follow these instructions in reverse. You’ve got this!
– If you need help, you can always schedule a repair.