iPad 3G Metal Display Clips Replacement
Duration: 45 minutes
Steps: 12 Steps
Ready to swap out those little metal clips that tend to get cranky when you're pulling off the display assembly? Let's tackle this together and make sure your device is back in action smoothly! If you run into any trouble, remember you can always schedule a repair.
Step 1
Pop on some safety glasses to keep your eyes protected, and take it easy around the LCD screen—nobody likes a busted display!
This helps keep those pesky glass shards from going everywhere while giving you the grip you need to carefully pry and lift the display.
- Got a cracked display glass? Let’s keep those shards in check and your fingers safe by taping over the glass before diving in.
- Cover the iPad’s screen with overlapping strips of clear packing tape until you’ve got the whole surface sealed up.
- Try to stick to the guide as much as possible. But heads up—once the glass is cracked, it’ll probably keep cracking while you work. If you run into stubborn bits, grab a metal prying tool to help scoop out the glass.
Step 2
Your iPad might look a little different from the one in the photos, but don’t worry—the steps are exactly the same!
- Take your trusty metal spudger and slide it along the right edge, right between the display and the back panel—like you’re gently opening a secret door.
- Give the spudger a little twist away from you to pop loose those tabs holding the top edge of the display in place.
Tools Used
Step 3
- Slide a second metal spudger between the top edge of the display and the rear panel to keep those sneaky tabs from popping back into place.
- Carefully lift the display assembly away from the rear panel—steady hands win the race!
Tools Used
Step 4
Heads up! As you get close to the top edge of the iPad, take it slow and steady. The digitizer ribbon cable is hanging out right near the rear panel’s edge and is super easy to nick or tear. Keep it safe!
- Keep working that display assembly loose from the rear panel, focusing on the bottom and left edges of your iPad. You're doing great!
Step 5
Easy does it! When lifting the display assembly, remember there's a delicate antenna cable still connecting it to the rest of your iPad, and it doesn't have much slack. Treat it gently to avoid any unwanted surprises!
- Gently lift the display assembly upward from the rear panel by holding the bottom edge. Keep it steady and smooth—you're almost there!
Step 6
- Grab the flat end of your spudger and gently lift the antenna connector nearest to the bottom of the iPad right off its spot on the communications board. Easy does it!
Step 7
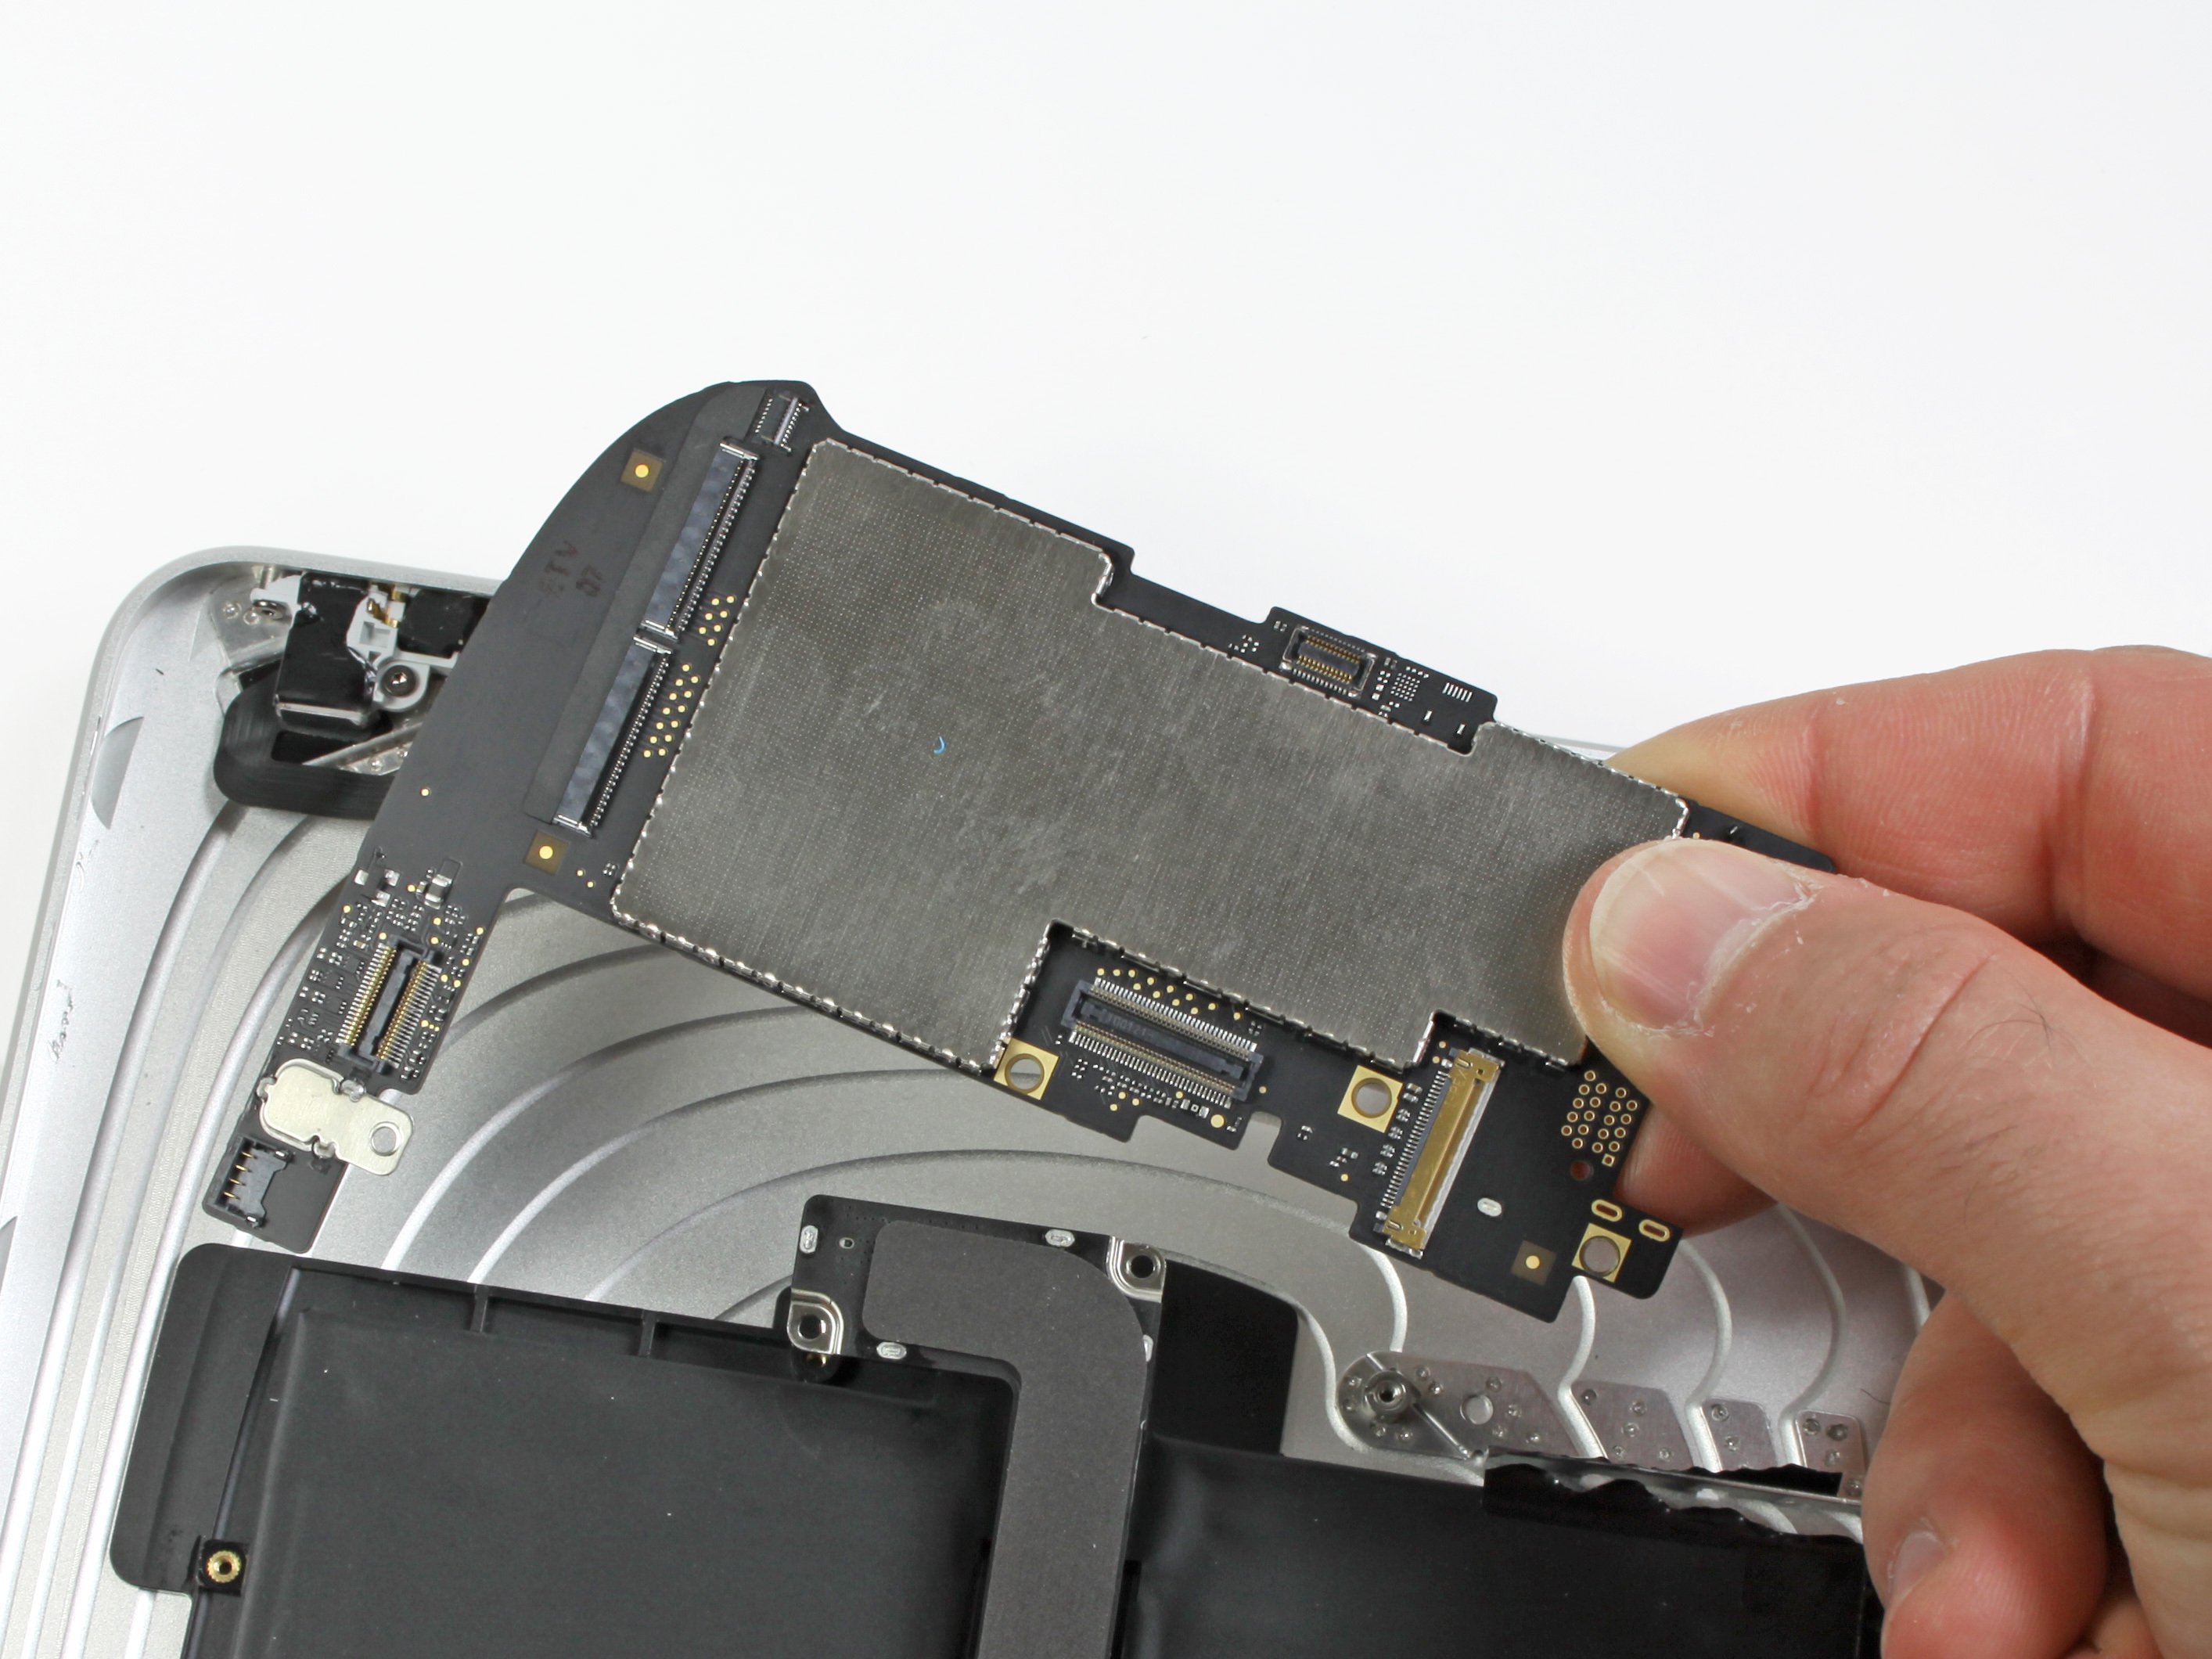
- Next up, we're unplugging the three cables that connect the display assembly to the logic board. These cables handle:
- Digitizer
- Ambient Light Sensor
- Display Data Cable
Step 8
Heads up! Make sure you’re flipping up the tiny retaining flap—not the whole socket. Your device will thank you for keeping things gentle!
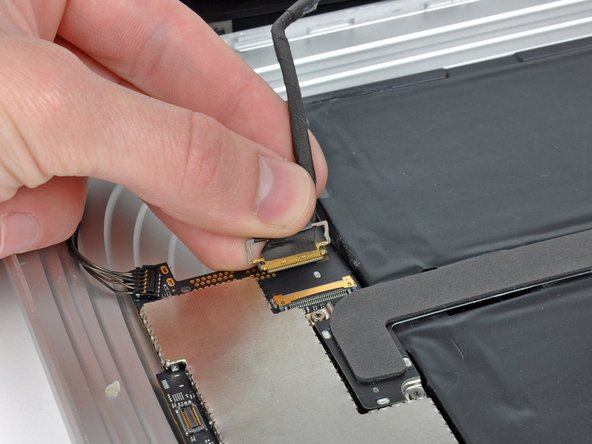
- Gently use the edge of an iPod opening tool to lift the little flaps that keep the digitizer ribbon cables snapped into their sockets on the logic board.
- Carefully pull the digitizer ribbon cables straight out of their connectors.
Step 9
- Take your trusty iPod opening tool and gently lift up the ambient light sensor connector—just a little upward nudge will do the trick!
Step 10
Slide the connector out smoothly, keeping it level with the surface of the logic board—no need to lift it up or get fancy!
- Gently lift the metal retainer using its black plastic pull tab to release the display data cable from the main board.
- Carefully pull the cable connector away from its socket, and voilà!
Step 11
- Gently pop the display assembly off the rear panel assembly like a pro—no sudden moves!
Step 12
Go ahead and repeat this for any other busted clips you spot around your display assembly. Keep it up—you're almost there!
- Time to put it all back together! Just work through the steps backwards, and soon your device will be ready for action. If you hit any snags, you can always schedule a repair.


