iPad 3G SIM Board Replacement
Duration: 45 minutes
Steps: 16 Steps
Ready to swap out that busted SIM board? Follow along with this guide and you'll have your device back in action in no time. Let's get those tiny connections sorted and your phone feeling fresh!
Step 1
Rock those safety glasses to keep your peepers safe, and take it easy around the LCD screen – we want it to shine bright, not get a scratch!
This will help keep those pesky glass shards in check and ensure your display has the sturdy support it needs while you’re prying and lifting it up.
- Cracked display glass? No worries—let’s keep those shards under control and your fingers safe by taping up the glass.
- Cover the entire face of your iPad using overlapping strips of clear packing tape.
- Try to follow the rest of the steps as usual. Just a heads-up: once glass starts cracking, it might keep going as you work. If needed, use a metal prying tool to gently scoop out those stubborn bits.
Step 2
The iPad in the pictures might have a slightly different look than yours, but don’t worry—the steps are just the same!
- Gently slide a metal spudger between the right side of the display assembly and the rear panel. Take your time, no need to rush!
- Now, give that spudger a little twist away from you, just enough to pop those tabs free along the top edge of the display. Keep it smooth and steady!
Tools Used
Step 3
- Slide a second metal spudger between the top edge of the display assembly and the rear panel assembly to keep those pesky tabs from popping back into place.
- Gently pry the display assembly away from the rear panel. You've got this!
Tools Used
Step 4
Take it easy when you're near the top edge of the iPad. The digitizer ribbon cable hides just under the rear panel's edge, and it’s pretty easy to accidentally damage. Go slow and steady!
- Keep gently prying the display assembly away from the rear panel along the bottom and left edges of the iPad. You’re making great progress!
Step 5
Be careful not to lift the display assembly too much—there's a delicate antenna cable with barely any slack connecting the two parts. Keep it gentle!
- Gently lift the display assembly up and away from the rear panel assembly, starting at the bottom edge. You're doing great!
Step 6
- Grab your trusty spudger and gently use the flat end to lift the antenna connector near the bottom of the iPad. Pry it off the communications board socket with a little finesse. Don’t rush it, you’ve got this!
Step 7
- Next up, we're unplugging the three cables that connect the display assembly to the logic board. These cables handle:
- Digitizer
- Ambient Light Sensor
- Display Data Cable
Step 8
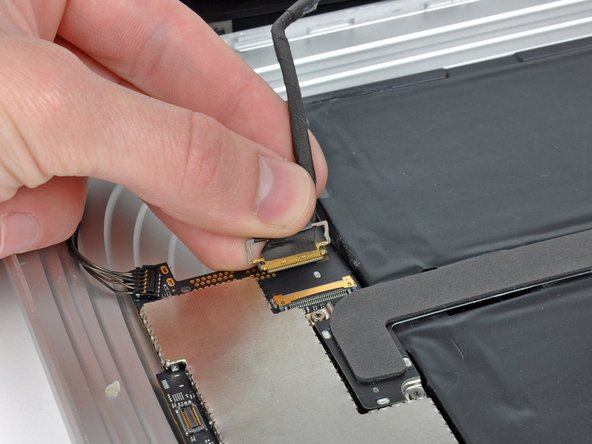
Make sure you're lifting the retaining flap and not the socket itself! You've got this!
- Grab your iPod opening tool and gently use the edge to lift up the retaining flaps that are holding the digitizer ribbon cables in place on the logic board.
- Once those flaps are up, carefully pull the digitizer ribbon cables out from their sockets. Easy does it!
Step 9
- Grab your trusty iPod opening tool and carefully pop up the ambient light sensor connector from its socket with a gentle pry. Easy does it!
Step 10
Gently slide the connector out, keeping it flush with the logic board—no need for any wild angles here!
- Pop open the metal retainer using the black plastic pull tab—like unlocking the secret door to tech wizardry.
- Gently slide the cable connector out of its socket. No force needed, just a smooth getaway!
Step 11
- Gently separate the display assembly from the rear panel—take it slow, like you're peeling the perfect sticker!
Step 12
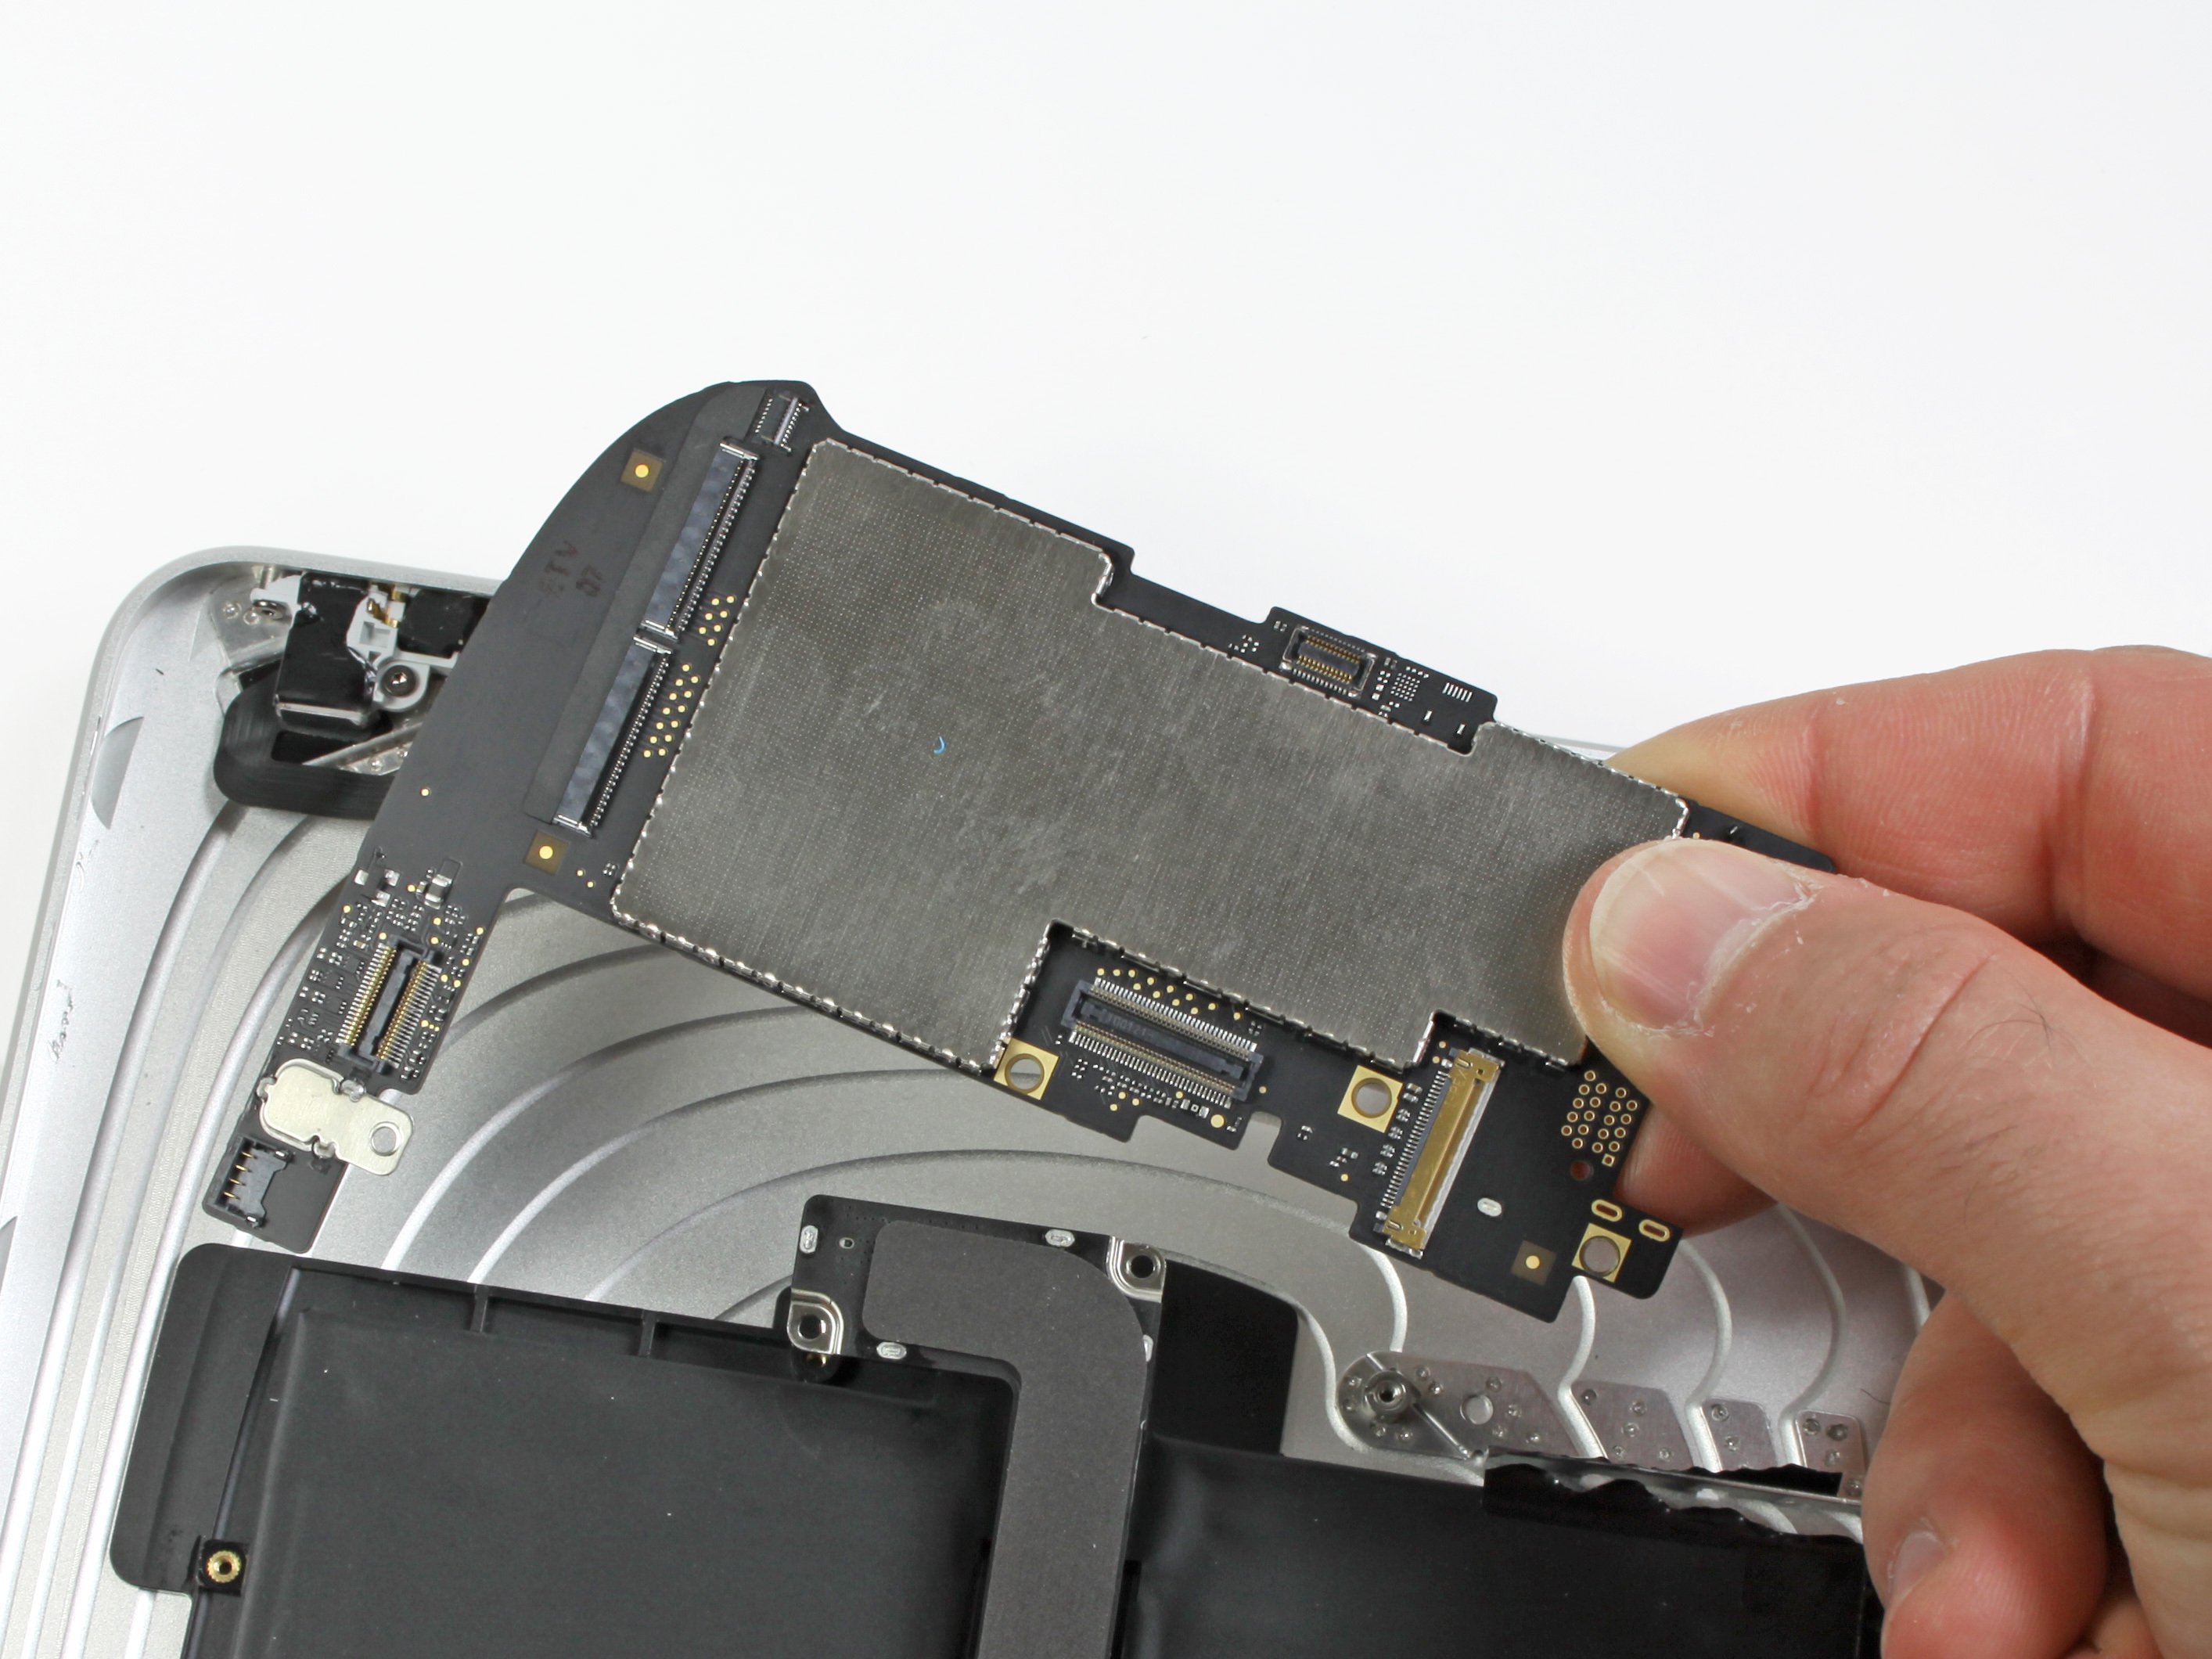
- Gently slide the edge of your iPod opening tool under the SIM board connector and lift it carefully off its spot on the logic board.
Step 13
You might need to give it a little elbow grease.
- Grab a trusty paperclip, line it up with the little hole in the SIM card tray, and give it a gentle push—watch the tray pop right out of your iPad like magic!
Step 14
- Pop out that SIM card and tray from your iPad—give it a gentle nudge and set it aside for later!
Step 15
- Grab your trusty iPod opening tool and gently pry the SIM board away from the sticky adhesive that's holding it snug against the rear case. You're doing great!
Step 16
- Put your device back together by simply following these steps in reverse—easy peasy!


