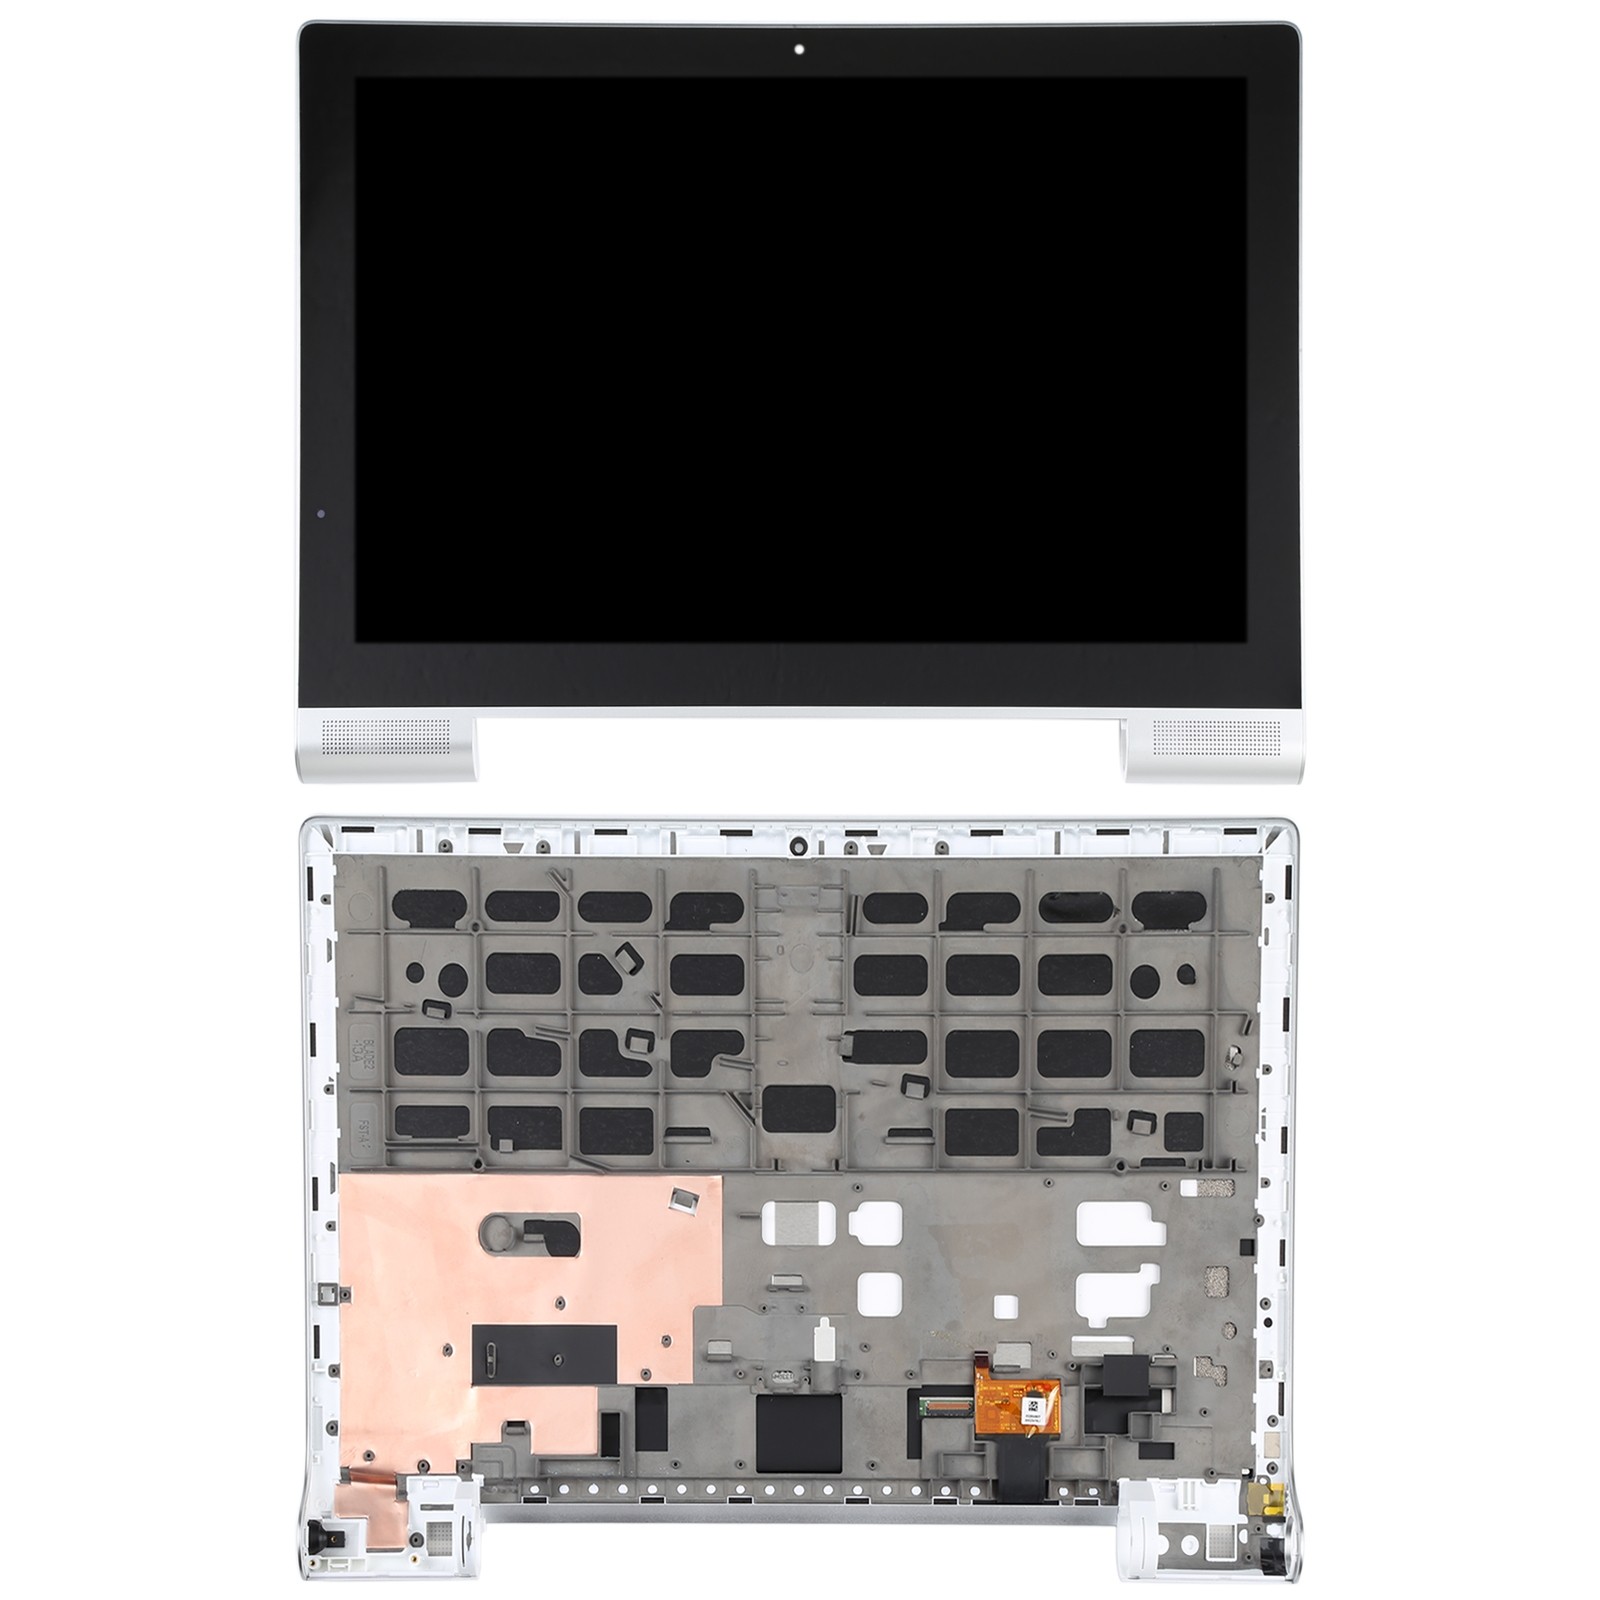
Lenovo Yoga Tablet 10 Back Camera Replacement
Duration: 45 minutes
Steps: 7 Steps
Heads up! You’ll want to know how to pop off the back cover before diving into these steps.
Step 1

You’ll find these screws hiding out behind the stand.
Our device decided to skip these screws entirely.
– Alright, time to get hands-on! Grab your Phillips #000 screwdriver and carefully remove those two tiny screws. No need to wrestle with them—just a smooth, steady turn will do the trick!
Step 2

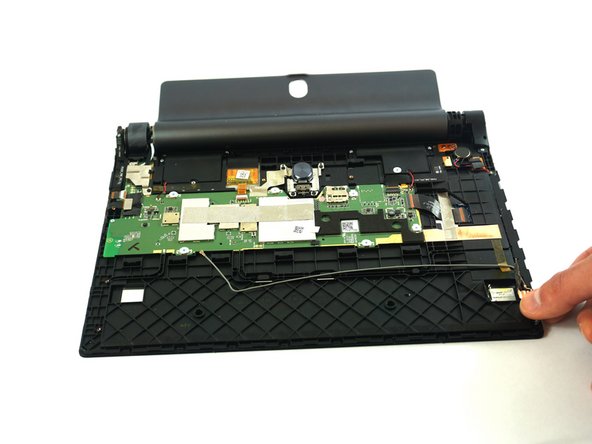
Hold up! Don’t rush to pry off the back case just yet. Make sure you tackle Step Three first—trust me, it’ll save you from accidentally snapping that cover.
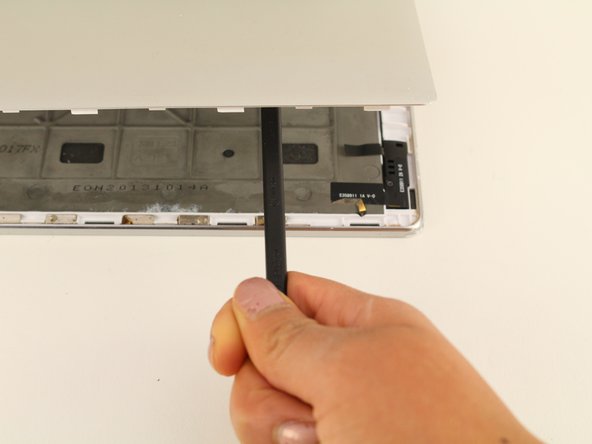
– Grab a plastic opening tool and gently wedge it between the back case and screen. Carefully pry along the edges to loosen the cover. Patience is key here—take your time!
Tools Used

Step 3

– Grab your spudger and gently slide it into the center of the device. Apply a little upward pressure, and you’ll pop off the back case with ease. Simple, right?
Tools Used

Step 4


– Grab your Phillips #00 screwdriver and unscrew the 5mm screw. It’s a small step, but it will make a big difference in your repair journey!
Tools Used

Step 5


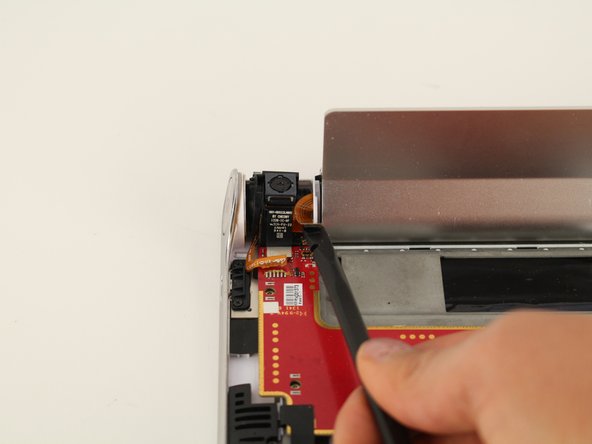
– Time to get disconnected! Use your trusty spudger to carefully pry the camera and battery connections away from the printed circuit board. Simply slide the spudger between the connections and the board, and gently push it up to release them. Easy peasy!
Tools Used
Step 6

– Grab your Phillips #00 screwdriver and carefully remove the 5mm screw. Easy peasy!
Tools Used
Step 7


– Grab those nylon tip tweezers and gently coax the camera out from its snug spot nestled between the power button and the kickstand. You’re doing great!