Lenovo Thinkpad Tablet 1838 Camera Replacement
Duration: 45 minutes
Steps: 5 Steps
Get ready to dive into this guide and replace the ribbon cable and camera for your Lenovo ThinkPad Tablet 1838 like a pro!
Step 1

– To get to the camera, gently pop off the button covers by prying them away. Remember, a little finesse goes a long way!
Step 2

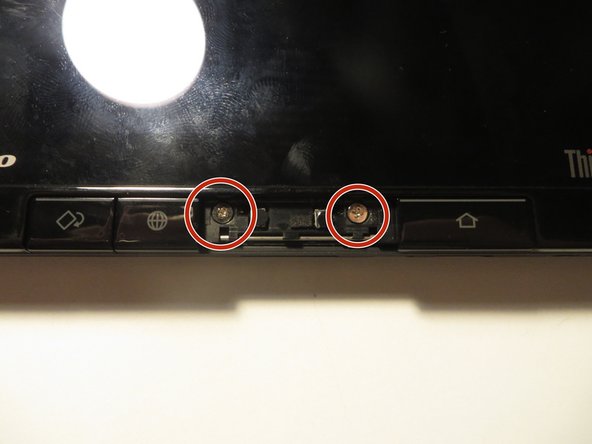
– Once you’ve taken out the buttons, go ahead and unscrew the two screws highlighted in the image. Easy does it!
Step 3

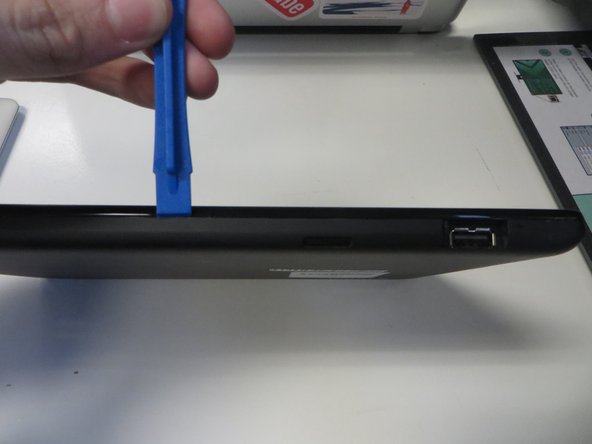
– Gently work your way around the tablet’s edge with a plastic opening tool to pop off the outer shell.
Step 4

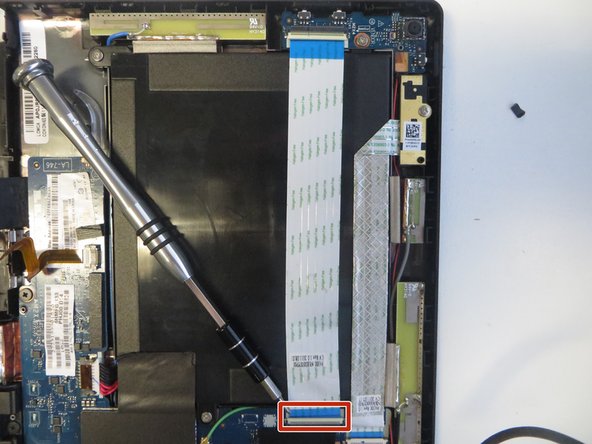
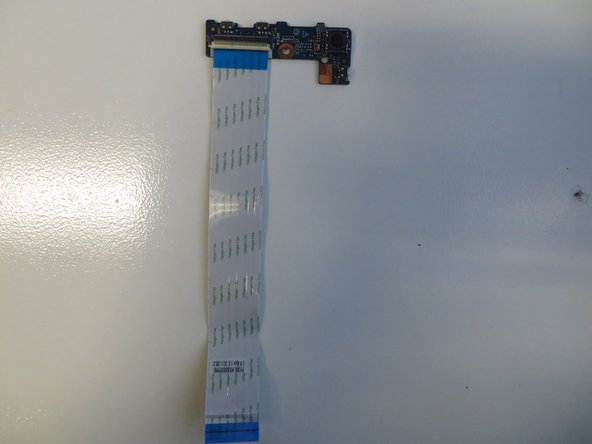
Only the back side of the cable has been disconnected—no need to worry about the other side, it’s all good to stay connected.
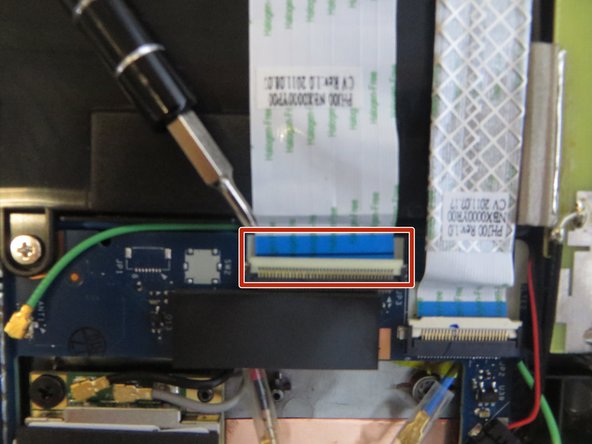
– Gently pry up the tab on the back and slide it out to release the ribbon cable. It’s like a little door – open it up and set that cable free!
Step 5


– Take out the screw you see highlighted, then gently lift the whole camera setup out of its spot.