JLab Pro-7 Speaker Replacement
Duration: 45 minutes
Steps: 9 Steps
In this guide, we’ll walk you through swapping out the JLab Pro-7 speaker to keep your device sounding sharp and working great.
Step 1

- Check out the tools listed up top in the tools section—they're your trusty sidekicks for this adventure.
- Grab your tablet, gather your tools, and let’s get ready to dive in and fix it up from the inside!
Step 2

- On the bottom of your tablet, you'll find two screws waiting to be unscrewed.
- One screw lives in the bottom left corner, while the other is chilling in the bottom right corner.
- Grab a small Phillips screwdriver, and with a steady hand, take out those screws. Just be careful not to strip them while you’re at it!
Step 3

- Alright, grab your trusty prying tool and gently start working around the back casing. Take it slow, no need to rush!
- The back casing can be a bit stubborn, so make sure the end of your prying tool is tucked just underneath the screen. This gives you the leverage you need to pop it off without too much effort.
- Just a heads-up: Be extra cautious when working along the edges of your device. Keep an eye on those volume and lock buttons — you don't want to snap them off! Also, try not to push your prying tool in too deep; you don’t want to accidentally mess with any delicate components inside.
Step 4

- Begin your journey by carefully making your way around the edge of the tablet to detach the back casing.
- Gently apply a little pressure around the edges until you hear that satisfying pop sound.
- Continue your adventure in a clockwise or counterclockwise direction until the back is completely off.
Step 5

- And there you go, the back is off and ready for action!
- Take a moment to give your tablet a good once-over for any mishaps that might’ve happened while popping off that back panel.
- If you find any loose parts or notice something looks a bit off, don’t sweat it! Check out our guides for some helpful tips, or if you’re feeling stuck, just schedule a repair!
Step 6

- Carefully pop off the tablet’s cover by following the steps in the prerequisite guide. Let’s get that device open!
Step 7

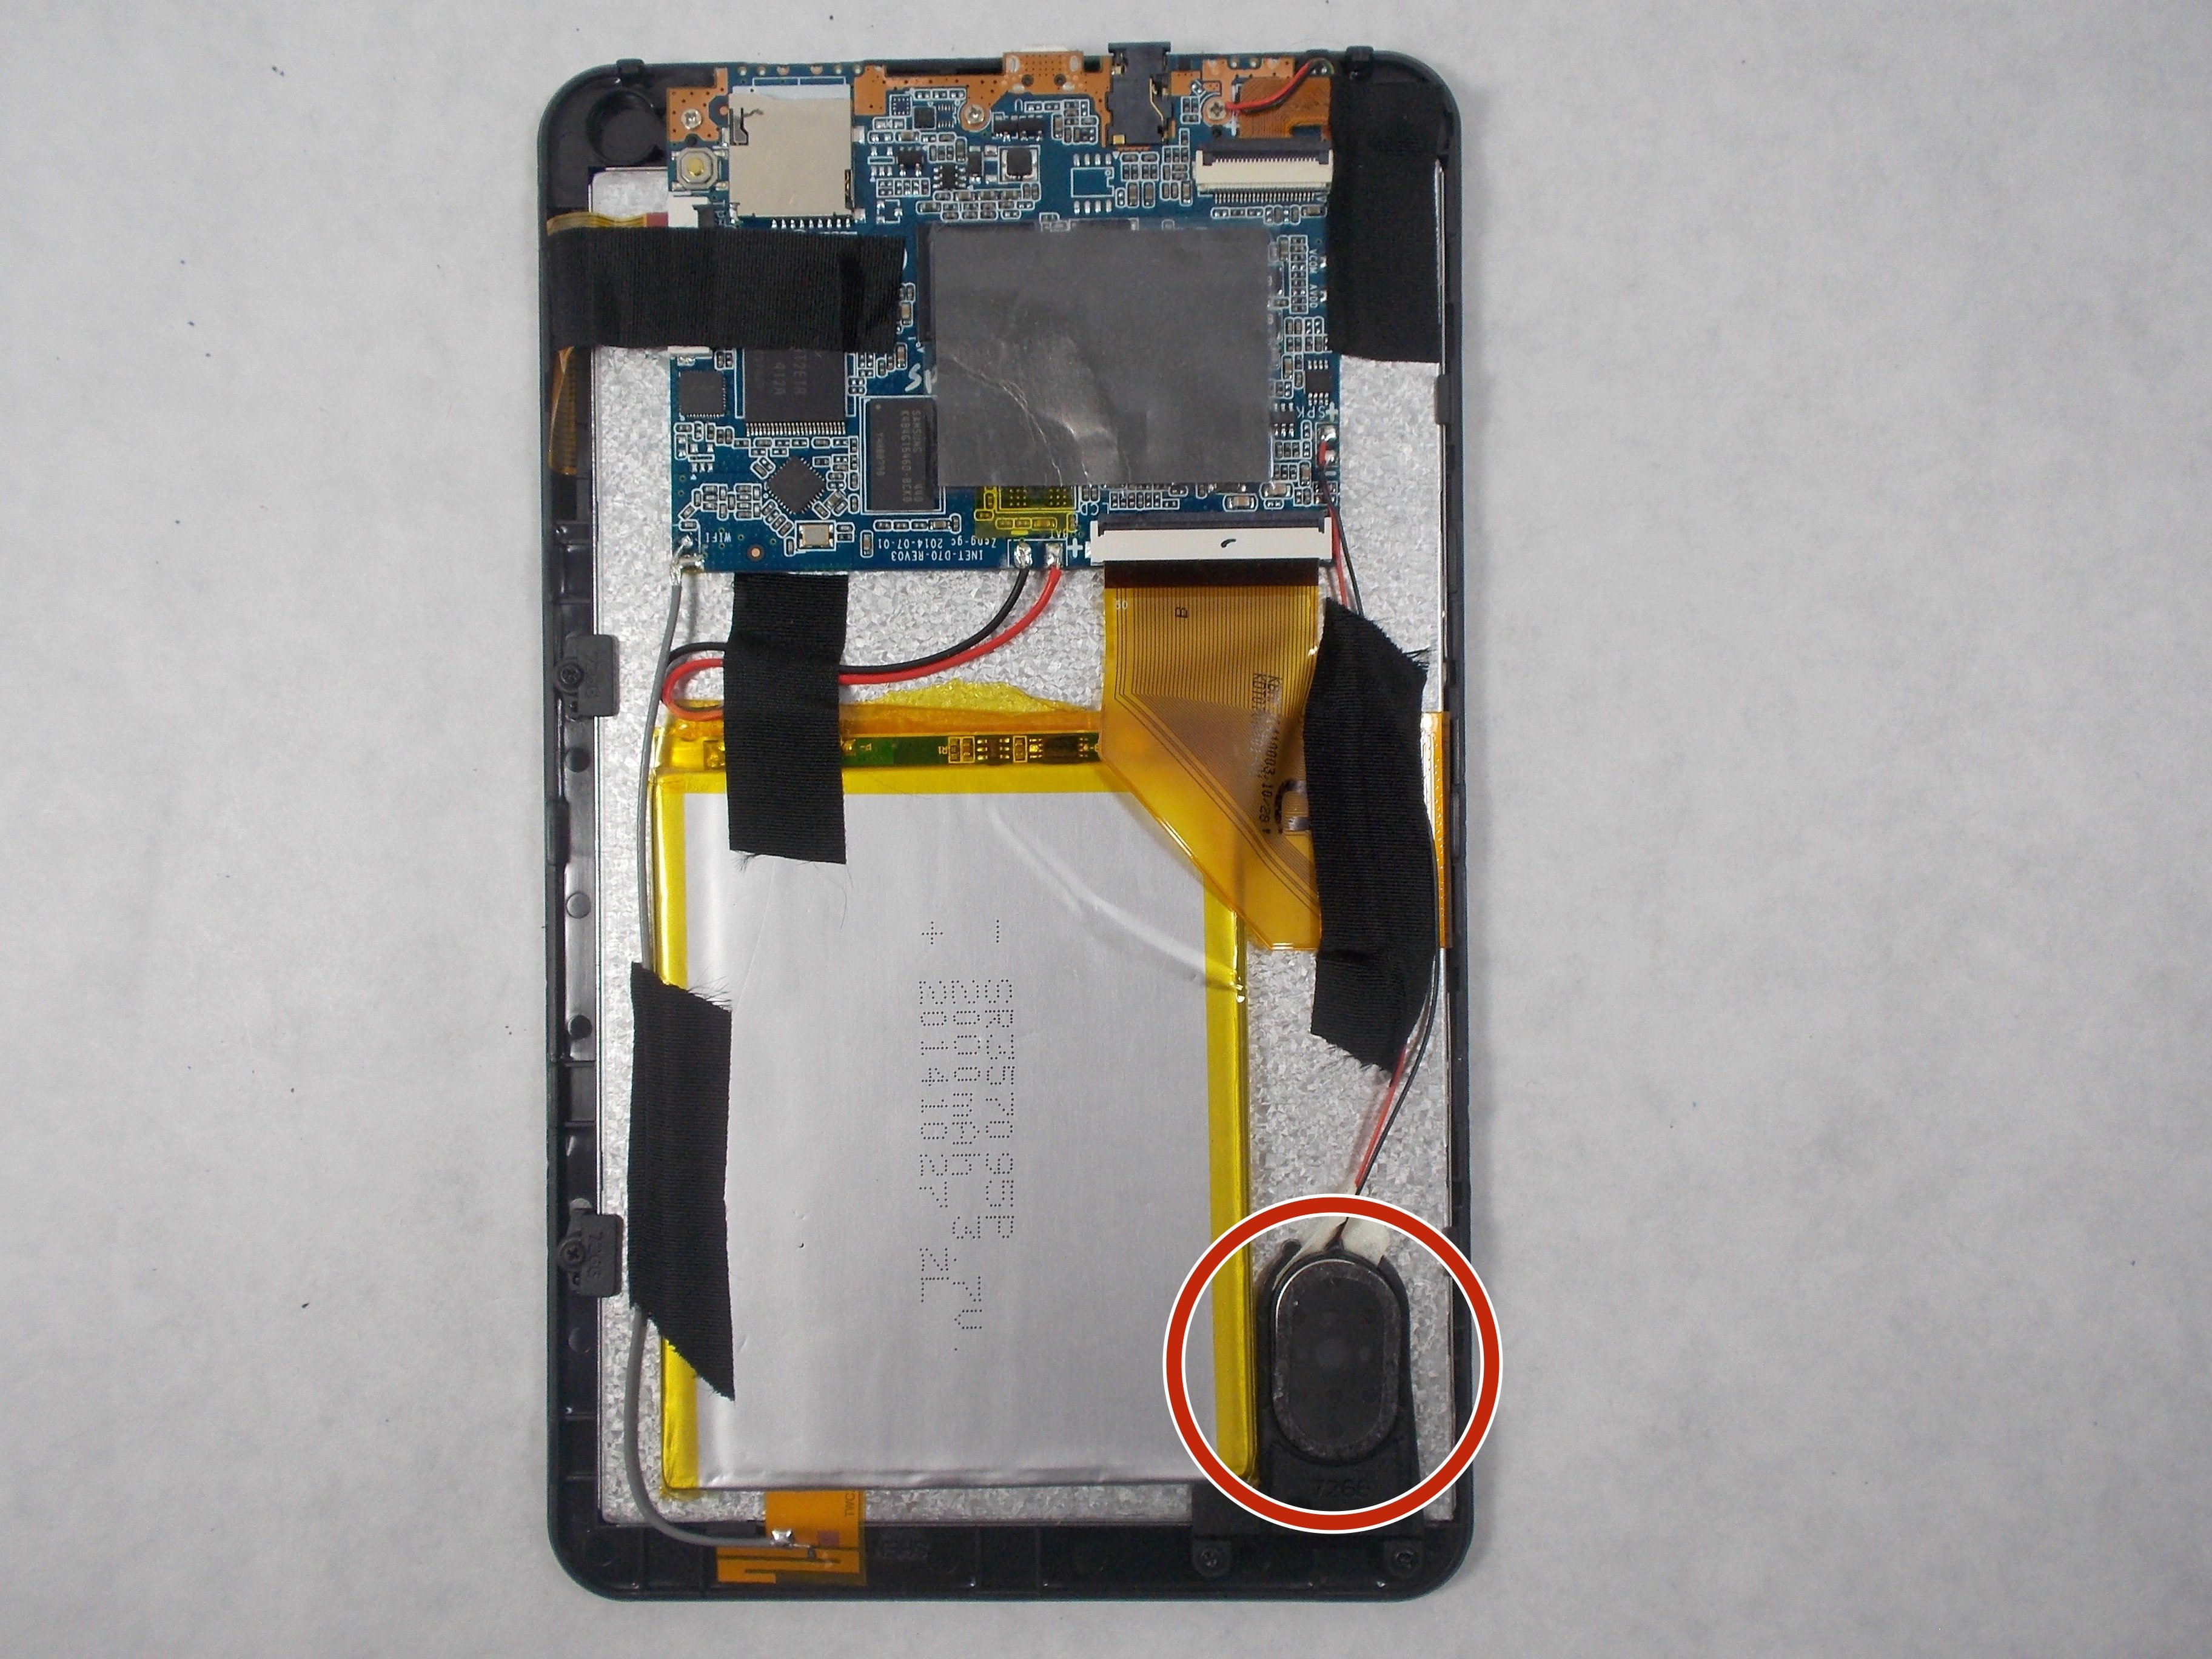
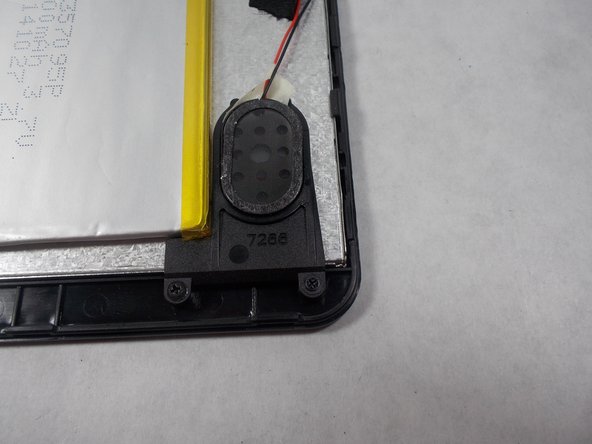
- The speaker, nestled in the bottom right corner, is held in place by a tiny magnet—how neat is that? Just give it a gentle lift, and voilà! The speaker will pop right out of its snug little home.
Step 8

Handle the motherboard power ribbon cable with care—it's a delicate little thing that likes to stay in one piece!
- The speaker's connecting wires are held snugly in place with a bit of trusty thermal tape. It's like a warm hug for your wires!
- Gently peel away the black thermal tape from the back of the tablet. This will let the connecting wire stretch its legs and move around freely.
Step 9

Dive into this fantastic guide packed with tips for soldering and desoldering. You'll be a pro in no time!
- Grab that soldering iron and gently desolder those connecting wires from the contact points like a pro!
- Now, with care and precision, take those wires off the motherboard and set them aside.
