
Nabi 2S Speakers Replacement
Duration: 45 minutes
Steps: 8 Steps
Get ready to dive into the world of sound! This guide will help you tackle the task of removing your device's speakers, perfect for when those tunes just aren't hitting the right note. Let’s make those speaker swaps a breeze!
Step 1

- Take off the snazzy red rubber case from your device. It's time to give it a little breathing room!
Step 2


- First things first, let’s make sure the screen is looking away from you, while the back cover is facing you like a loyal friend.
- Grab your trusty Phillips #0 Screwdriver and get ready to unscrew those 3mm screws! Turn them counter-clockwise in each corner of the plastic back cover. You’ll be tackling a total of four screws. No need to worry about the smaller case on the back cover; it’s snugly attached to the main cover and doesn’t want to leave the party!
Tools Used

Step 3

Taking the case off might take a bit of muscle, so get ready to channel your inner superhero. Using both hands definitely helps, and starting at the corners to gently pry things loose is the way to go.
- Grab the plastic opening tool and gently pry open the case to reveal what's inside.
Step 4

- Once the back case is loosened, carefully lift it off to get to the battery for replacement or inspection.
Step 5
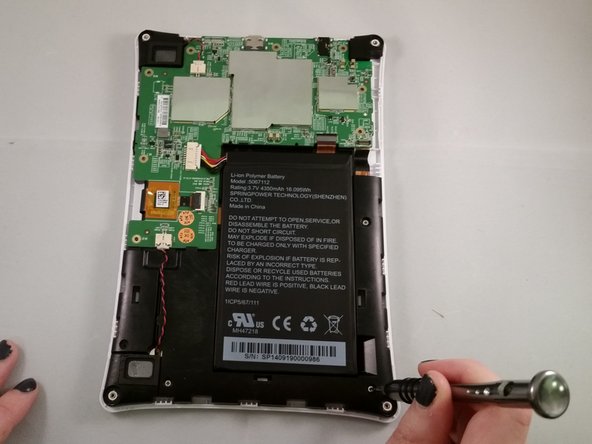

- Grab your trusty Phillips #0 screwdriver and get ready to tackle those screws! Spin them out in a clockwise direction to free the circuit board from the motherboard. You've got this!
Tools Used
Step 6

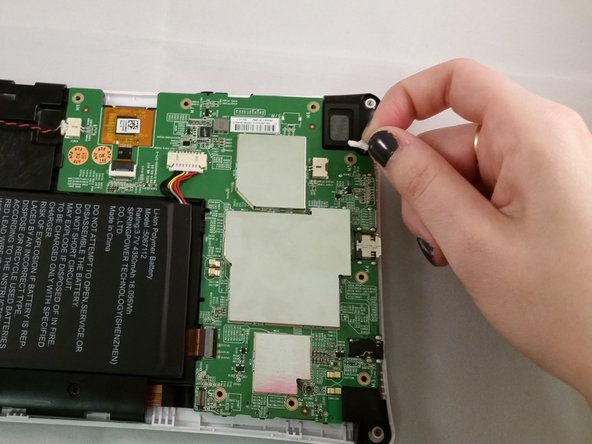
- Alright, let's get those speakers free! First, find the wires connecting the right speaker to the circuit. Grab onto that circuit like you're holding onto a winning lottery ticket.
- Now, gently slide those wires off the circuit to release the speakers. It's like unwrapping a gift—just a little bit of finesse and you'll have them out in no time!
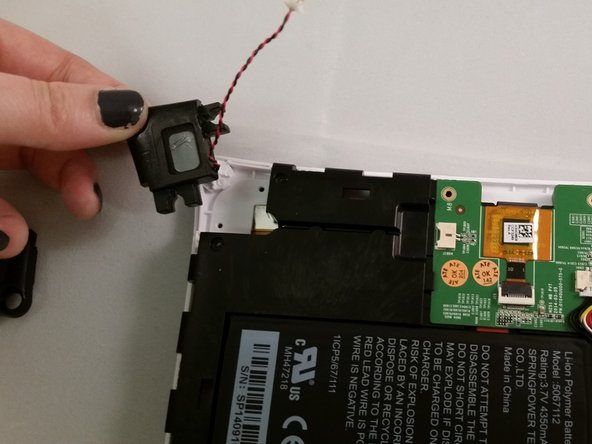
Step 7

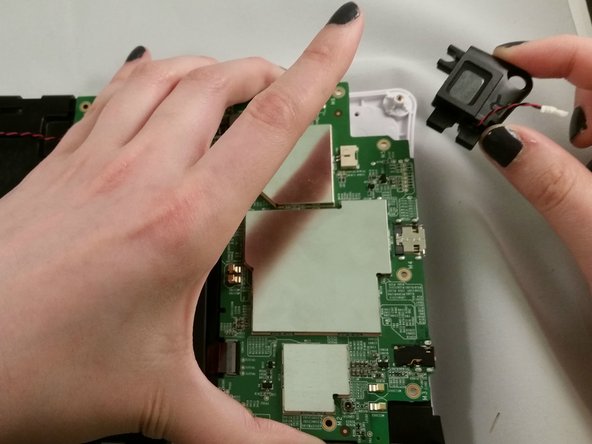
- Carefully lift the circuit board to get a better angle for taking out the speaker.
- Use your fingers to grab the speaker and gently pull it away from the plastic frame.
Step 8

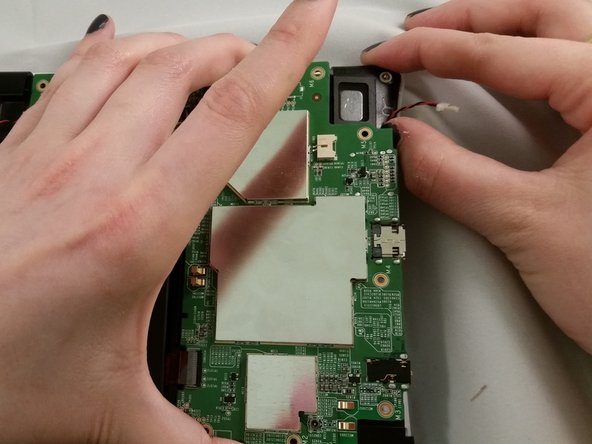
The circuit board should still be wiggly enough to let you pop out the speaker with ease.
- Now that you've tackled the disassembly, it's time to put everything back together! Just retrace your steps in reverse, and before you know it, your device will be as good as new. And remember, if you hit a snag or need an extra hand, you can always schedule a repair.