
Sprout Channel Cubby Digitizer Replacement
Duration: 45 minutes
Steps: 9 Steps
If your screen is cracked but still shows video, it’s time to swap out the digitizer (that’s the cover glass). Both the screen and digitizer are super delicate, so handle them with extra care to avoid any further mishaps.
Step 1


Starting at the corners makes the whole process way smoother.
- Grab an opening tool and carefully press in to pop loose the sixteen tiny plastic clips hugging the case edges. As each clip lets go, gently work your way around, easing the case apart bit by bit.
Step 2

- After opening, gently peel back the black electrical tape wrapped around the digitizer—think of it like carefully unwrapping a tiny tech present!
Step 3

- Carefully lift the white plastic clasp to release the electrical strip—easy does it!
Step 4

- Loosen and remove the five screws that are holding the motherboard in place.
Step 5

- Now that you've successfully removed all five screws, it's time to gently lift the motherboard. You've got this!
Step 6

You can do this with the battery still connected, but it’s a bit smoother if you unplug it first.
- Time to unscrew! Go ahead and take out those last four screws like a pro.
Step 7

Removing the screen can be a delicate operation, so take your time and stay patient. A nylon spudger is your best buddy for this task, helping you get the job done safely.
- Take off that metal sheet hiding the screen and digitizer. You've got this!
Tools Used

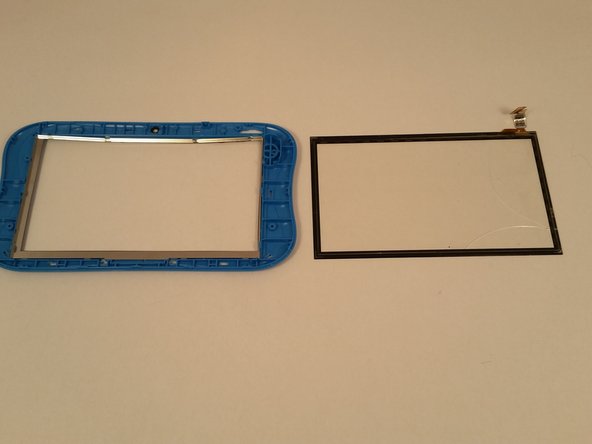
Step 8
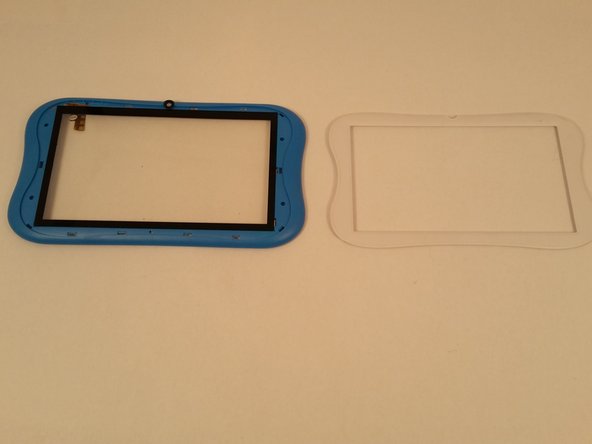

- Take a moment to locate all the little white pegs hugging the edge of the plastic. You'll want to pop them all out so you can free that white front face. Let's get to it!
Step 9

- To put your device back together, just follow these steps in reverse order and you'll be good to go!