Lenovo Tab S8 Camera Replacement
Duration: 45 minutes
Steps: 4 Steps
This guide is all about swapping out that camera. While digital cameras might seem like intricate little gadgets, replacing one is surprisingly straightforward. Follow these steps, and you’ll have your device snapping crisp photos again in no time!
Step 1


Watch out for those tiny volume and power buttons while prying the case with the spudger. They’re hanging on by fragile little bits of plastic, so handle them like you’re diffusing a bomb—steady and gentle!
Make sure the device is totally shut down and catching some Z’s before diving in.
– Let’s get this repair started! Begin by carefully inserting a spudger into one of the bottom corners, where the screen meets the body case. Easy does it!
– Now, gently slide the spudger along the inside of the crack to pry the case open. Take your time and work your way around – you got this!
Tools Used

Step 2


Using a screwdriver bit that doesn’t quite match the screw could strip it and make it a real headache. Make sure you’re using the right size, or you might end up with a screw that’s too far gone to save.
– Once you’ve popped off the cover, grab your JIS J000 screwdriver and take out that M1.6 x 2 mm screw holding the battery cable in place. You’ve got this!
– Now, let’s tackle that tape. Use your trusty spudger to gently lift the edges and peel it away. Easy peasy!
Tools Used
Step 3


Hey there! Before you dive into battery removal, remember to disconnect those ribbon cables hiding underneath. They can get a bit clingy and stick to the battery, which could lead to some unwanted damage. Stay smart and careful!
There might be some sticky glue keeping the battery snug in its spot. Gently use the spudger to break free any glue while you’re lifting the battery with the card.
– Lift those tiny ZIF connector flaps like you’re opening a treasure chest—just gently, though! That’s how you disconnect the cables.
– Grab your trusty plastic card and finesse that battery out like a pro. Slow and steady wins this race!
Tools Used
Step 4
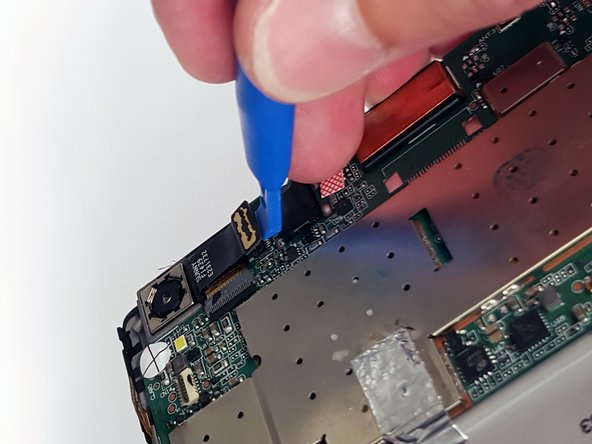

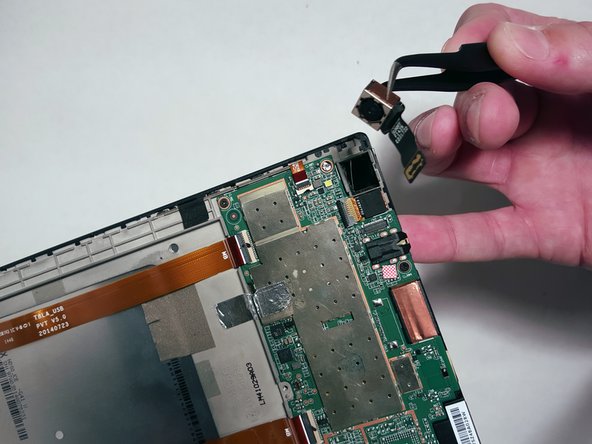
The camera might be snugly held in place with some rubber foam. Go easy on it and avoid putting too much pressure—you’ve got this!
– To put everything back together, just work your way through these steps in reverse – easy peasy!
– You’re done! If you need help with another repair or have any questions, you can always schedule a repair
