Lenovo Tab 4 8 Front Camera Replacement
Duration: 45 minutes
Steps: 5 Steps
Get ready to give your Lenovo Tab 4 8 (4th gen, 8 inches) a brand new lease on life by replacing that front camera. Whether it’s damaged or just not working like it used to, this step-by-step guide from Salvation Repair will walk you through the process. With a steady hand and some patience, you’ll be snapping selfies like a pro in no time. Just remember to handle the internal hardware with care, and make sure all connections are secure when installing the new camera. If you’re not feeling confident, don’t worry – we’ve got you covered. If you need help, you can always schedule a repair.
Step 1


– Begin with the microSD slot, your starting point for the adventure.
– Grab your trusty opening pick and gently slip it under the back cover of the tablet.
– Now, slowly and carefully, work your way around the tablet with the pick until the back cover comes off smoothly.
Step 2


– Grab your trusty Phillips #000 screwdriver (the small one!) and take out the 8 screws. Be careful not to lose them!
– Peel off the tape that’s keeping the plate in place. It’s a little sticky, but nothing you can’t handle.
– Use some precision tweezers or your fingers to carefully lift the plate off. Take your time—no rush!
– There’s a sneaky screw hiding under that blue ‘s’ sticker. Gently peel it back and unscrew it.
Tools Used


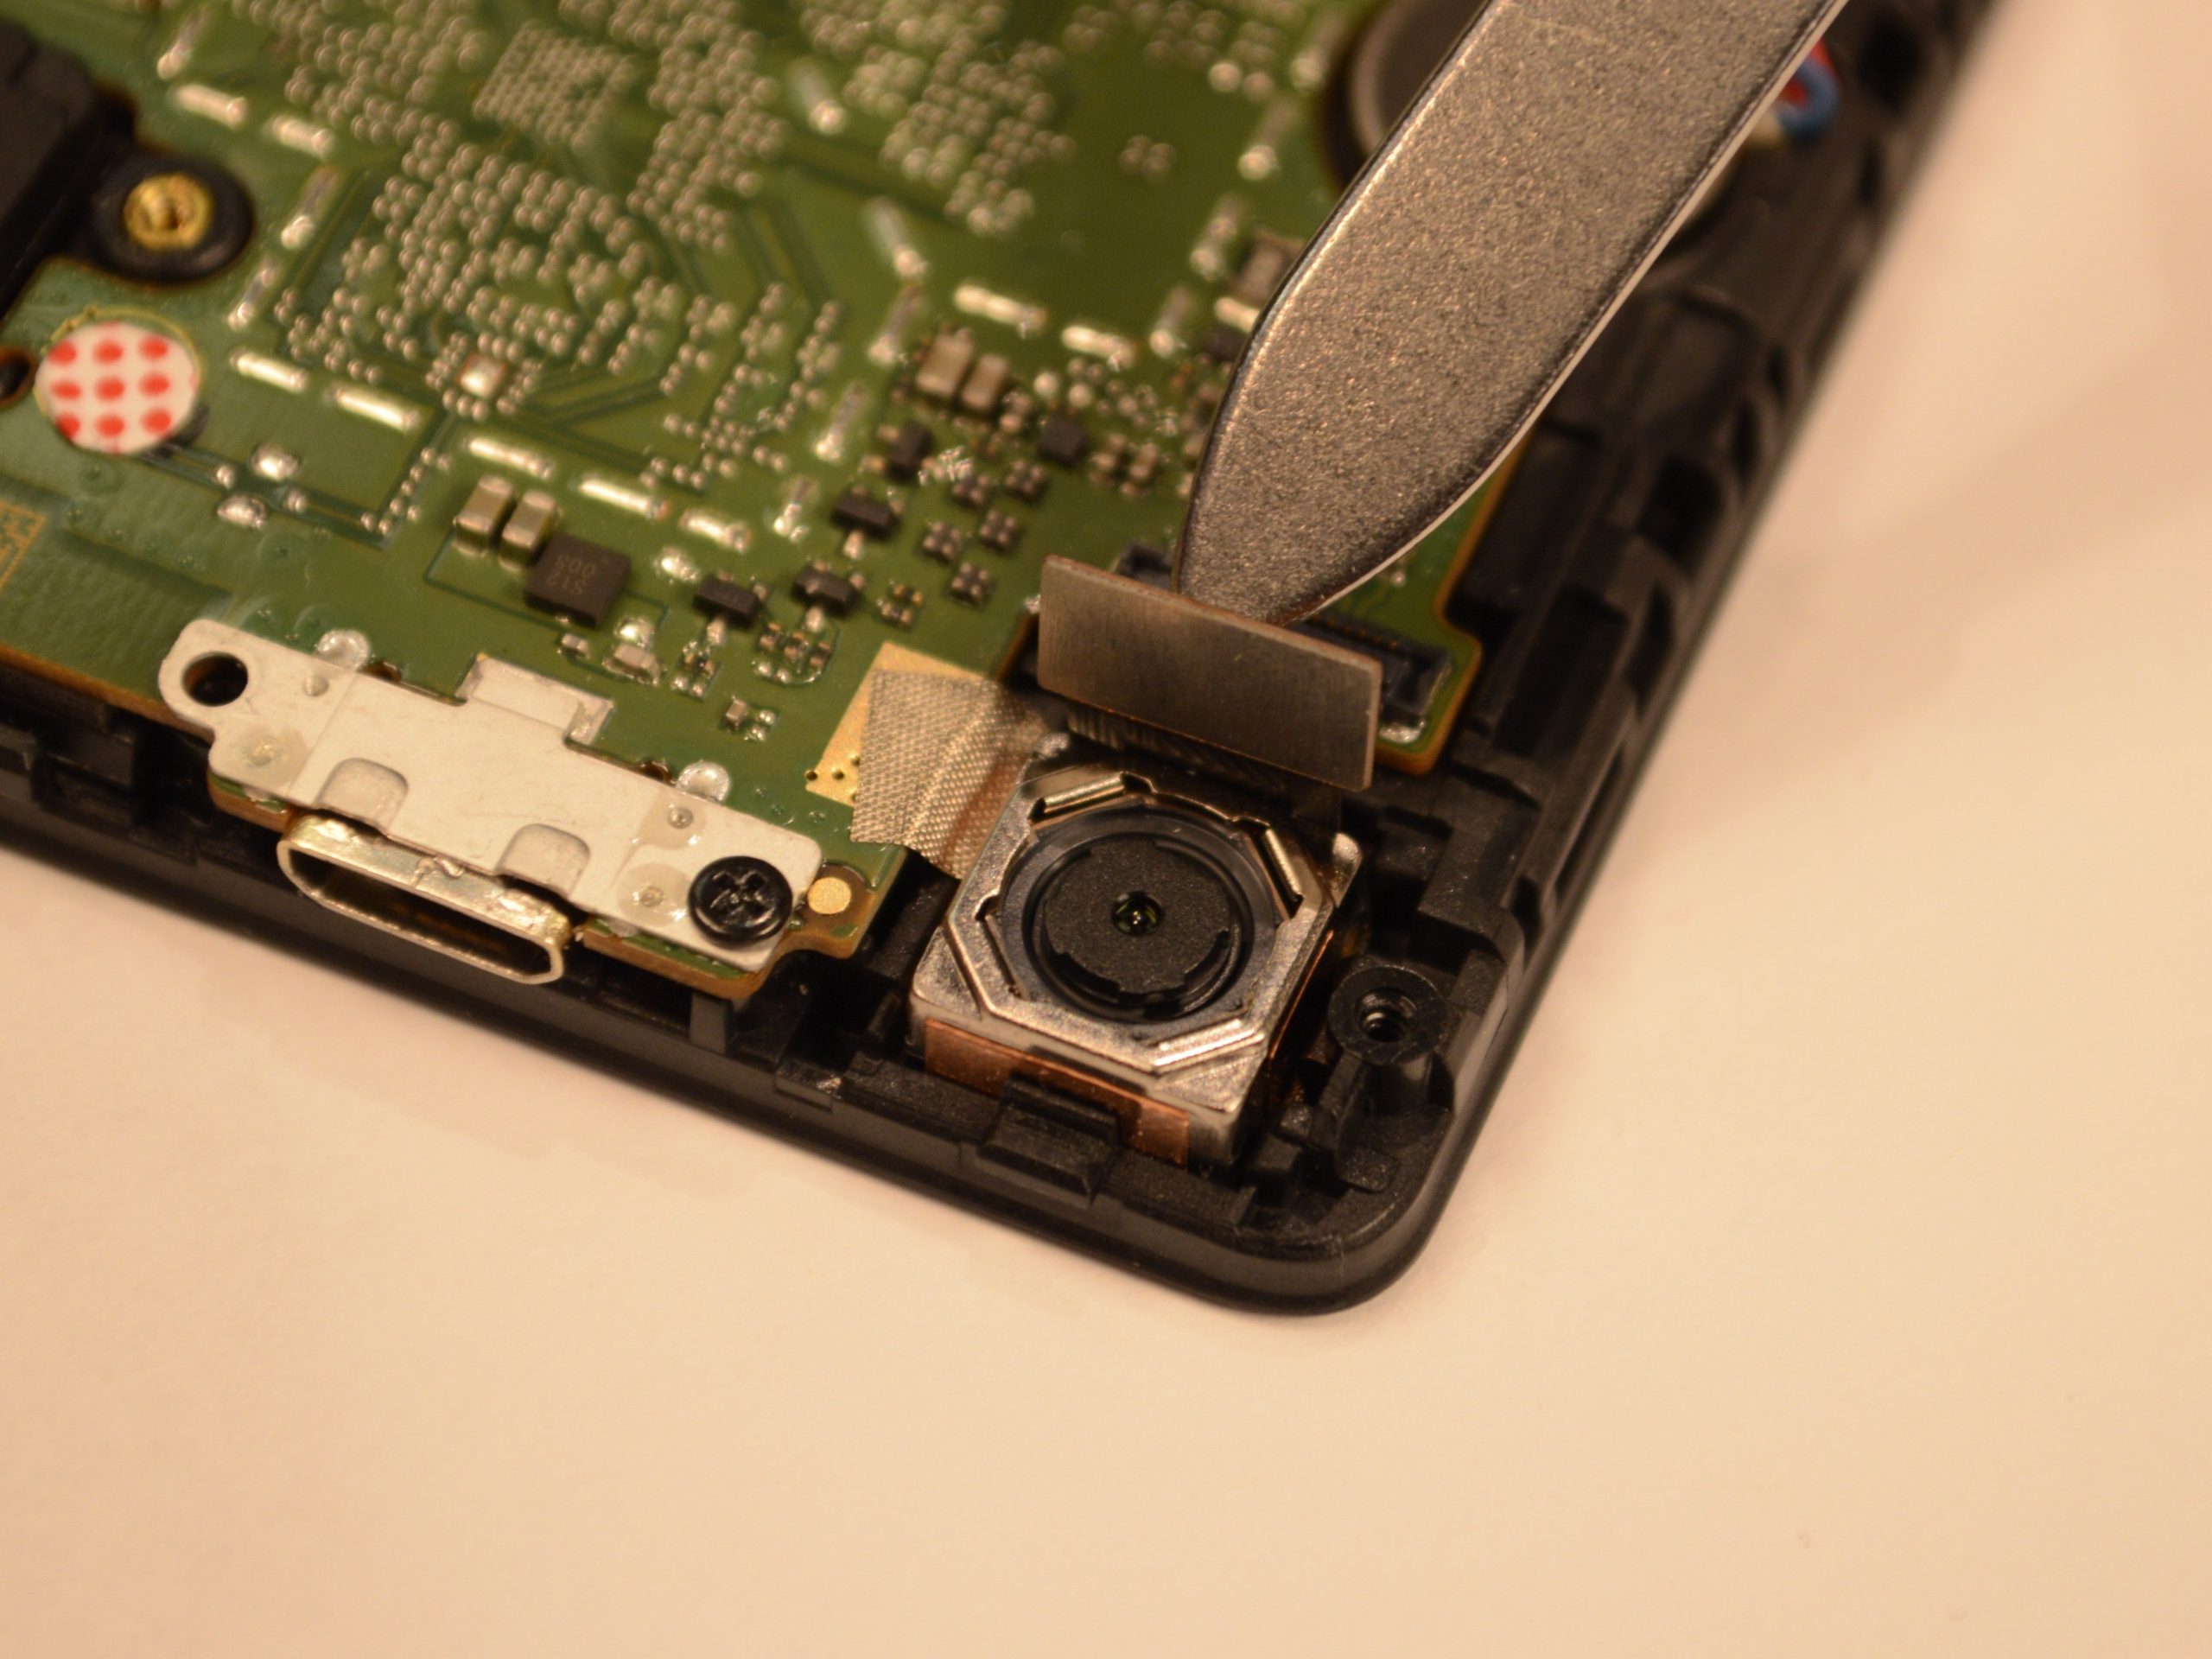
Step 3


– Peel away that pesky yellow tape.
– Grab your trusty spudger or a plastic opening tool to gently detach the battery’s ribbon cable from the motherboard.
Tools Used

Step 4


Keep that battery safe and sound! No bending or poking, please.
– Time to get that battery out! Gently tug on the two stretch release adhesive strips – remember to pull them away from the battery, not up.
– Once you’ve removed the tabs, carefully lift the battery up from the frame. You’re making great progress!
Step 5


– Ready to bring your device back to life? Just follow these steps in reverse and you’re good to go! If you need help, you can always schedule a repair.
–