Lenovo Tab 4 TB-8504F Battery Replacement
Duration: 45 minutes
Steps: 4 Steps
Step 1


– Kick things off at the microSD slot.
– Grab your trusty opening pick and gently ease it underneath the tablet’s back cover.
– Carefully slide that pick around the tablet until you’ve successfully freed the back cover.
Step 2


– Grab your Phillips #000 screwdriver and take out the 8 screws holding things together.
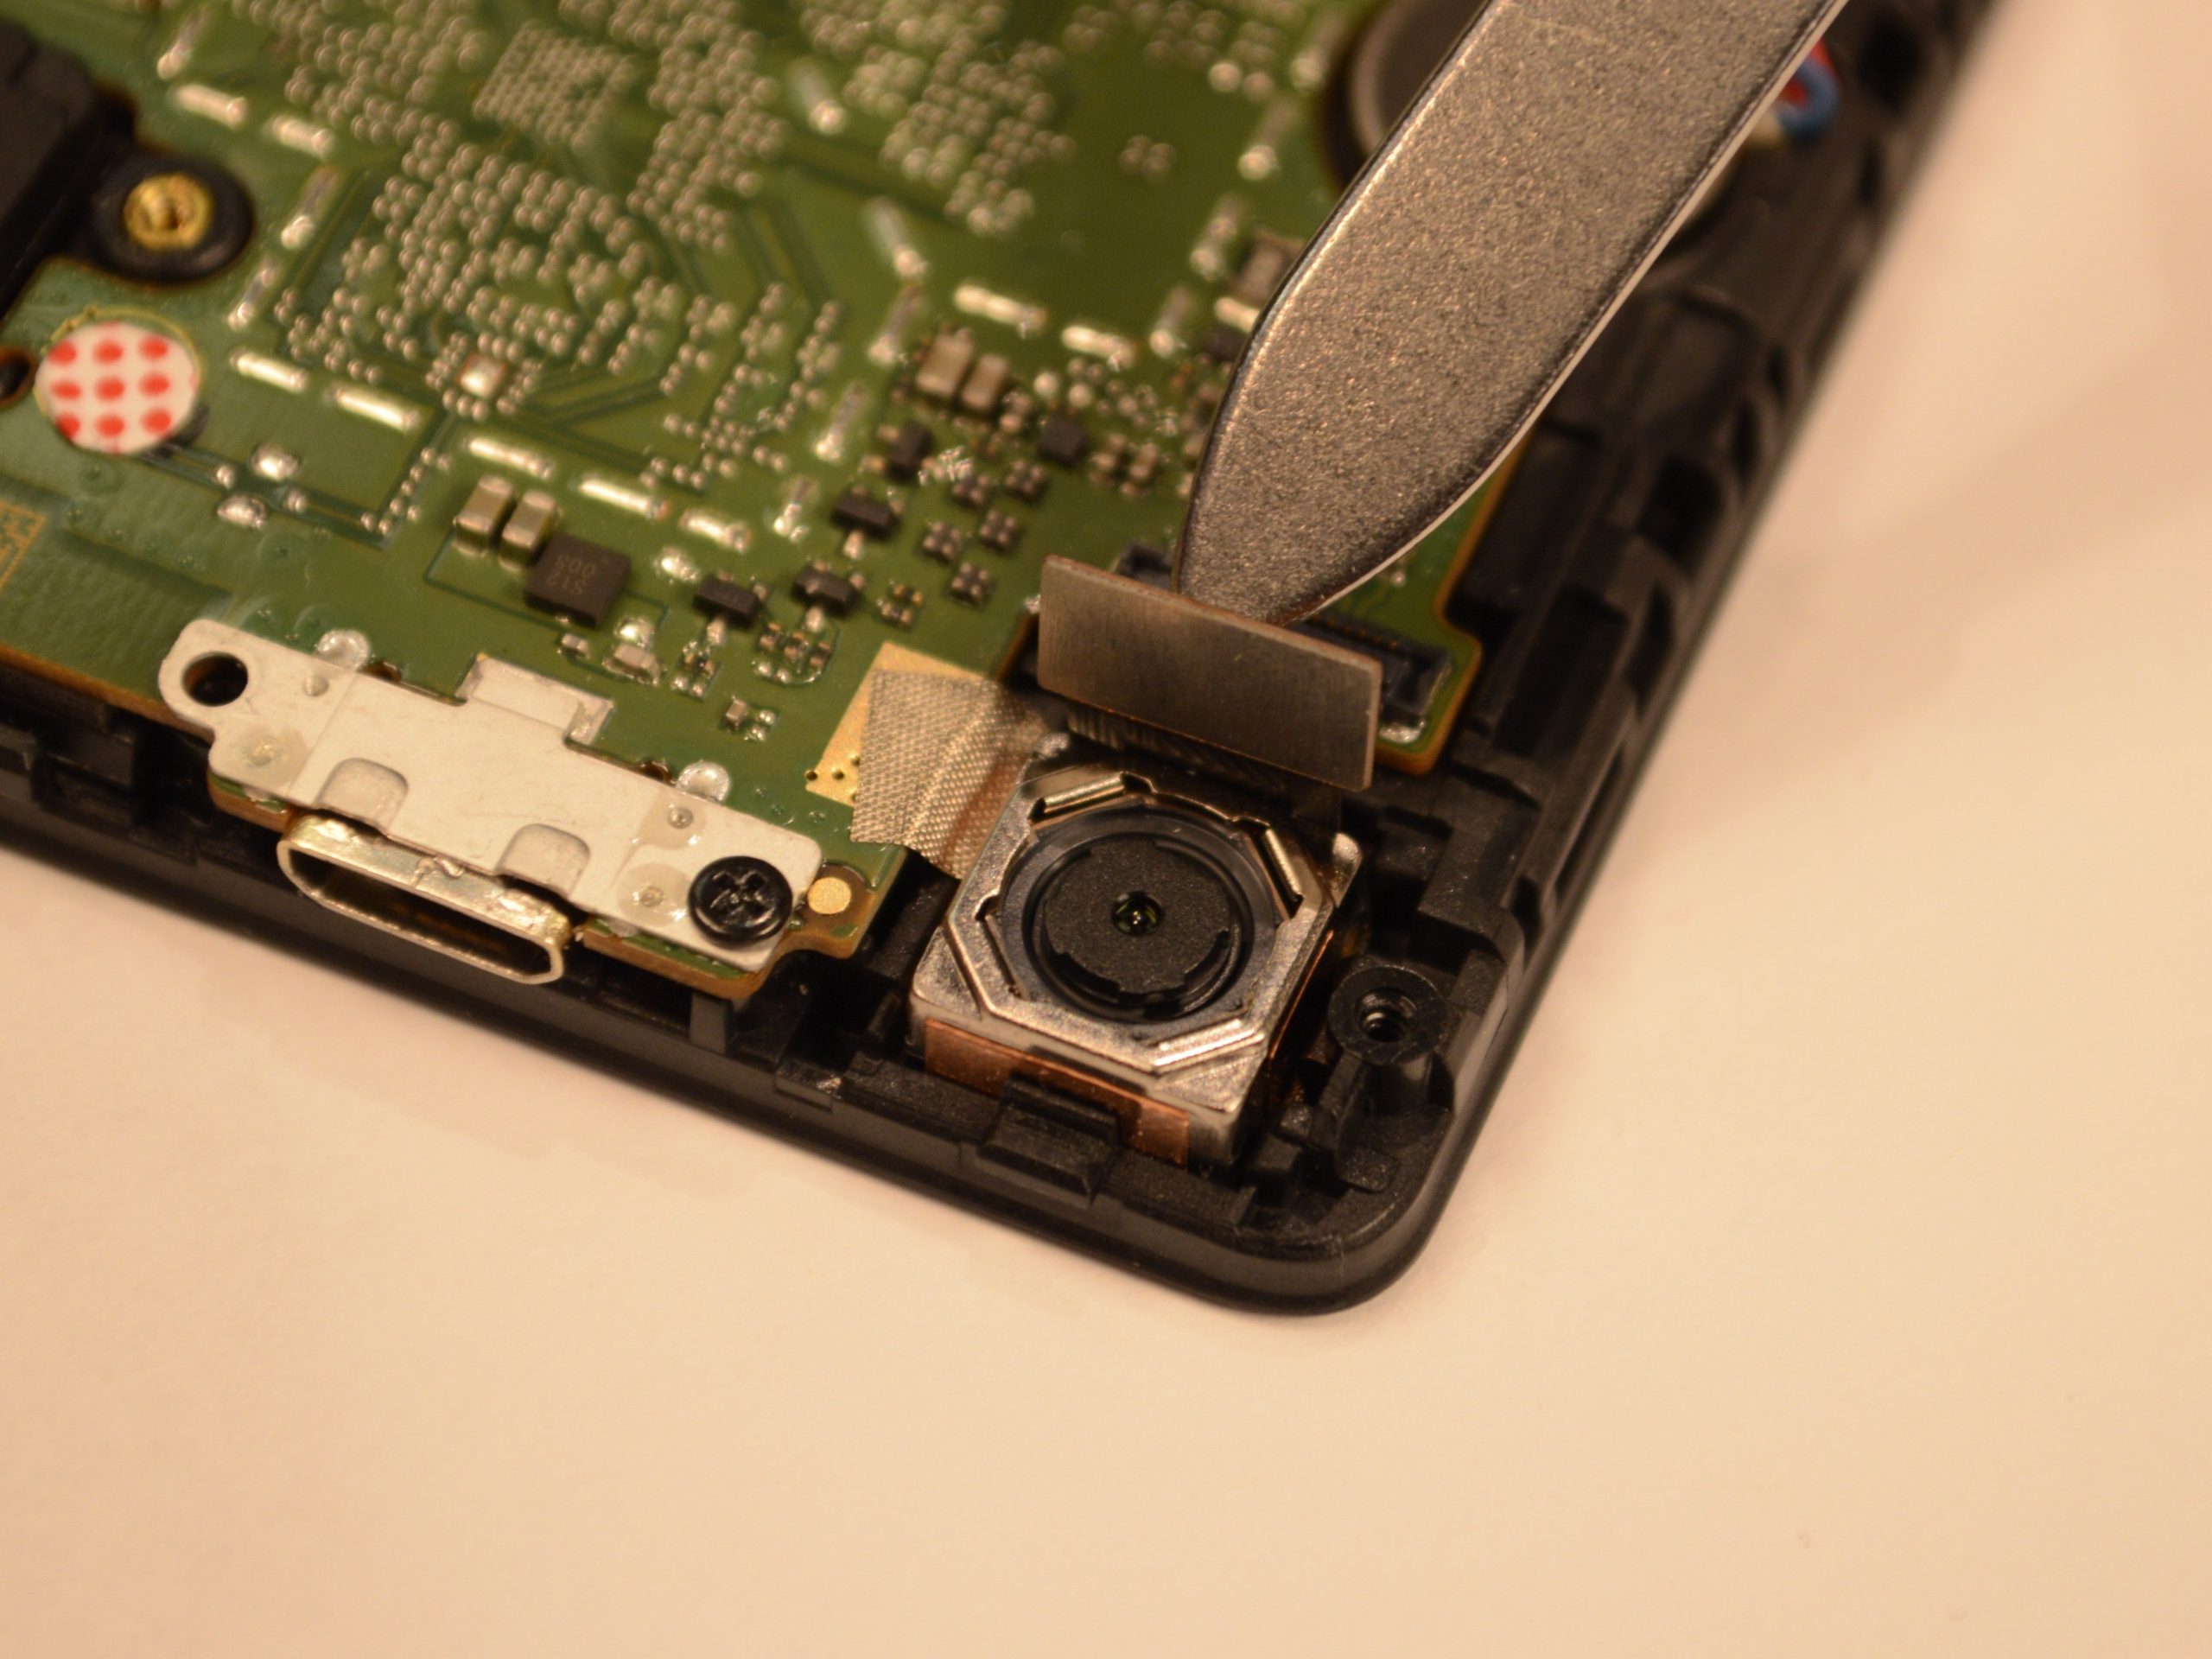
– Peel off the tape that’s keeping the plate in place.
– Use some precision tweezers (or just your fingers, if that’s your style) to lift the plate off.
– Don’t forget: there’s a sneaky screw hiding under the blue ‘s’ sticker.
Tools Used

Step 3


– Peel off that yellow tape like you’re unwrapping a present.
– Gently use a spudger or plastic opening tool to detach the battery’s ribbon cable from the motherboard. It’s like untying a knot—easy does it!
Tools Used

Step 4


Handle that battery with care – no bending or poking allowed!
– Carefully pull the two adhesive strips straight out—keep them low and slow, no upward yanking.
– Once those tabs are free, lift the battery out of the frame like a pro.