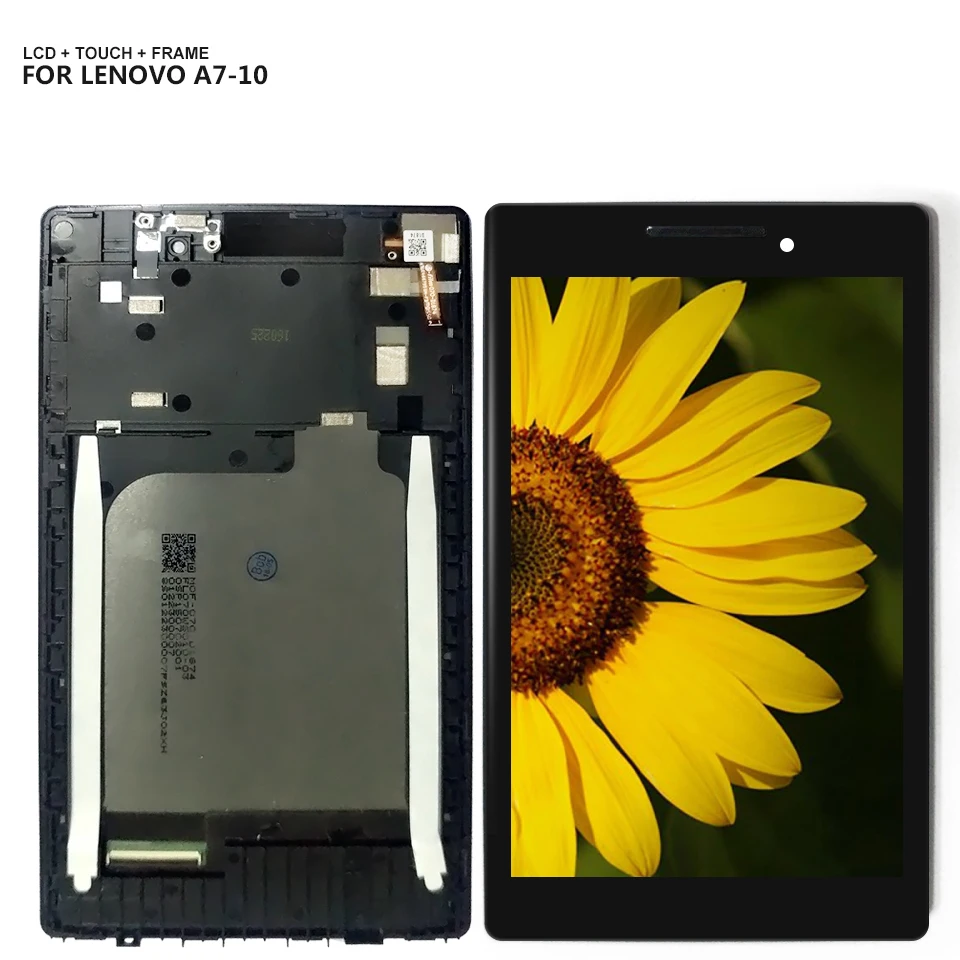
Lenovo Tab 2 A7-20F LCD Screen Replacement
Duration: 45 minutes
Steps: 12 Steps
Without a heat gun, this step requires extra care, as loosening the adhesive connecting the screen to the case becomes much trickier without that handy heat blast.
Step 1


– Let’s get this case open! Start at any point along the seam and carefully pry it open with your trusty metal spudger. Work your way around the outside, taking your time, until the case comes apart. Don’t worry, it’s easier than it sounds!
Tools Used


Step 2


Check out that skinny wire! That’s your battery’s lifeline to the motherboard.
– Gently peel back the yellow tape to reveal the connector beneath.
Step 3

– Carefully release the connector from the motherboard by giving it a gentle tug upwards.
Step 4


Inside the case, you’ll find some handy double-sided tape.
– Time to get this repair started! Use your trusty spudger tool to gently pry the adhesive away from the double-sided tape – it’s like a special key to unlock the battery’s hiding spot.
– Now that the adhesive is loosened, carefully separate the battery from the case. You’re making great progress!
Tools Used
Step 5


Make sure to grab those plastic tools first before diving into the metal ones! They’re your best buddies when it comes to avoiding any motherboard mishaps.
– Grab a plastic opening tool or a pair of tweezers and carefully lift off any tape that’s holding things together.
– Next up, unplug the connectors. Just lift the clip that’s securing them and they should come right out. Easy peasy!
Step 6


Tiny screws, big vibes—be careful not to lose them! The black strip at the top of the motherboard is the speaker, and since it’s magnetic, it’s a handy spot to stash your screws while you work.
– Use your Phillips #00 Screwdriver bit to remove the three 2.0mm screws. Nice and easy, just take your time and keep track of those little guys. They’re tiny but important!
Tools Used

Step 7


Carefully lift those wires and their buddies from the cozy little homes at the base of the case using tweezers. You’ve got this!
You’ll find two twisted pairs of wires hanging out on the left and right sides of the case, ready to be tamed.
– Grab a plastic opening tool or a trusty pair of tweezers and carefully lift those twisted pairs free from their little retaining tabs. No wrestling necessary—just a steady hand and a little finesse!
Tools Used

Step 8


Almost there! Now, take a moment to remove one last piece. It’s the strip on the side of the motherboard, the one that handles volume and power input. A quick but important step before moving on!
– Carefully lift the motherboard starting from the right side, and when you’re ready, gently pull it up from the case to remove the final strip.
– Once that’s done, take out the motherboard completely from the back panel.
Step 9


The camera lens can be found at the top left corner of the back panel. Easy to spot, right?
– Grab your plastic opening tool and gently pry up the camera lens, starting from the left side where the gap gives you some wiggle room.
– Peel off that metal tape connecting the camera lens to the panel—it’s the last thing standing between you and freeing that lens!
Step 10


Hey there! Just a heads-up: the digitizer is pretty close to the adhesive, so if you’re not swapping that out, be super careful not to scratch the screen while using the spudger.
And here’s a little tip: beneath the top section where the Lenovo logo hangs out, there’s a sneaky copper strip with adhesive on both sides. You’ll have the best luck getting under that strip if you start from the bottom and work your way up.
In the next step, you’ll get a peek at the copper strip—you’re on a roll!
– Grab your heat gun and get ready to work some magic. Warm up the adhesive around the screen’s perimeter—the solid black section—until it’s willing to let go.
– Now, take your spudger tools and gently slide them under the screen. Patience is key here! Work your way around slowly, coaxing the screen away from the case without rushing it.

Step 11


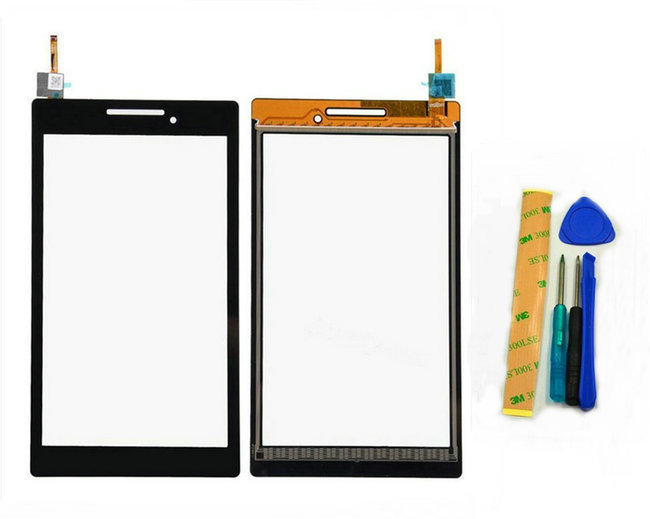
Check out the first photo—it highlights the strip running along the top edge of the screen.
– Now you should have a good view of the screen, which has been carefully separated from the case – the digitizer has already been removed, as shown in the second photo.
Step 12


– Alright, you’re in the home stretch! There’s still a bit of silver tape stubbornly hanging onto the digitizer.
– Peel off these last few pieces, and just like that, the digitizer should slide right out of the case—no drama, no fuss!