Lenovo Miix 2 Motherboard Replacement
Duration: 45 minutes
Steps: 11 Steps
Once you’ve popped off the back case and taken out the battery, you’ll find that the motherboard slides out of the Miix 2 with ease. It’s almost like it was waiting for you to give it a little nudge. No sweat!
Step 1


Give it a good nudge, but be gentle! You want to avoid any mishaps with the clasps or the delicate internals inside. You’ve got this!
– Pop off the back cover of your tablet like a pro—grab a nylon or metal spudger and slip it into the tiny gap between the screen and rear cover near the volume button. Glide the tool smoothly around the edge of the tablet to unhook those internal clasps, and voilà!
Tools Used


Step 2


– Take out those six 3mm screws hanging around the battery dock using your trusty Phillips #0 screwdriver. Simple as that!
Step 3
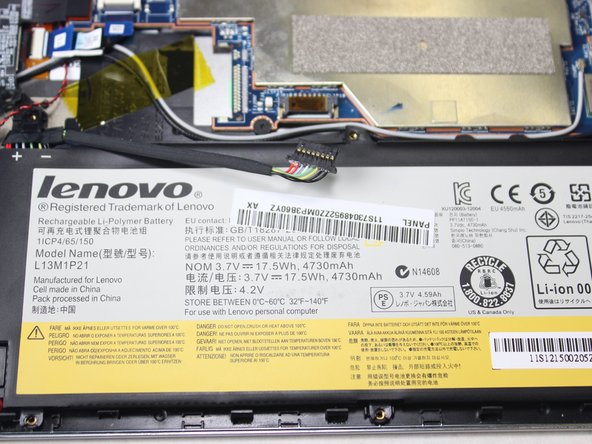

– Take your plastic spudger and gently nudge each side of the battery connector back and forth a few times until it slides out of its spot on the motherboard. Slow and steady wins the race!
Tools Used
Step 4


– Gently lift the battery out using your fingers or a plastic tool. Take your time—there’s no rush!
Step 5
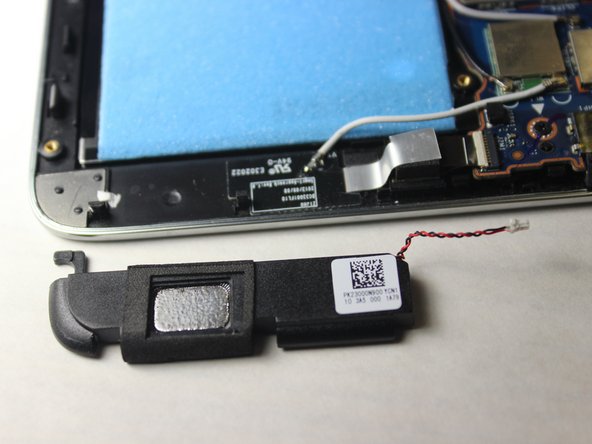

To take out the speakers, give them a gentle nudge to the left until they budge, then lift them straight up.
– Time to get disconnected! Use your trusty tweezers to gently pull the red and black connector cable away from the motherboard. Just give it a light tug to the left and it should come loose without a fuss.
Tools Used

Step 6

– Find the LCD cable connector and use a spudger to gently pop it straight up—nice and easy does it!
Tools Used
Step 7

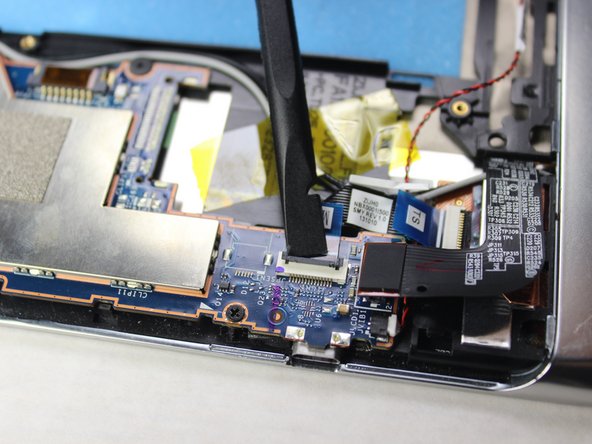

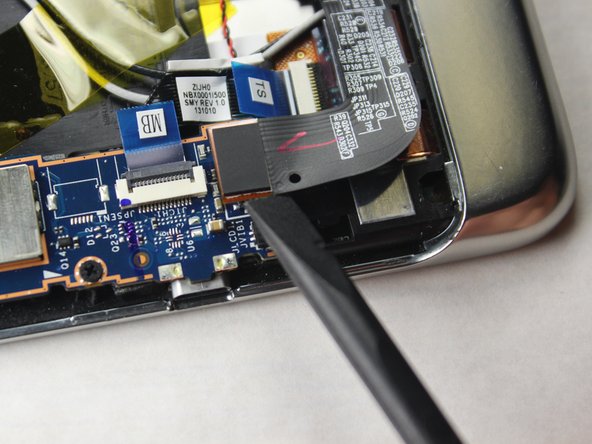
Gently lift the hinge, and the ribbon cable should slide out effortlessly—no tugging needed.
Flaps and connectors can sport different colors, so keep an eye out for the variations.
– Time to detach those 5 ribbon cables! Grab your spudger and gently lift up the retaining flap, making sure to pull from the hinge and not the connector itself. Once you’ve got that flap up, carefully remove the cable from the connector. You’re doing great!
Tools Used
Step 8

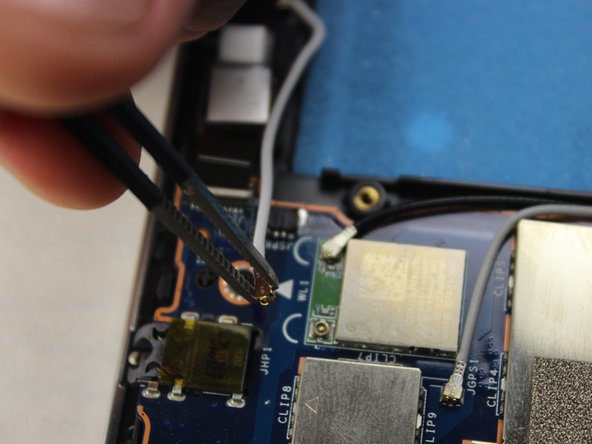
The trick to this step is to pull up and twist it a bit – it’s a bit of a wiggle, but it works like a charm!
– Grab your tweezers and gently lift each of the three antenna cables straight up—no sudden moves! Slow and steady wins the repair race.
Tools Used
Step 9

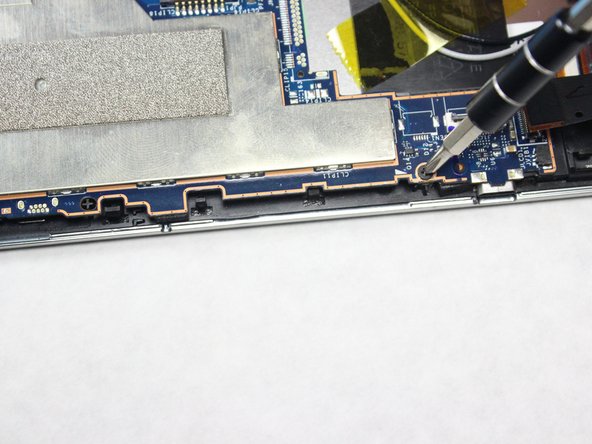
– Let’s get started by removing the 4 tiny 1.6mm screws using a J0 head – it’s time to get this repair underway!
Step 10
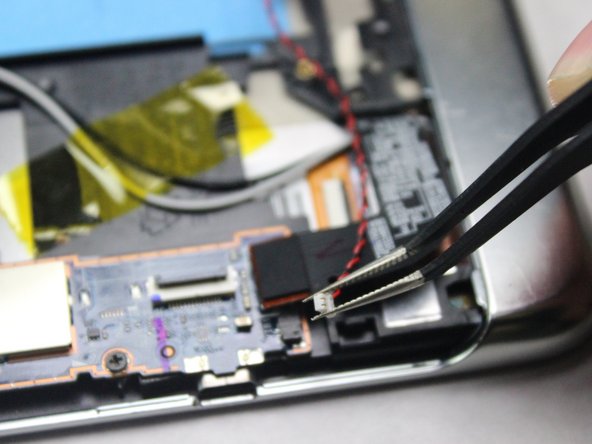

– Time to free that red and black cable! Grab your tweezers and gently coax the connector to the right—no yanking, just a smooth pull. Precision is key, so channel your inner repair pro!
Tools Used
Step 11

– Gently pry the motherboard out of the tablet’s case – it’s like freeing a trapped superhero, ready to save the day!