Lenovo Ideatab S6000 Screen Replacement
Duration: 45 minutes
Steps: 13 Steps
Welcome to your step-by-step adventure in replacing the screen on your Lenovo Ideatab S6000! We’re tackling the screen and digitizer, which come as a dynamic duo in one assembly. If your display is misbehaving or your touch screen is throwing tantrums, it’s time for a replacement. And hey, if your screen is cracked or shattered, don’t forget to gear up with some protective equipment! Oh, and remember to power down your device before diving into the repair. If you need help, you can always schedule a repair.
Step 1

These screens are stuck down with stubborn glue, so take it slow and steady to get the job done right. Patience is your friend here!


Step 2

– Time to grab your trusty Phillips #000 screwdriver and unscrew those two spots! Let’s get those screws out and make some progress!
Tools Used

Step 3

Steer clear of using metal tools for this—stick to safer options!
You’ll hear a pop each time one of the lock tabs lets go—totally normal.
Take it slow and work your way around the whole device when prying off the back.
– Carefully work your way around the casing, using the spudger to gently pry the screen away from the backing. Remember to take it slow and steady for the best results!
Tools Used
Step 4


– Time to set that plug free! Use either the trusty plastic opening tool or your fingers to gently tug on both sides of the plug until it releases. You got this!
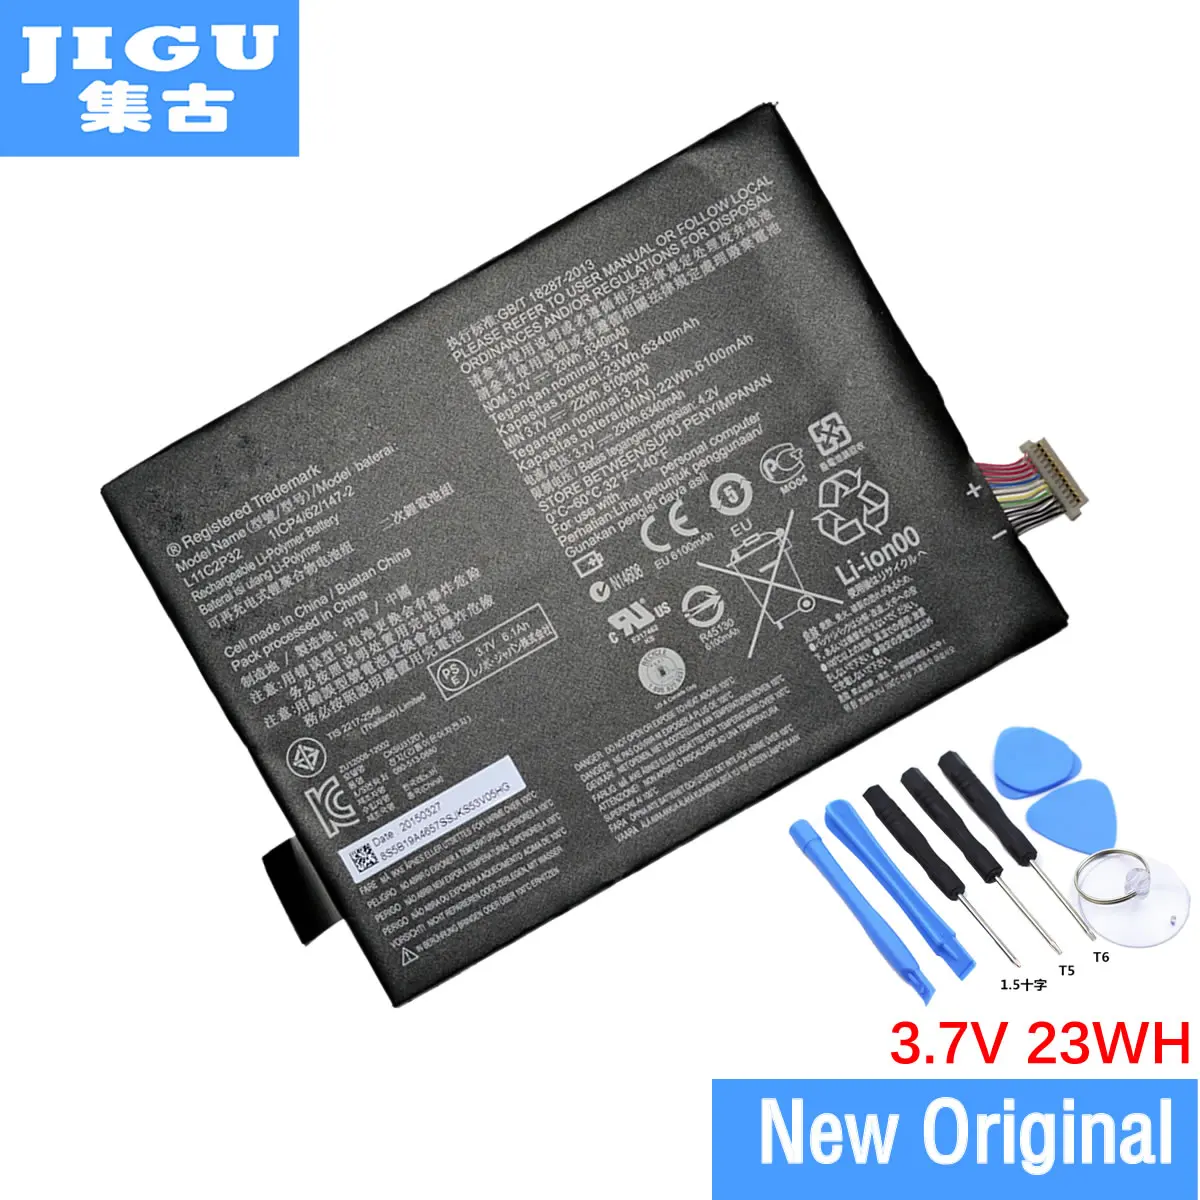
Step 5

The battery is stuck in place with some pretty stubborn adhesive. Grab the tab and give it a steady pull—don’t be shy, it’ll come loose with a little bit of muscle.
– To get that battery out, just grab the tab you’ve spotted and give it a gentle pull upwards. You’ve got this!
Step 6


The speakers are stuck to the tablet with some serious glue action, so get ready to do a little prying to set them free!
– Grab your trusty opening tool and gently nudge the speakers out of the tablet. A little pry and they should come loose without a hitch.
Step 7

– Gently slide the plastic opening tool under the vibration motor and carefully lift it up. No rush—just a little patience and you’re good to go!
Step 8

– Let’s get started by removing the 3.2mm screws. Grab your trusty Phillips #000 screwdriver and get to work!
Tools Used
Step 9


– Lift up the black tab on each connector – it’s just a little flip, nothing tricky.
– Carefully slide the ribbon cables out with a plastic opening tool, giving them a gentle tug. They’ll come out smooth, no force needed.
Step 10

– Lift that piece of tape up with your fingers—no tools needed! Just a steady hand and a little patience.
Step 11


– Carefully lift the motherboard out with your fingers—easy does it!
Step 12

– Time to set that rear camera free! Use your trusty plastic opening tool to carefully pry it out of the tablet.
Step 13


– Now that you’re all done, just retrace your steps in reverse to reassemble your device.
– If anything feels tricky or you’re not quite sure about something, no worries—just schedule a repair and we’ll help you out.