Lenovo Ideatab S6000 Front Camera Replacement
Duration: 45 minutes
Steps: 12 Steps
Get ready to give your Lenovo Ideatab S6000 a brand new front camera! If your tablet’s front camera is on the fritz, this step-by-step guide will walk you through the process of replacing it. Before you start, make sure to turn off your device and put on some protective gear if your screen is cracked or shattered – safety first! If you’re not feeling confident, don’t worry, we’ve got you covered. Just follow along and you’ll be taking selfies like a pro in no time. If you need help, you can always schedule a repair.
Step 1

Be careful with this step – these screens are stuck in place with some pretty stubborn glue. Take a deep breath and go slow to make sure you get it right!


Step 2

– Unscrew both spots where the Phillips #000 screwdriver fits—those little guys were just hiding under covers.
Tools Used

Step 3

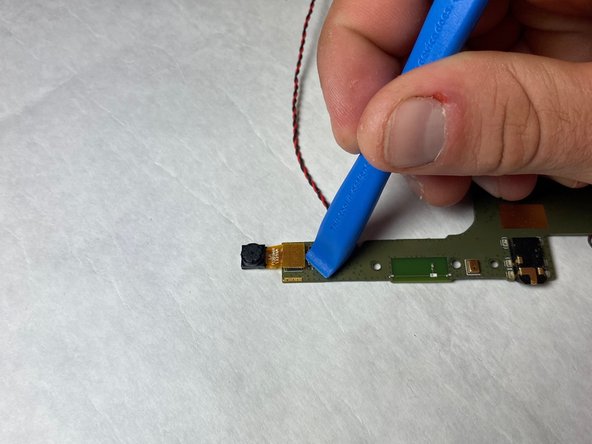
Avoid using metal tools for this task! Keep it cool and use something else.
You’ll hear a satisfying pop each time a lock tab decides to part ways.
Take your sweet time as you carefully work your way around the device while gently prying the back off.
– Work your way around the edge, gently popping the screen away from the back using your spudger. Take your time and keep it smooth.
Tools Used
Step 4

– Grab that trusty plastic opening tool or your fingers, and with a gentle touch, pull on both sides of the plug to set it free. You’ve got this!
Step 5

The battery’s stuck in place with some sticky adhesive. Grab the tab and give it a steady pull—the battery should pop out with a little bit of muscle.
– Lift up the tab and pull to pop the battery out—easy as pie!
Step 6
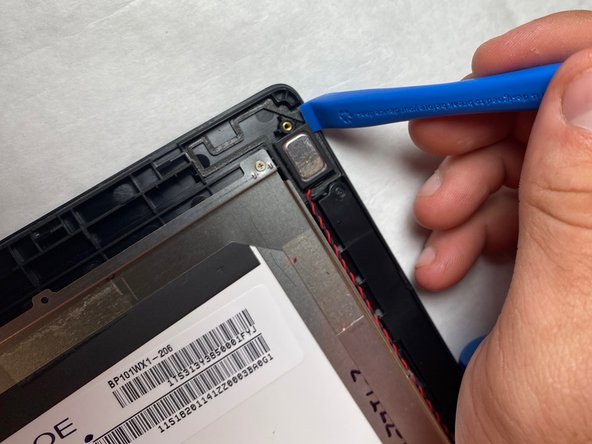
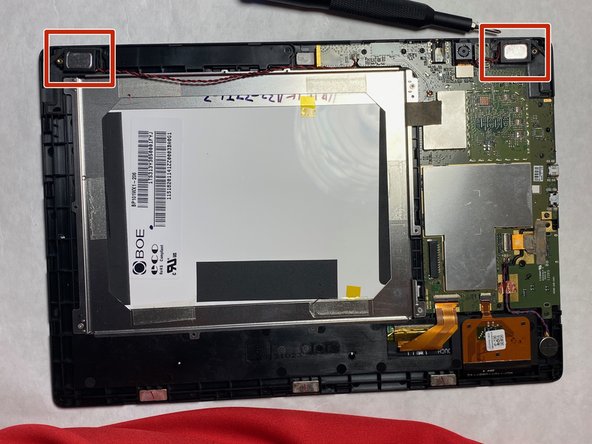
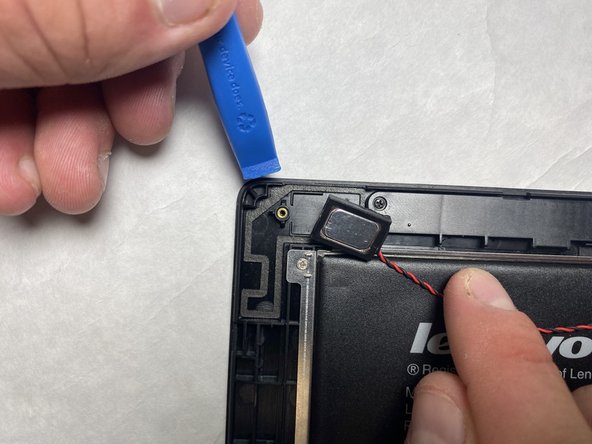
The speakers are glued in pretty firmly, so getting them out will take a little patience and some careful prying. Take your time, and they’ll come free!
– Time to get those speakers out of there! Use an opening tool to carefully pry them out of the tablet. Don’t worry, it’s easier than it sounds!
Step 7

– Grab your plastic opening tool and carefully work around the edges to lift the vibration motor. Be gentle, and it should pop right out!
Step 8

– Use a Phillips #000 screwdriver to take out those pesky 3.2mm screws. You’ve got this!
Tools Used
Step 9

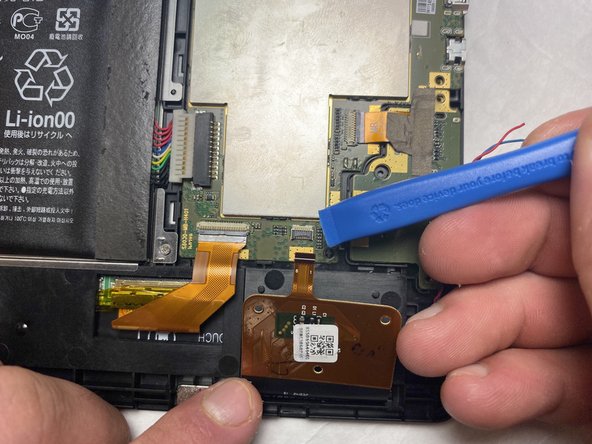
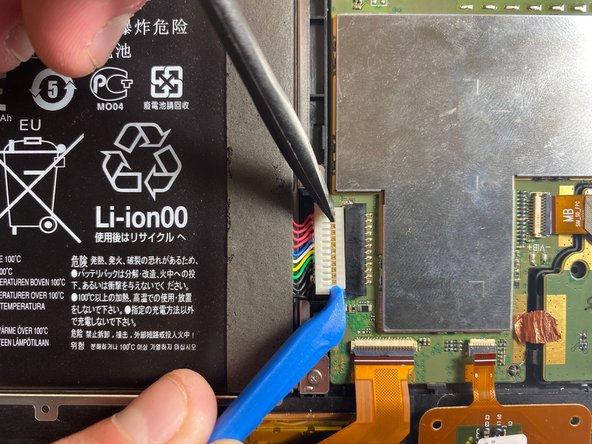
– Time to get this repair started! Flip up that black tab on each connector – it’s like opening a little door.
– Now, gently pull out the ribbon cables using a plastic opening tool. Think of it like carefully unwinding a thin, delicate rope.
Step 10

– Give that tape a gentle tug upwards using your fingers—you’re totally nailing this step!
Step 11
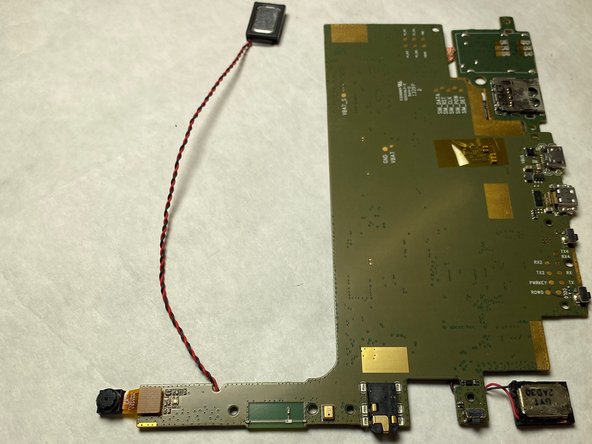

– Carefully lift the motherboard up with your fingers and take it out. Nice and easy does it!
Step 12

– To put everything back together, just work your way through these steps in reverse – easy peasy!
– You made it! If you need help with another repair or have any questions, you can always schedule a repair