Lenovo Ideatab A1107 Front Camera Replacement
Duration: 45 minutes
Steps: 12 Steps
Get ready to tackle the Lenovo Ideatab A1107 Front Camera Replacement like a pro! This guide will walk you through the steps to safely detach the front camera from your device. You’ll find all the tools you need listed out and some handy photos with mark-ups to keep you on track. If you hit a snag, no worries! Just schedule a repair for some extra help.
Step 1


– Grab a plastic opener and gently slip it between the black back panel and the silver body of your tablet.
– Now, use that plastic opener to carefully work your way around the edges, gently prying off the back panel. Take your time—it’s all about patience!
Step 2


– Grab your trusty Phillips #000 screwdriver and get ready to tackle those seventeen 4mm screws! You’ve got this!
Tools Used

Step 3

Don’t sweat it if the volume and lock buttons decide to take a little vacation when you’re taking off the interior casing!
– Carefully lift the interior casing off to reveal the heart of your device – the inner components, ready for action!
Step 4

– Grab your trusty tweezers and gently peel away the tape covering the battery’s wiring. Easy does it—this part is all about precision!
Tools Used

Step 5


Avoid poking or prodding the lithium-ion battery. If it gets damaged, it could catch fire or even explode. Better safe than sorry!
Steer clear of metal tools when handling the battery wire. They could give you a nasty shock, and that’s definitely not part of the plan!
– Grab your trusty plastic spudger tool and gently nudge the battery’s wire harness to disconnect it from the device. You’re doing great!
Step 6

Hey there! Just a friendly reminder: steer clear of poking the lithium-ion battery. If it gets a hole in it, things could get a bit fiery or even explode! Let’s keep everything safe and sound while you repair.
– Time to get this battery out – carefully wedge a plastic opening tool between the battery and the device’s internal components to start the removal process.
– Now, use that trusty plastic opener tool to gently pry the battery out of its casing. You’re making great progress!
Step 7

– With a gentle touch, carefully lift off the digitizer.
Step 8


– Using your trusty Phillips #00 screwdriver, gently twist away those three screws that measure 2.0 mm in length and boast a head width of 5.25 mm. You’ve got this!
Tools Used

Step 9

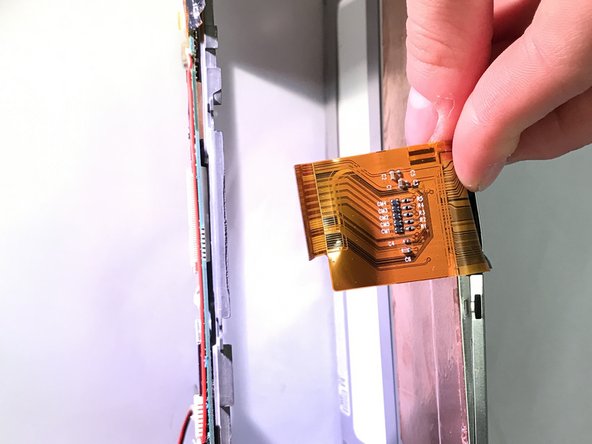
– Gently coax that pesky plastic piece off the zero insertion force (ZIF) cable connector using a spudger. You’ve got this!
– With your trusty tweezers in hand, grasp the ribbon cable and give it a gentle pull to disconnect it from the device. Easy peasy!
Tools Used
Step 10

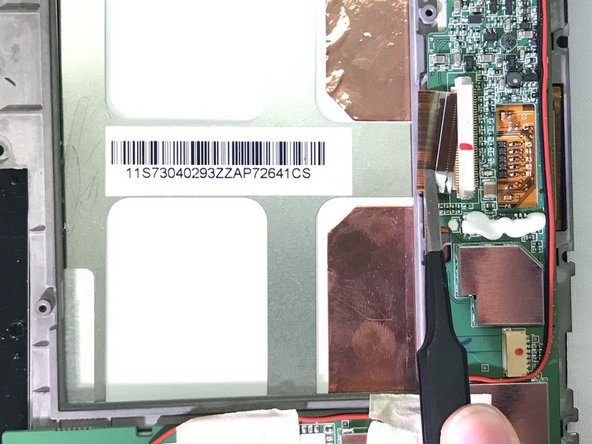
– Find the black strip of electrical tape on the side of your device. It’s probably hanging out, just waiting for you to give it some attention.
– Carefully peel the tape off using your trusty tweezers. Take it slow, and be gentle—this part is all about finesse.
Tools Used
Step 11
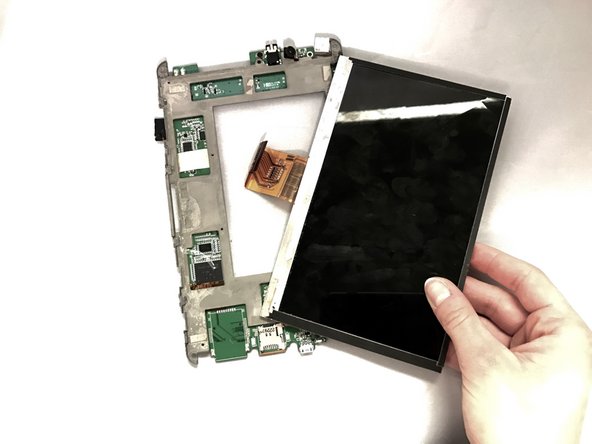

– First things first, peel off that electric tape like it’s the last piece of candy on Halloween! Now, gently lift up the green control panel like you’re unveiling a prize.
– Grab your trusty tweezers and carefully detach the ribbon cable from the control panel. Treat it like a delicate dance – one wrong move and it could be a tango disaster!
– Once that ribbon cable is set free, the display should pop away without any fuss. Easy peasy, right?
Tools Used
Step 12


– To wrap things up, simply reverse the steps you followed to take your device apart. Easy peasy!
– You’ve made it to the end of this repair guide. If you need help or have any questions, you can always schedule a repair