Lenovo IdeaPad A1-07 Battery Replacement
Duration: 45 minutes
Steps: 4 Steps
If your Lenovo IdeaPad A1-07 is losing charge way too fast and refusing to power up, it might be time to say goodbye to the battery. If you’ve already tried all the troubleshooting tips and nothing worked, replacing the battery is probably your next best move. This guide will show you how to safely open up your tablet and swap out that old battery, step by step. Ready to give your tablet a fresh start?
Step 1


When you’ve got it about halfway off, go ahead and use your thumb to gently nudge the rest of that back cover away. You’ve got this!
– Grab that blue plastic opening tool and use the lock screen switch near the volume button as your secret entrance to gently lift off the back cover.
– Slide the opening tool in and listen for that satisfying pop as the back cover starts to come loose from the device.
– Now, glide the opening tool down the length of your device like a pro!
Step 2


Be gentle when removing the frame; forcing it off could snap the little teeth holding it to the screen. You’ve got this!
The gray frame is still hanging out with the device, connected by a couple of wires running from the motherboard to the speaker. No worries, it’s all part of the plan!
– Grab your Phillips #000 screwdriver and start unscrewing those 18 tiny 4mm screws. They won’t bite!
– Now, take your trusty blue plastic opening tool and gently slide it between the screen and the gray frame. Keep going until you hit some resistance – that’s when the magic happens.
– With your opening tool, carefully push the teeth towards the center of the device, then gently lift the frame off. It’ll come off smoothly, like peeling off a sticker!
Tools Used

Step 3


The speaker nestled in the stylish grey frame is hooked up to the motherboard with a nifty little white plastic connector.
– Unplug the speaker by gently separating the two parts of the connector—it’s like freeing old friends who need some space.
Step 4
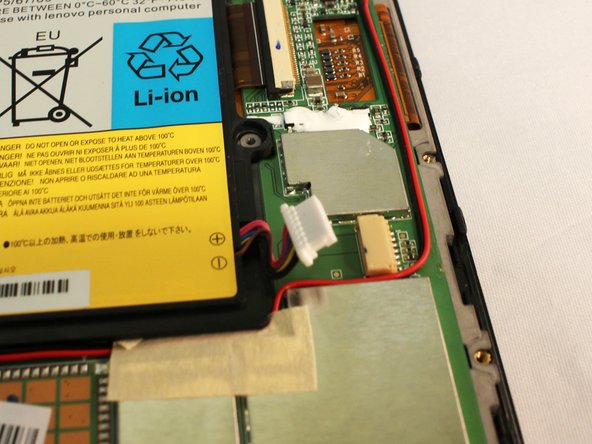
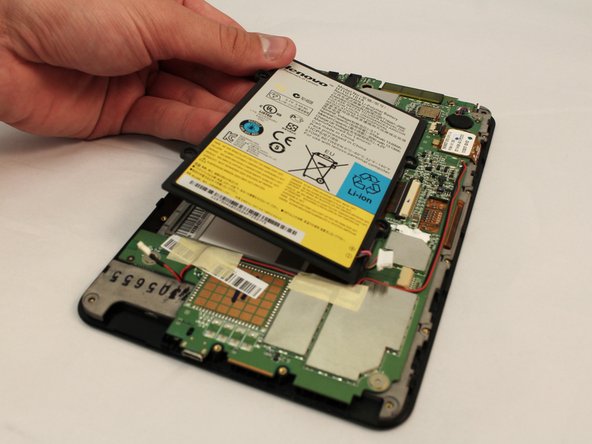

– Time to get this battery out – use a plastic opening tool to gently push the white battery connector out of its socket on the motherboard. Easy does it!
– Lift that battery away from the device. You’re making great progress!
