Lenovo Horizon 2s Battery Replacement
Duration: 45 minutes
Steps: 8 Steps
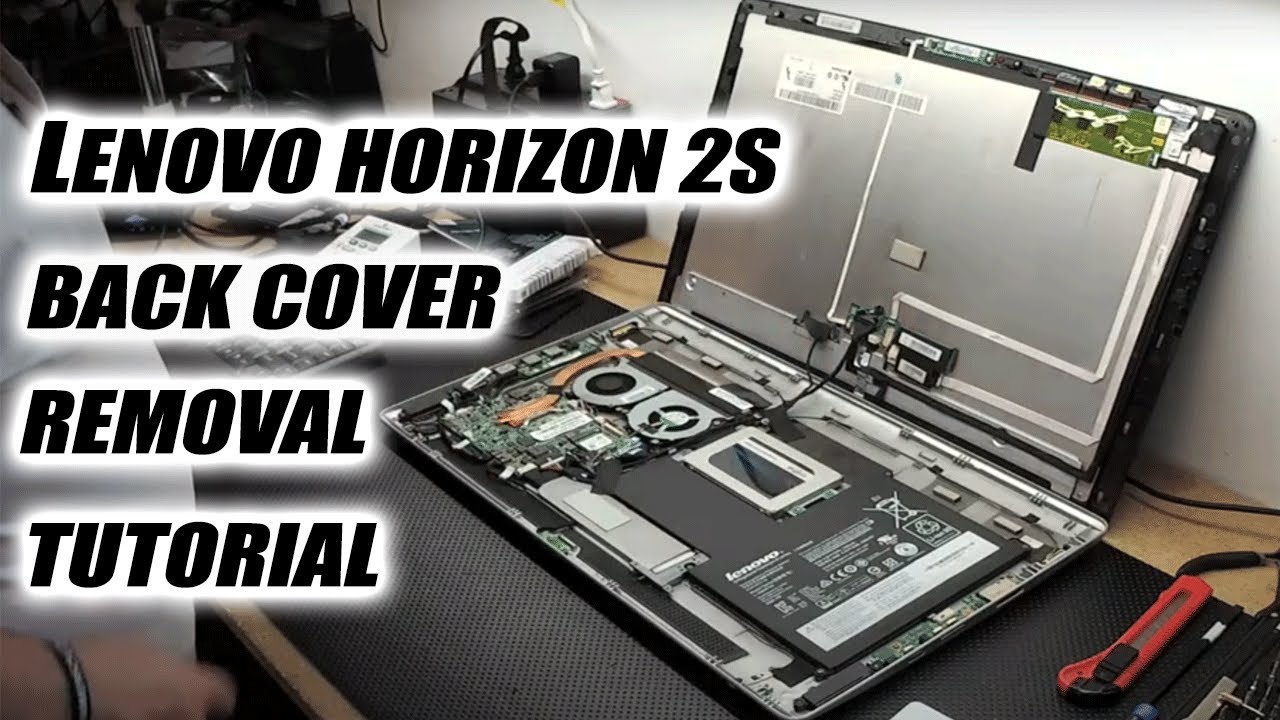
Revive your two-in-one tablet with a shiny new battery! This guide will walk you through the process of carefully removing the back panel, which is like a superhero shield for your device’s inner workings. To ensure your new battery performs at its best, drain the tablet below 10% before giving it a smooth ride up to a full 100% charge without interruptions. If you need help, you can always schedule a repair.
Step 1


– Okay, let’s get started! Flip the device over so the rear case is facing up – it’s time to get a little hands-on.
– With your trusty plastic opening tool, carefully pry the plastic piece shown in the picture until it’s completely removed from the case. Take your time, and don’t be afraid to use a bit of elbow grease if needed.
Step 2


– First, use your fingers to gently pry the rubber boot off the right side of the rear case – it’s like removing a stubborn sticker, but easier, we promise!
– Next, grab your trusty Phillips #1 screwdriver and remove the screw hiding under the rubber boot. It’s the only one there, so you can’t miss it!
Step 3

– Grab your trusty plastic opening tool and give the display screen a gentle nudge forward. Keep pushing until it pops away from the rear casing—like magic!
Step 4

– Grab your trusty plastic opening tool and gently work your way around the edges of the screen. Take your time and carefully separate it from the rear casing until it’s completely free.
Step 5


– Before you totally part ways with the screen and the rear casing, take a moment to gently unhook those two wires that are attached to either side of the device. This little move will make it smooth sailing when you finally separate the rear casing from the screen!
Step 6

– Gently and slowly wiggle those fingers to disconnect the wire from the motherboard right here. You’ve got this!
Step 7


– Grab your trusty Philips screwdriver with a number 1 head and let’s get to work! Gently unscrew the six M2-6mm screws highlighted in the picture. You’ve got this!
Step 8

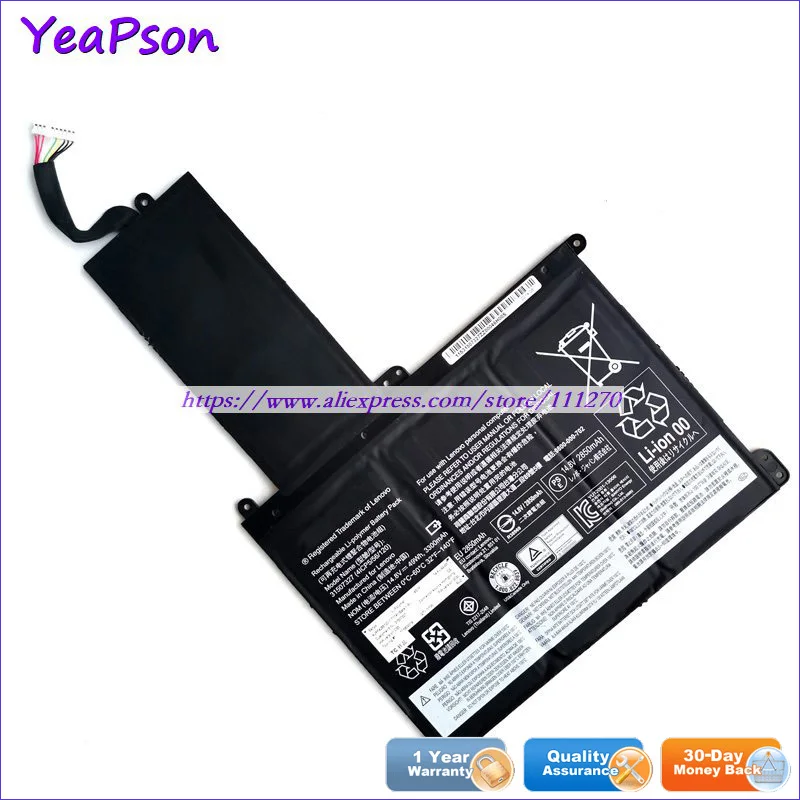
– Gently pry the battery out of its cozy spot in the rear casing.